FIX: XPSSVCS.DLL is Missing Error on Windows 10
A missing file makes it impossible for you to install Google Cloud Print
Key notes
- What is xpssvcs.dll? It’s an essential system file, part of the Windows data libraries.
- In your case is xpssvcs.dll, but other DLL files can disappear during other processes as well, causing program crashes.
- Running a DLL fixer or the SFC process are some of the simplest fixes in this particular situation.

The XPSSVCS.DLL is a missing error is one that some users have encountered when attempting to install Google Cloud Print in Windows 10 and other platforms.
The full message reads:
[1103/184546:WARNING:setup.cc(263)] File is missing: XPSSVCS.DLL… [1103/184546:ERROR:setup.cc(402)] Unable to install driver.
This is yet another DLL error that can be caused by a missing or corrupted DLL file.
Microsoft has also admitted that the cumulative KB3176493 and KB3177725 Windows updates have print bugs, which is another factor behind this error.
So here are a few potential solutions that will resolve the XPSSVCS.DLL is missing error in Windows 10.
How to fix XPSSVCS.DLL issues on Windows 10?
1. Use a third-party DLL troubleshooter
You can resolve this kind of error with DLL files effortlessly, and the most practical way is by using dedicated repairing software.
Hence, using these tools will offer you a complete scan report of your computer to show the comparison between your files and new ones.
Then, the next step is to replace damaged DLL files and other corrupt or missing files with functional ones and resolve this installing error.
2. Scan files with the System File Checker
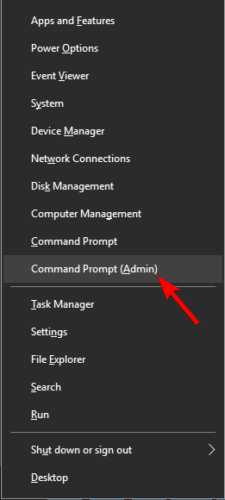
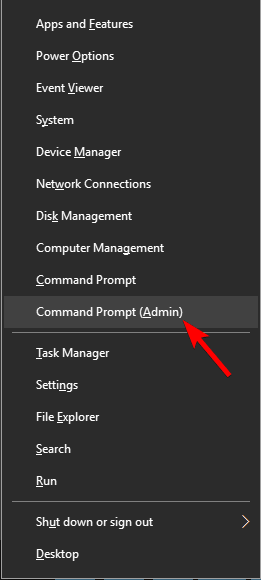
- Open Win + X menu and choose Command Prompt (Admin) or PowerShell (Admin) from the list.
- Enter sfc /scannow command and press Enter to run it.
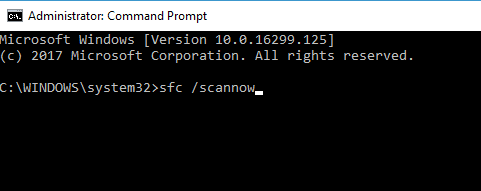
- The scanning process can take about 10 minutes, sometimes more, so don’t interfere with it.
After the SFC scan is finished, check if the issue is still there. If you can’t run or complete the SFC scan, you should try using the DISM scan.
- Start Command Prompt as administrator.
- Enter the following command and press Enter:
DISM /Online /Cleanup-Image /RestoreHealth
- DISM scan will now start. This process can take about 20 minutes, so be sure not to interrupt it.
Once the DISM scan is finished, check if the problem is still there. If you want, you can also repeat the SFC scan after a successful DISM scan just to be on the safe side.
3. Reinstall the application that causes this error
If XPSSVCS.DLL is missing message appears only when trying to run a certain application, perhaps you should uninstall that application completely.
There are several ways to do that, but the best method is to use uninstaller software.
You’ll completely remove all files and registry entries that are related to the faulty application. As a result, there won’t be any leftover files that can interfere with your system.
To completely remove this application from your PC, you should look for exemplary uninstaller software. It will help you remove all residual files left behind after deleting any program.
Once you remove the problematic application using such tools, the issue should be completely resolved.
4. Perform a System Restore
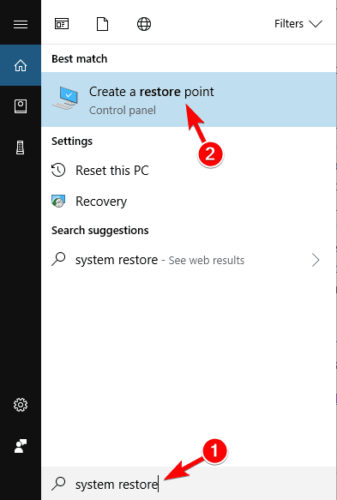
- Press Windows Key + S and enter system restore. Choose Create a restore point.
- Now click the System Restore button.

- When the System Restore window opens, click Next.

- Check Show more restore points option. Select the restore point you want to return to and click Next.

- Follow the instructions on the screen to complete the restoration process.

Once you successfully perform a System Restore, check if the problem is still there.
5. Update Windows
- Open the Settings app. (You can do that by using Windows Key + I shortcut.)
- Now navigate to the Update & Security section.

- In the right pane, click on Check for updates button.

Windows will now check for available updates. If any updates are available, they will be downloaded automatically in the background. Once you download the updates, restart your PC to install them.
After updating your system to the latest version, check if the problem is still there.
Microsoft is constantly working on Windows 10, and it usually fixes these bugs using Windows Update. If you want to avoid this problem, be sure to keep your system up to date at all times.
By default, Windows 10 automatically installs the missing updates, but sometimes it might miss an update due to certain issues. However, you can always check for updates manually as shown here.
6. Perform a Clean boot
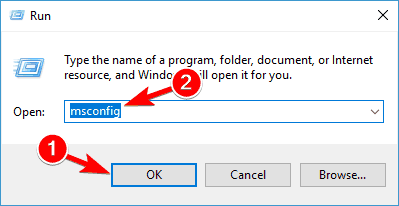
- Press Windows Key + R to open the Run dialog. Enter msconfig and click OK.
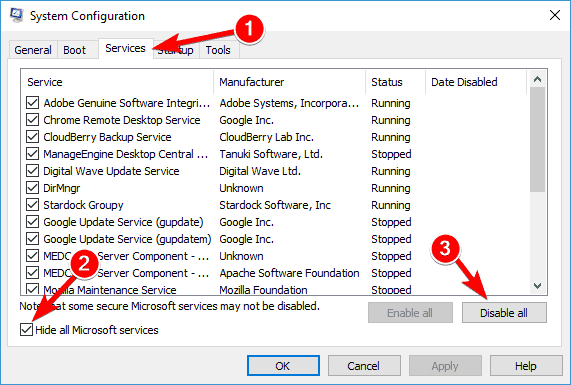
- The System Configuration window will now appear. Navigate to the Services tab and check Hide all Microsoft services.
- Click the Disable all button.
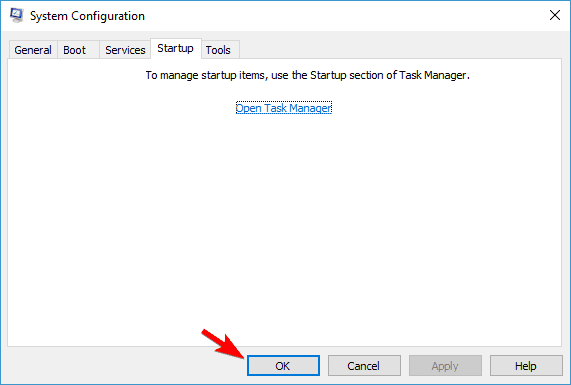
- Now go to the Startup tab and click Open Task Manager.

- You’ll now see a list of startup applications. Right-click the first entry on the list and choose Disable. Repeat this step for all applications on the list.

- Go back to the System Configuration window.
- Now click Apply and OK to save changes and restart your PC.
Once your PC restarts, check if the issue is still there. If the problem doesn’t appear, it’s rather likely that one of the disabled applications or services was causing it.
To find out which application was the problem, enable applications and services in groups until you manage to recreate the issue.
Once you find the problematic application, remove it and check if that solves the problem.
7. Create a new user account
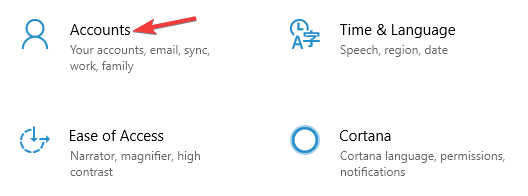
- Open the Settings app and navigate to the Accounts section.
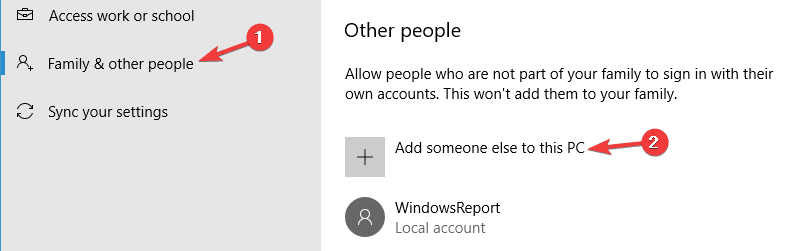
- Pick Family & other people from the left pane.
- Choose Add someone else to this PC from the right pane.
- Select I don’t have this person’s sign-in information.
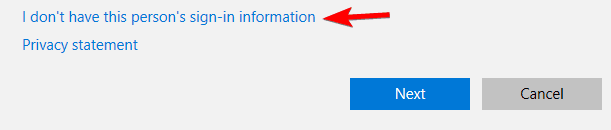
- Click on Add a user without a Microsoft account.

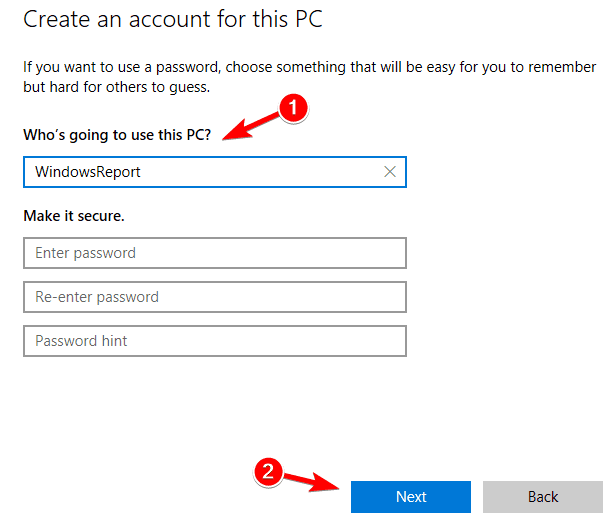
- Enter the desired username for the new account and click Next.
After creating a new user account, check if the problem is still there. If the issue doesn’t reappear, move all your personal files to the new account and check if that solves your problem.
These fixes are likely to resolve the missing XPSSVCS.DLL issue so you can install Google Cloud Print on Windows 10.
Handling this app is quite easy, but if you need any guidance, this tutorial will help with the setup process.
Read our disclosure page to find out how can you help Windows Report sustain the editorial team. Read more


Improve this guide


User forum
0 messages