FIX: flashing black box in Windows 10 [Quick Guide]
Key notes
- If you get a flashing black box on Windows 10, it's probably a graphical error.
- Make sure to check your display adapter and update the drivers.
- Perform the SFC and DISM scans to get rid of any glitches.
- One last thing you could do is to run the System Troubleshooter.

In today’s guide, we’re going to talk about a rather unusual error in Windows 10. Namely, a couple of users reported that while they were using their computer, a flashing black box appeared on their screen.
There are a few possible causes of this problem, so be sure we’ll try to find proper solutions for them.
How do I get rid of the black box in Windows 10?
1. Use the DISM command tool
- Right-click on the Start Menu button and choose Command Prompt.
- When you see the User Account Prompt, simply click Yes to grant admin privileges to the CMD window.
- Enter the following line and press Enter:
DISM.exe /Online /Cleanup-image /Restorehealth
- Let the DISM scan your computer for errors and find possible solutions.
Maybe some corrupted system files are the very core of this flashing black box issue, so you can try scanning your computer for broken files and try to fix them.
If DISM failed on Windows 10, just check out this quick guide about DISM failing on Windows 10 and set things right again.
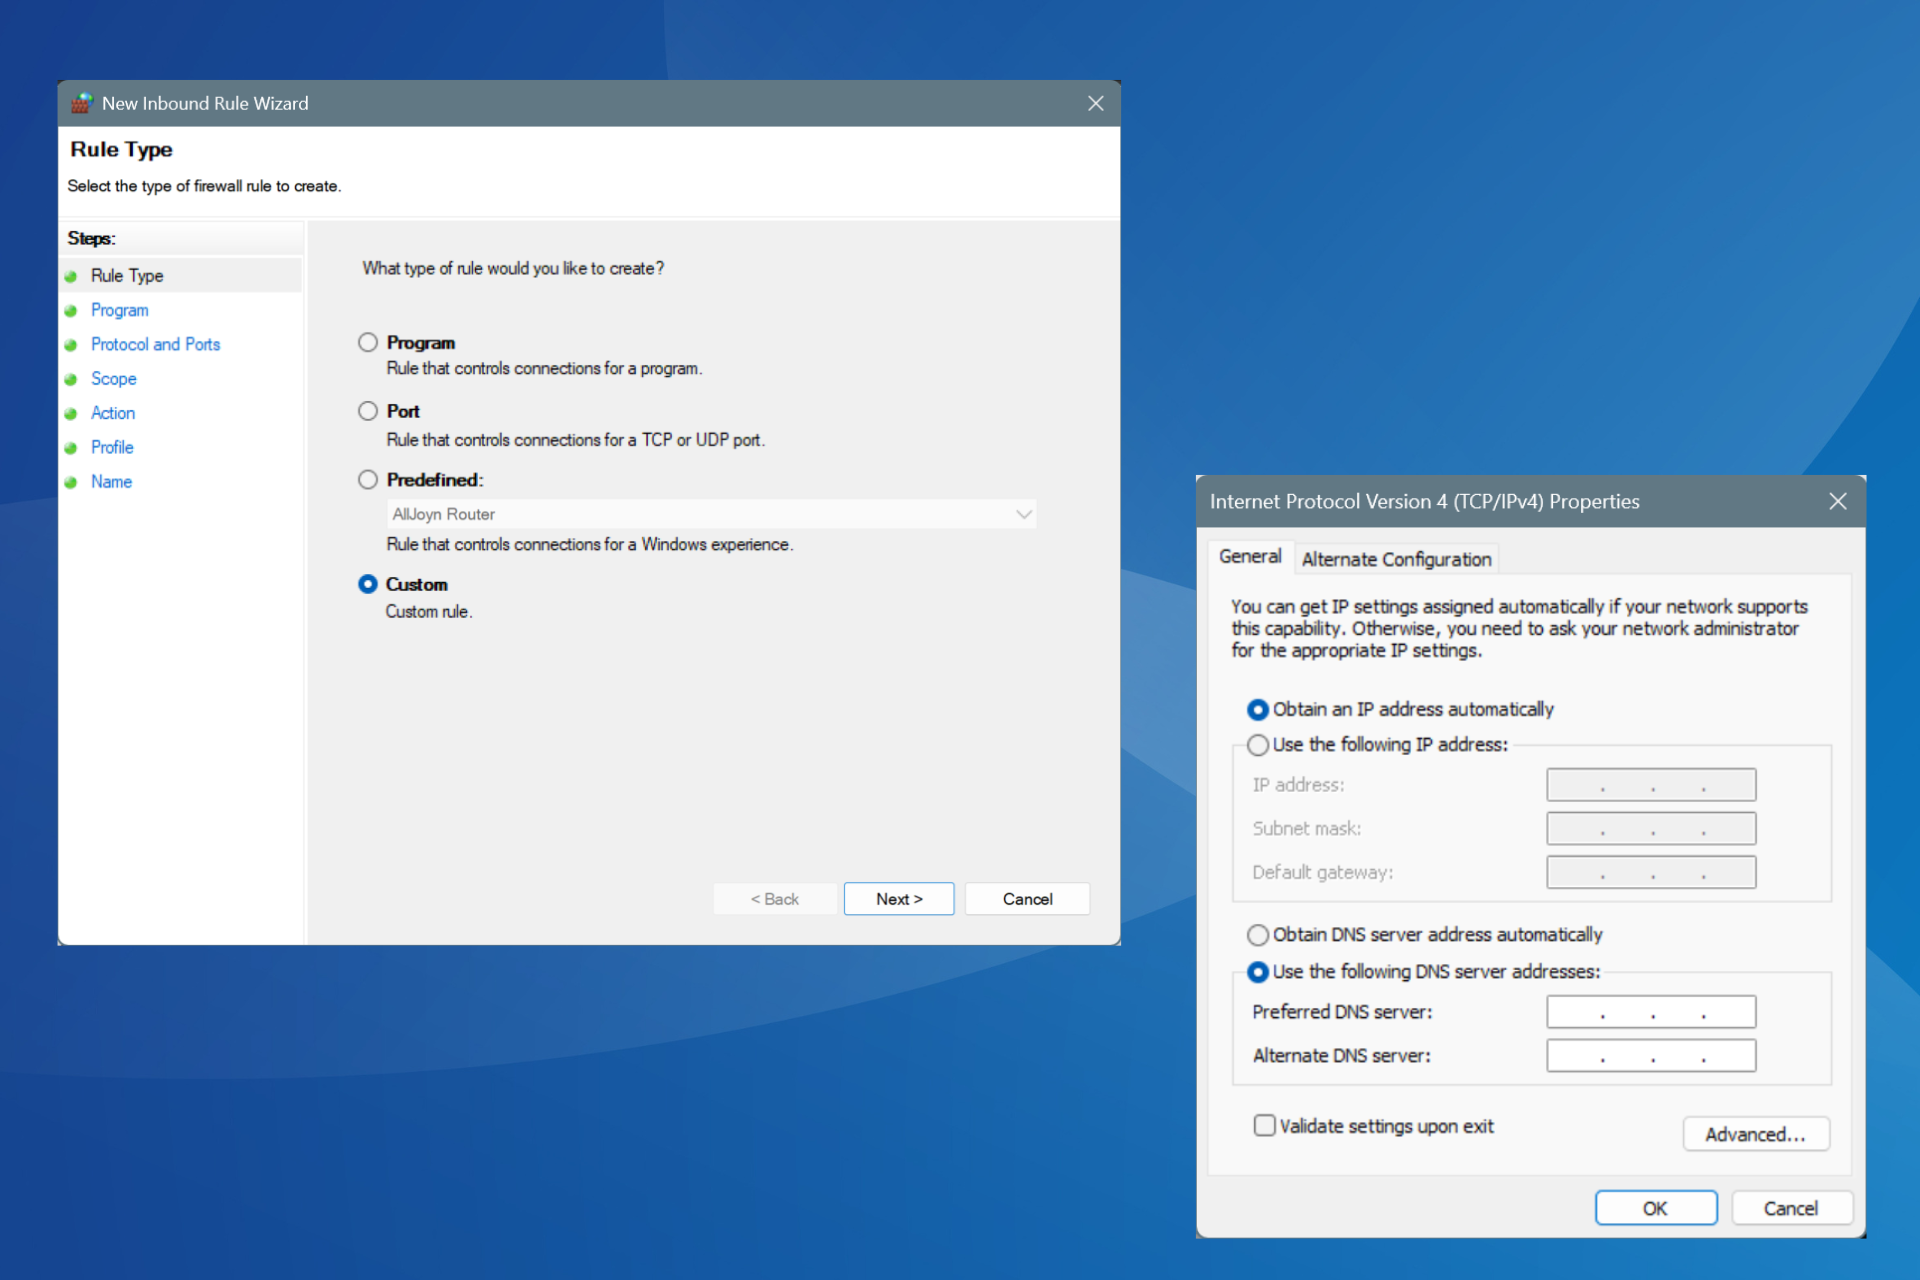
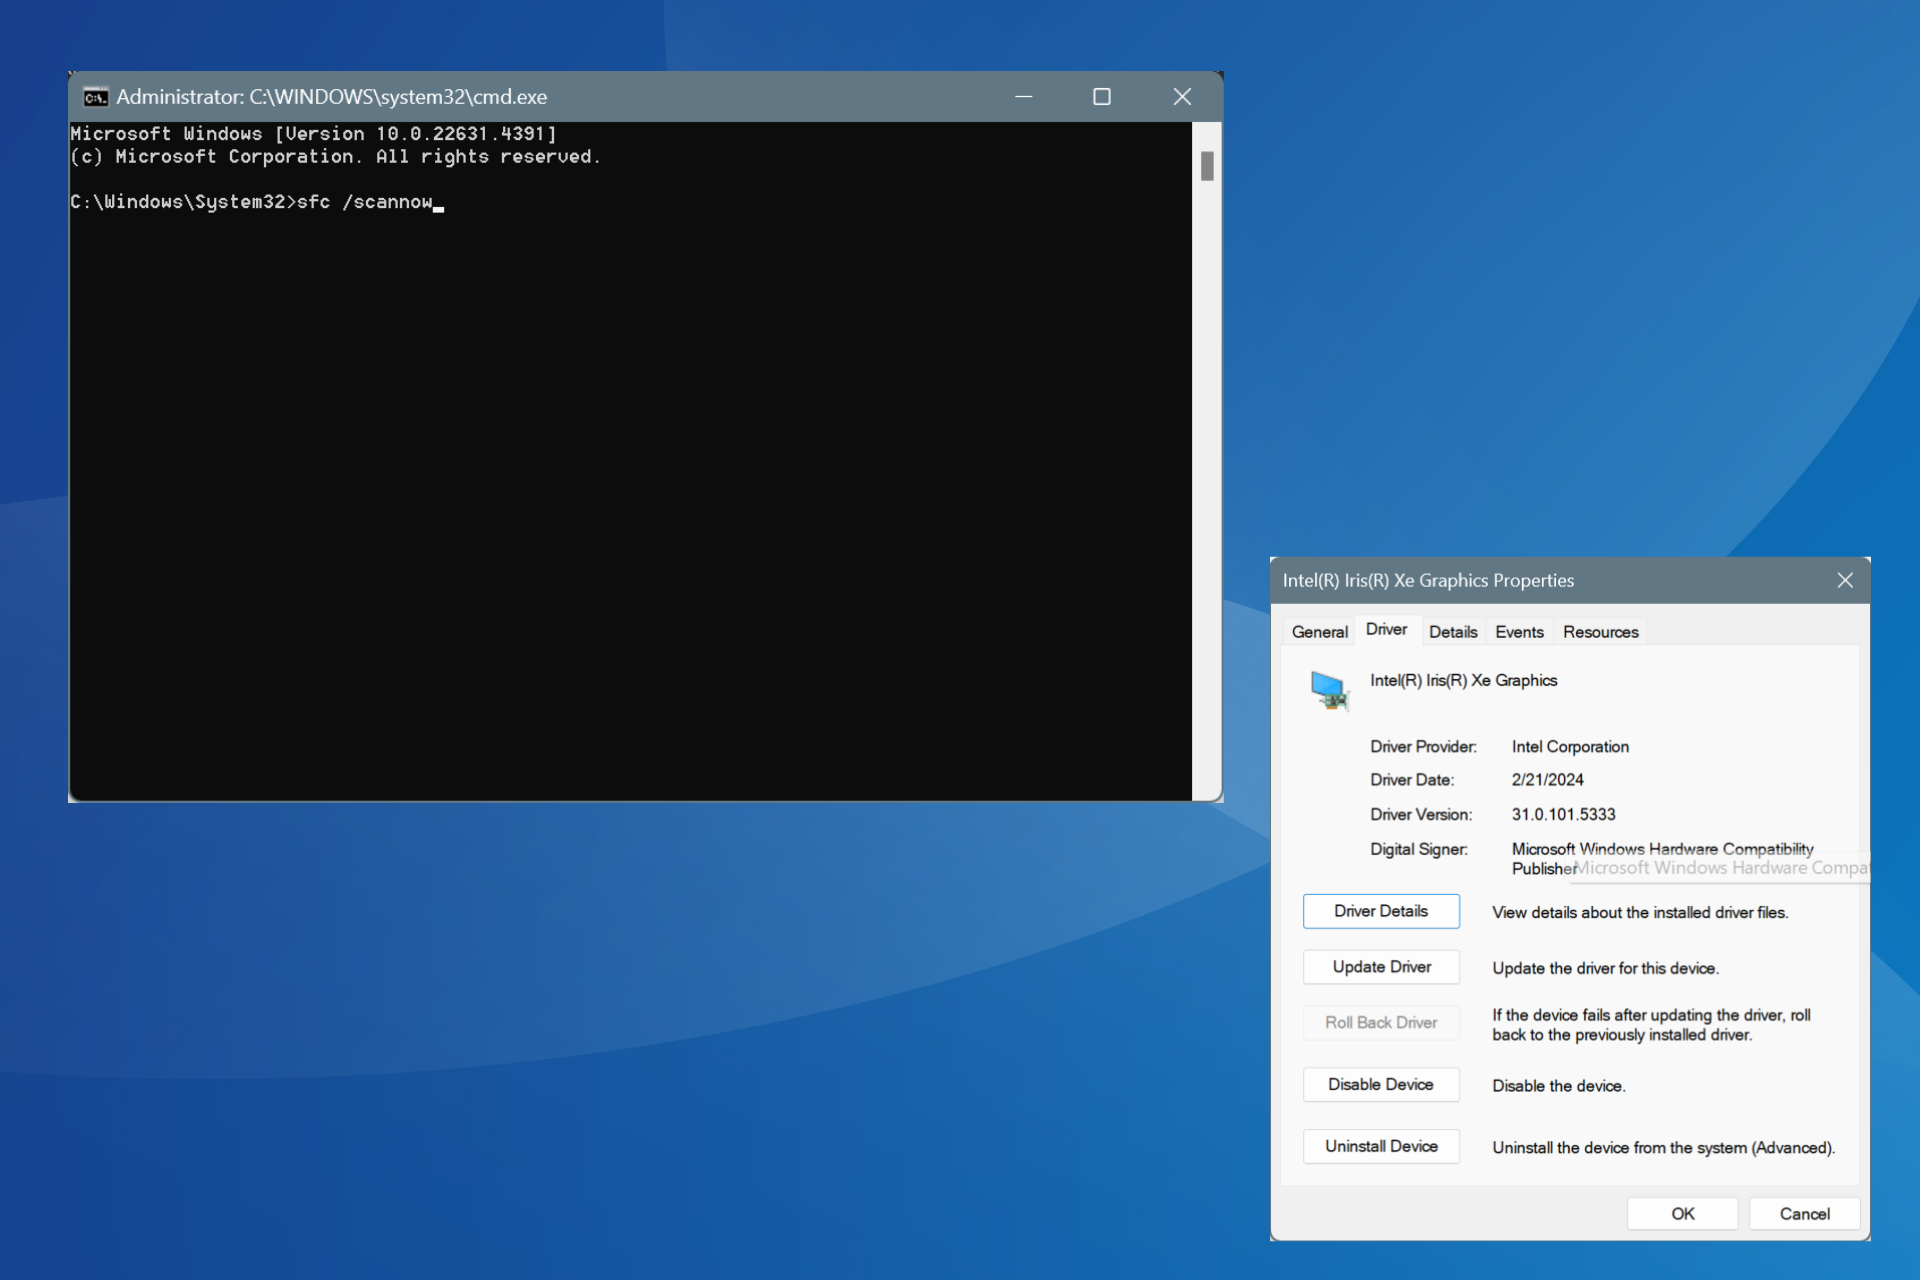
2. Check Video Adapter drivers
- On your keyboard, press the Windows Key + R to invoke the run box.
- Type devmgmt.msc and click OK.
- Find your display adapter and right-click on it.
- Go to the Update driver software option.

- If the update is available, just let the wizard finish updating.
- Restart your PC.
By now, Windows Updates should cover all your drivers. However, if you’re using a display driver for which Microsoft doesn’t offer any official updates, you’ll have to update the driver automatically.
By updating drivers automatically with the help of a dedicated driver updater program, you can save time and update all the drivers you need easily and safely.
However, a program like Outbyte Driver Updater not only downloads and installs drivers, but also manages them by troubleshooting, backing up, and restoring them. For this reason, it is worthwhile to use it!
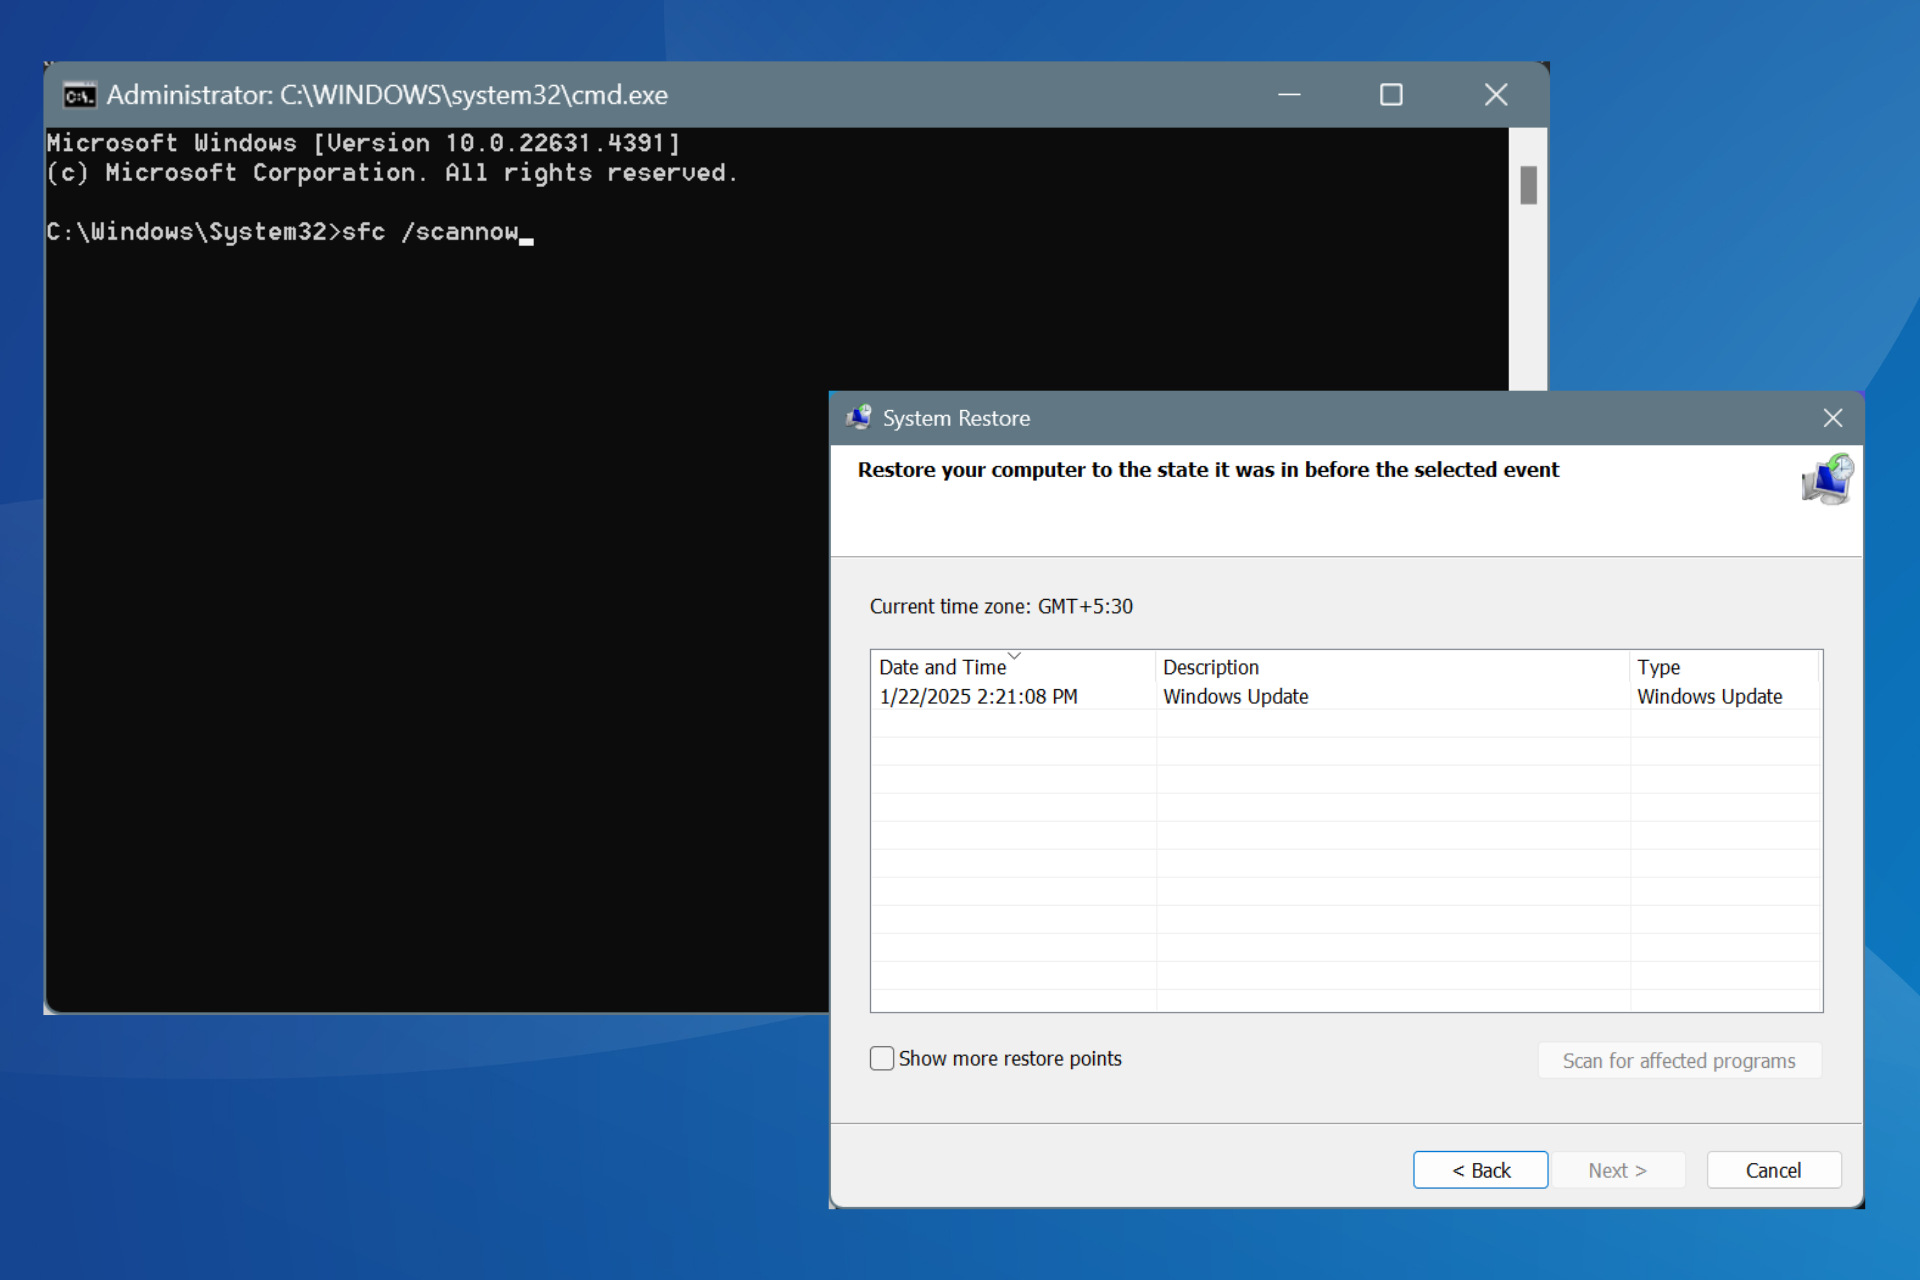
3. Run an SFC scan
- Go to Search, type cmd, and open Command Prompt (as Administrator).
- Type in the following line and press Enter:
sfc/scannow
- Wait for the process to finish.
- Restart your computer.
The next thing you’re going to try is running the SFC scan. System File Checker is a built-in feature designed to deal with various system issues, so it may help.
You’ll find detailed steps on how to run the SFC scan in Windows 10 above.
Scannow command has stopped before the process finished? Don’t worry, we’ve got an easy fix for you in this guide dedicated to fixing the problem.
4. Run the Troubleshooter
- Go to Settings.
- Go to Updates & Security, then Troubleshoot.

- Then, click Run the troubleshooter and wait for the process to finish.
- Restart your computer.
Windows Troubleshooter successfully deals with various problems, including the flashing black box problem.
However, if you’re having trouble opening the Settings app, take a look at this article dedicated to fixing the problem.
5. Disable the onboard graphics
- Restart your computer while holding the SHIFT button.
- The Advanced Startup menu will open on the boot. Go to Troubleshoot.
- Now, go to Advanced Options then Startup Settings.
- Click the Restart button.
- A window with various startup options will show up.
- Press F5 on your keyboard to choose Enable Safe Mode with Networking.
- Wait for your computer to boot.
- Now that you’re safe in the Safe Mode, open Device Manager.

- Locate your onboard graphics.
- Right-click it and from the menu choose Disable.
- Restart your computer, and check if the black box is still there.
If you have both onboard and external graphics cards in your configuration, and both are enabled, there can be some interference. So, the best solution, in this case, is to simply disable the onboard graphics card.
Before you can actually disable your onboard graphics card, let’s boot in the Safe Mode, just to avoid any potential problems.
6. Change brightness settings
Another reason for the flashing black box on the screen could be the wrong brightness settings.
Setting display brightness to 100% when your device is plugged in causes this problem, so it’s best that you use a lower value.
- In the Power Options, find your current power plan and click Edit plan settings.
- Up next, click the Change advanced power settings option.

- Locate the Display brightness setting and make sure that you set the display brightness to 99% or 98% when your device is plugged in.
- Save changes and restart your computer.
Is the Windows Troubleshooter giving you headaches? Here’s a quick guide dedicated to fixing the Windows Troubleshooter.
If you’re aware of other solutions or need more help, don’t hesitate to contact us by using the comments section below.
Read our disclosure page to find out how can you help Windows Report sustain the editorial team. Read more


Improve this guide

User forum
1 messages