Google Drive Access Denied Hacks: 3 Quick Ones
Make sure the permissions are in order
3 min. read
Updated on
Read our disclosure page to find out how can you help Windows Report sustain the editorial team. Read more
Key notes
- The Google Drive Access denied error indicates missing permissions or arises due to software conflicts.
- A quick fix is to terminate all other non-critical programs on the PC.
- For some users, taking full access of the Google Drive folder in the C: drive got things running.
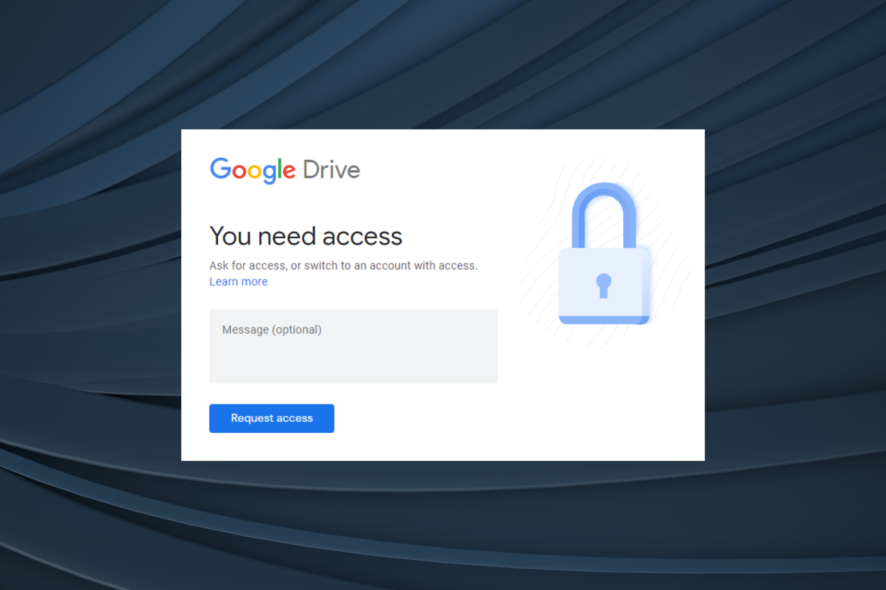
The Access Denied error window in Google Drive states, You need access. Ask for access, or switch to an account with access, and a few quick hacks often help fix things.
This usually happens when signed in with another account that doesn’t have access to the files. But if that’s not the case, it’s usually the misconfigured setting or missing permissions to blame. Keep reading to find out!
How do I bypass Google Drive Access Denied?
Before we head to the complex ones, here are a few quick solutions:
- Unlocker is a third-party program that tells users what software and processes are holding a lock on another folder or file. Download Unlocker and install the tool. Once done, click the Unlock All button.
- Restart the computer or just Google Drive. Both work, but we recommend the former.
If none work, move to the fixes listed next.
1. Terminate other software using Google Drive
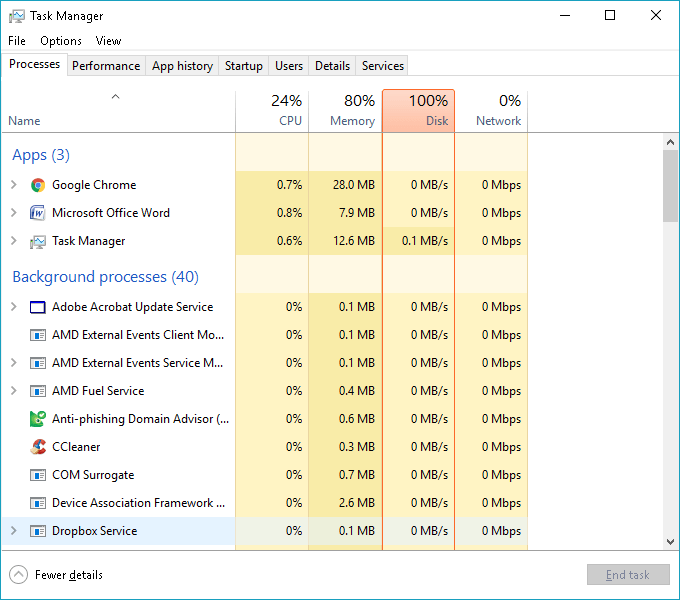
- Press Ctrl + Shift + Esc to open the Task Manager.
- Then select any third-party software that may be conflicting with Google Drive, and click on End task.
Another program or process might be using a Google Drive file or subfolder. For example, another utility might be backing up the file or subfolder.
Then, you will come across the Google Drive link access denied error. If so, close all open programs on your taskbar and check other software processes with the Task Manager.
2. Check the Google Drive folder permissions
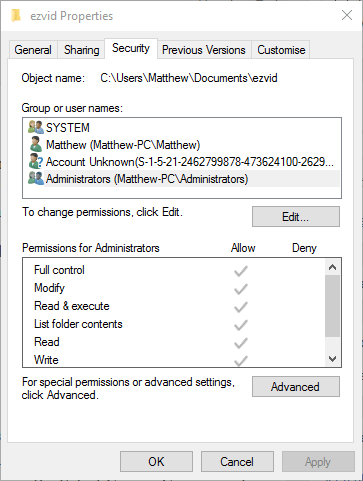
- Firstly, open File Explorer, right-click your Google Drive folder, and select Properties.
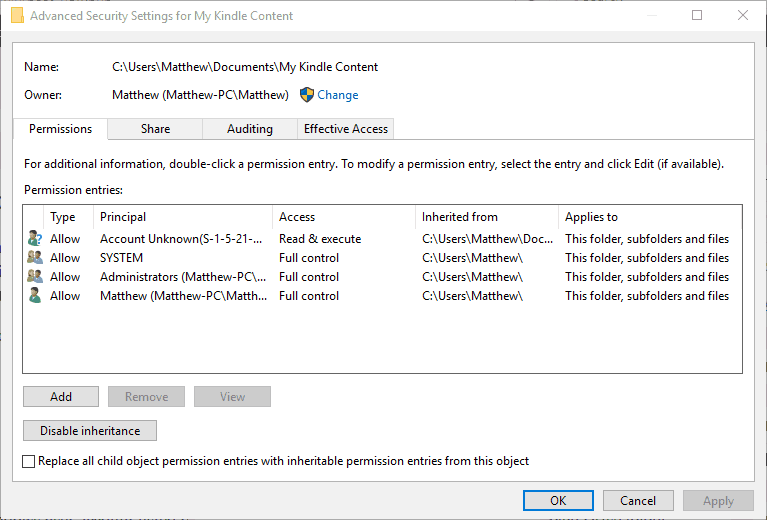
- Go to the Security tab and click Advanced.
- Click the Change option.
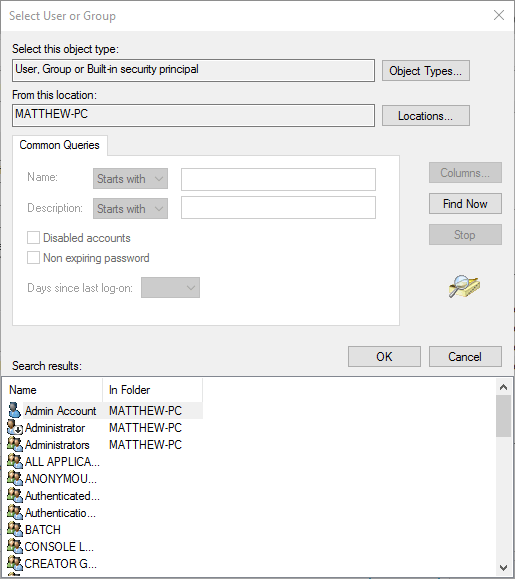
- Press the Advanced button on the Select User or Group window.
- Next, click Find Now, select your user account from the search results, and click OK.
- Click OK and Apply to save the changes.
- Then, select the Replace ownership on subcontainers and object checkbox, and click the Add button.
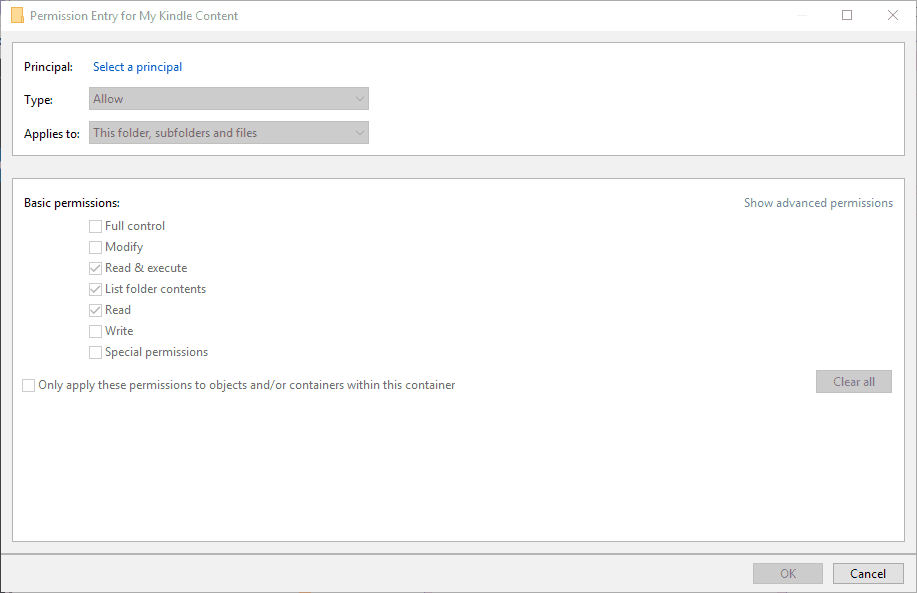
- Click the Add button, and click on Select a principal.
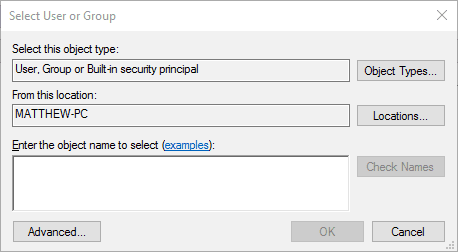
- Press the Advanced button, select your user account as before, and click OK.
- Your selected user account will now be in the text box. Click OK to save the changes.
- Now, select the Full Control checkbox, and again save the changes.
Windows might be denying you folder access because your user account doesn’t have the required Google Drive folder permissions, and subsequently, the Access Denied error appears. So, ensure your user account has full permissions for the Google Drive folder.
3. Set up a Batch File to Take Ownership of the Google Drive Directory
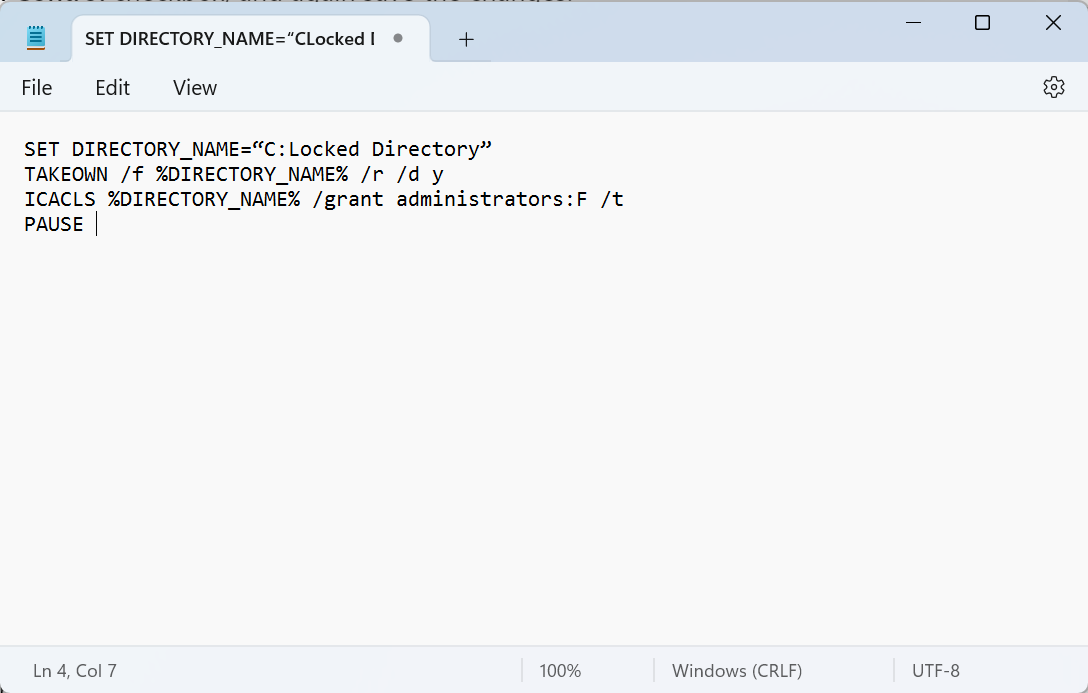
- Open Notepad, then copy and paste the following text into Notepad with the Ctrl + C and Ctrl + V hotkeys respectively:
SET DIRECTORY_NAME=“C:Locked Directory”
TAKEOWN /f %DIRECTORY_NAME% /r /d y
ICACLS %DIRECTORY_NAME% /grant administrators:F /t
PAUSE
- Erase C:Locked Directory and replace it with the actual path of your Google Drive folder.
- Save the file, and name it Take Ownership.bat.
- Once done, run the batch file.
There is a slightly quicker way to take ownership of Google Drive when you come across Access Denied Error 403 and Windows doesn’t recognize folder permissions. Just set up a batch file with Notepad that will do the same thing.
So those are a few hacks to fix the access denied error on Google Drive and any other folder or file in Windows.
Before you leave, find out how to increase the Internet speed in Windows and speed up the uploads.
Tell us which fix worked for you in the comments section below.



User forum
0 messages