How to Whitelist an Email in Office 365
Try these intuitive approaches to easily whitelist an email
Key notes
- It's recommended to use the Mail Flow rule to whitelist your emails to ensure maximum security.
- Whitelisting emails using Office 365 Defender prevents Microsoft from making necessary security check-ins.
- Attackers can spoof email addresses if you don't whitelist email addresses using the Mail Flow rule.
While using your mailing application, there are certain senders you’d like to give priority in your inbox to ensure that their emails get delivered to your Inbox. If you’d like to know how to Whitelist an Email in Office 365, this article provides all the necessary steps to help achieve this.
What is a whitelist in Office 365?
The term whitelist means telling your email provider that you trust the person sending you the email. It means you approve of the sender’s message being delivered to your Inbox at any time.
When email addresses are whitelisted, it prevents emails from landing in the Spam or Junk folders and instead shoots them to the top of your priority Inbox.
How do I whitelist an email in Office 365?
 NOTE
NOTE
1. Whitelisting emails using the Mail Flow rule
- Press the Windows key + S, type in Office 365, and hit Enter.
- Navigate to the Exchange Admin Center and click Mail Flow.
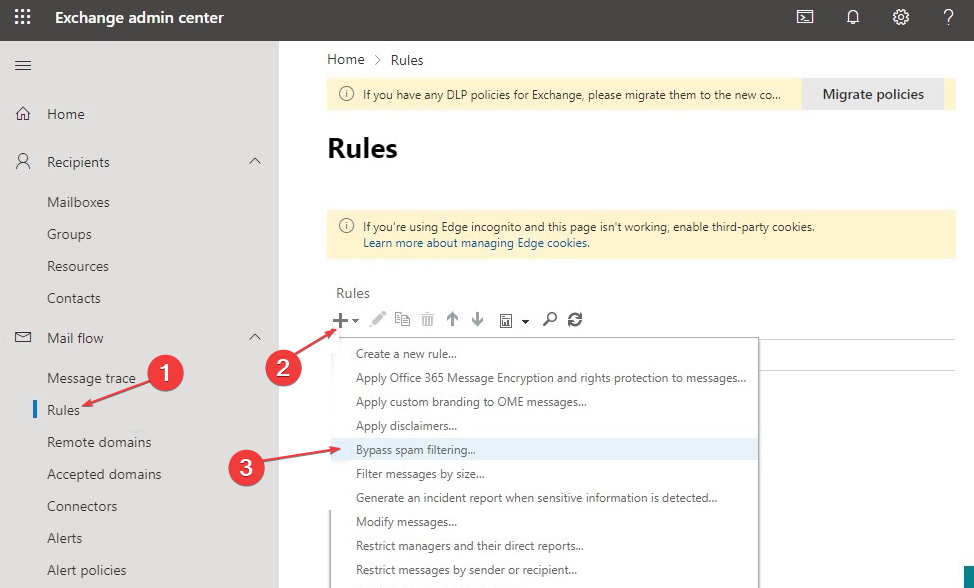
- Click on Rules and click the Plus icon to add a new rule to Bypass spam filtering.
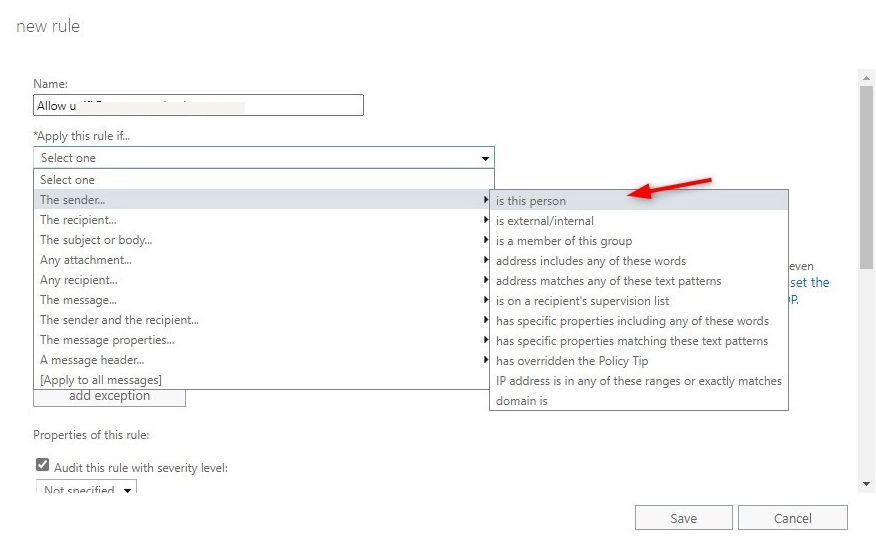
- Select The Sender and click on is this person under the Apply This Rule If drop-down list.
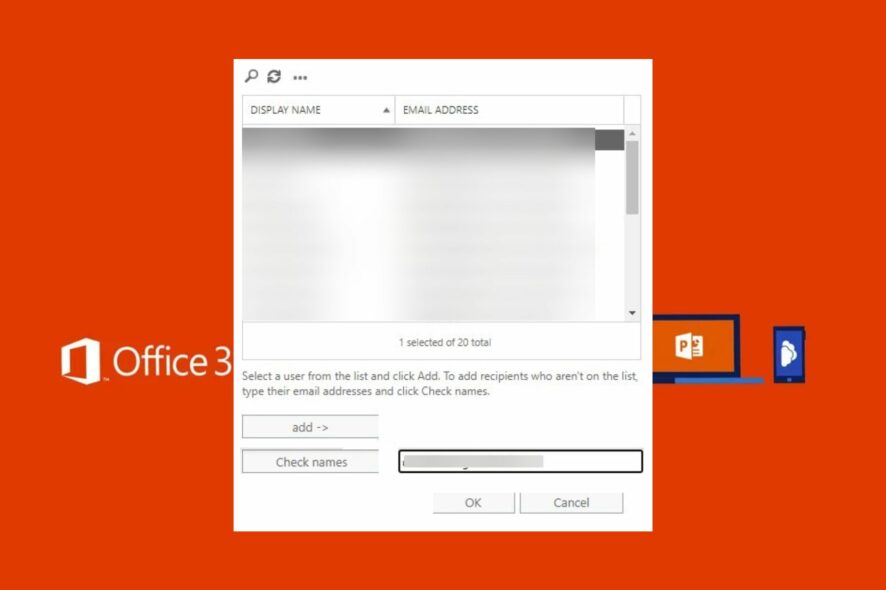
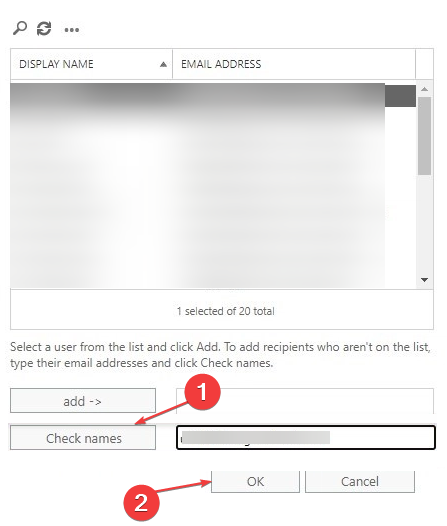
- Then, type in the correct email address, and click on the Check Names button to move the email address to Add Field.
- Click on the OK button and close the window.
- In the Do the Following field, the option of Set the spam confidence level (SCL) to Bypass Spam Filtering should be automatically selected.
- Click the Save button to save and apply your changes.
Whitelisting emails using the Mail Flow rule ensures maximum security. With the Mail Flow rule, all the security check-ins e.g. SDF and DMARC are carried out.
If you want to merge your Outlook inboxes of multiple accounts, you need to create a unified view on Outlook. To know more, read this guide.
2. Use Office 365 Defender
- Press Windows key + S, type in microsoft 365 defender, and hit Enter.
- Then, click on Policies and Rules and select Threat policies.

- Open the Anti-spam policies menu, scroll through the list, and click on Edit allowed and blocked senders and domains.
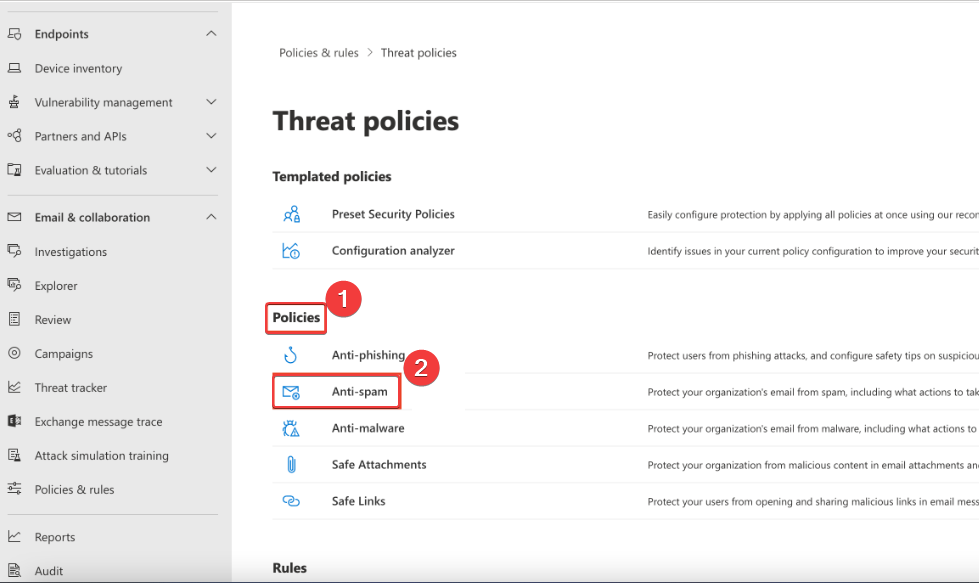
- Under the Allowed tab, click Manage Senders, and select Add Senders to add a new sender to the list.
- Click on Done and click Save to apply your changes.
After making these changes, Emails from the sender are now excluded from the Spam Filter and should automatically be delivered to your main Inbox.
If you want to add a custom priority field in Outlook, check out this quick guide to learn the steps.
How do I add an email to the Safe Senders list Office 365 admin center?
There is a slight difference between whitelisting an email address and adding an email to the Safe Senders list. In Office 365, messages from email addresses in the Safe Senders list are never considered junk mail.
Proceed with this method to add an email address to the Safe Senders list:
- Type in Office 365 in the Windows Search bar and hit Enter.
- On the Home tab, select Junk and click on Junk Email Options.
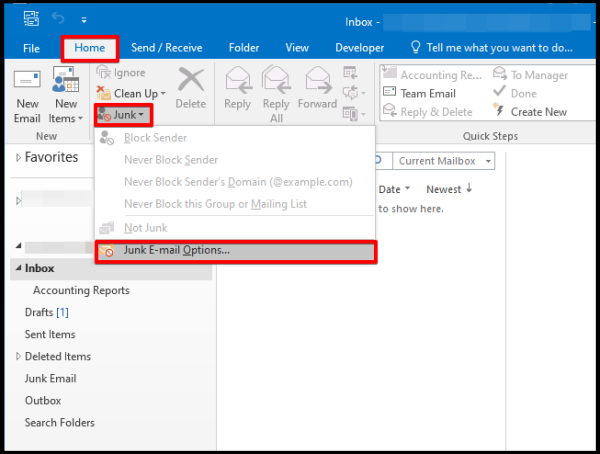
- On the Safe Senders tab, check the option to Automatically add people in e-mail to the Safe Senders List.
- Close Office 365.
Once done, the selected email address should be added to the Safe Sender’s list. At this point, you will receive the mail, no matter the content of the message.
Sometimes, even after adding an email address to the safe sender list, the email content of the message might be blocked. You can resolve this by reading our guide.
Whitelisting an email address in Office 365 is one of the surest ways to ensure the delivery of priority messages to your Inbox and not filtered as Spam.
You can whitelist emails using any of the two techniques we’ve highlighted. However, it’d be better to use the mail flow rule to ensure maximum security.
Read our disclosure page to find out how can you help Windows Report sustain the editorial team. Read more


Improve this guide


User forum
0 messages