Error Applying Hard Drive Changes in Hyper-V [Fix]
Change Hyper-V settings to fix this issue on your PC
3 min. read
Updated on
Read our disclosure page to find out how can you help Windows Report sustain the editorial team. Read more
Key notes
- If Hyper V hangs while applying changes, it's possible that your antivirus is blocking it.
- Adjusting your settings can fix this an all other issues that you have with Hyper-V.
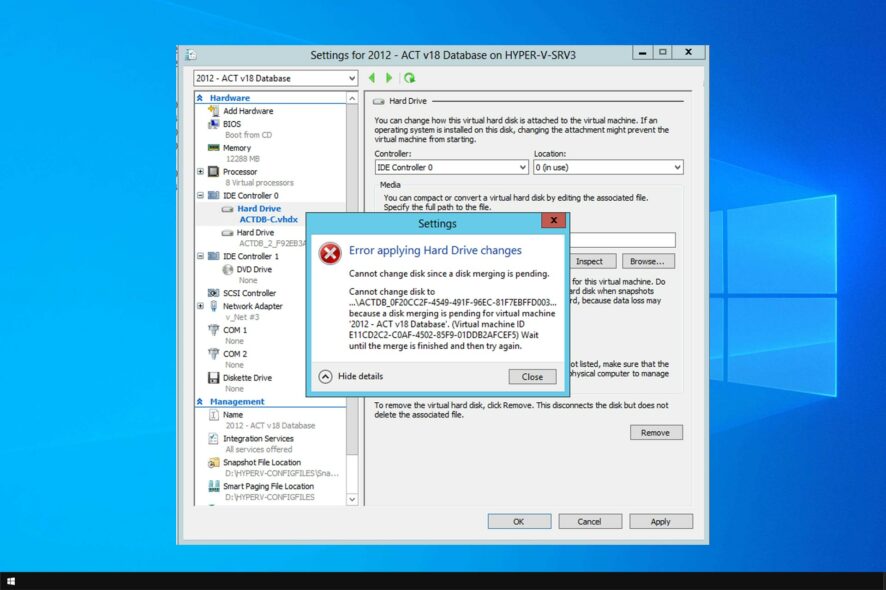
Some users have encountered Error applying hard drive changes while using Hyper-V. This can be an issue and prevent you from using native virtualization on your PC.
In case you’re not familiar with it, we have a great guide on how to enable Hyper-V, so we recommend checking it out.
However, today we’ll focus solely on hard drive issues and Hyper-V, so let’s get started.
Why does Error applying hard drive changes in Hyper-V appear?
- Other virtual machines might be using the same hard drive, thus causing the problem.
- Antivirus or backup software can sometimes interfere with Hyper-V.
- Your hard drive or DVD drive isn’t properly configured in Hyper-V Manager.
How can I fix error applying hard drive changes in Hyper-V?
1. Make sure no other VMs are using the same hard drive
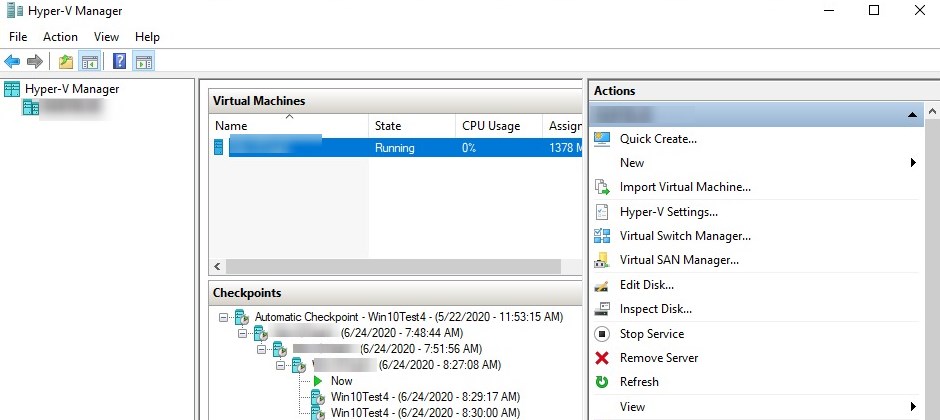
- Open Hyper-V Manager.
- Select the host machine that you want to check the hard-drive of -> right click it -> select Hyper-V Settings.
- In the newly opened window -> check the location of your virtual HDD (click Browse to modify it if needed).
This method applies in the case that you’re using multiple VMs from the same host machine.
Please check the virtual hard drives linked with each of your virtual machines to ensure there’s no conflict between them.
2. Check if any antivirus or backup software is locking the HDD
- Open your backup or antivirus software.
- Check its settings.
- Make sure that it’s not blocking the hard drive.
After doing that, check if the error applying hard drive changes in Hyper-V is gone.
3. Change ISCSI Controller or IDE Controller settings
- Open your Hyper-V Manager.
- Right-click the host machine -> select Hyper-V settings.
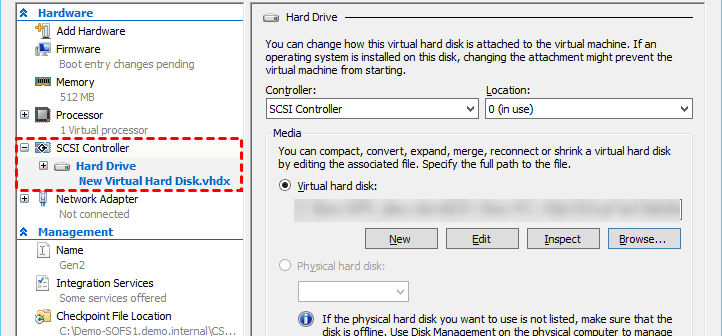
- Under the section SCSI Controller from the right-side menu -> right-click the HDD -> choose Properties.
- Click the drop-down menu under the Controller section -> choose another option (depending on your default setting, the exact options will vary).
4. Remove and re-add DVD drive from Hyper-V VMTo remove:
- Open Hyper-V Manager.
- Click Start -> Administrative Tools -> click Hyper-V Manager.
- Under the virtual machine name, inside the Action panel -> click Settings.
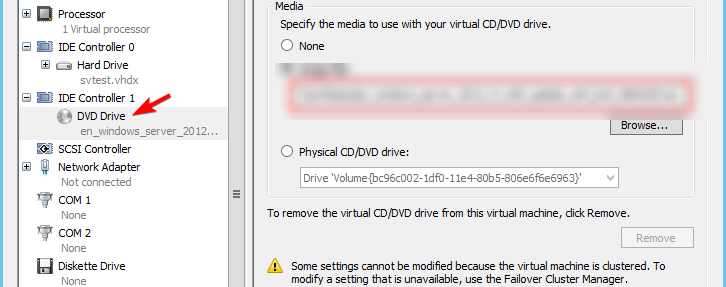
- Select the DVD drive from the left-side panel.
- Click Remove on the DVD Drive window.
- Click Ok.
To re-add:
- Inside your VM settings -> click the SCSI Controller option.
- Select DVD Drive from the options to your right.
- Click Add to complete the process.
In this guide, we explored the best options available to sort the Hyper-V not applying hard-drive changes issue. We hope you found this guide helpful.
This isn’t the only issue you can encounter, and many reported that they can’t install Hyper-V, but we covered that in a separate guide.
Please let us know if this guide was helpful to you by leaving a comment.



User forum
0 messages