How to increase bandwidth on Windows 10/11 [Quick Guide]
![]() 3 min. read
3 min. read
![]() Updated on
Updated on
Share this article
Improve this guide
Read our disclosure page to find out how can you help Windows Report sustain the editorial team. Read more
Key notes
- The automatic update function of Windows can slow down your connection because it can use your PC to provide other users with updates.
- You can temporarily increase the bandwidth by switching off the automatic update feature.
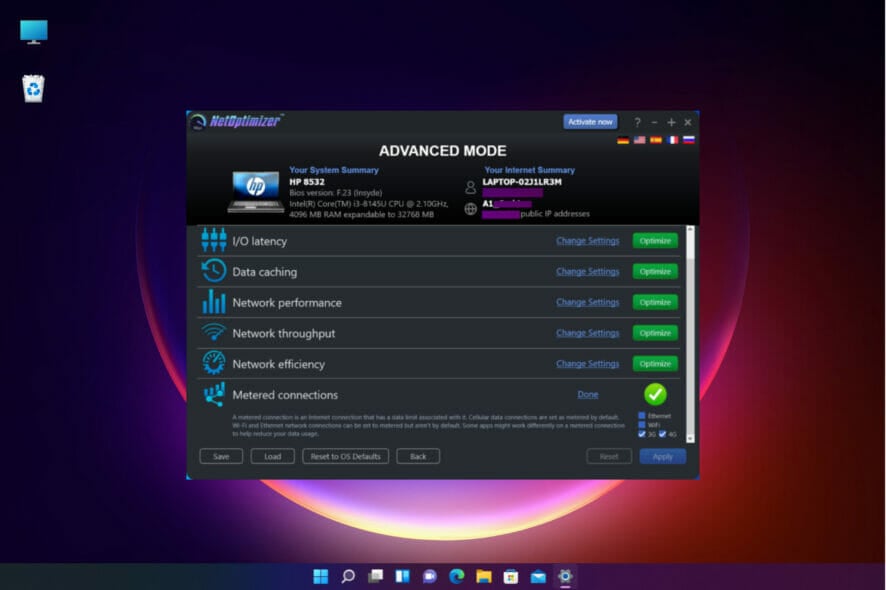
- However, for more efficient results, you may employ the help of a dedicated tool to optimize your connection.
All users have been victims of the slow Internet speed on Windows 10 and 11, and despite troubleshooting the router, the problem failed to be resolved.
Windows 10 used a bit of data across network computers since it used a peer-to-peer system, in order to deliver the updates in a much faster way.
This means that a part of the bandwidth is consummated by the P2P update system. Therefore, in order to increase the Internet speed on Windows 10 and 11, users need to make some changes in the settings.
The following methods will work on Windows 10 Home, Windows 10 Pro, and Windows 11.
How can I increase bandwidth on Windows 10 and 11?
1. Switch off Updates Delivery
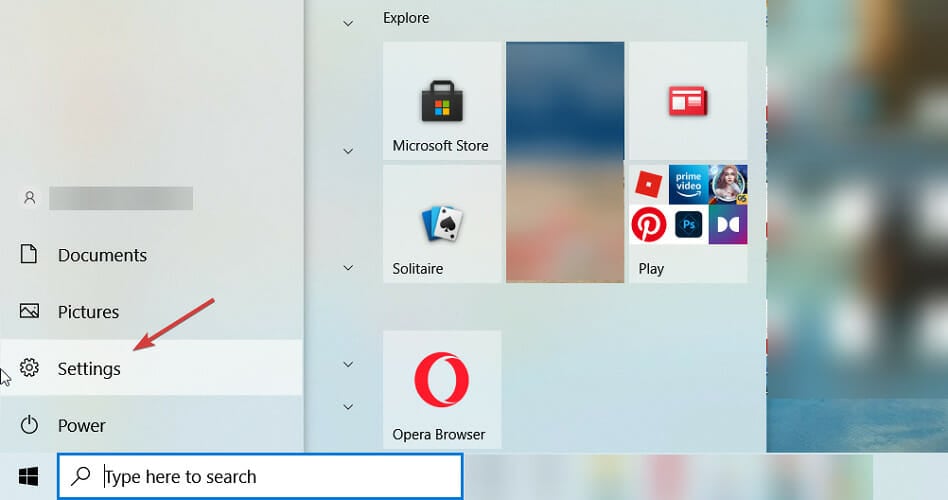
- Click the Start button and select Settings.

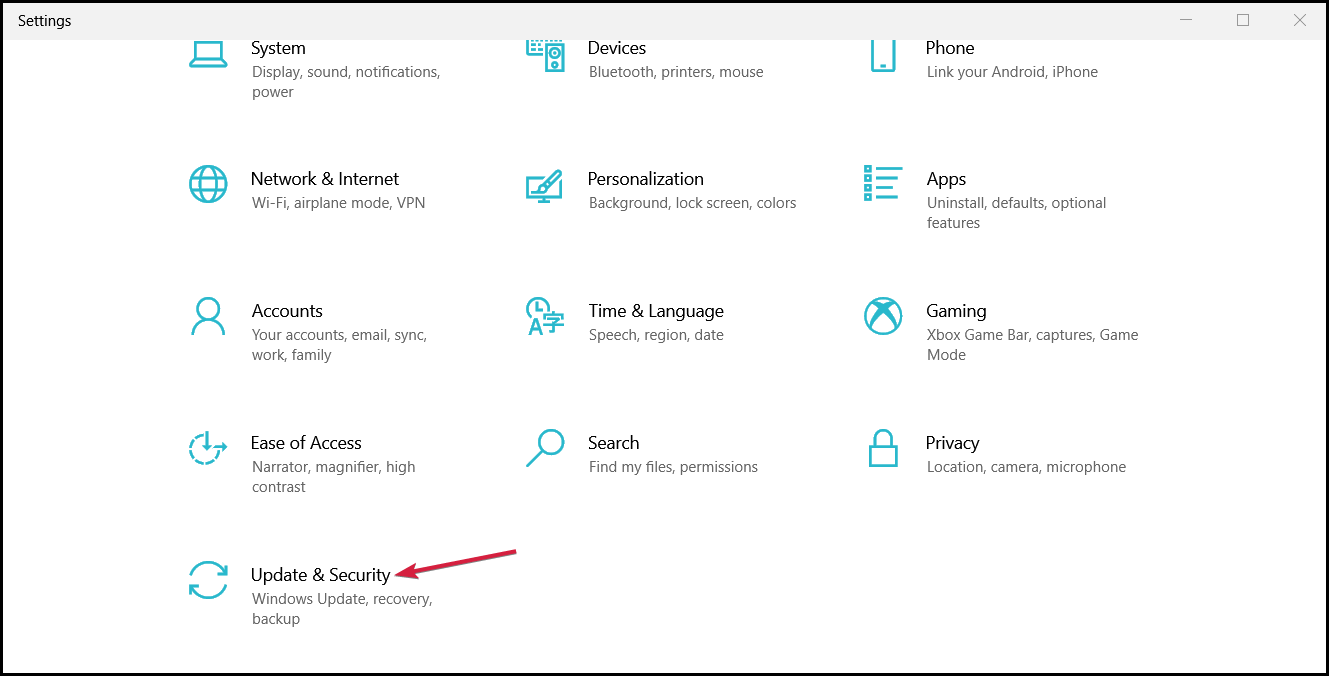
- Go to Update & Security.

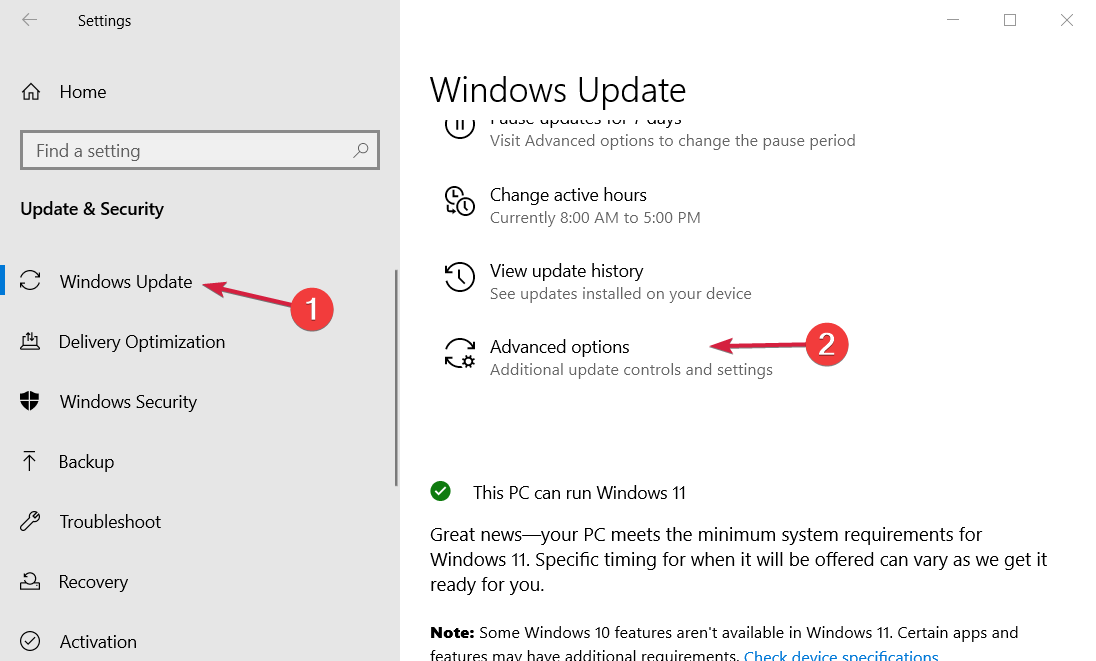
- Select Advanced Options.

- Click on the Select date drop-down menu under the Pause updates section and select a further date of at least a week from the present.

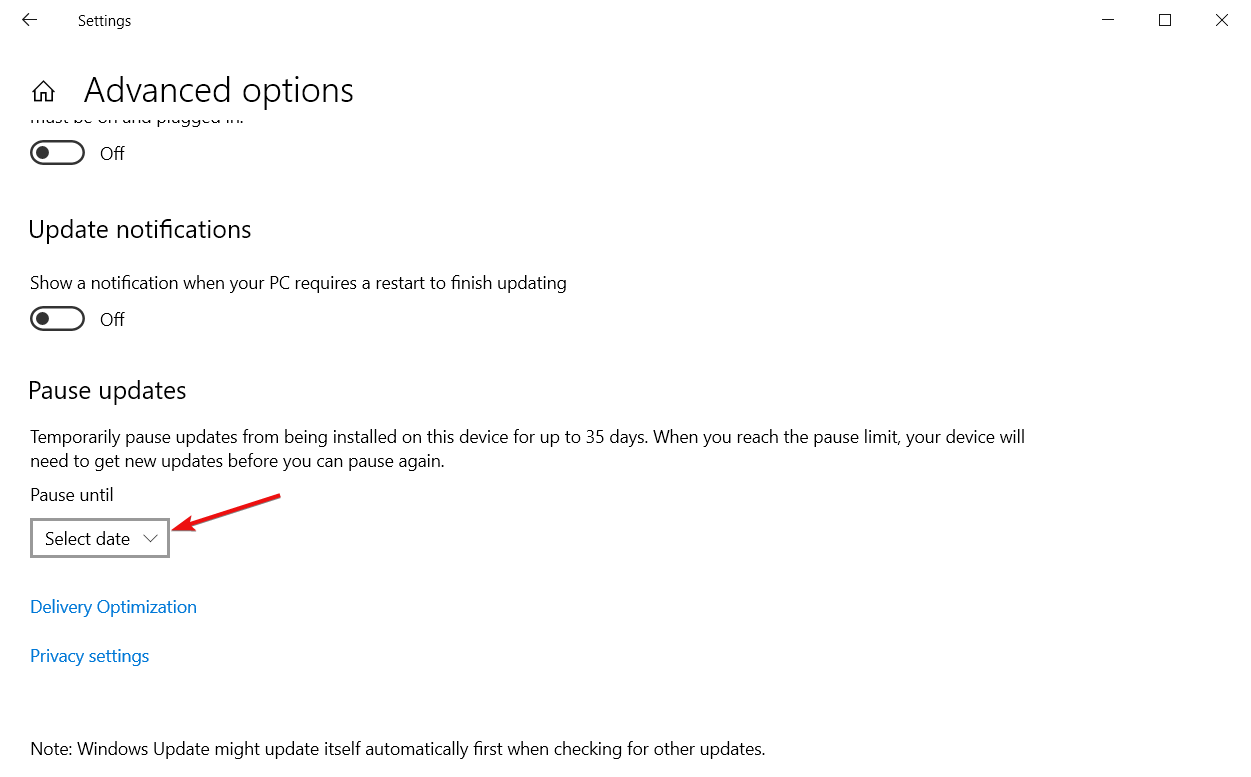
Your laptop will use your bandwidth to deliver Windows 10 as well as Windows 11 updates to other users on the network.
The updates delivery option is switched on by default in all versions of Windows 10 and 11 and by pausing them, you will save some bandwidth.
2. Edit the setting called Limit reservable bandwidth settings
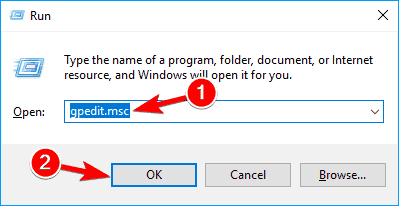
- Press the Windows key + R, type gpedit.msc, and hit Enter or click OK.

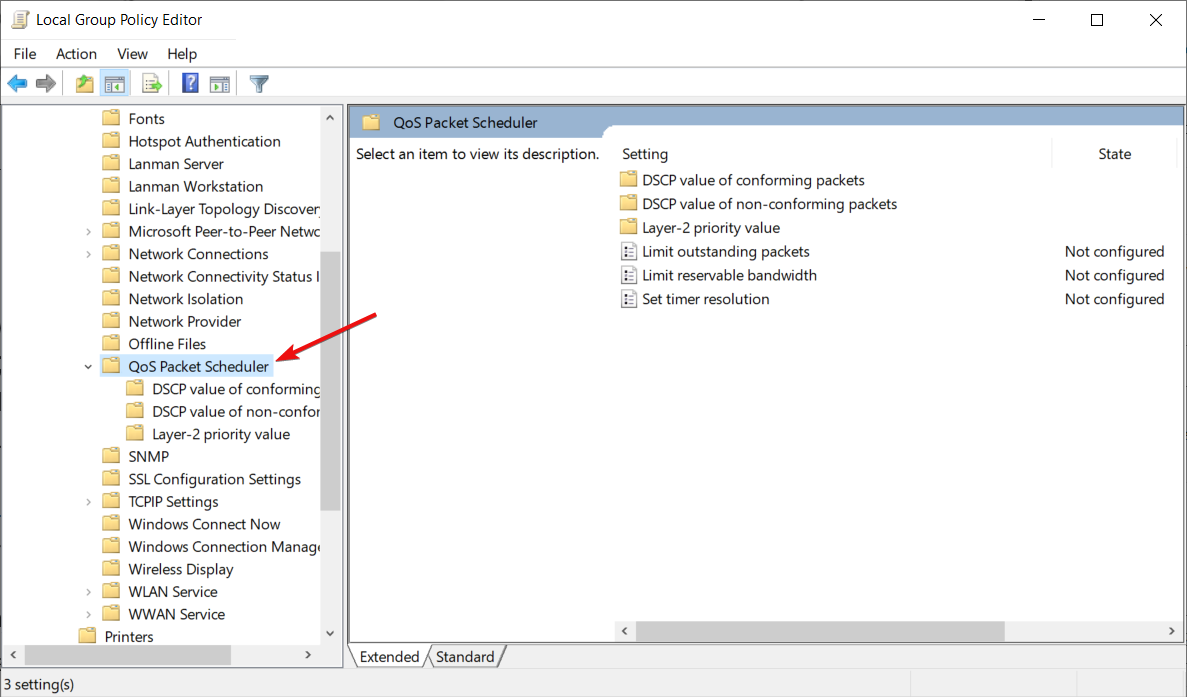
- Head over to the following path:
Computer Configuration\Administrative Templates\Network\QoS Packet Scheduler
- Double-click on Limit reservable bandwidth to open the settings.
- Click on the Enabled button and set the bandwidth to a lower percentage.
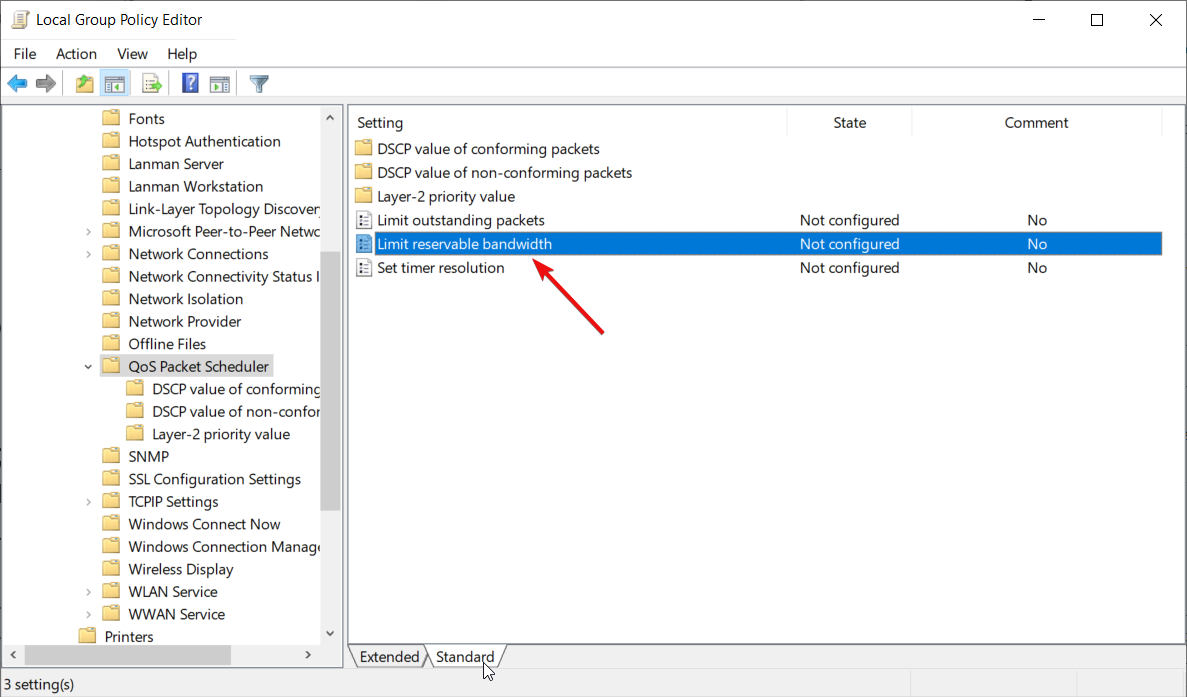
Windows reserve a certain amount of bandwidth for its Quality of Service which includes Windows update and other programs that constantly send feedback.
However, be forewarned that allocating zero bandwidth to the QoS is expected to interfere with the update process and eventually compromise on the safety front.
3. Flush DNS and clear temporary files
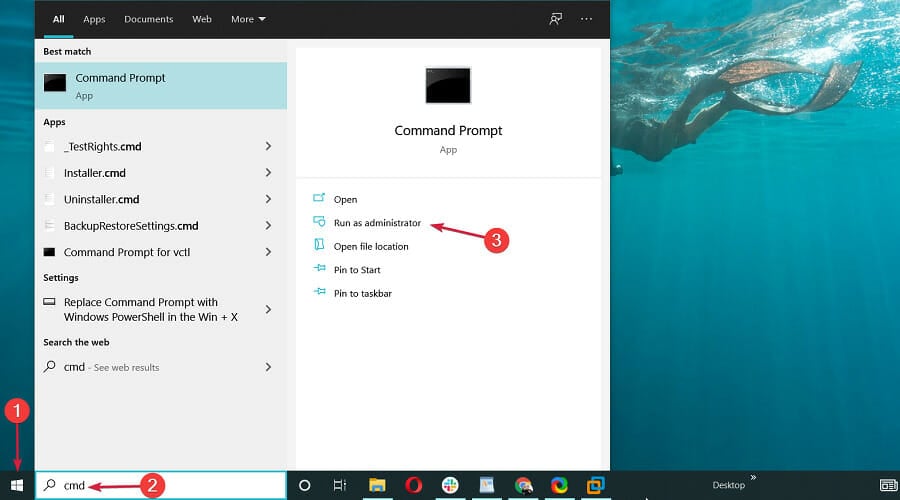
- Click the Start button, type cmd, and select Run as administrator from the results.

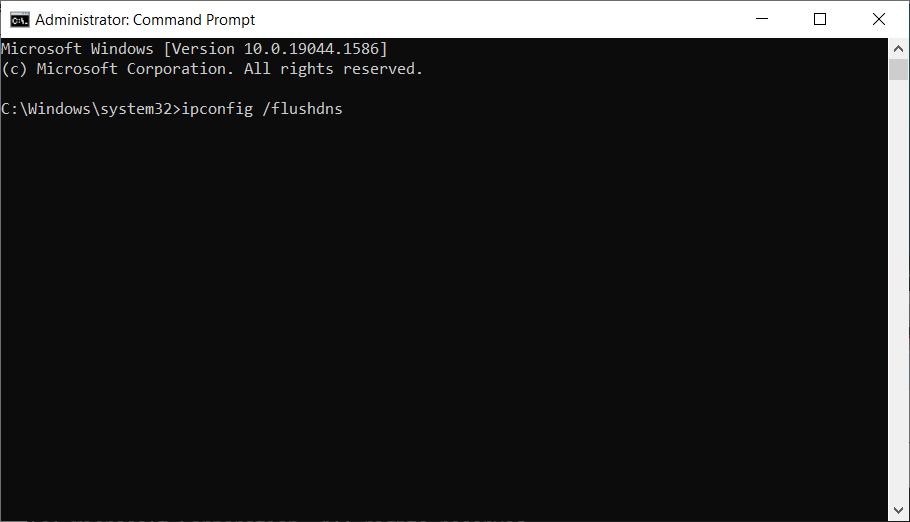
- Type ipconfig /flushdns and press Enter.

- Close Command Prompt and return to the desktop.
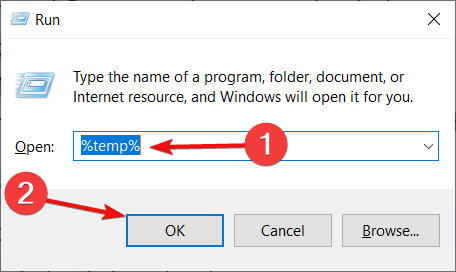
- Press Windows+R and open Run, type %temp%, and press Enter.

- Select all the content and use right-click to delete the temporary files.
Nowadays, the internet comes with a bandwidth cap that limits how much bandwidth you may use in a month. It’s unavoidable, and if you go over the limit, your internet provider may charge you a fee or reduce your speeds to dial-up levels.
If you do not want this to happen to you, you should keep track of your internet usage on your Windows 10 and Windows 11 computers.
A bandwidth monitor is a tool that measures the amount of available bandwidth on a local system.
You can use bandwidth monitors to receive a true view of what bandwidth is available due to the different aspects involved in providing high-speed Internet.
For any more questions or suggestions, don’t hesitate to reach out in the comments section below.


User forum
1 messages