How to Disable the Insert Your Security Key Into the USB Port popup
End the battle against the security key pop-up!

We can all agree that an extra layer of protection is always a welcome option when securing our devices. However, modern methods that require you to insert a physical security key into the USB port may be inconvenient.
As such, you’d rather opt out of the security key business and hop into other ways of securing your account, like verification codes or biometric authentication.
What is Insert your security key into the USB port message on Windows 11?
This is a security measure designed to prevent unauthorized access to your computer. It’s important to know that this message does not mean your computer has been compromised.
However, others see this message eventhough they never created the USB security key. If so, your hardware may not be working properly, or your OS/browser does not support the security key.
How do I get rid of the Insert your security key into the USB port message in Windows 11?
Begin with the following preliminary steps before moving to the somewhat technical solutions:
- Remove all USB devices from your computer then plug in only the necessary ones.
- Reinstall the concerned application throwing the error and restart your PC.
1. Allow your work/school account to sign in automatically
- Hit your Windows key and click on Settings.

- Click on Accounts and select Access work or school.

- In the drop-down menu, select Automatically sign in to sites with your current work or school account.
2. Edit your Microsoft account settings
- Log into your Microsoft account and go to Manage your security info.
- Under Ways to prove who you are, click on the USB security key option to expand, then click Remove.

3. Create a new security key
- Log into your Microsoft account and go to Manage your security info.
- Under Ways to prove who you are, click on the USB security key option to expand, then click Remove.
- Click on Add a new way to sign in and select the Use a security key option.

- Follow the on-screen prompts and create a new security key.
4. Disable your firewall temporarily
- Hit the Start Menu icon, type Windows Security in the search bar, and click Open.

- Click on Firewall & network protection, then select Public network.
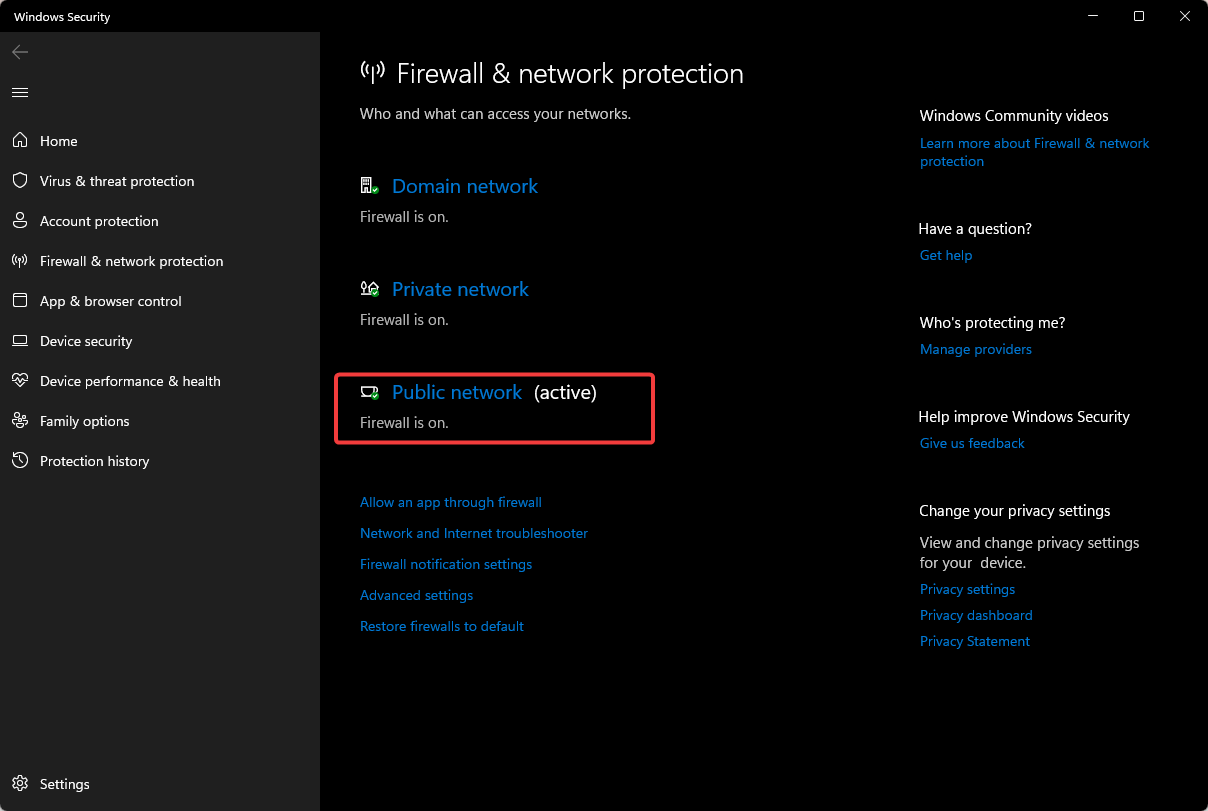
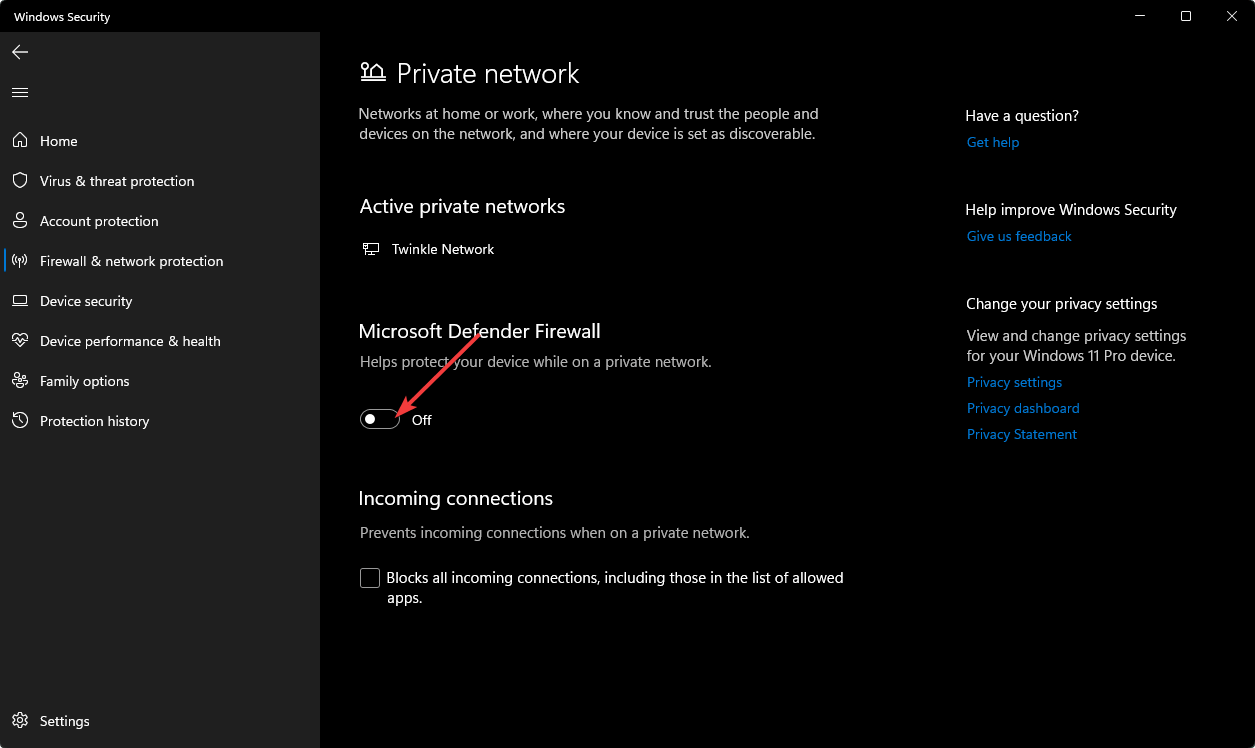
- Locate Microsoft Defender Firewall and toggle the off button.
5. Create a new user profile
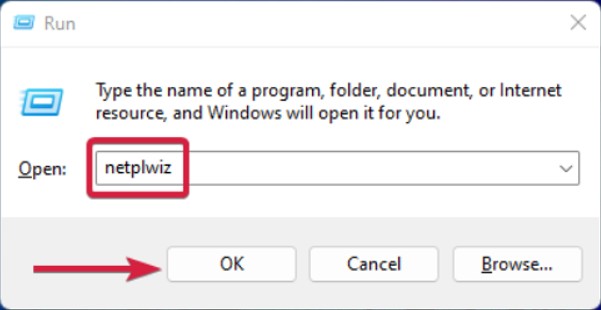
- Press Windows + R to launch the Run console, enter netplwiz in the text field, and click OK.
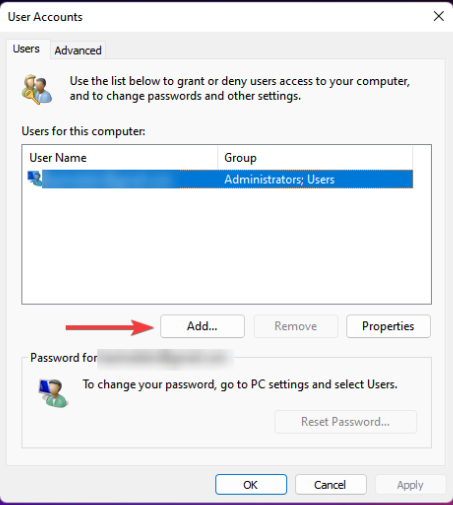
- Click Add in the User Accounts window.
- Select Sign in without a Microsoft account (not recommended).
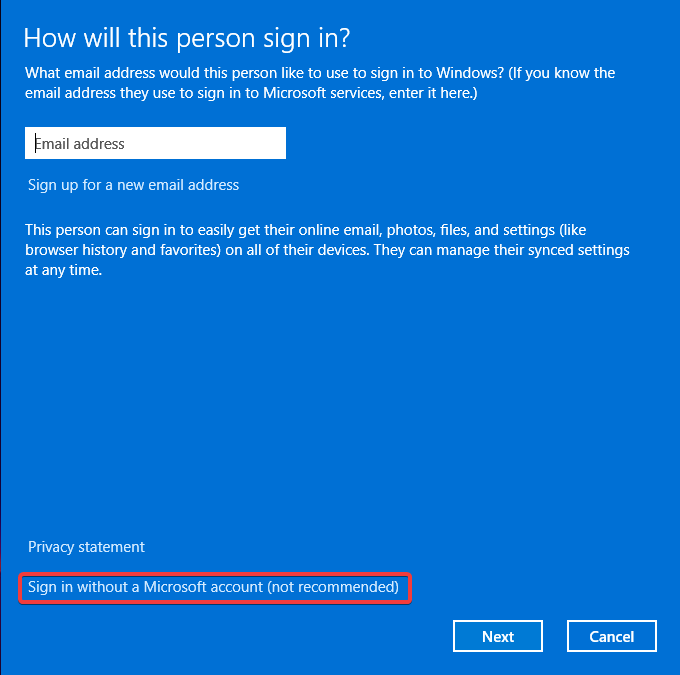
- Click on Local account button.

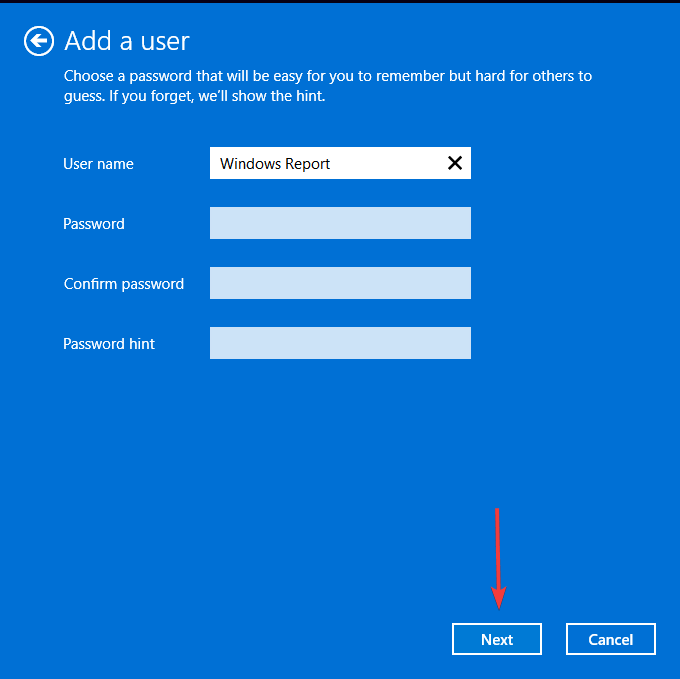
- Enter a username and password (optional) for the new user account, and a hint, in case you set a password. Once done, click on Next.
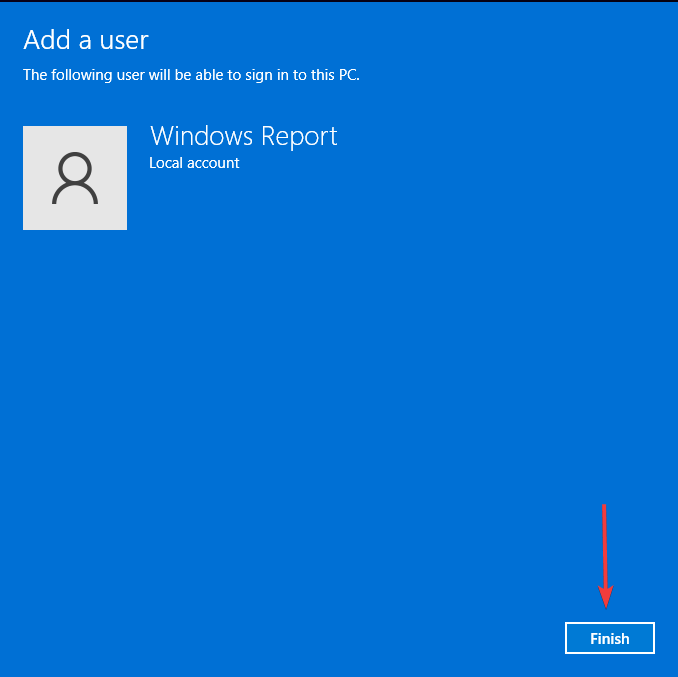
- Click on Finish to create the Local account.
If this option works, you can conclude that your user profile was corrupt and take the necessary steps to repair it. However, if neither of these options works, then you’ll need to perform a clean install of Windows or contact Microsoft support for additional assistance with this problem.
What are some of the different types of authentication steps with a USB Security Key?
- Two-Factor Authentication (2FA) – This security process requires two different forms of identification to verify the identity of a person attempting to access a device or service.
- Verification codes and Backup codes – Verification codes are a series of numbers that your computer generates when you connect your USB Security Key, while Backup codes are another series of numbers that you can use in case you lose your USB Security Key or can’t access your verification code.
- Password & security questions – Your USB Security Key will ask you to enter your password before it can be used, then answer a security question to log into your account.
- Biometric/Voice authentication – This type of authentication requires that you speak into your computer’s microphone or touch the fingerprint sensor on your USB Security Key before being granted access to an account.
When you create a security key and insert the USB drive, it will not automatically unlock the contents of whatever application you want to open. Otherwise, anyone with access could easily get a hold of your account.
The above authentication steps act as an additional layer of security to prove you’re the true owner before access is granted. As always, we recommend that you follow the best security practices when disabling system components. And remember that all of this is done at your own risk.
Always back up your computer before making changes, and follow your vendor’s guidelines for the best removal process. Elsewhere, you may encounter an issue where your network security key is not working, so feel free to check out our detailed article for quick fixes.
To learn more about security features, don’t miss our guide on the Windows Security button and how to use it.
Do you have an additional solution missing from our list but worked for you? We’d love to hear about it so leave us a comment down below.
Read our disclosure page to find out how can you help Windows Report sustain the editorial team. Read more


Improve this guide


User forum
0 messages