9 Ways to Fix IPv6 No Internet Access
Reset Winsock to fix the issue
![]() 6 min. read
6 min. read
![]() Updated on
Updated on
Share this article

Improve this guide
Read our disclosure page to find out how can you help Windows Report sustain the editorial team Read more
Key notes
- The IPv6 no internet access issue occurs if your device is misconfigured, network drivers are outdated or incorrect HT mode.
- To fix it, you need to update the network driver, disable the firewall, modify HT mode or release & renew IP configuration.

If you encountered the IPv6 connectivity no internet access error while trying to connect to a network on your Windows 10 or 11 computer, then this guide can help!
We will explore the potential causes of the issue and discuss the expert-recommended solutions to fix the issue & regain internet connectivity.
Why does my IPv6 say no Internet access?
There could be various reasons for this network error; some of the common ones are mentioned here:
- Misconfigured network settings – The network settings, if not configured properly, could cause this network error. Try renewing or releasing the IP configuration or disabling IPv6.
- HT mode settings – Incorrect HT mode settings could be the reason for the no-network access error. Check the settings and ensure everything is in place.
- Outdated drivers – If the network drivers are old or corrupted, you might have to face all kinds of issues, including this one. Try updating network drivers.
- Firewall interference – Something firewall settings set could restrict the network access causing all types of problems. Try disabling the antivirus and turning off the firewall temporarily.
Now that you know the causes of the issue, let us move on to the troubleshooting solutions.
Do I need IPv6 Internet access?
IPv6, the sixth version of Internet Protocol, was introduced in 1998 and was eventually supposed to replace IPv4.
It is longer than an IPv4 address, meaning it allows you to create more unique addresses, and IPv6 uses a 128-bit address & capable of providing 340 undecillion IP addresses.
Most websites and search engines still support IPv4, but some support IPv6 as well; therefore disabling the latter would not be a great option.
Additionally, disabling it could cause issues if your router is using an IPv6 address. That’s why there is no harm in keeping both of them enabled.
How do I Fix IPv6 no Internet access?
Before engaging in advanced troubleshooting steps, you should consider performing the following checks:
- Restart your computer.
- Reboot your router and modem.
- Ensure your Windows is up to date.
- Try switching to a wireless network.
- Upgrade your router firmware, if available.
- Turn off real-time protection on your third-party antivirus (if applicable).
- Disable VPN if enabled.
- Contact your Internet Service Providers.
- Uninstall the newly installed software, which could be causing the issue.
If these don’t work for you, check out the detailed methods mentioned below.
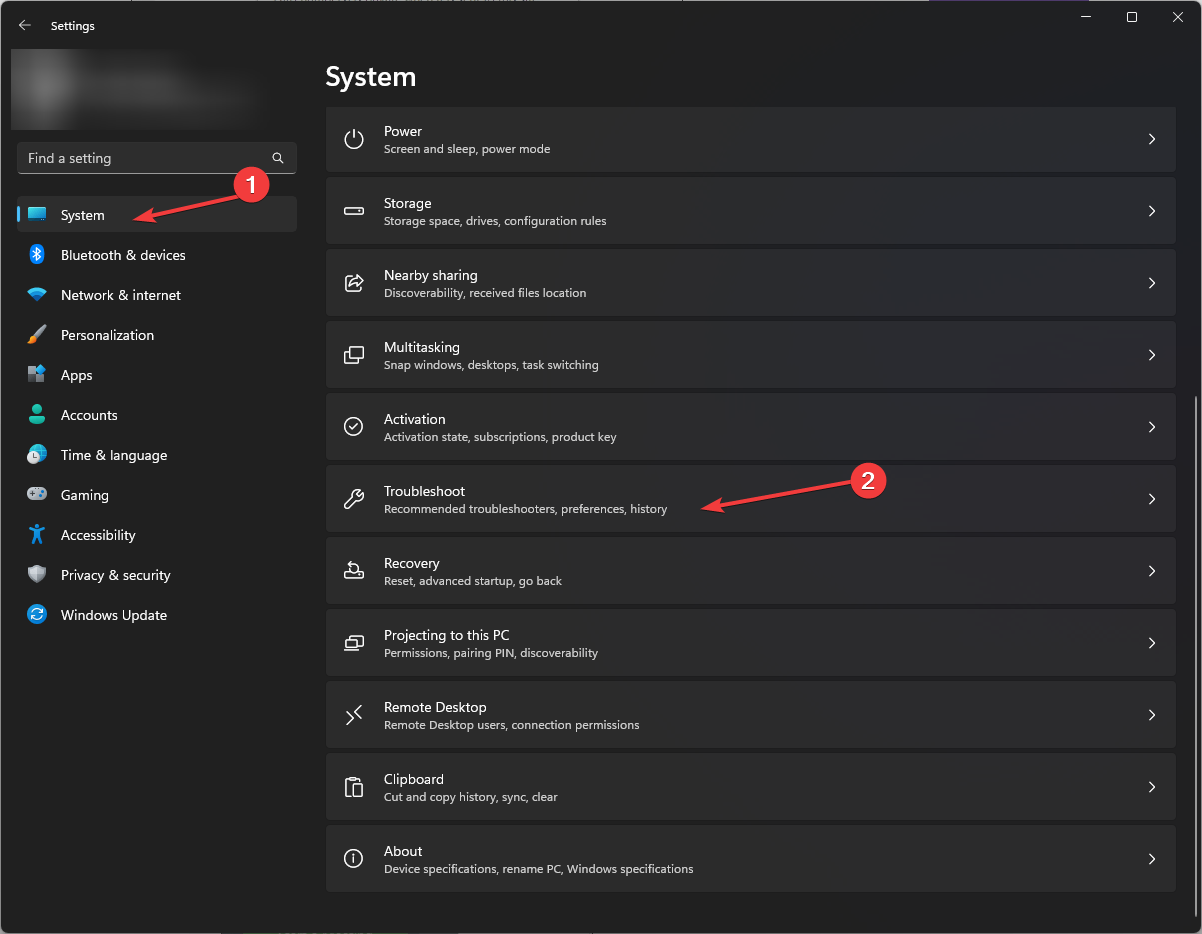
1. Run the network troubleshooter
- Press Windows + I to open the Settings app.
- Go to System, then click Troubleshoot.

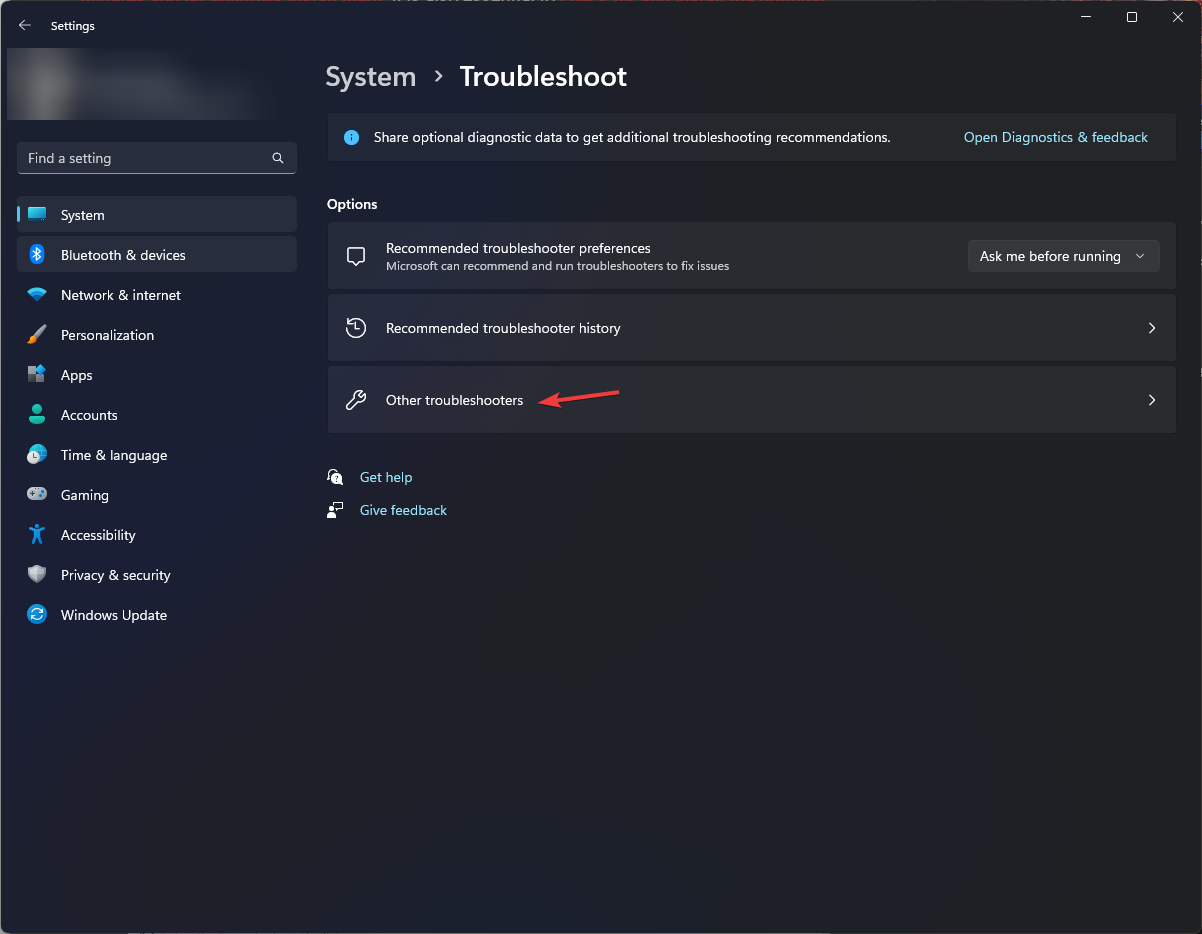
- Select Other troubleshooters.
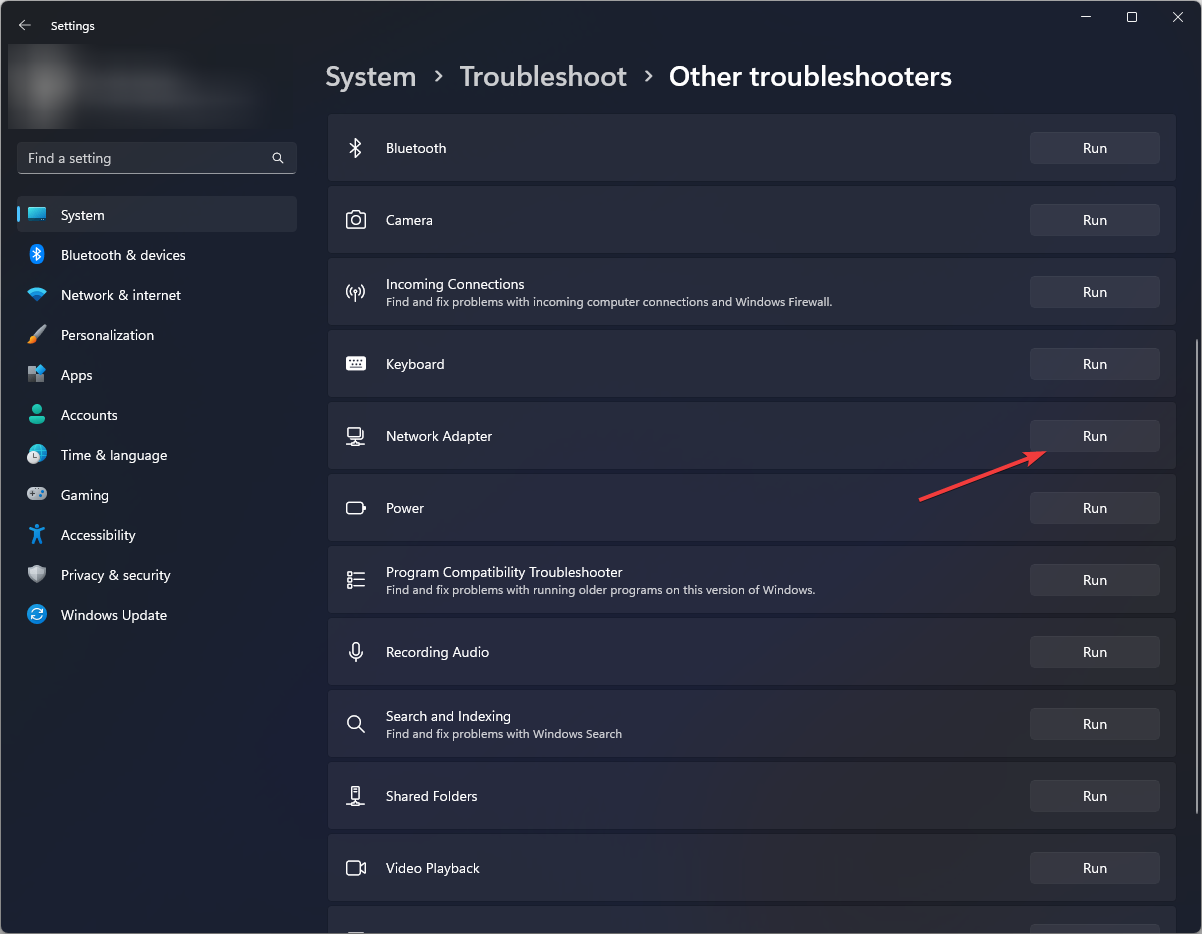
- Locate Network connections and click Run.
- Follow the on-screen instructions to fix the issue.
2. Release & renew the IP
- Press the Windows key, type cmd in the search box and click Run as administrator.

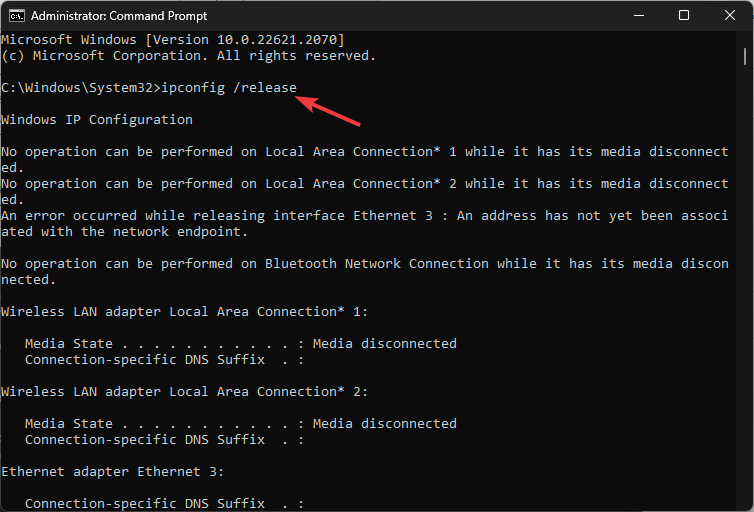
- On the Command Prompt window, type the following command to release your current IP address and hit Enter:
ipconfig / release
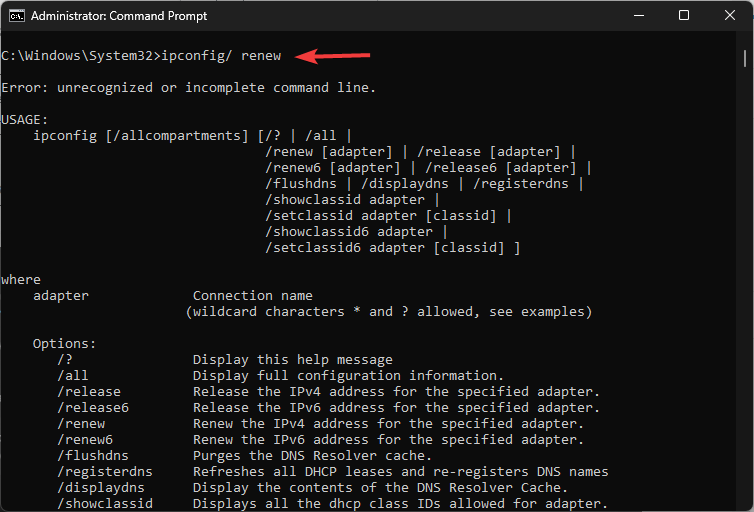
- Once the command is executed, copy & paste the following command to get a new IP address and press Enter:
ipconfig / renew
- Next, type this command to close the Command Prompt window and hit Enter:
exit

Now check if the IPv6 connection can be established.
3. Reinstall network drivers
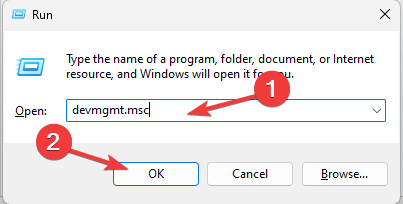
- Press Windows + R to open the Run dialog box.

- To open Device Manager, type the following command and hit OK:
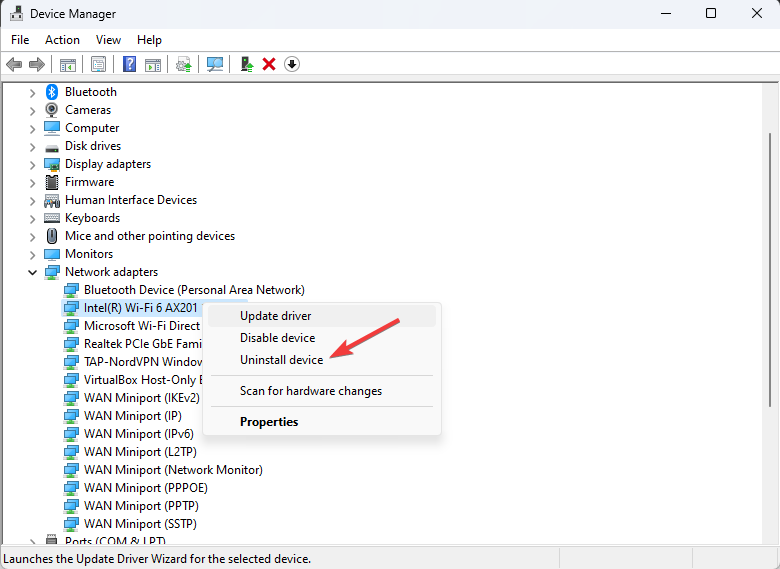
devmgmt.msc - Go to Network adapters, click it to expand, and locate the one causing the problem.
- Right-click it and select Uninstall driver.

- Once complete, go to Action, then select Scan for hardware changes.

- Now the driver software will be reinstalled; restart your PC and check if the issue persists.

- Download and install Outbyte Driver Updater.
- Launch the software.
- Wait for the app to detect all faulty drivers.

- Now, it will show you all the malfunctioning drivers listed to select the ones to Update or Ignore.
- Click on Update & Apply Selected to download and install the newest versions.
- Restart your PC to ensure the applied changes.


Outbyte Driver Updater
Secure your Windows PC with Outbyte from various errors caused by problematic drivers.4. Reset Winsock
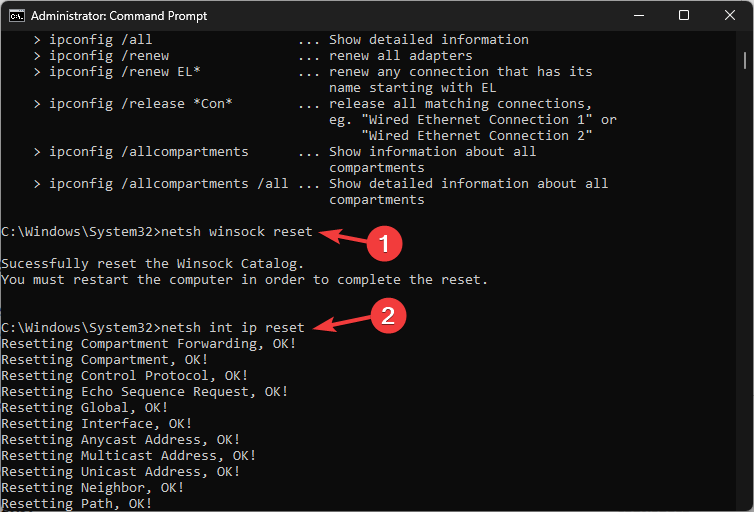
- Press the Windows key, type cmd and click Run as administrator.
- Copy & paste the following command to reset Winsock and hit Enter:
netsh winsock reset - Next, type the following command and press Enter:
netsh int ip reset
- Close the Command Prompt window.
5. Disable IPv6
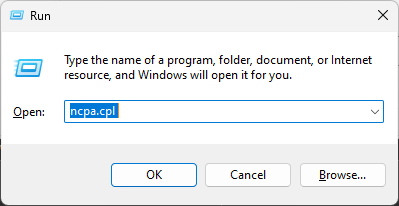
- Press Windows +R to open the Run window.

- Type the following command to open the Network Connections window and click OK:
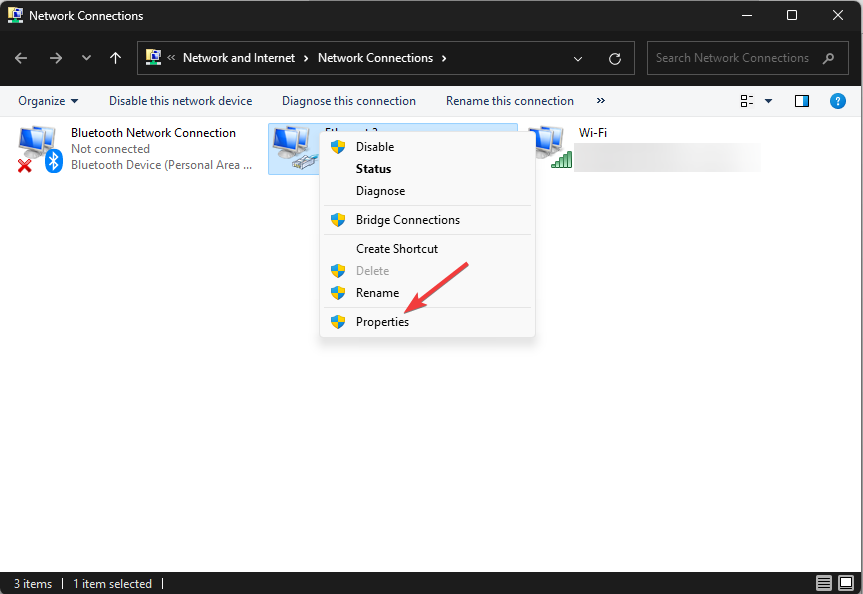
ncpa.cpl - Locate, right-click the connection and choose Properties.

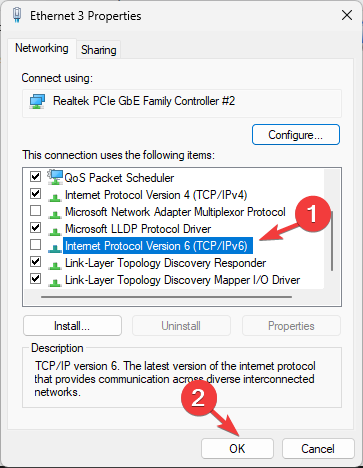
- Switch to the Network tab, navigate to Internet Protocol Version 6 (TCP / IPv6), then remove the checkmark next to it.

- Click OK to save the changes.
- Reboot your computer to let the changes take effect.
6. Modify the HT mode
- Press Windows + R to open the Run window.
- Type ncpa.cpl and click OK to open Network Connections.
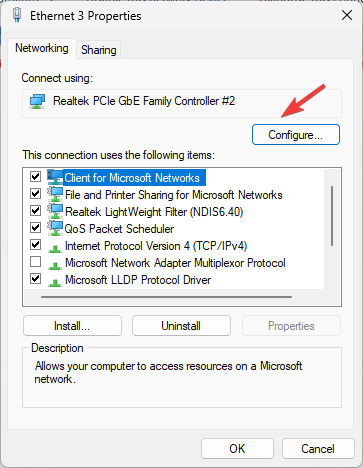
- Locate the active network adapter, and right-click it to open Properties.

- On the next window, click Configure.
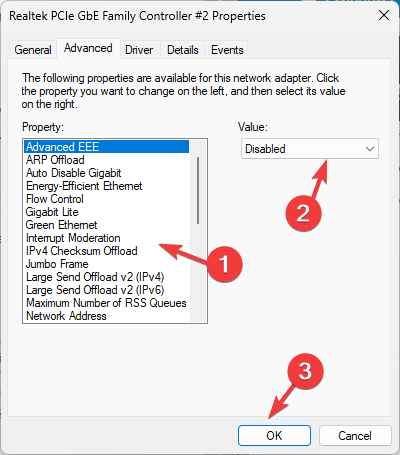
- Switch to the Advanced tab, select the HT Mode option, then from the drop-down, choose Enabled, then click OK.

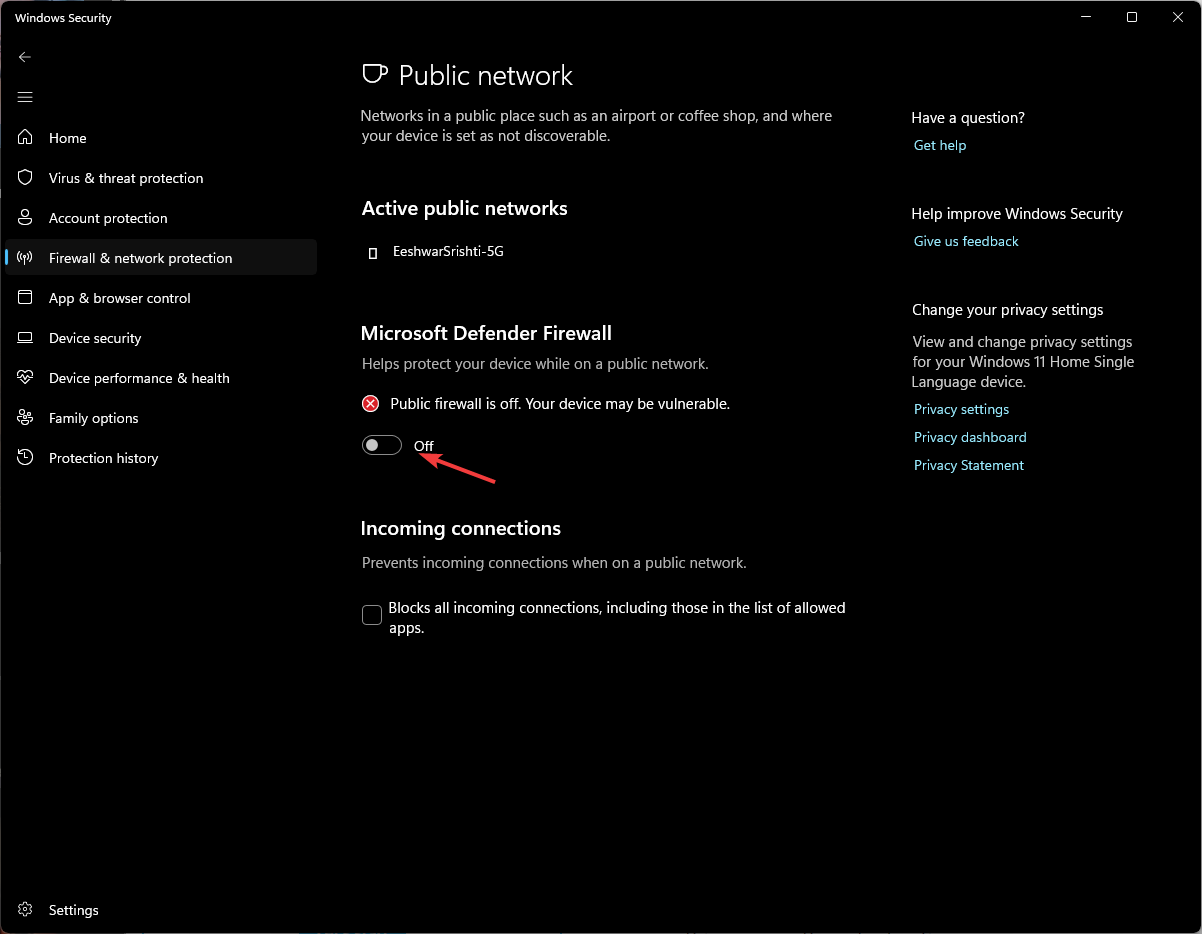
7. Disable Firewall
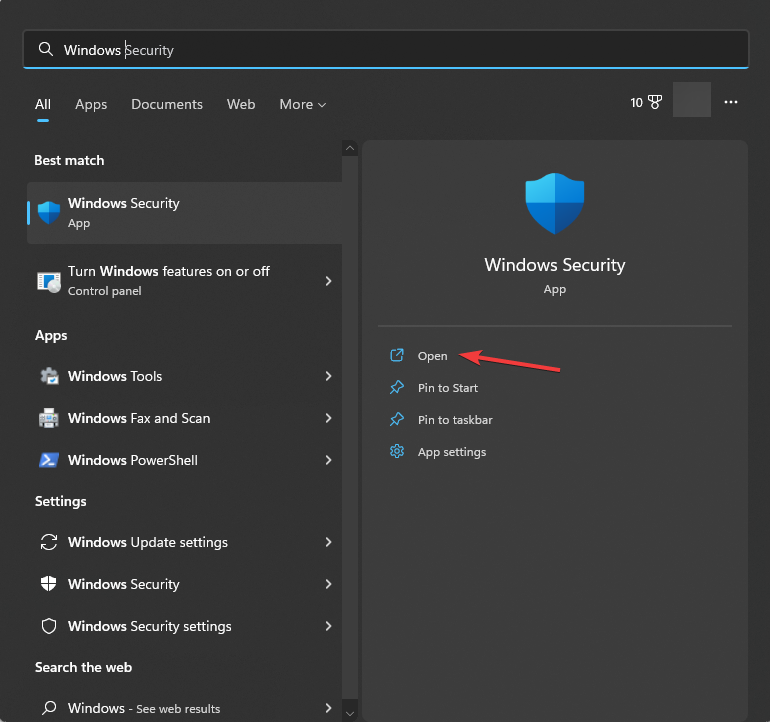
- Press the Windows key, type windows security and click Open.

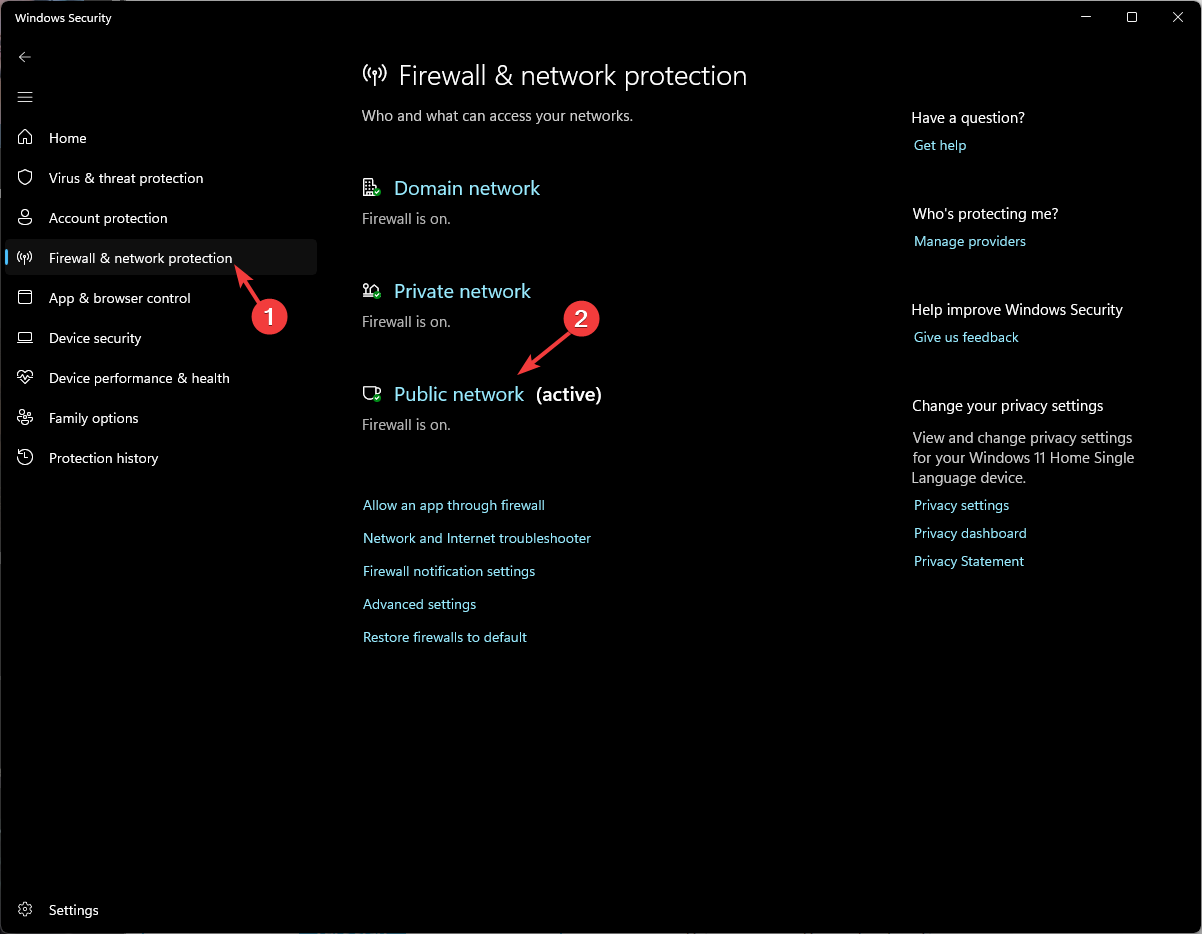
- Locate and click Firewall and network protection from the left menu and choose a network profile, such as Domain network, Private network or Public network.

- Locate Microsoft Defender Firewall and toggle off the switch to disable it.

- Perform this for all network profiles one by one and check it resolves the issue.
Close the Windows Security window, and check if the IPv6 connection can be established.
8. Set DNS and IP addresses to obtain automatically
- Press Windows + R to open the Run dialog box.
- Type ncpa.cpl and click OK to open Network Connections.
- Locate the active connection, and right-click it to open Properties.
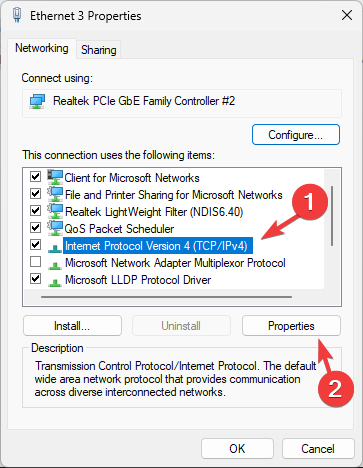
- Scroll down to the Internet Protocol Version 4 (TCP / IPv4) option, select it and click Properties.
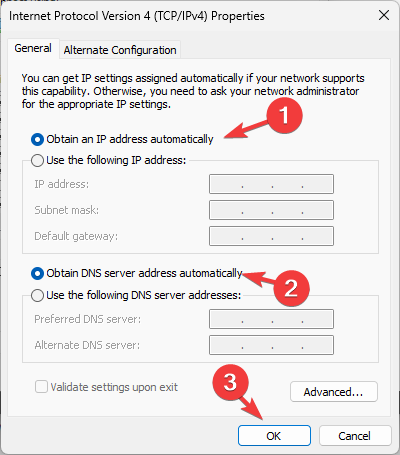
- On the Internet Protocol Version 4 (TCP / IPv4) properties window, ensure Obtain an IP address automatically & Obtain DNS server address automatically are selected.
- Click OK, then Close.
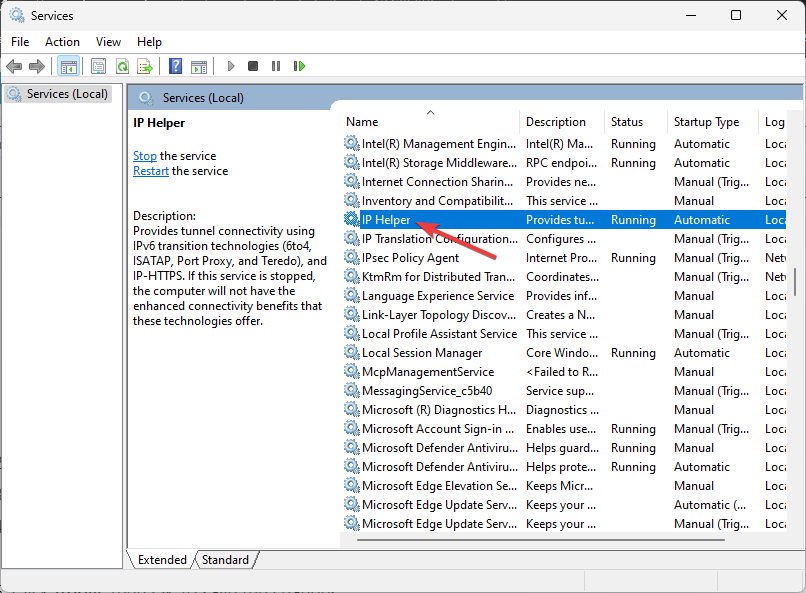
9. Disable the IP Helper service
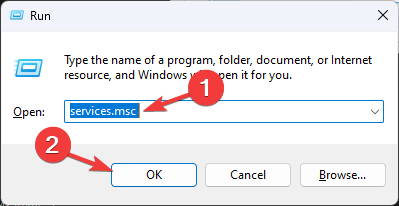
- Press Windows + R to open the Run window.
- Type services.msc and click OK to open Services.
- Locate IPHelper and double-click it.

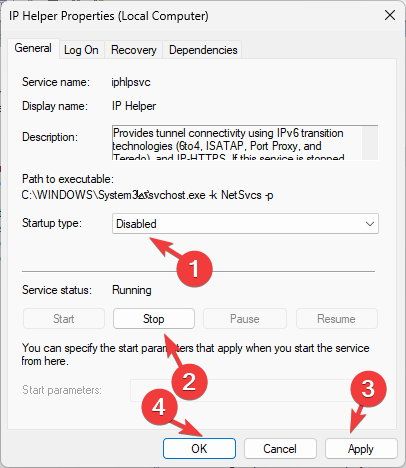
- Next, for the Startup type, select Disabled from the drop-down menu; under Service status, click Stop.

- Click Apply, then OK to save the changes.
So, these are the methods that you can use to fix the IPv6 no Internet access problem and regain
If you are facing issues like IPv4 not connecting to the internet, check out this quick guide to find quick and easy solutions.
Please feel free to give us any information, tips, and your experience with the subject in the comments section below.