KB5018410 is Not Installing: 5 Simple Ways to Fix It
Tested and trusted solutions to try if KB5018410 is not installing
![]() 5 min. read
5 min. read
![]() Updated on
Updated on
Share this article

Improve this guide
Read our disclosure page to find out how can you help Windows Report sustain the editorial team Read more
Key notes
- If the cumulative update for Windows 10 version 21H2 is not installing, run Microsoft’s troubleshooter to diagnose the issue.
- You can also consider rolling back to a previous Windows 10 instance if the update won't load.
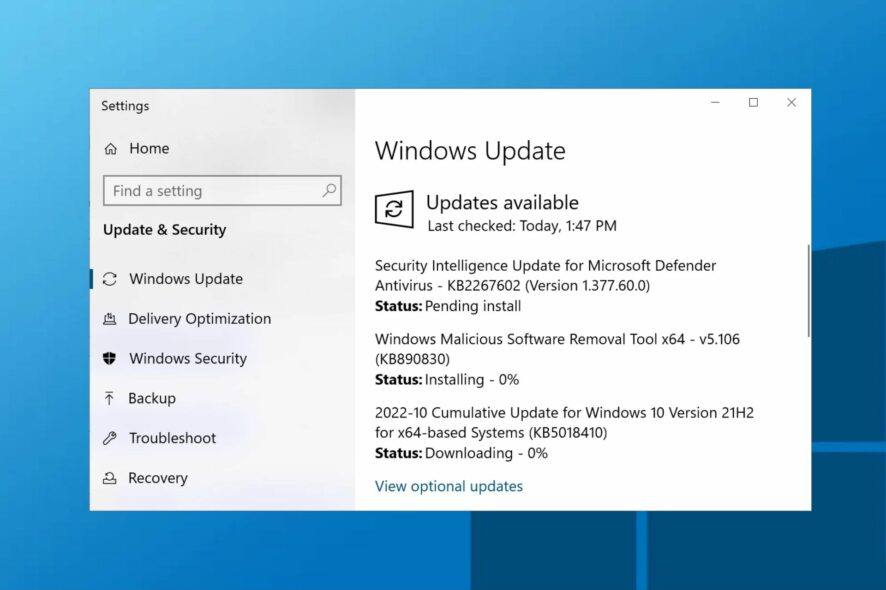
Several of our readers claim they have been trying to install the 2022-10 Cumulative Update for Windows 10 Version 21H2 for x64-based systems KB5018410 without success.
Since KB5018410 not installing is giving a lot of our readers headaches, we have prepared some fixes for this error.
Why are Windows 10 cumulative updates not installing?
There can be several reasons why cumulative update for Windows 10 version 21H2 is not installing. Below are some factors that can hinder the updates:
- Poor internet connection – This is one of the primary reasons for these errors. You should ensure that you are correctly connected to the internet.
- Insufficient space – If your hard disk does not have sufficient space, you will likely experience this Windows update error due to insufficient space.
- The updates won’t install after a restart – The update may get stuck after trying to perform a restart. Hence, the cumulative update for Windows 10 version 21h2 is stuck.
- Issues with the updates services – It is possible that one of the core Windows update services is not running at all.
- Incorrect date and time – If your device is not set to the appropriate date and time, it could hinder the updates.
Irrespective of the causes, let’s explore the possible solutions below.
What can I do if KB5018410 is not installing?
Before engaging in any troubleshooting or settings tweaks, you should perform the following preparatory checks:
- Disconnect VPNs if you have any on your PC.
- Disable security software such as third-party antiviruses before installing the 2022-10 Cumulative updates.
- Ensure you have sufficient hard disk space before installing the update.
- Remove all external storage media, such as USB drives and SD cards, so it does not affect the installation process.
Having confirmed the above checks and that the issue is persistent, you can try any of the fixes below.
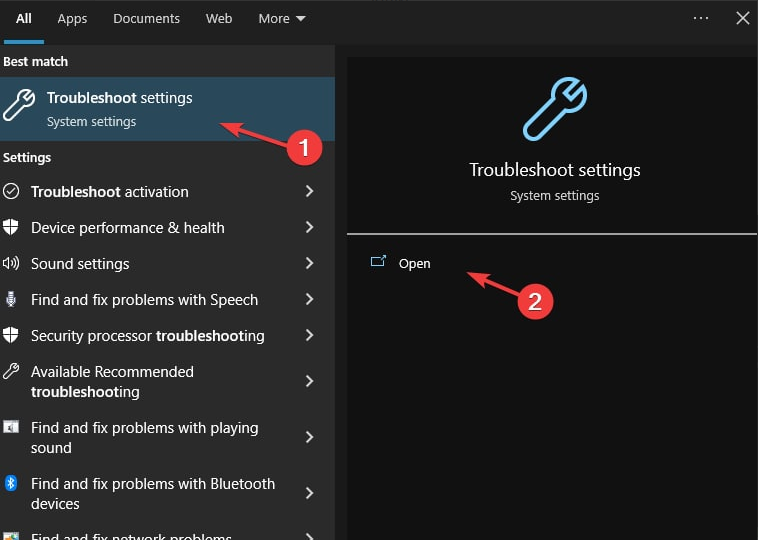
1. Run the Windows update troubleshooter
- Left-click the Start button, type troubleshoot, and select Troubleshoot settings from the results.

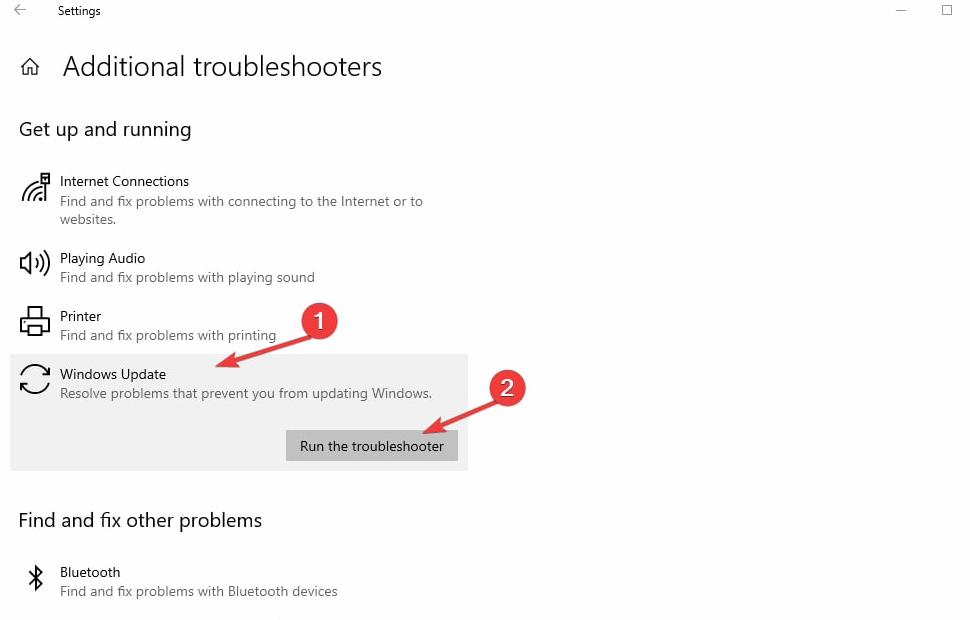
- Then, click Additional troubleshooters.

- Select Windows Update and click on Run the troubleshooter.

- After the diagnosis, fix the issue and restart your PC.


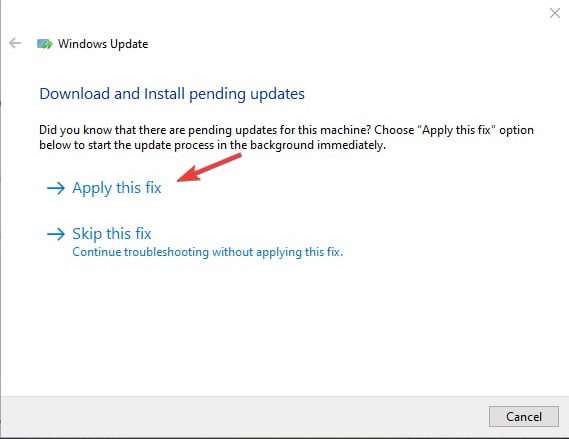
Whether this fixes your PC or not, using the Windows Update troubleshooter in Windows 10/11 is an excellent means to get helpful information regarding your computer.
2. Roll back and uninstall a bad update with System Restore
- Open the Start menu, and click on Settings above the Power button.
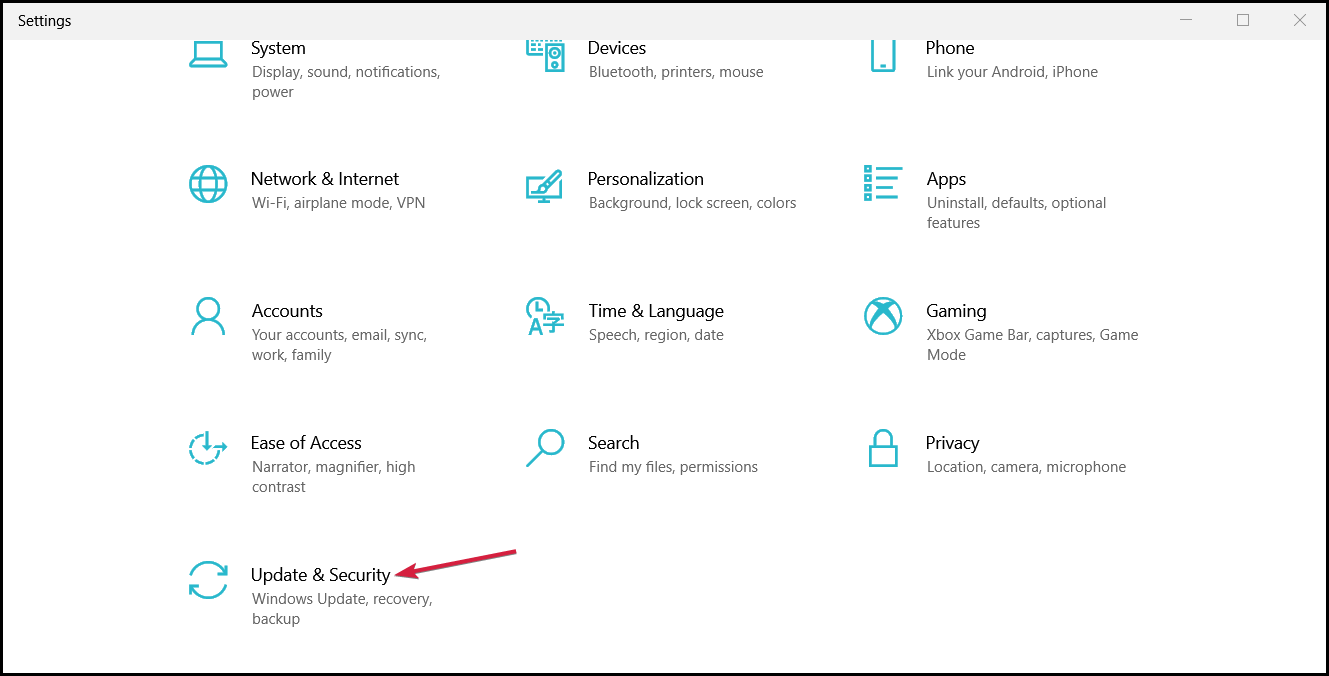
- Next, click on Update & Security.

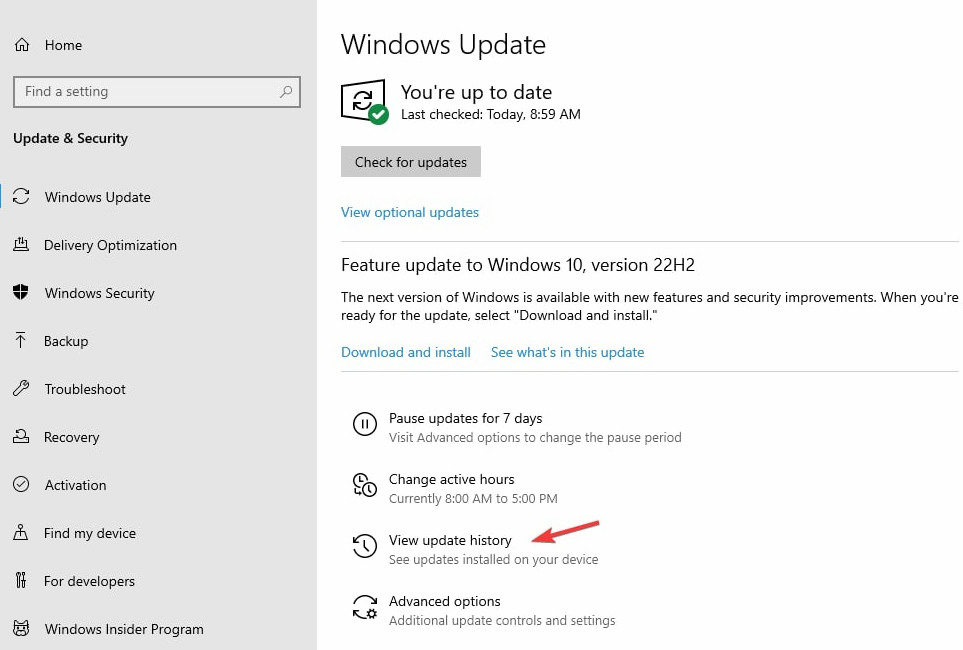
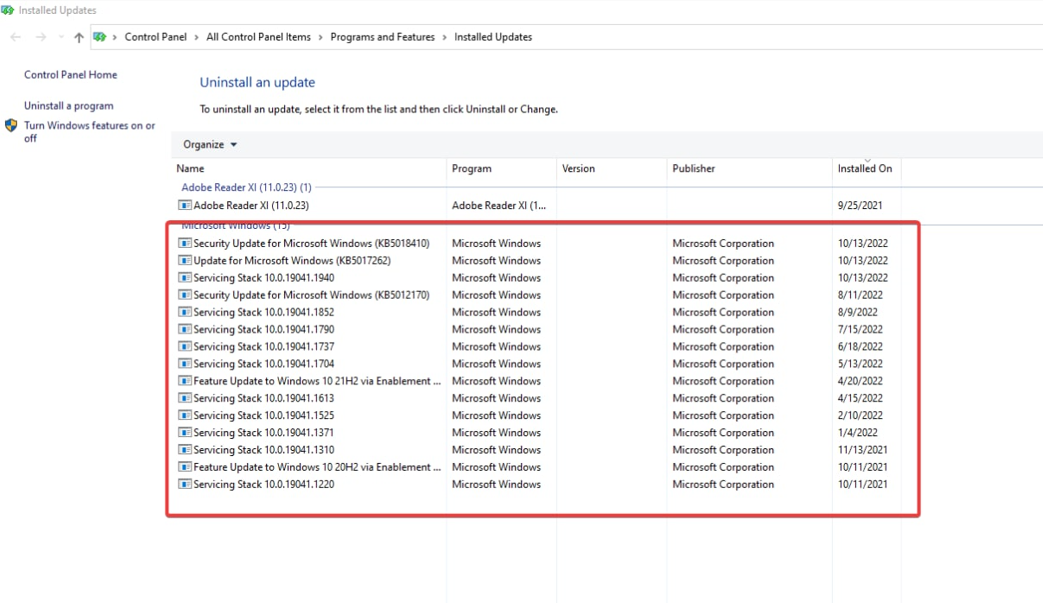
- In the new window, select View update history to check the last successful update installed on your Windows.

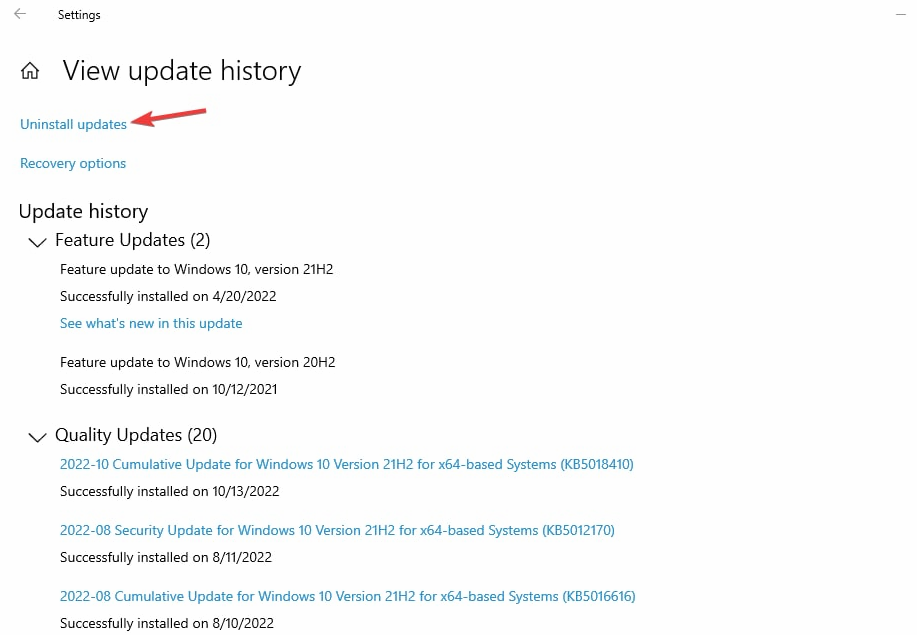
- Next, click on Uninstall updates at the top.

- You can decide to uninstall any of these but do so with caution so as not to uninstall critical updates, which may lead to a computer full of bugs.

- Once you are done, restart your PC.

After completing the system restore, your PC should work correctly.
The above fix means you have created a restore point to which you now want to revert. If you can’t find the restore point, you may need to create another manually.
3. Change your DNS server
- Press the Windows key, search for control panel, and launch it.
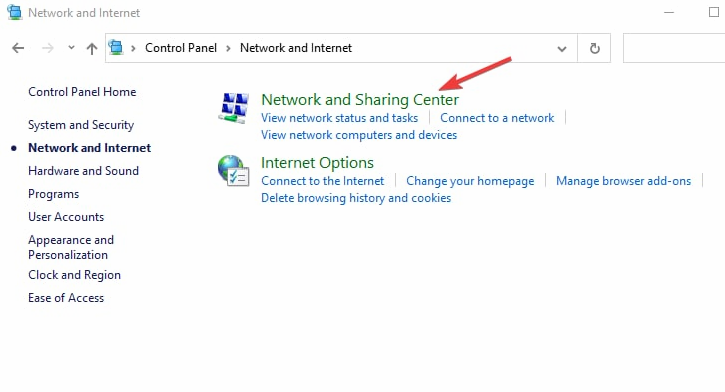
- Expand the Network and Internet option and click on Network and Sharing Center.

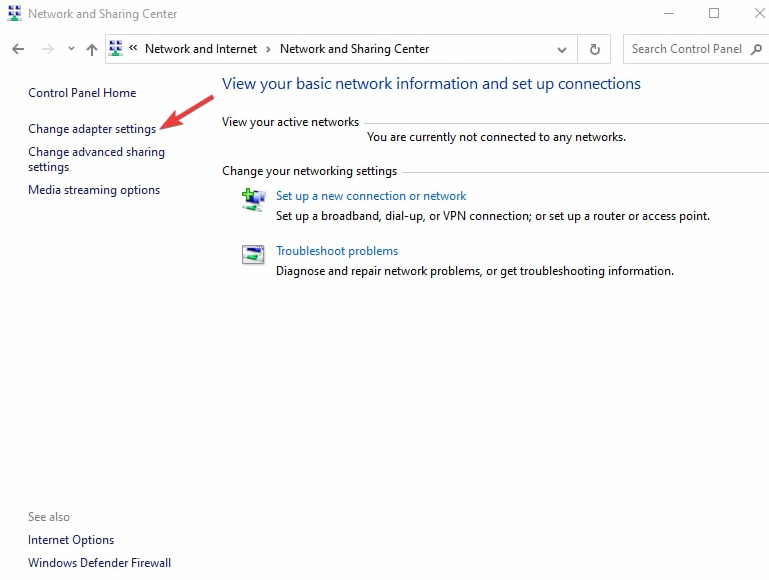
- Click on Change adapter settings in the left pane.

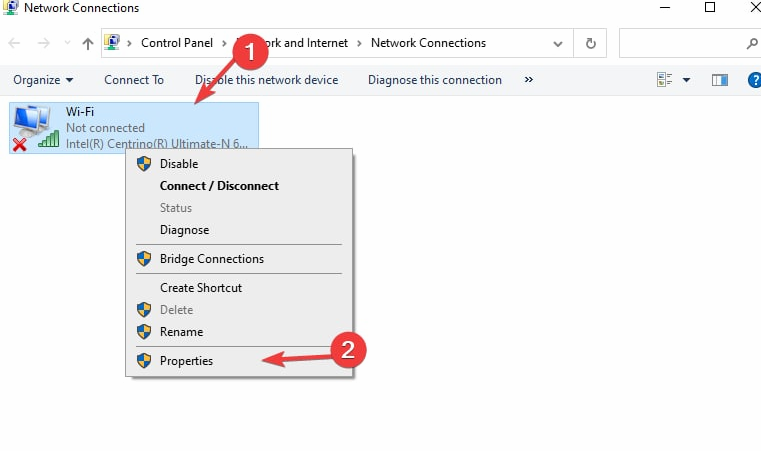
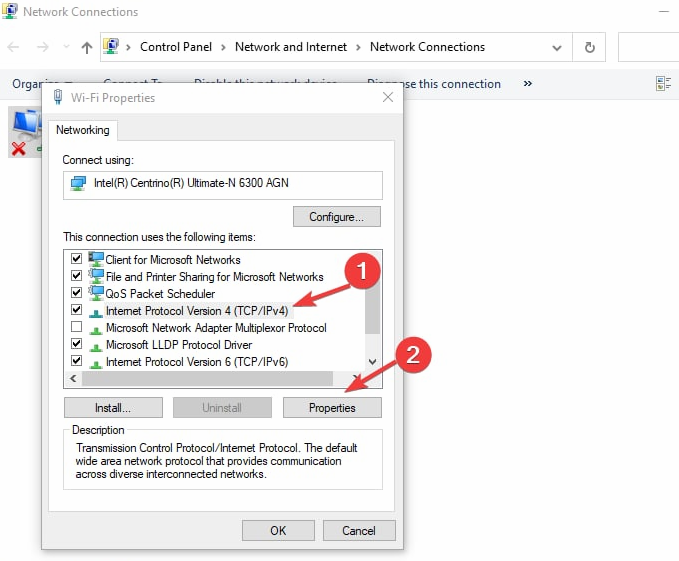
- Right-click your network connection and choose Properties from the drop-down menu.

- Select Internet Protocol Version 4 (TCP/IPv4) and click on Properties.

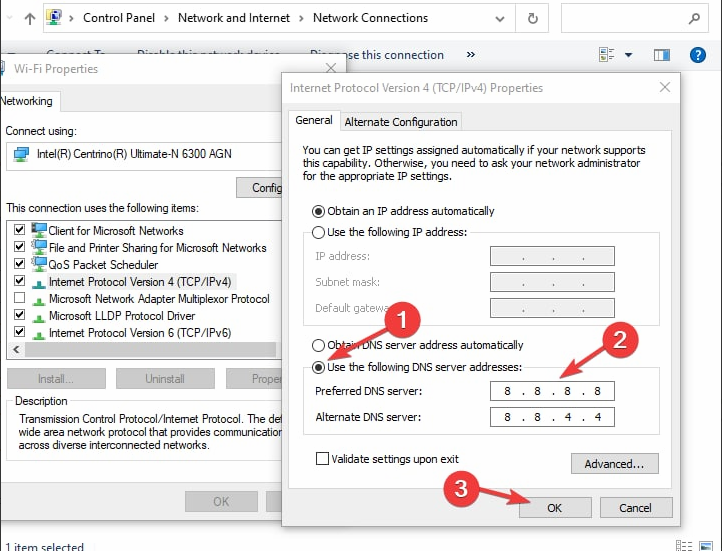
- Select Use the following DNS server addresses, type 8.8.8.8 as a Preferred DNS server, and type 8.8.4.4 as an Alternate DNS server.

- Click OK to save changes.
At times, it may be that your default DNS is causing the KB5018410 not installing problem. Hence, changing your DNS should fix the cumulative update for Windows 10 version 21h2 if it fails to install.
4. Factory reset your PC
- Press the Windows key + I to open the Settings app.
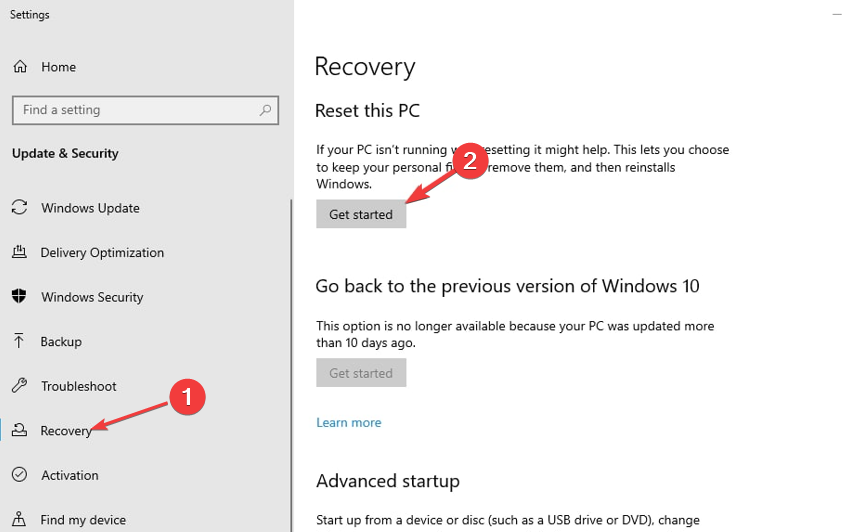
- Navigate to the Update & Security section.
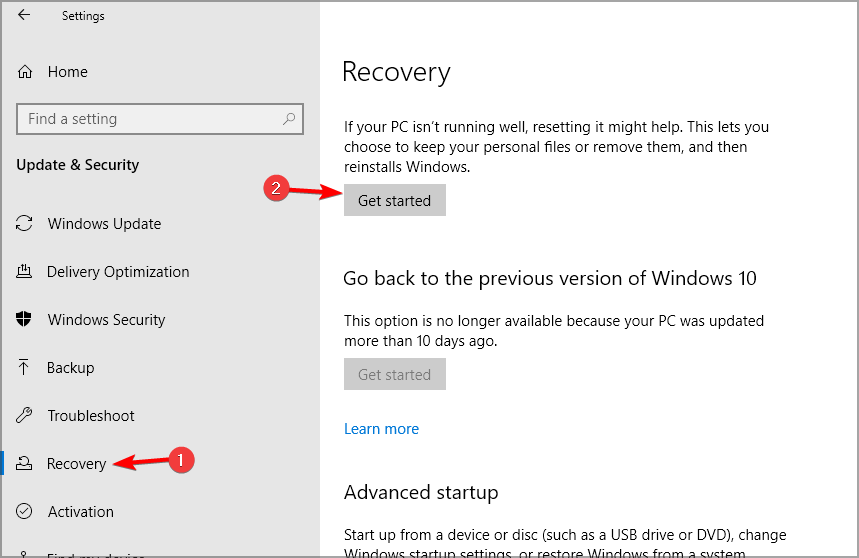
- Go to Recovery and click Get Started.

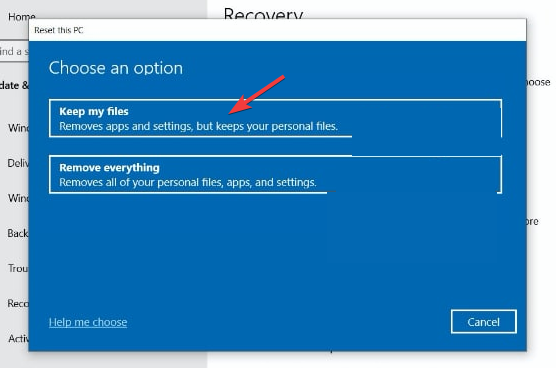
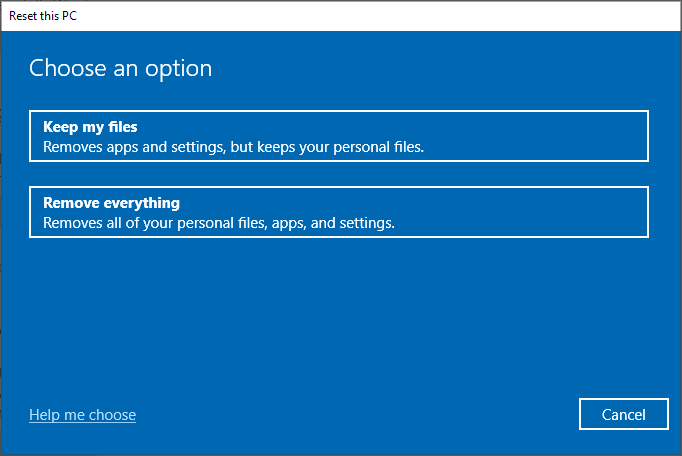
- Choose the Keep my files option.

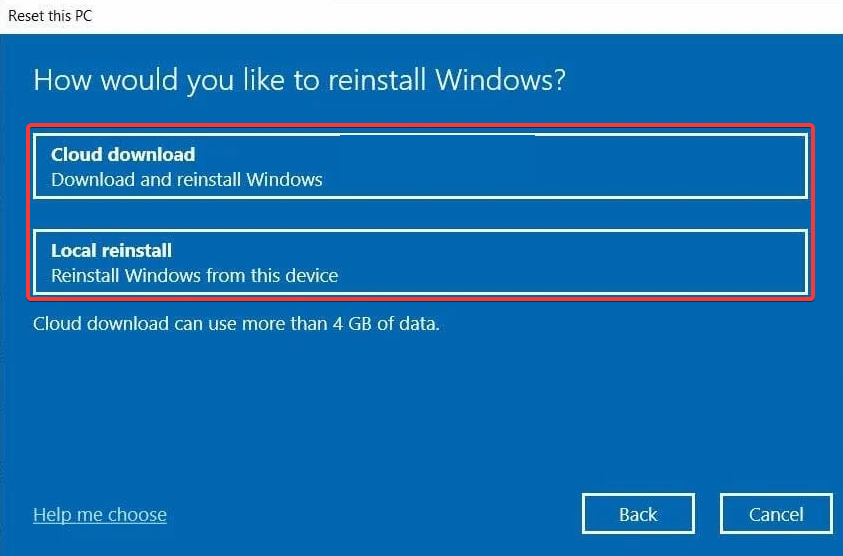
- Select Cloud download or Local reinstall (Local reinstall is faster, so we recommend it)

- Follow the instructions on the screen to complete the process.

But before you do this, make sure you back up your data on an external drive to avoid losing what’s important to you.
Moreover, ensure you write down your product ID in a safe place before performing the re-installation.
5. Use software to repair Windows update
If, after applying the above fixes, the problem persists, you should consider using specialized tools to repair your Windows Update.
After the repair process, do not forget to download the latest Windows updates.
These are the best fixes for the KB5018410 not installing issue. Ensure to follow the steps for optimal results.
If you have further queries or suggestions, leave them in the comments section below.