Linksys router won't stop blinking? Fix it with these steps
4 min. read
Updated on
Read our disclosure page to find out how can you help Windows Report sustain the editorial team Read more
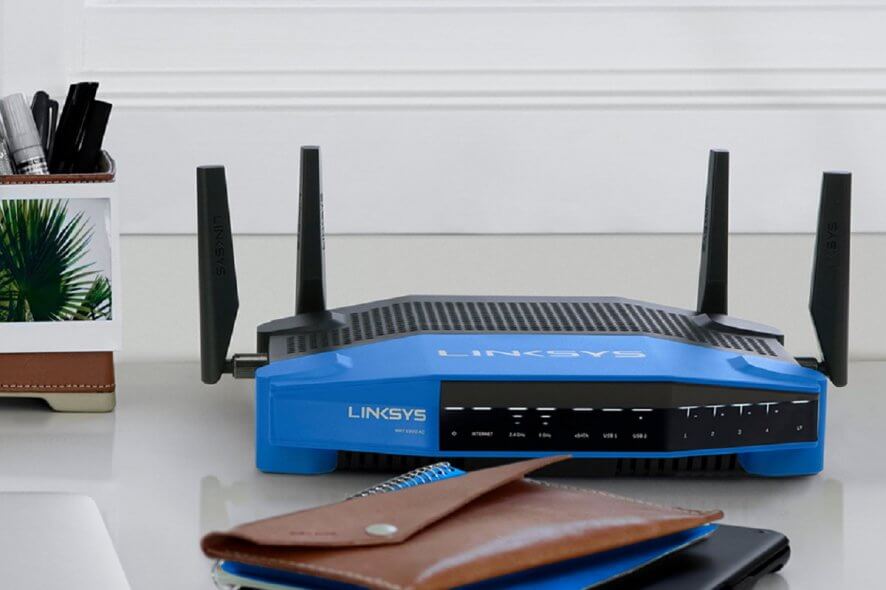
If the Power or Diag LED on your router is blinking, you know for sure the firmware is malfunctioning. When this happens, you can’t assign IP Addresses to any computers connected to your router or access the router’s web-based setup page.
With the increase in the number of people stating that their Linksys routers will not stop blinking, we wanted to discuss how to address the issue.
Are you wondering how the Blinking Power on your router can be stopped? To find out how to do that, check the fixes below.
What can I do if the Linksys router doesn’t stop blinking?
1. Try a quick reboot
- Shut down all your networking devices.
- Unplug the power cord of your router from the power outlet.
- Allow it to sit for 30 seconds unplugged.
- Plug back in and turn on the router.
- Wait for it to completely boot up.
Note: You may also unplug the power cord, Internet, and Ethernet cables from their ports. Then, plug them back.
Make sure you first try to reboot your router. This procedure allows it to re-establish a connection to your ISP, therefore potentially putting an end to the blinking.
2. Update the Linksys router firmware
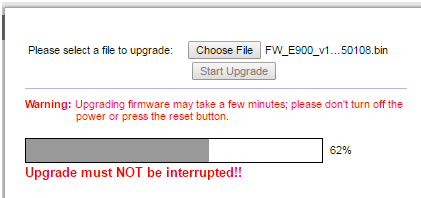
You will have to update its firmware if the lights continue to blink. Make sure that you download the correct firmware for the specific router you own to prevent further technical problems.
Updating your Linksys router firmware seems scary? Check out this guide for more help.
3. Assign a static IP Address to your PC
- Right-click the Network User-added icon located at the bottom-right corner of your Desktop screen.
- Click Open Network and Sharing Center.
- Then, click Change adapter settings.
- Right-click the Local Area Connection icon, and choose Properties.
- Select Internet Protocol Version 4 (TCP/IPv4) on the Local Area Connection Properties window.
- Up next, click Properties.
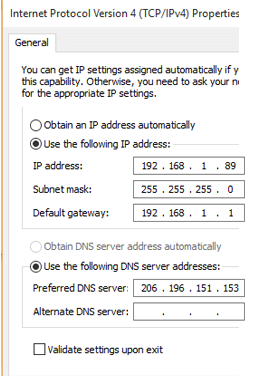
- Click the radio button beside Use the following IP address.
- You may now enter the IP address, Subnet Mask, and Default gateway in the fields provided.
- The default values for the IP address and Subnet Mask are 192.168.1.1 and 255.255.255.0 respectively.
- Select Use the following DNS server Addresses.
- Enter a Preferred DNS server. This is obtained from your internet service provider.
- Click OK.
- Finally, click Close.
Note: Steps here detailed are for Windows 10 computers.
Your router can no longer assign IP Addresses to the computer connected to it, so you need to manually assign the static IP Address. After doing that, check the computer’s connectivity to the router by conducting a ping test
Press the Windows key on your keyboard to access the Start screen. Type cmd in the search field, then select Command Prompt once getting the search result.
4. Reset your Linksys router
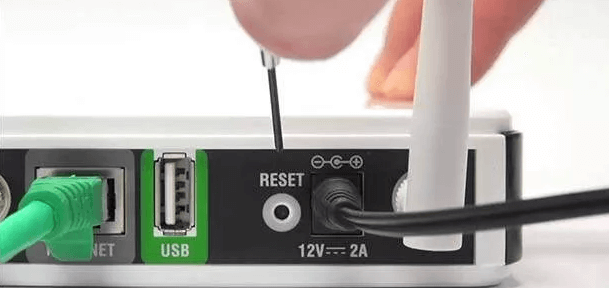
- With something small and pointed, like a paperclip, press and hold the Reset button of your router for 30 seconds.
- Unplug the power cord of the router for 10 seconds.
- Plug it back in and wait 30 seconds for the router to fully reset.
Rebooting your router means you cycle the power to it. Power cycles do not erase your saved passwords, security keys, or other settings.
However, resetting your router involves changing it back to its default settings. When troubleshooting a Linksys router refusing to stop blinking, this can help.
Looking to configure your Linksys router now? Find out how it’s done right here.
By following these steps, you should be able to make your Linksys router’s LED lights stop blinking.
If you have any other questions or suggestions, don’t hesitate to leave them in the comments section below.
RELATED STORIES YOU MAY LIKE:

