Dropbox is a place where all your team’s content comes together and is one of the best cloud storage solutions on the market.
Because of its multitude of features, Dropbox can help you manage your business’s data without too much trouble. Having the ability to store all your music, pictures, and even iTunes libraries in the cloud, allows your PC to store only the necessary data on the local hard drive, thus becoming more efficient.
To find out more details about how to move the iTunes library to Dropbox, check the solutions found below.
How can I move my iTunes library to Dropbox?
1. Share a library/playlist from iTunes via Dropbox

- Open iTunes and find a playlist you want to share.
- You can select all files and drag them to the desktop.
- Close iTunes.
- Select again all files from your desktop and right-click the highlighted items and compress them.
- Once an archive is created you can rename it.
- After this go to Finder, select Dropbox, and drag and drop the archive you’ve created.
- Once uploaded go to the dropbox app, right-click on the uploaded archive and select Dropbox.
You can now share this link with your friends.
2. Backup and restore your iTunes Media folder
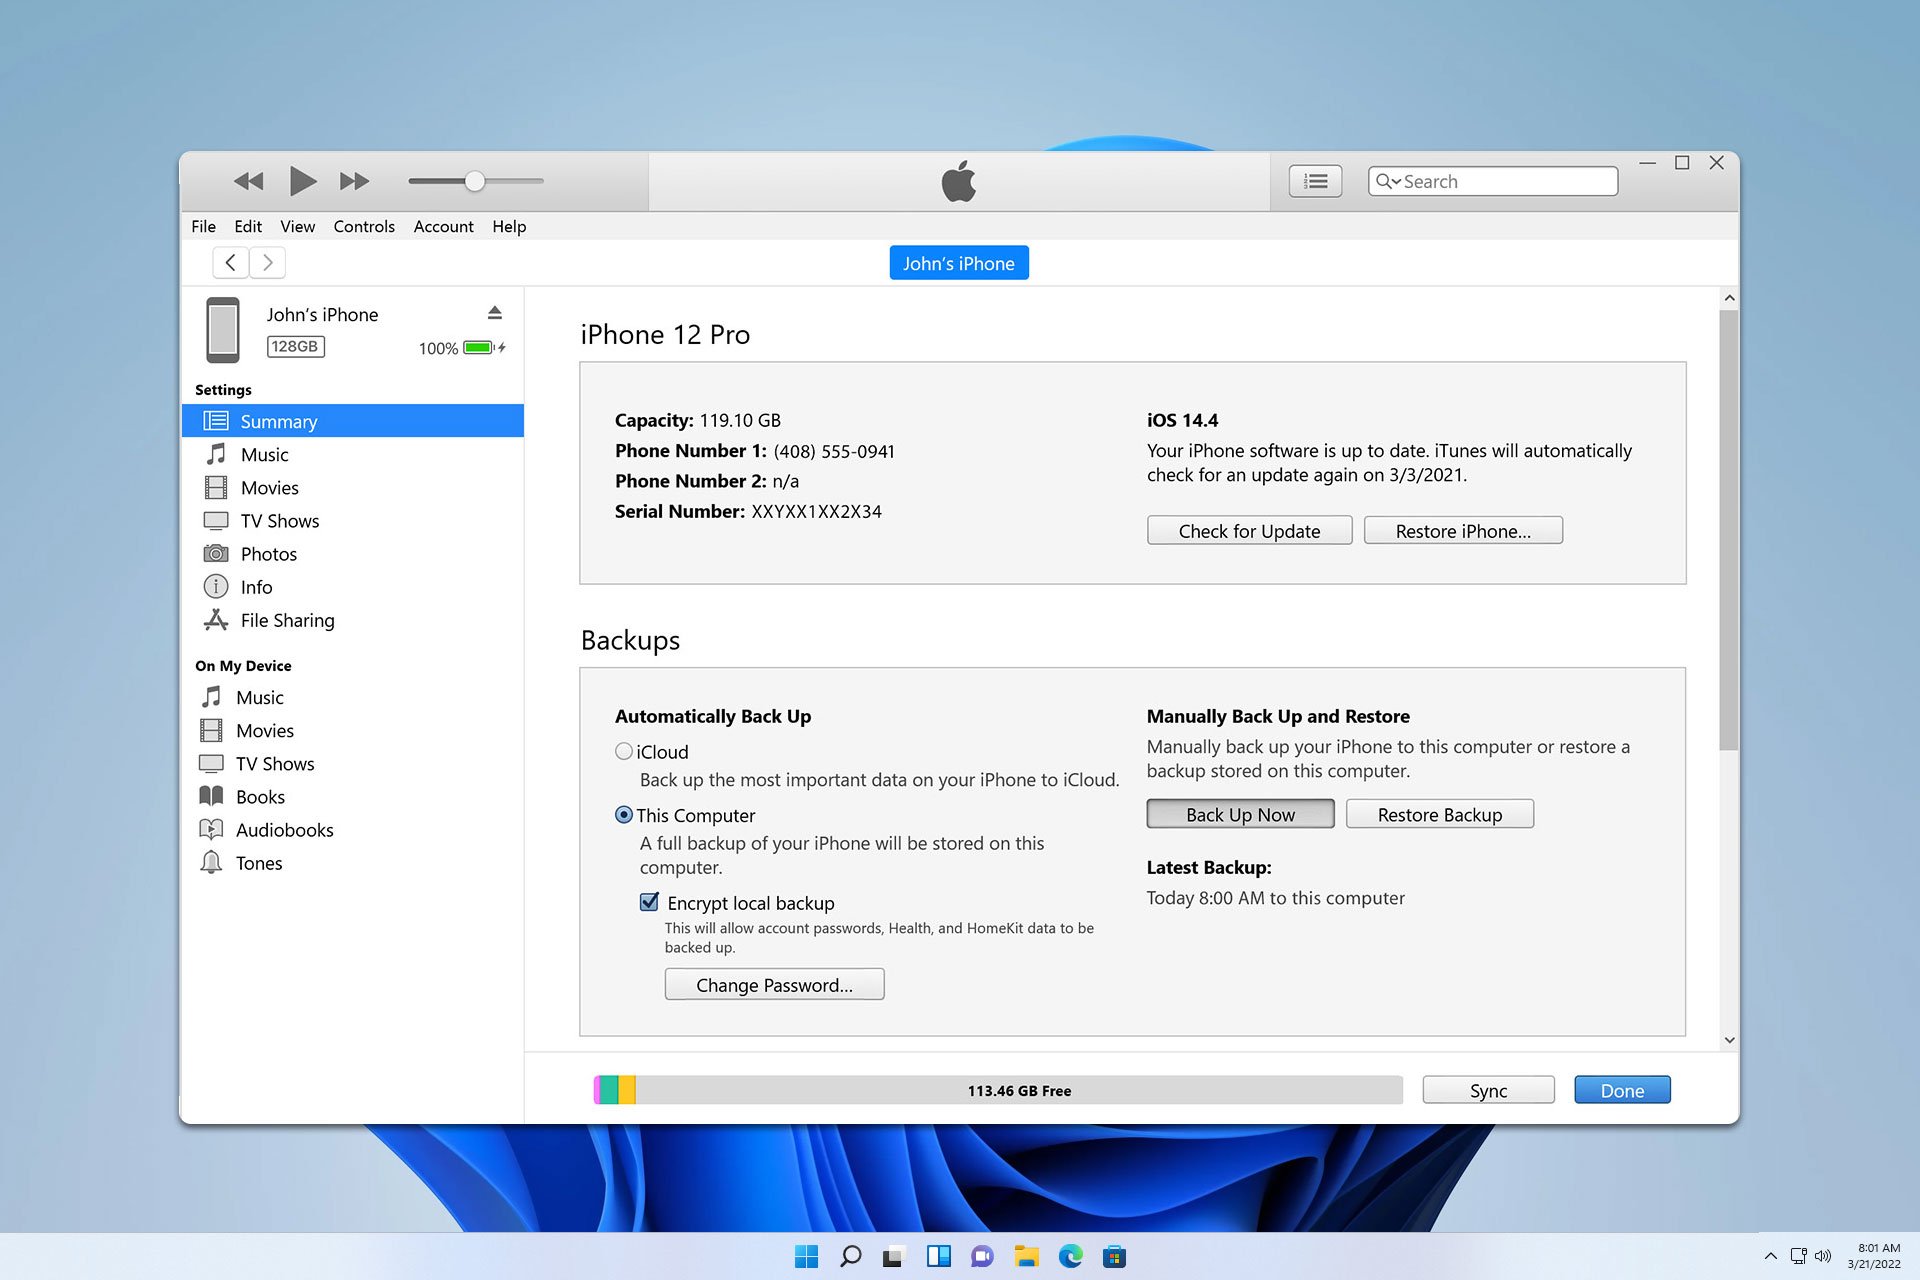
- Open iTunes.
- On the menu bar at the top of your computer screen or at the top of the iTunes window, select File > Library > Organize Library.
- Select Consolidate files and click OK.

2. Back up your library and media files
- Quit iTunes.
- Find your iTunes folder.

- Right-click on your iTunes folder, then choose Copy.
- Go to your external hard drive, then right-click and choose Paste.
When you consolidate, copies of any files that were outside of your iTunes Media folder are added to your iTunes Media folder.
To save space on your hard drive, you might want to delete the original files after you make sure that the copies are in your iTunes Media Folder. You will also need to backup your iTunes Media folder. Check the next steps for finding the iTunes Media folder.
3. Find the iTunes Media folder
By default, your iTunes Media folder is in your iTunes folder. To find it, go to User > Music > iTunes > iTunes Media.
If you can’t find in the above location, check the steps below to locate it:
- Open iTunes.
- From the menu bar at the top of the iTunes window, choose Edit > Preferences.
- Click the Advanced tab.
- Look in the box under the iTunes Media folder location for the location of your iTunes Media folder.


User forum
0 messages