NET HELPMSG 2221: How to Reset Administrator Rights
You can try to perform a system restore to fix the issue
Key notes
- You will face the NET HELPMSG 2221 error which will revoke admin privileges for your profile.
- You can try to create a new administrator account on your PC following the two solutions.
- Else, we would suggest you perform a system restore to fix the problem.

You will find multiple user reports confirming the NET HELPMSG 2221 error code. This appears when your account isn’t the administrator anymore. According to users, their accounts automatically were revoked of admin rights.
If you are also experiencing this issue, we suggest you apply the solutions in our guide and fix the NET HELPMSG 2221 error. There are many ways to get the admin rights back to your account. Let us get right into them.
What is the NET HELPMSG 2221 error?
When you are not the admin of your PC, you cannot use elevated programs. So, for example, you won’t be able to run the command prompt, Windows PowerShell, or any other program that requires admin access on your PC.
After going through several user reports, users who tried to access the gpedit.msc command via the Run dialogue where thrown a Windows cannot find ‘gpedit.msc’ error message.
Moreover, running the lusrmgr.msc showed them an error message the snap-in has been restricted by policy. Contact your admin for details.
Trying to run an elevated command in CMD yields an error message. The user could not be found. More help typing NET HELPMSG 2221.
How can I fix the NET HELPMSG 2221 error?
1. Regain administrator rights
- Press the Win + I keys to open the Settings menu.
- Click on Recovery.

- Click on Restart now for the Advanced startup option.

- In the Advanced startup window, select Troubleshoot.
- Then choose Advanced options.

- Select Command Prompt.

- Type the below command in CMD and press Enter.
regedit
- Highlight the HKEY_LOCAL_MACHINE branch.
- Click on File and select Load Hive.

- Navigate to the below location.
system root drive > Windows > System32 > config
- Locate the SAM file.
- Open the SAM file.

- Provide a name to the hive.
- Click OK.
- Head over to the below Registry location.
HKEY_LOCAL_MACHINE\REM_SAM\SAM\Domains\Accounts\Users\000001F4 - On the right, open the F entry.
- Highlight the 000001F4 key, and place the cursor on line 38 on the right side of 11.
- Press the Delete key and type 10.
- Click OK.
- Close Registry Editor and Command Prompt.
- Restart your PC.
The above steps are confusing, but if followed correctly will help you fix the NET HELPMSG 2221 error. We suggest following the steps carefully to reset the administrator rights for your account.
2. Use the Control Panel
- Press the Win key to open the Start menu.
- Open Control Panel.
- Select User accounts.

- Click on Manage another account.

- Select Add a new user in the PC settings option.

- Choose the Add account option.

- Fill in all the details as asked.
- Hit the Finish button.
- Open the Start menu by pressing the Win key.
- Open Command Prompt.
- Type the below commands and press Enter to boot into Safe Mode.
shutdown /r /o - In Safe Mode, open the Start menu by pressing the Win key.
- Open Control Panel.
- Select User accounts.
- Click on Manage another account.
- You will have two accounts.
- Select the new account that you created.
- Click on the Change account type option.

- Select Administrator.

- Hit the Change account type button.
- Restart your PC.
This is another way of resetting or restoring the administrator account. Doing so will help you fix the NET HELPMSG 2221 error.
3. Perform a System Restore
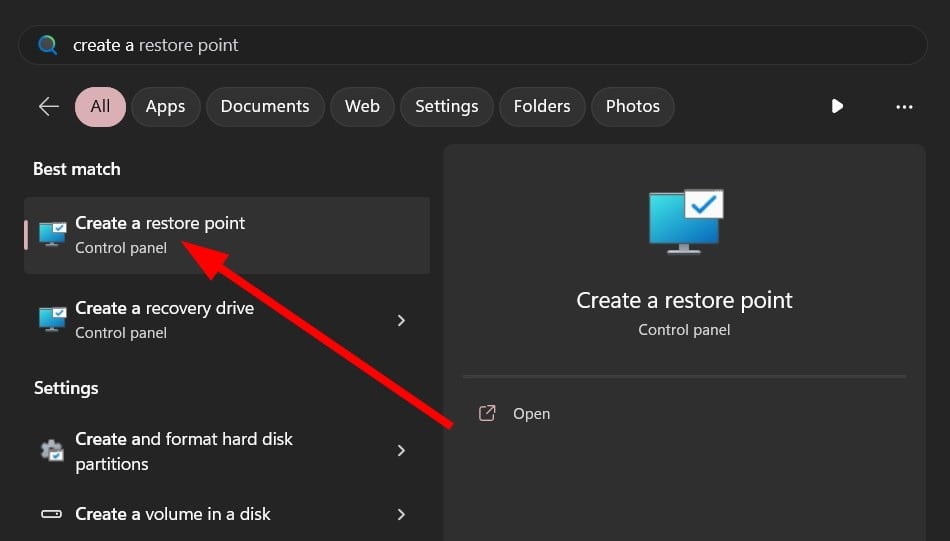
- Press the Win key to open the Start menu.
- Open Create a restore point option.
- Hit the System Restore button.

- Click the Next button.
- Select the restore point.

- Click Next.
- Click the Finish button.
- This will begin the system restore process on your PC.
If the above solutions did not help you resolve the NET HELPMSG 2221 error, you should perform a system restore.
When you perform a system restore, it will help you take your PC back to a state where everything is usually working.
However, note that the system restores will work only when you have previously created a system restore point. Our guide explains how to create a system restore point in Windows 10.
The above procedure may seem overwhelming. Therefore, we suggest dedicated software as a straightforward alternative that will scan your computer in-depth to detect corrupt, damaged, or missing files, ultimately replacing them with brand-new Windows files from its online repository.
You can also quickly fix the Net Helpmsg 3547 on your PC by following the described methods.
For users facing the NET HELPMSG 2184, you can refer to our guide, which gives you many solutions to resolve the problem on your PC.
You can also check out our guide that explains all the different solutions to resolve the NET HELPMSG 3521, a Windows update error.
We also have a guide explaining how to fix your PC’s NET HELPMSG 2185 error quickly. If you are coming across the NET HELPMSG 3534 error message, then you should refer to our guide, that not only gives you the solutions but also explains what the error is all about.
Feel free to let us know in the comments below which one of the above solutions helped you resolve the NET HELPMSG 2221 error.
Read our disclosure page to find out how can you help Windows Report sustain the editorial team. Read more


Improve this guide


User forum
0 messages