No files on desktop: Use these quick fixes for Windows 10/11
9 min. read
Updated on
Read our disclosure page to find out how can you help Windows Report sustain the editorial team Read more
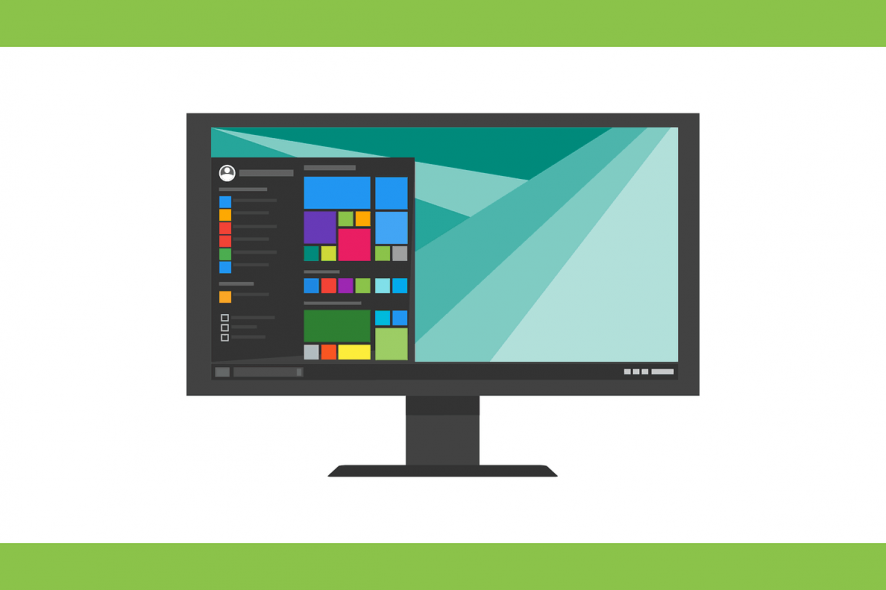
aNothing can be more frustrating than turning on your computer, logging in then you get no files on your desktop.
It is even worse when you have no idea where they could have disappeared to, or how to restore them back to your screen and get back to your work.
Well, we have just the solutions you need when you get no files on desktop Windows 10, especially after you performed an upgrade or recently installed it on your computer then this happened.
This article looks at the quick solutions you can use, some simple, some with longer steps to take, but at the end of it all, we hope you will get sorted and the files are restored to your desktop.
Steps to take when you get no files on desktop Windows 10
- Check Windows.old folder
- Show hidden files, folders and drives
- Run Microsoft Safety Scanner
- Run a System File Checker scan
- Perform a Clean Boot
- Check if your settings are on tablet or desktop mode
- Create new user profile
- Perform a System Restore
- Reset the Windows explorer
- Boot in Safe Mode
1. Check Windows.old folder
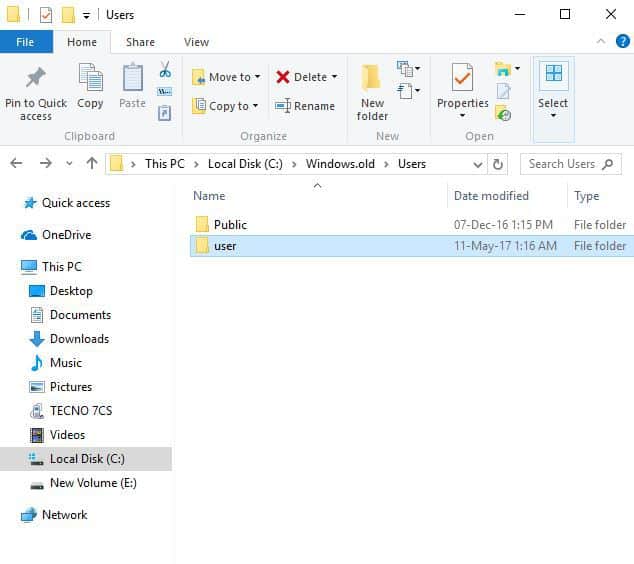
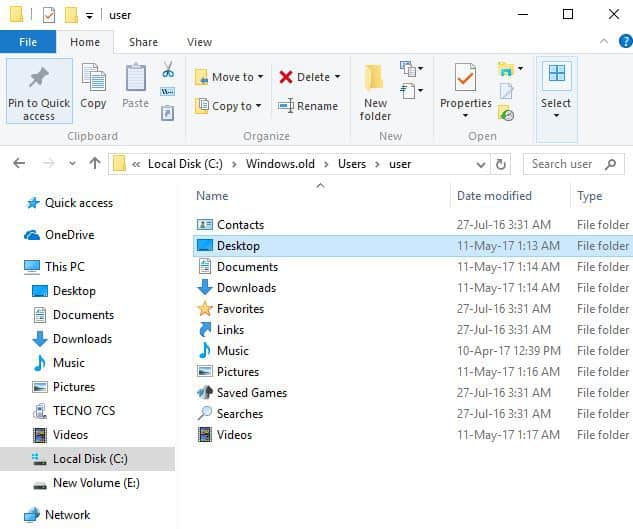
If you get no files on desktop Windows 10, especially after an upgrade, which doesn’t cause data loss but instead creates a Windows.old folder in the operating system on local drive. In this case, check for that folder, open it and restore the files back to your desktop.
Here’s how to do this:
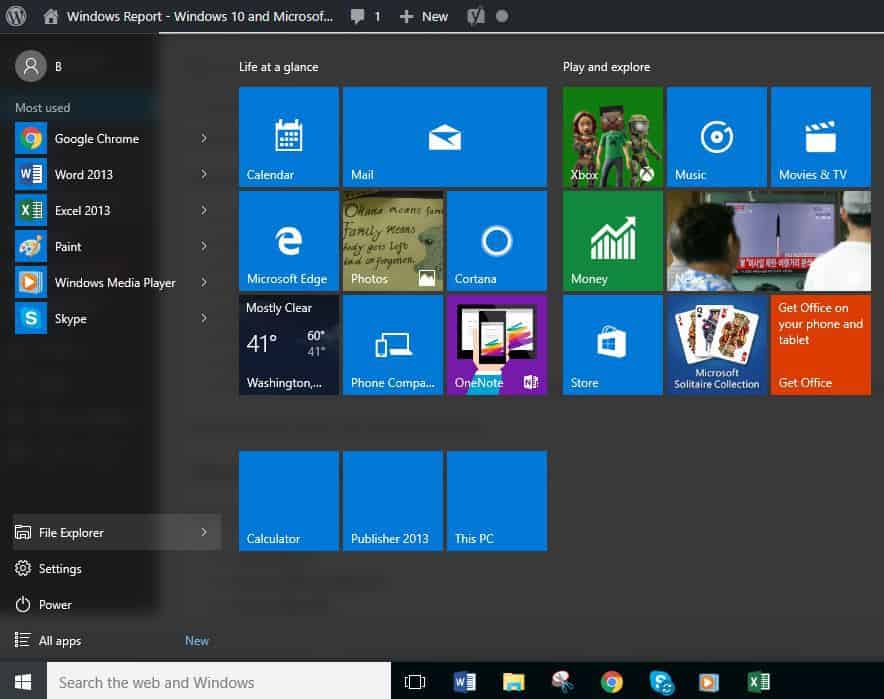
- Click Start
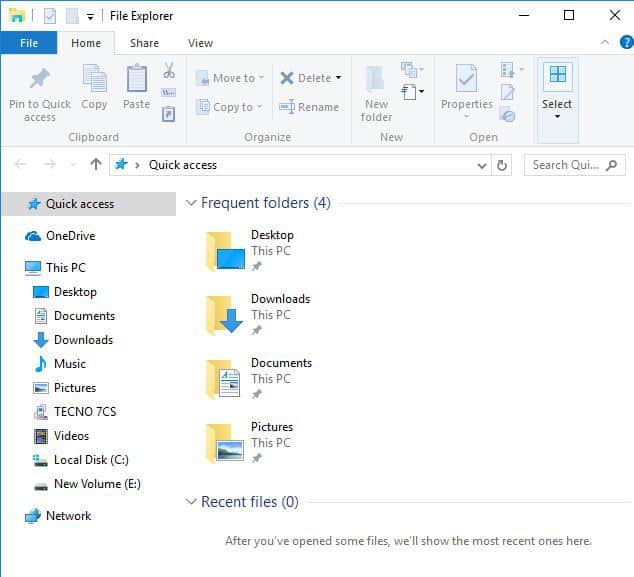
- Select File Explorer
- Click This PC
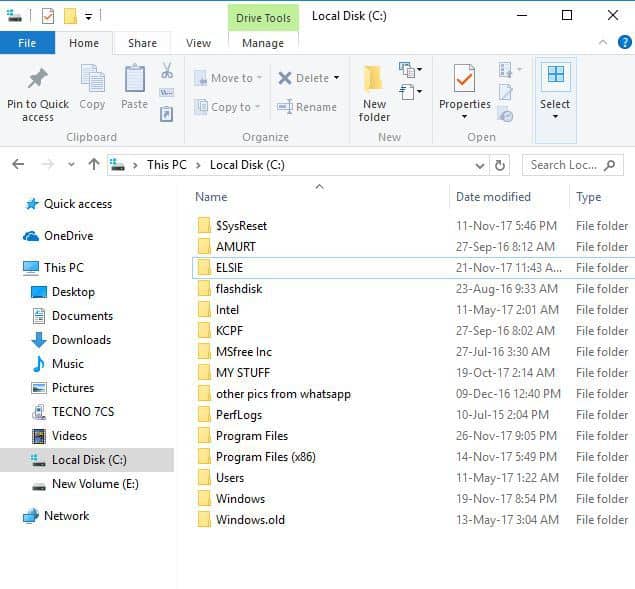
- Open Local C: drive
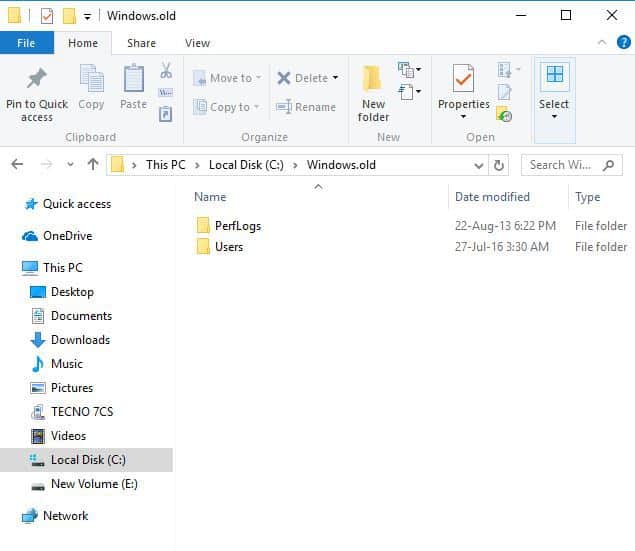
- Open Windows.old folder
- Click Users
- Select your User name
- Go to Desktop folder and find which data was saved on your desktop, then copy and paste it to your desktop
Did this help? If not, try the next solution.
2. Show hidden files, folders and drives
Here’s how to do this:
- Click Start
- Select File Explorer
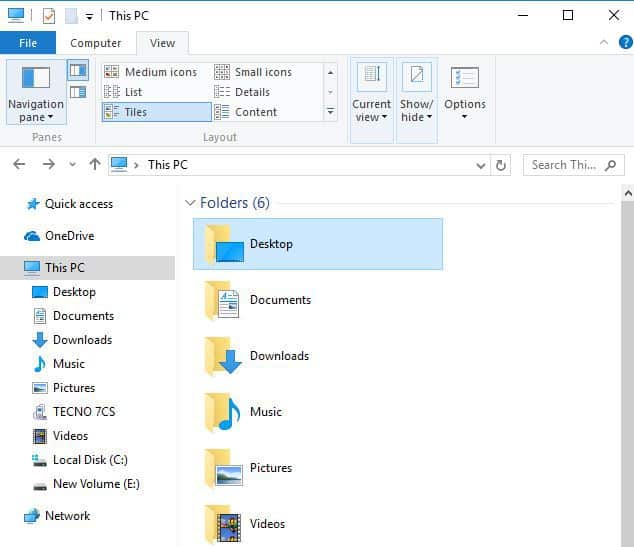
- Click This PC
- Click Desktop
- Click Organize
- Select Folder and Search Options
- Click View and look for Hidden files and folders
- Select Show hidden files, folders and drives
- Click OK
Did this work for you? If you still get no files on desktop Windows 10, try the next solution.
3. Run Microsoft Safety Scanner
Microsoft Safety Scanner is a tool designed to locate and remove malware from Windows PCs. It only scans when manually triggered, then you get to use it 10 days after you download it.
This means you need to download the latest version of the tool before you perform each scan on your computer.
However, the Microsoft Safety Scanner tool doesn’t replace your antimalware program. It helps remove malicious software from your Windows 10 computer that could cause you to get no files on desktop Windows 10.
Here’s how to run Microsoft Safety Scanner:
- Download the tool
- Open it
- Select the type of scan you want to run
- Start the scan
- Review scan results on the screen, which lists all malware identified on your computer
To remove the Microsoft Safety Scanner tool, delete the msert.exe file by default.
Check if the issue persists. If so, try the next solution.
4. Run a System File Checker scan
A System File Checker scan checks or scans all protected system files, and then replaces the incorrect versions, with the genuine, correct Microsoft versions.
Here’s how to do this:
- Click Start
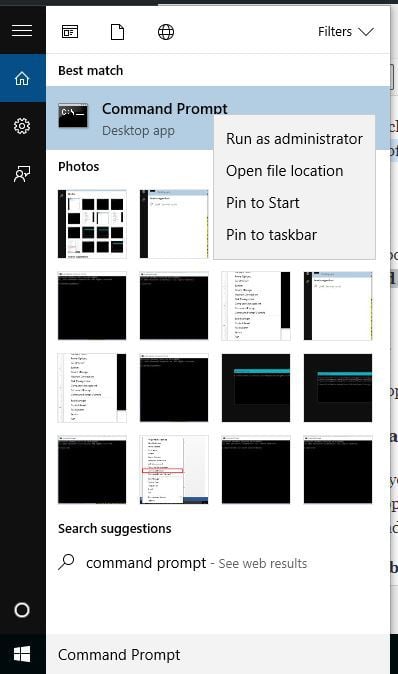
- Go to the search field box and type CMD
- Select Command Prompt
- Right click and select Run as Administrator
- Type sfc/scannow
- Press Enter
- Restart your computer
If you still get no files on desktop Windows 10, try the next solution.
5. Perform a Clean Boot
If you manage to boot in Safe Mode, perform a clean boot to eliminate any software conflicts that may be causing you to get no files on desktop Windows 10.
Performing a clean boot for your computer reduces conflicts related to software that can bring up the root causes of the problem. These conflicts can be caused by applications and services that start up and run in the background whenever you start Windows normally.
How to perform a clean boot
In order to successfully perform a clean boot on Windows 10, you have to be logged on as the administrator, then follow these steps:
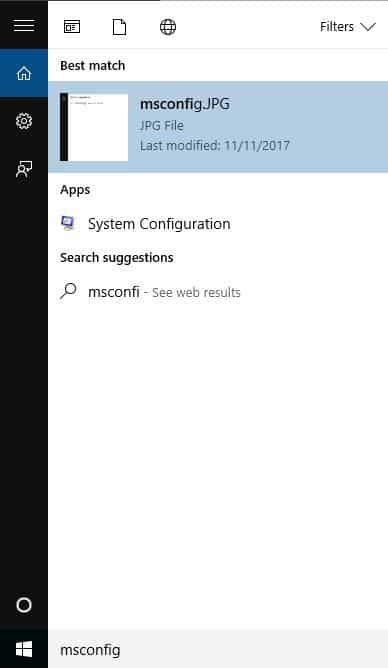
- Go to the search box
- Type msconfig
- Select System Configuration
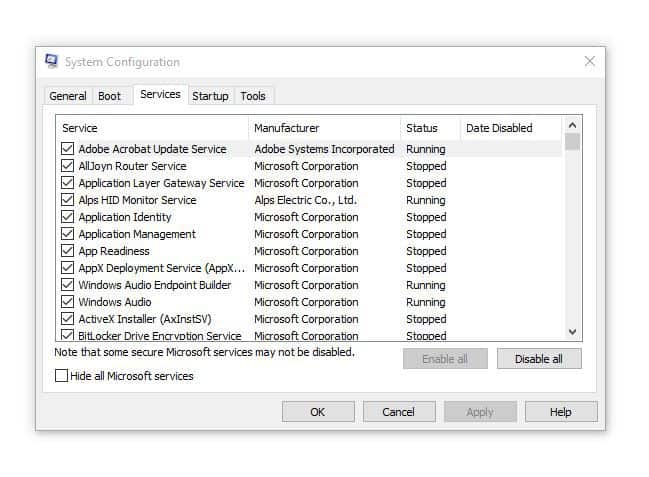
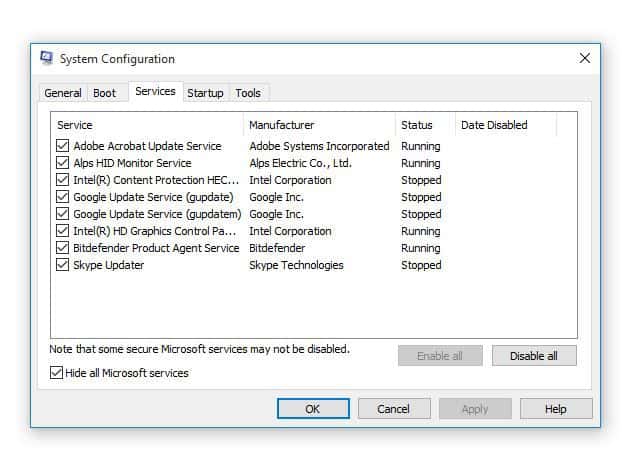
- Find Services tab
- Select Hide all Microsoft services box
- Click Disable all
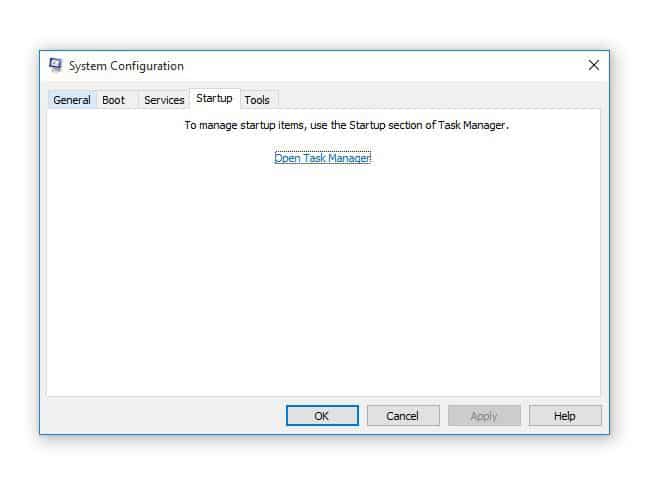
- Go to Startup tab
- Click Open Task Manager
- Close Task manager then click Ok
- Reboot your computer
You will have a clean boot environment after all these steps are carefully followed, after which you can try and check if your files are restored.
6. Check if you’re settings are on Tablet or Desktop Mode
Sometimes you can get no files on desktop Windows 10 simply because of the display settings mode on your computer.
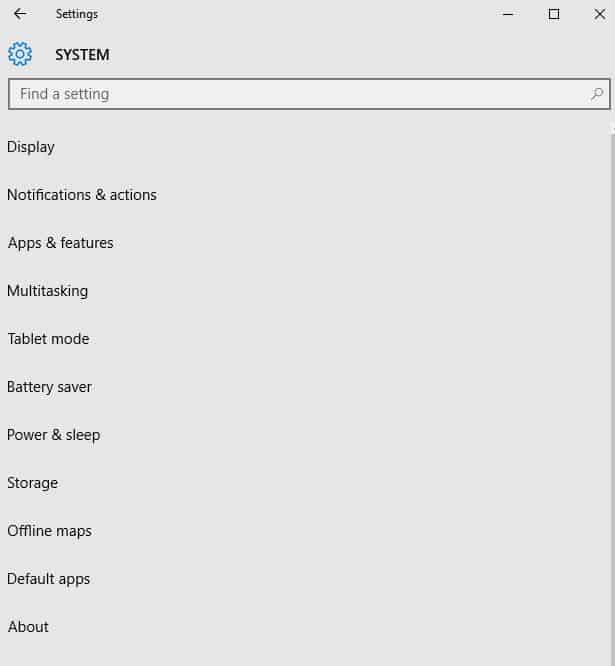
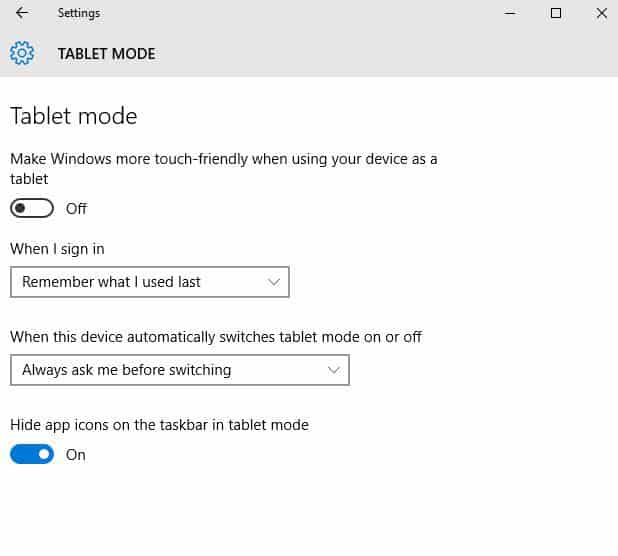
In this case, check if the settings are on Tablet mode and turn it off by doing the following:
- Click Start
- Select Settings
- Go to System
- Click Tablet Mode
- If it is ON, toggle it to OFF
- Check if your desktop is showing the files
If this doesn’t help, try the next solution.
7. Create new user profile
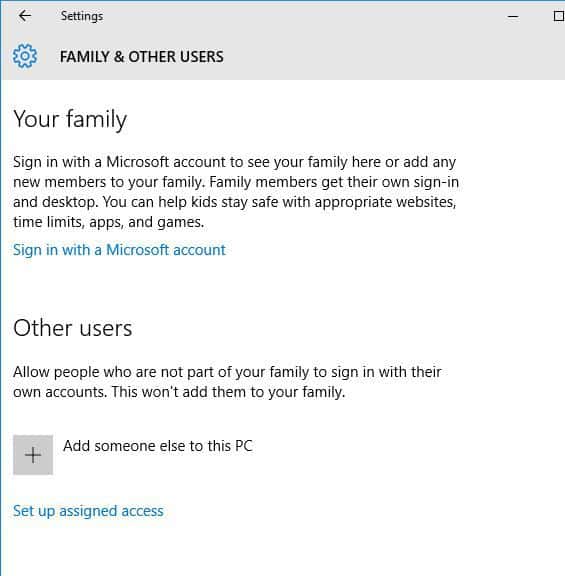
You can create a new user profile then change settings to administrator privileges, and check if you still get no files on desktop Windows 10.
Here’s how you can create a new user profile:
- Click Start
- Select Settings
- Select Accounts
- Click Add someone else to this PC
- Fill in the form with the user name and password. Your new user account will be created.
- Click on Change account type
- Click the drop down arrow and choose Administrator to set the account to administrator level
- Restart your computer
- Login to the new account you just created
If the issue goes away, then it may mean your other user profile is corrupted.
You can try the following in case of a corrupted user profile:
- On your new account, use it to downgrade your usual account
- Click Apply or Ok
- Raise back your old account to its default admin level
- Rinse and repeat a few times as this will help to remove any corruption
- Leave your account on as Administrator
Check whether you still get no files on desktop Windows 10 when using the newly created account. If it persists, then you can either Fix the old user account or migrate to the new account.
If you have different user accounts, log in to each and check if you can find the files and folders that were there after the upgrade to Windows 10.
You can also disable the Built-in administrator account by doing the following:
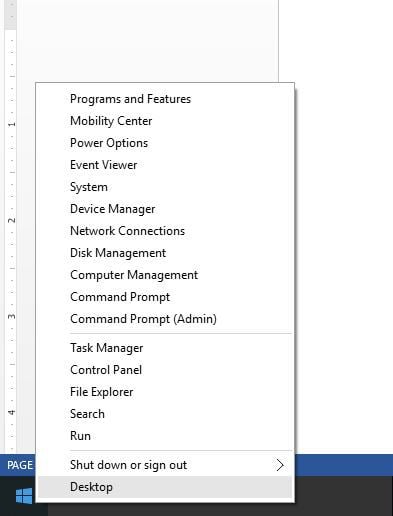
- Right click Start
- Select Command Prompt (admin) to open Command Prompt
- Type the command: net user administrator /active: no
- Press Enter
Did this fix the chop? If not, try the next solution.
8. Perform a System Restore
If you get a PC status at risk warning on your computer, use System Restore to create restore points using the steps below and see if it helps:
- Click Start
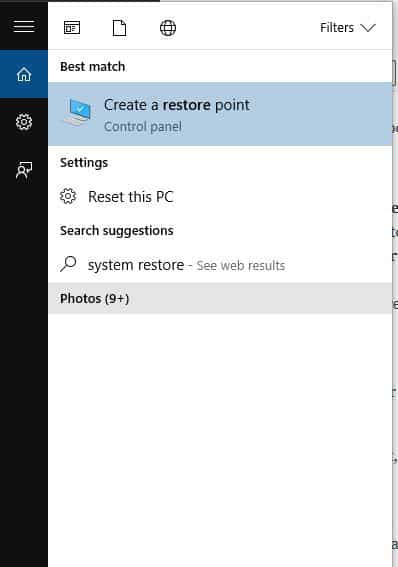
- Go to the search field box and type System Restore
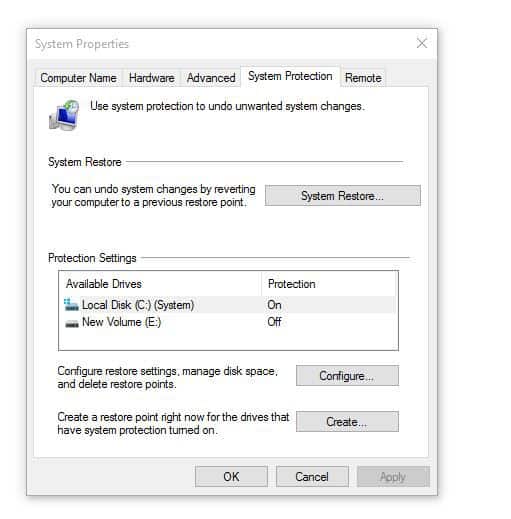
- Click Create a restore point in the list of search results
- Enter your administrator account password or grant permissions if prompted to
- In the System Restore dialog box, click System restore
- Click Next
- Click a restore point created before you experienced the problem
- Click Next
- Click Finish
Restoring doesn’t affect your personal files. It however removes apps, drivers and updates installed after the restore point was created.
To go back to a restore point, do the following:
- Right click Start
- Select Control Panel
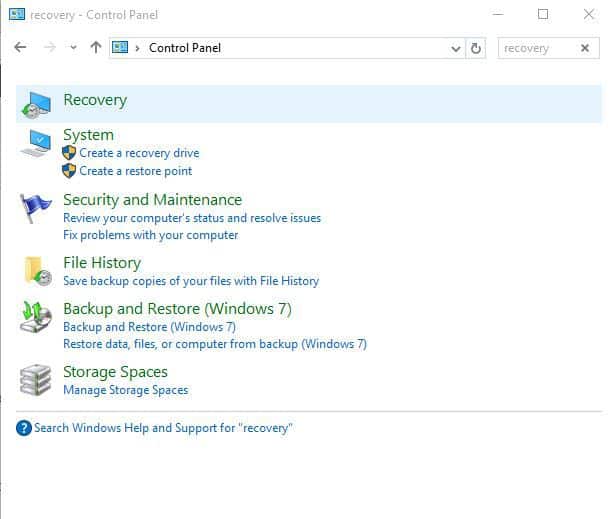
- In the control panel search box, type Recovery
- Select Recovery
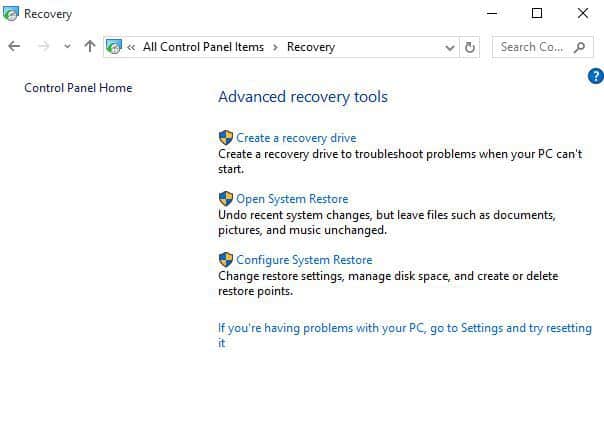
- Click Open System Restore
- Click Next
- Choose the restore point related to the problematic program/app, driver or update
- Click Next
- Click Finish
Still get no files on desktop Windows 10? Try the next solution.
9. Reset Windows Explorer
Here’s how to do this:
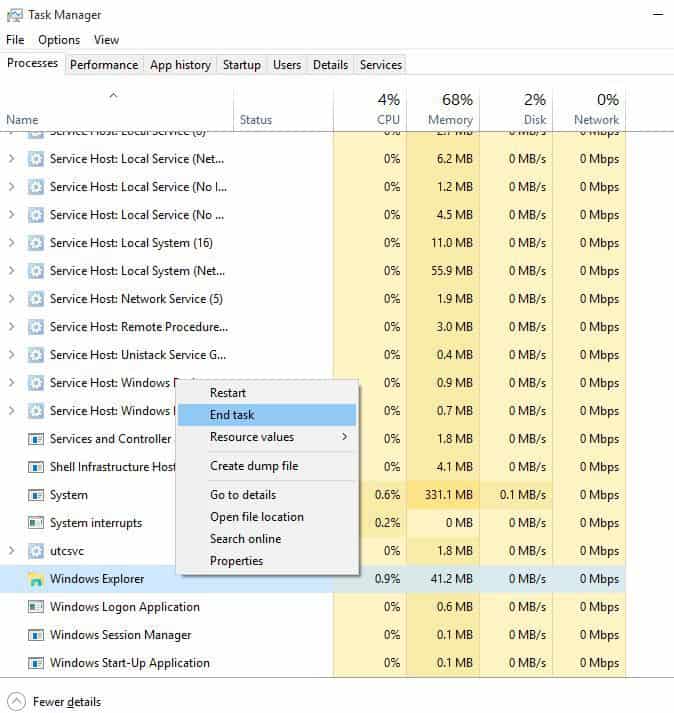
- Press CTRL+SHIFT+ESC to open Task Manager
- Right click on Windows Explorer
- Click End Task
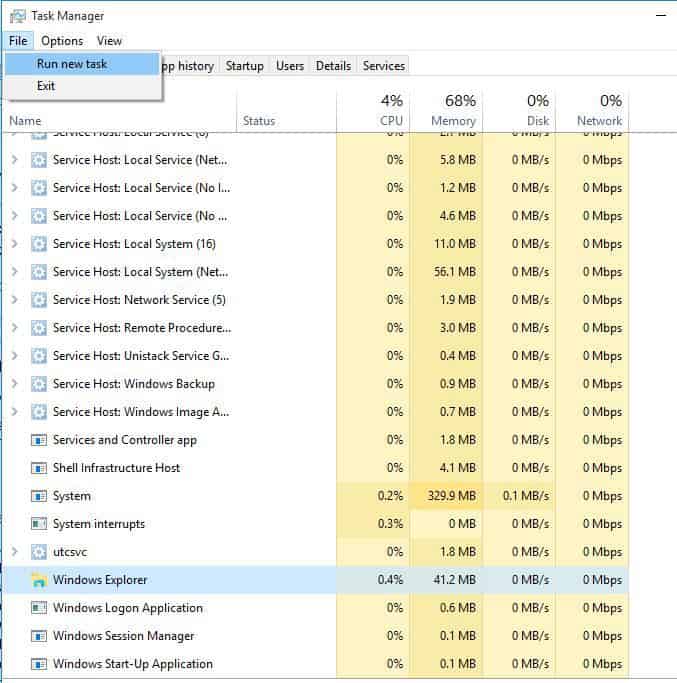
- On the top of Task Manager, click File
- Click Run new task
- Type explorer.exe
- Press Enter
Does this fix the problem? If not, try the next solution.
10. Boot in Safe Mode
Safe mode starts up your computer with limited files and drivers but Windows will still run. To know whether you’re on Safe mode, you’ll see the words at the corners of your screen.
If the issue of programs disappearing persists, check whether it occurs while your computer is in Safe mode.
Follow these steps to start your computer in Safe Mode:
- Click on Start button
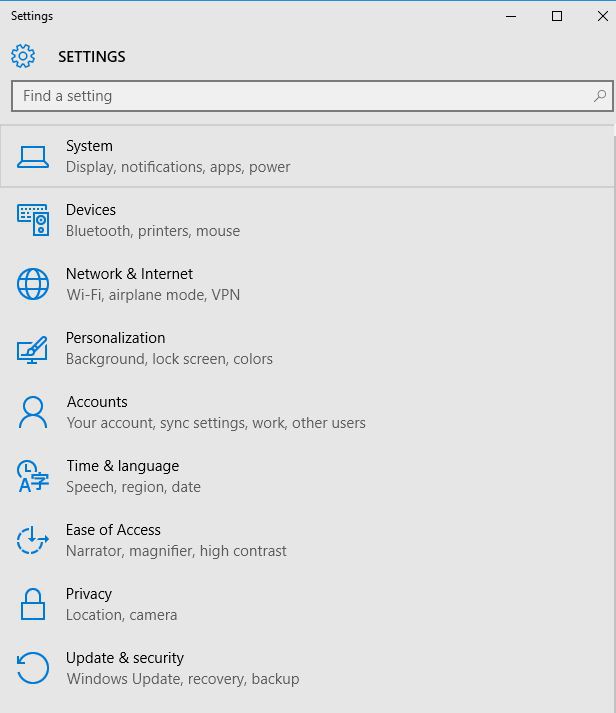
- Select Settings – the Settings box will open up
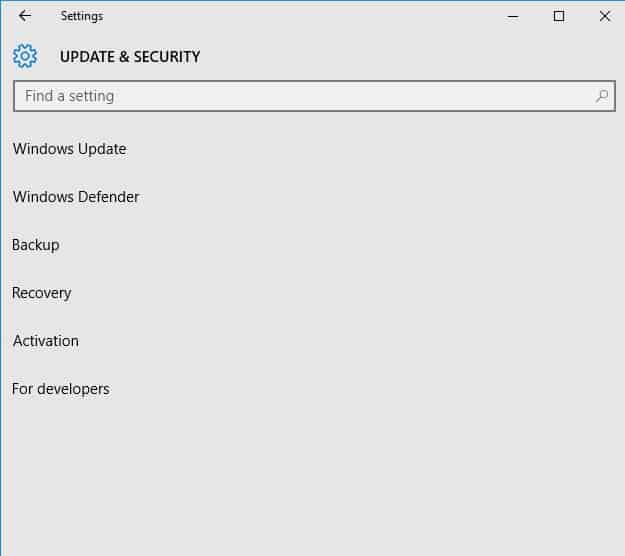
- Click Update & Security
- Select Recovery from the left pane
- Go to Advanced startup
- Click Restart now
- Select Troubleshoot from the choose an option screen
- Click Advanced options
- Go to Startup Settings and click Restart
- Once your computer restarts, a list of options will come up.
- Choose 4 or F4 to start your computer in Safe Mode
A quicker way to get into Safe Mode is to restart your computer then do the following:
- From the Choose an option screen, select Troubleshoot>Advanced options>Startup Settings>Restart
- Once your computer restarts, a list of options will come up.
- Choose 4 or F4 to start your computer in Safe Mode
If the issue isn’t there while in Safe mode, then your default settings and basic drivers are not contributing to the issue.
Did any of these ten solutions help you get your files back on your desktop? Let us know by sharing with us your experience in the comments section below.
RELATED STORIES TO CHECK OUT:

