Text is Not Showing in Windows 10: How to Fix it
Easy ways to make texts appear on your screen again
6 min. read
Updated on
Read our disclosure page to find out how can you help Windows Report sustain the editorial team. Read more
Key notes
- If you are facing the text not showing on Windows 11 issue, it might be because of outdated drivers.
- A simple yet effective application solution is to run an automatic repair on Microsoft Store.
- Another surefire fix for this problem is to repair the corrupt system files that might be causing it.

Windows users who upgraded their device to Windows 11 reported various technical issues. As such, on upgrading from earlier versions of Windows, they noticed that all the text is missing from Windows 10.
This issue can be caused by severe corruption in the system registry, malware infection, driver issues, or hardware.
We understand the difficulty of this situation, so if you’ve experienced this problem, read on as we list some helpful solutions.
Why is all the text on my Windows 11 computer gone?
There are several reasons for the text not showing on Windows 11. Below are some of the causes you should look out for:
- Outdated graphics driver
- Corrupt system files
- Antivirus interference
- Presence of virus
How do I find all text files on my Windows 11 computer?
1. Update all graphics drivers
- Press Windows key + X and choose Device Manager from the list.
- Double-click the Display adapters option to expand it.
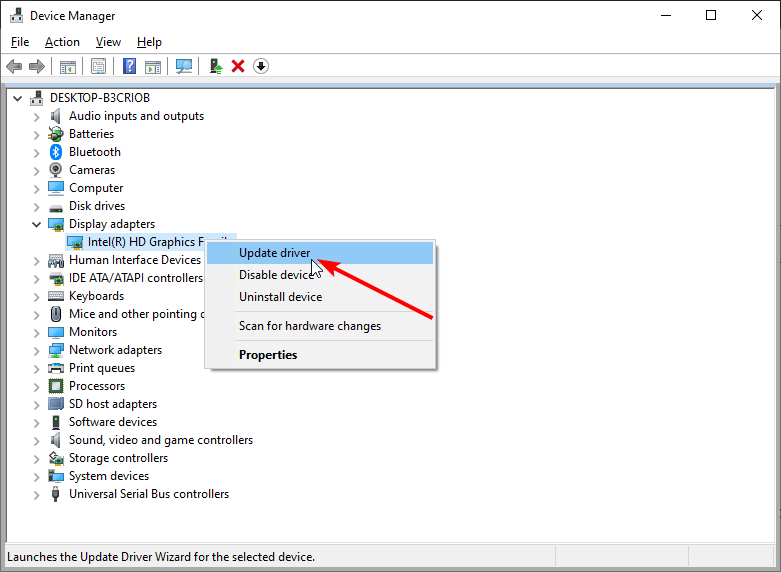
- Right-click your graphics driver, and choose Update driver from the menu.
- Select Search automatically for updated drivers.
- Wait until Windows 11 tries to find and install the latest driver for your PC.
- Restart your PC afterward.
Better yet, we recommend updating your graphics drivers using a dedicated program. This kind of tool enables you to upgrade your drivers with just a few clicks.
First, you download and install the tool. Afterward, you launch it and press the Scan button. Allow the software to scan your device for whatever component is outdated.
Using the vast in-built database, it will recommend upgrades via compatible tools. This is perfect because you won’t have to wonder whether you’re installing the correct item or not.
- Download and install the Outbyte Driver Updater app.
- Launch the software and wait for the app to detect all incompatible drivers.
- Now, it will show you a list of all outdated drivers to select the ones to Update or Ignore.
- Click on Update & Apply Selected to download and install the latest versions.
- Restart your PC to ensure the applied changes.

Outbyte Driver Updater
Maintain your device healthy by letting OutByte Driver Updater find the latest driver options.2. Scan for virus
- Press the Start button and type virus.
- Select the Virus & threat protection option.
- Choose Scan options.
- Select the Full Scan option.
- Finally, click the Scan now button and wait for the scan to finish.
Viruses cause issues, including the Windows 11 missing text labels problem. In addition, the full scan takes some time to complete. So, it would help if you were patient.
Alternatively, you can also install dedicated third-party antivirus software in ESET NOD32. Reliable tools have a higher detection rate than Windows Defender.
Also, third-party software always comes with a lot more functionalities, such as password managers, scheduled scans, real-time scans, and much more.
3. Repair PC Registry
- Press the Windows key + S and type cmd.
- Click the Run as administrator option under Command Prompt.
- Now, type the command below and hit Enter:
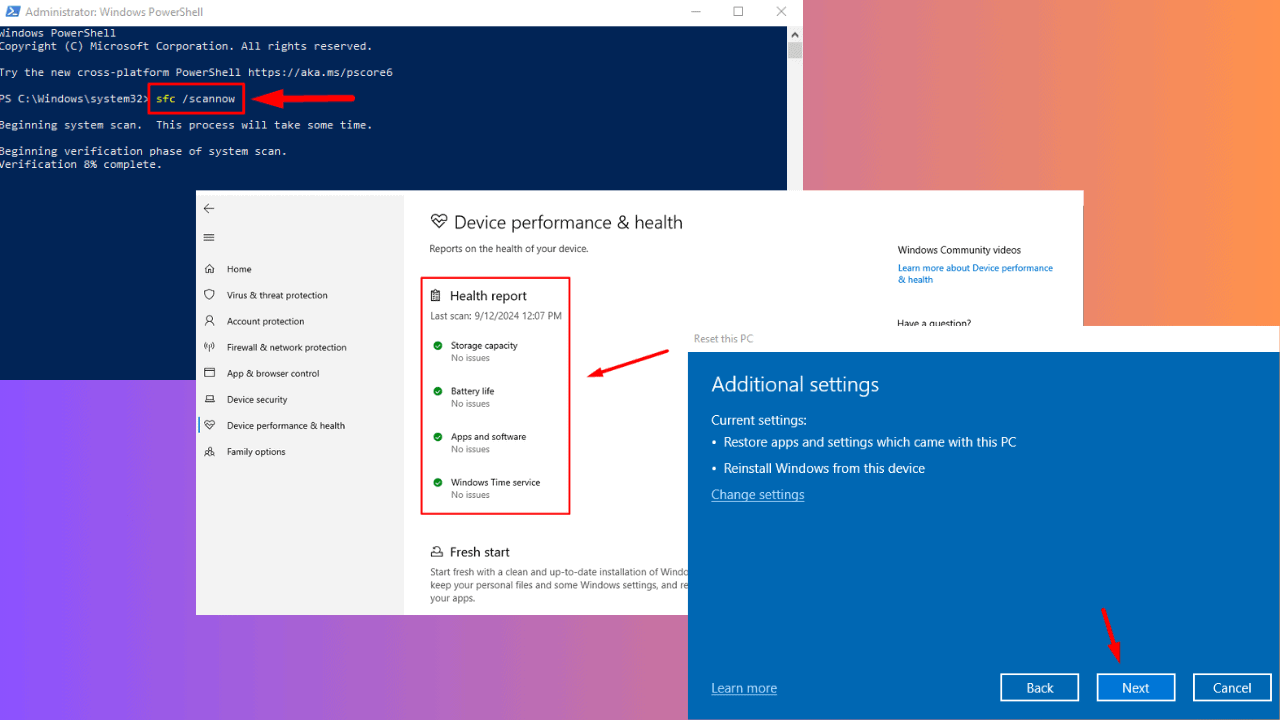
sfc /scannow - Wait for the scanning process to complete, and then restart your computer.
SFC scan is one of the built-in Windows tools for repairing broken and corrupt system files. This tool detects the broken files on your PC and replaces them from the available cache.
4. Run DISM
- Launch Command Prompt as admin.
- Copy and paste the command below and hit Enter:
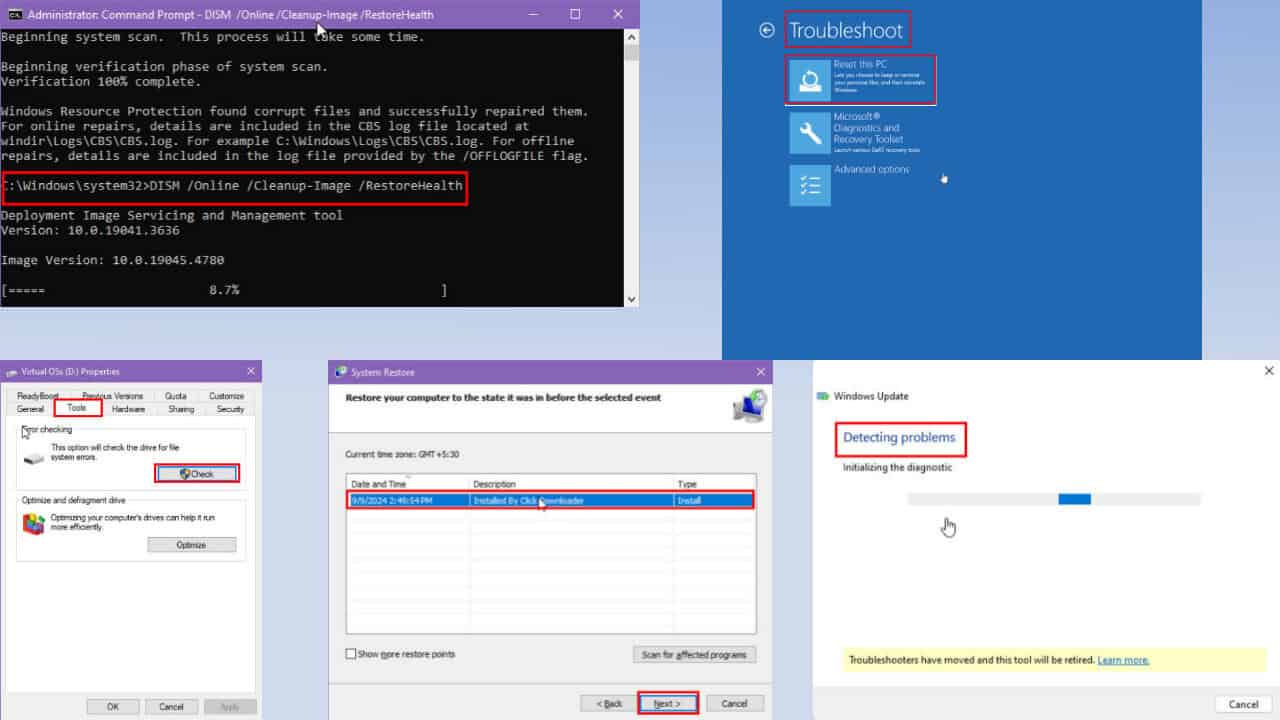
DISM /Online /Cleanup-Image /RestoreHealth - Reboot your PC afterward.
The DISM RestoreHealth performs repair operations automatically and then records those to the log file. It’s a command often used together with the previous one.
If you want to use DISM commands in Windows 10, learn to use it like a pro from our handy guide.
5. Run a system restore
- Shut down your PC and turn it on again three times, repeatedly. (Each time, press the power button for 10 seconds. On the third power-up, a blue screen should appear.)
- Navigate to the Run in Safe Mode option and hit Enter.
- Go to Start, type system restore, and then hit Enter.
- Follow the prompts to revert to a specific restore point.
- Wait for the process to complete, and then reboot.
Note: Ensure you select a restore point before experiencing the problem. Alternatively, you can delete downloaded Windows updates to fix the issue.
6. Reinstall your Antivirus
- Press the Windows key + I to launch Settings.
- Choose the Apps option.
- Click your antivirus software and select the Uninstall button.
- Follow the onscreen instructions to complete the process.
- Now, go to your antivirus’s official website to download and install the software.
Many users affected by this error report that uninstalling their antivirus software has proven helpful in fixing this problem.
So you can uninstall your antivirus software and restart the system. If the problem is solved, then reinstall the security program.
Note that it is essential to have a security suite running on your system; if the problem is solved, reinstall the antivirus, so your system is not at risk.
7. Run an auto repair on the Microsoft Store
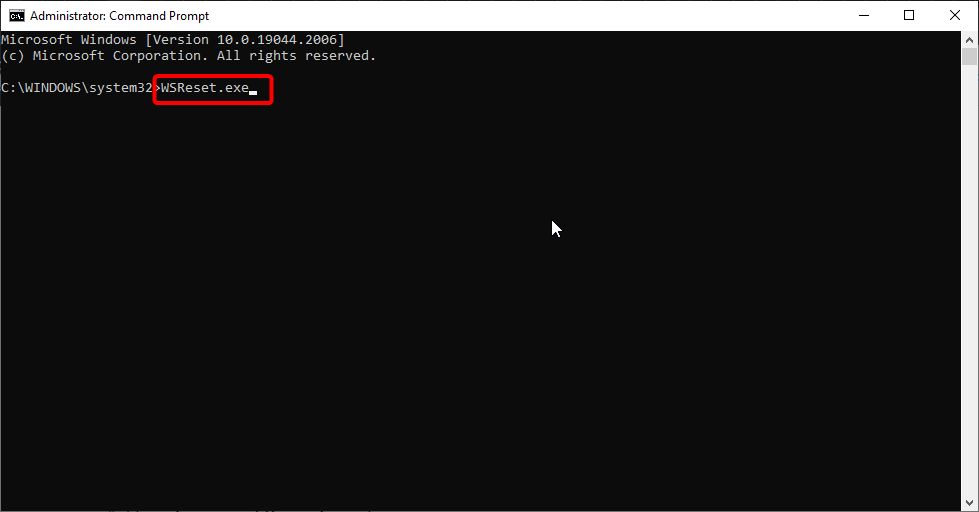
- Open Command Prompt as admin.
- Type the command below and press Enter:
WSReset.exe - Wait for the command to finish executing.
- Now, press the Windows key + S and type PowerShell.
- Finally, click the Run as administrator option under Windows PowerShell.
- Copy and paste the command below and hit Enter:
Get-AppXPackage -AllUsers |Where-Object {$_.InstallLocation -like "*SystemApps*"} | Foreach {Add-AppxPackage -DisableDevelopmentMode -Register "$($_.InstallLocation)AppXManifest.xml"}
This should resolve the problem; however, if this does not work, try the following method below.
8. Restart explorer.exe in Task Manager
- Press the Windows key + X and select Task Manager.
- Scroll down in the Processes tab and right-click explorer.exe.
- Select the End task option.
- Now, click the File option and select Run new task.
- Type explorer.exe and press Enter.
9. Perform a factory reset
- Click the Start icon and click on the cog-like icon to open Settings.
- Select Update & Security.
- Select the Recovery option in the left pane.
- Click Get started under Reset this PC.
- Choose whether you want to keep your files or delete everything.
- Click Next and then Reset.
- After the procedure ends, your monitor should perform just like before.
This may be the best solution if the others above do not work for your PC. However, wiping the hard drive means that you lose all data. Therefore, it is essential to back up your data to an external drive before formatting your system.
After resetting your Windows PC, make a clean install of Windows 10. A clean wipe of windows solves most PC errors, including the ‘all text is missing from Windows 11’ problem but should only be used as a last resort.
If Windows 11 text disappears, then you don’t need to worry too much, as it is similar to the problem on Windows 11. So, you can fix the issue using a dedicated tool to correct the broken system files or update your drivers.
To put it plainly, you can effectively use the solutions detailed in this guide to fix this issue.
In conclusion, if the solutions did not fix all missing text problems, it is likely a hardware problem. Therefore, check for your warranty or contact a PC engineer for more support based on this error problem.
If you are facing issues like the mouse keeps clicking on Windows 10/11, check our detailed guide on how to fix it quickly.
Did any of these solutions work for you? Please share your experiences with us in the comments below.


User forum
6 messages