What is Ntkrnlmp.exe and How to Fix It [BSoD Repair Guide]
Note that outdated drivers can cause ntkrnlmp.exe
4 min. read
Updated on
Read our disclosure page to find out how can you help Windows Report sustain the editorial team Read more
Key notes
- Ntkrnimp.exe is an executable file associated with Windows OS.
- Corrupt system files can cause ntkrnlmp.exe on Windows.
- Updating your graphics driver can fix the ntkrnimp.exe and repair BSoD.
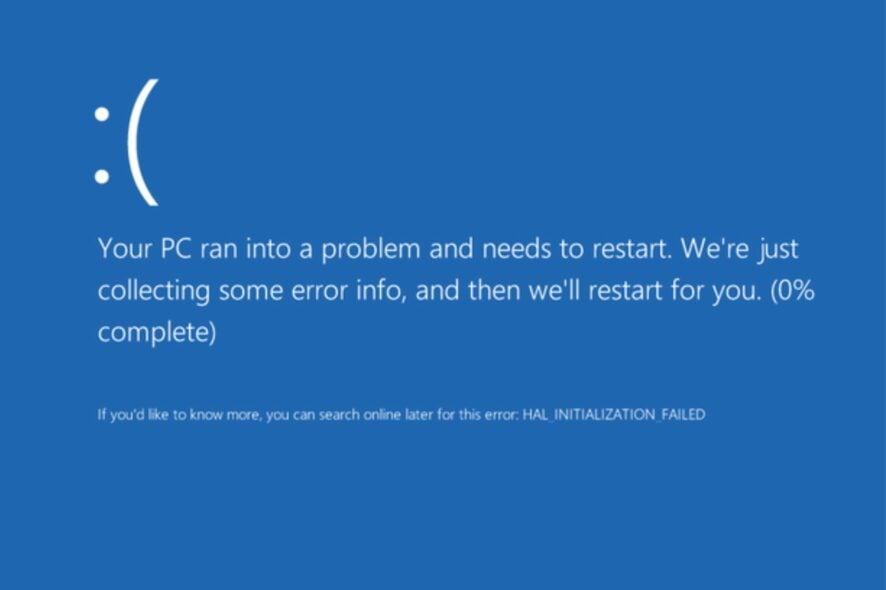
Numerous system files like ntkrnlmp.exe are responsible for Windows being able to perform its tasks correctly. However, many users attribute BSoD issues to ntkrnimp.exe as the cause. For instance, the BSoD error 0x000000f7 on Windows PCs.
What is NtkrnImp.exe?
The ntkrnlmp.exe (NT Kernel Multiprocessor Version) is an executable system file found on Windows OS hard drives.
Furthermore, it is an essential Windows file executed whenever Windows OS starts running. It is loaded into RAM and runs as an NT Kernel & System process.
What are the causes of the NtkrnImp.exe?
Numerous factors can prompt the ntkrnlmp.exe error on your Windows computer. However, having corrupt system files on your PC is the main reason for the error. They affect the components running in your system, resulting in BSoD crashing.
Moreso, a couple of other factors can be responsible for the ntkrnlmp.exe. Some are:
- Outdated graphics driver – The ntkrnlmp.exe error prompts a blue screen, which can be due to outdated graphics drivers on your PC. Also, corrupt or missing graphics drivers can cause the issue.
- A damaged adapter or insufficient power supply to the PC – You can encounter the ntkrnlmp.exe if there isn’t enough power supply going into your PC. Likewise, charging it with a faulty or unsupported adapter can cause a problem.
- Virus and malware infections – They can cause problems with how the system works, so you should always use a powerful antivirus.
These causes are a few factors that can cause the problem, and they are liable to vary in numerous computers.
How do I fix the Ntkrnlmp.exe?
We recommend you go through the following preliminary checks:
- Change the power adapter for your PC.
- Uninstall the recent Windows update from your computer.
- Consider that Chrome may also cause BSoD errors.
- Unplug any external devices.
- Restart Windows in Safe Mode and check if it resolves the problem.
Proceed with the following solutions if the ntkrnlmp.exe error persists.
1. Update your graphics driver
- Press Windows + R key to open the Run window, type devmgmt.msc, and click OK to launch the Device Manager.
- Click on Display adapters, right-click the display driver you want to update, and click the Update driver option.
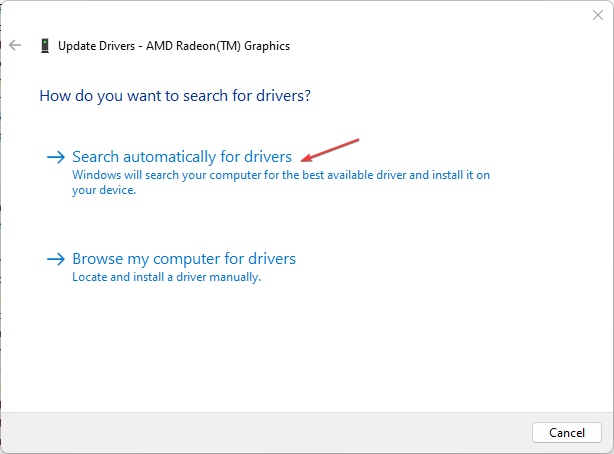
- Select Search automatically for drivers, restart your PC, and check if the issue persists.
Read our guide on updating drivers on Windows 11 if you can’t get through the steps above.
- Download and install Outbyte Driver Updater.
- Launch the software.
- Wait for the app to detect all faulty drivers.
- Now, it will show you all the malfunctioning drivers listed to select the ones to Update or Ignore.
- Click on Update & Apply Selected to download and install the newest versions.
- Restart your PC to ensure the applied changes.

Outbyte Driver Updater
Secure your Windows PC with Outbyte from various errors caused by problematic drivers.2. Repair corrupted system files through SFC scan from Safe Mode
- Left-click the Start button, click on Power, press and hold the Shift key, then select Restart from the power options.
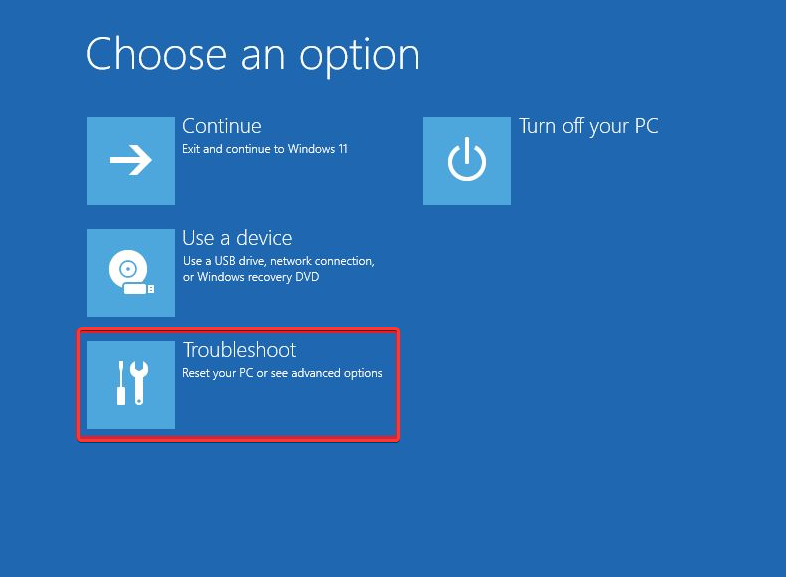
- Select Troubleshoot from the Choose an option menu prompt.
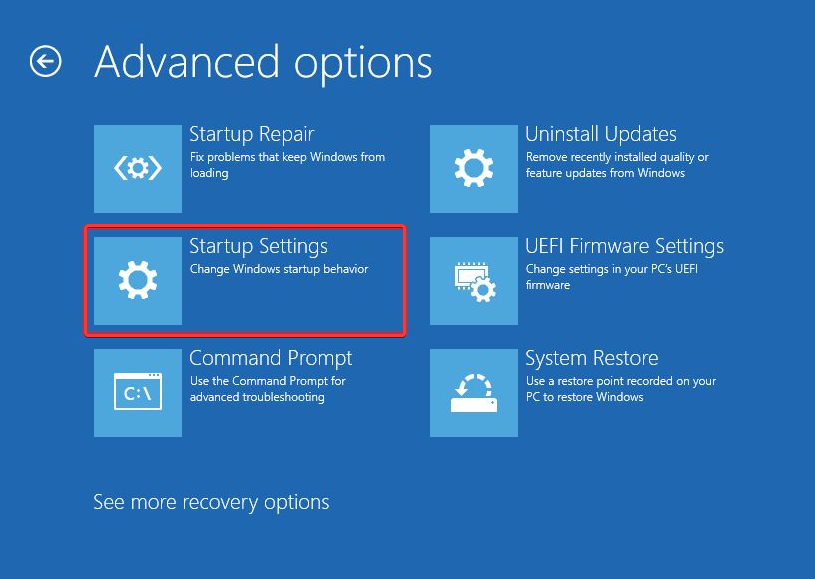
- Select the Advanced options tab and click the Startup Settings option.
- Press the F4 to Enable the Safe Mode option and click the Restart button.
- Left-click the Start button, type cmd in the box, and click on Run as Administrator.
- Copy and paste the command bar and press Enter:
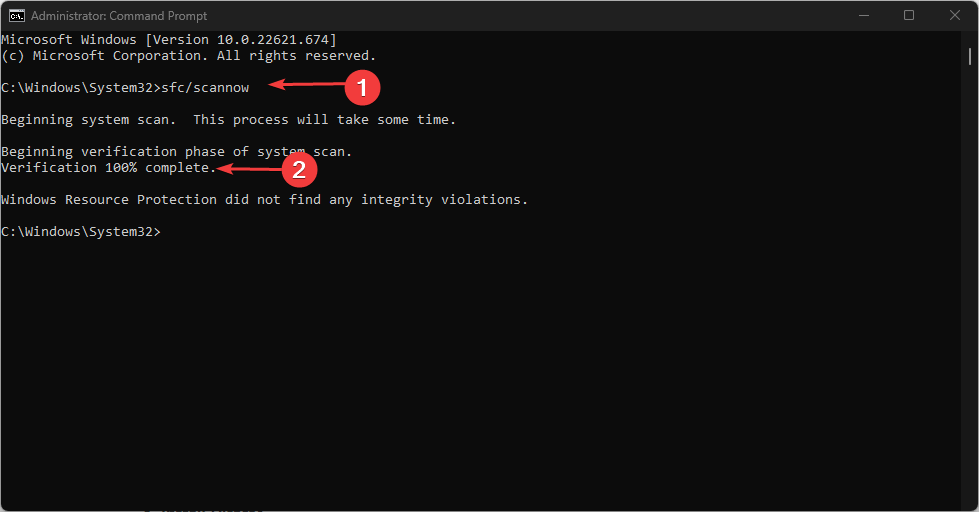
sfc /scannow
Wait until the Command Prompt completes the process. Running an SFC scan will identify and repair the missing or corrupted system files in Windows 11.
Read our guide on repairing and restoring corrupted system files on Windows 11 if you have any concerns with the steps above.
3. Disable C-states and EIST in BIOS
- Press the Power button to turn on the PC.
- Tap F2 repeatedly when the Windows logo attaches your computer to BIOS.
- Go to the Advanced menu and select CPU configuration.
- Select CPU Power Management and set C-state and Intel EIST to disabled.
- Save the changes and restart your PC.
Disabling the C-states and EIST in BIOS will stop them from controlling the clock speed of Intel processor cores and can fix the problem.
You can also read about the UNEXPECTED_KERNEL_MODE_TRAP_M error on Windows 11 and ways to fix it. Likewise, you may be interested in fixing the Critical Process Died BSoD error in Windows 11.
Do not hesitate to use the comments section if you have further questions or suggestions.


