Fix: NVIDIA Control Panel not Saving Settings
Ensure you have administrative privileges to make changes
Key notes
- The NVIDIA Control Panel has been a staple of NVIDIA graphics cards for years. It offers a centralized location for configuring your GPU.
- It's great for tweaking performance and visual quality, but it can be tricky to use, especially when you can't save any of your settings.
- You can update your drivers or allow the program through your firewall.

The NVIDIA Control Panel is a must-have utility for users who want to configure and control their NVIDIA GPUs. Unfortunately, there are times when the program will not save changes made to the Control Panel settings.
This can be frustrating, especially if you have spent time tweaking things to get them right. If you have experienced a similar issue, keep reading and find out how other users were able to resolve it.
Why is my NVIDIA Control Panel not saving settings?
Some users have found that the NVIDIA Control Panel is not saving settings after exiting. You may have just changed your theme, but when you launch your specific game or program, you’ll find the default settings in place.
This issue can be caused by one of the following:
- Driver errors – If your graphics card is corrupted, outdated, or missing, you’ll have a hard time saving anything.
- Insufficient permissions – You may not be running the NVIDIA Control Panel as an administrator hence can’t make any changes.
- Antivirus settings – Some firewalls and antivirus programs tend to block programs from making any changes on the PC.
- Conflicting programs – Some applications have been known to interfere with the functionality of the NVIDIA Control Panel by preventing it from saving settings correctly
How do I fix NVIDIA Control Panel not applying settings?
Before you start on any complex solutions, kick off with the following basics:
- Make sure that you are using a valid administrator account. Your current user account may not have enough rights to make changes in the NVIDIA Control Panel.
- Examine any recently installed software that may be causing conflicts with NVIDIA’s Control Panel and uninstall it.
- Ensure your Windows is updated. At times, your NVIDIA driver is not compatible with your Windows version.
1. Adjust permission settings
- Go to the following location:
c:\programdata\ - Locate NVIDIA corporation, right-click on it, and select Properties.
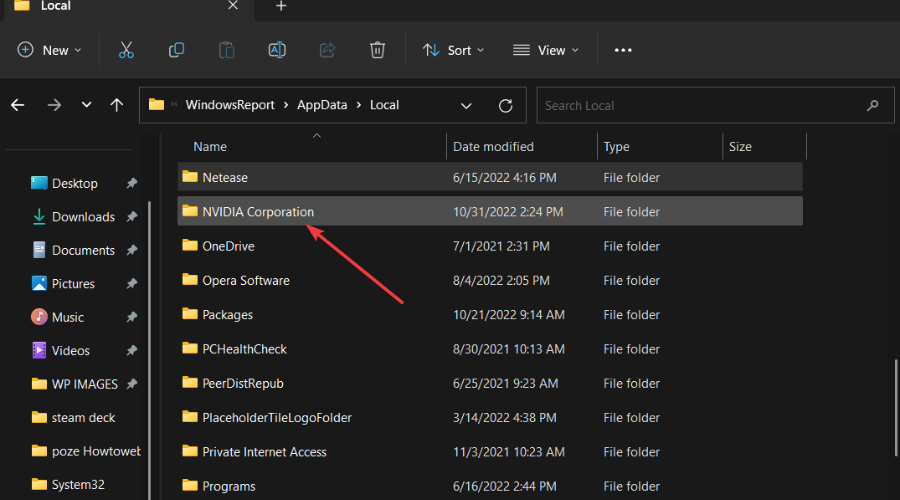
- Navigate to the Security tab.

- Check against the Permissions column and ensure everything under the Allow section is checked.
2. Update your NVIDIA drivers
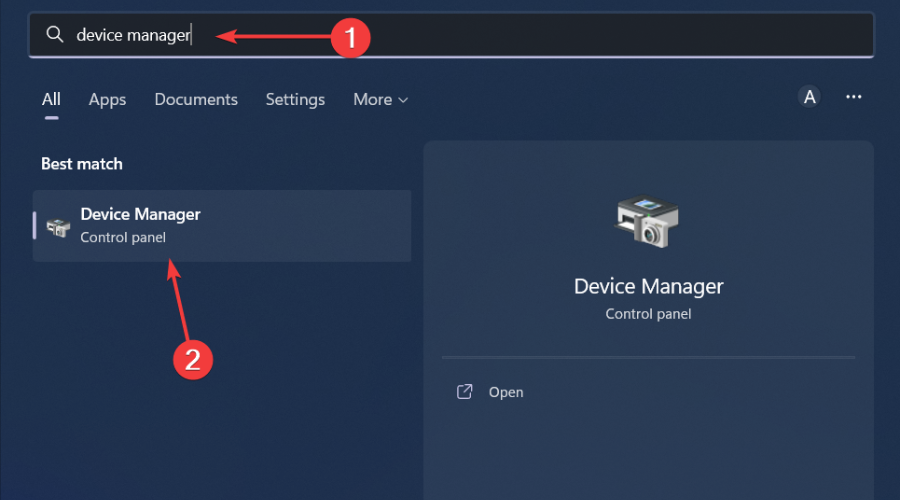
- Hit the Start Menu icon, type Device Manager in the search bar, and click Open.
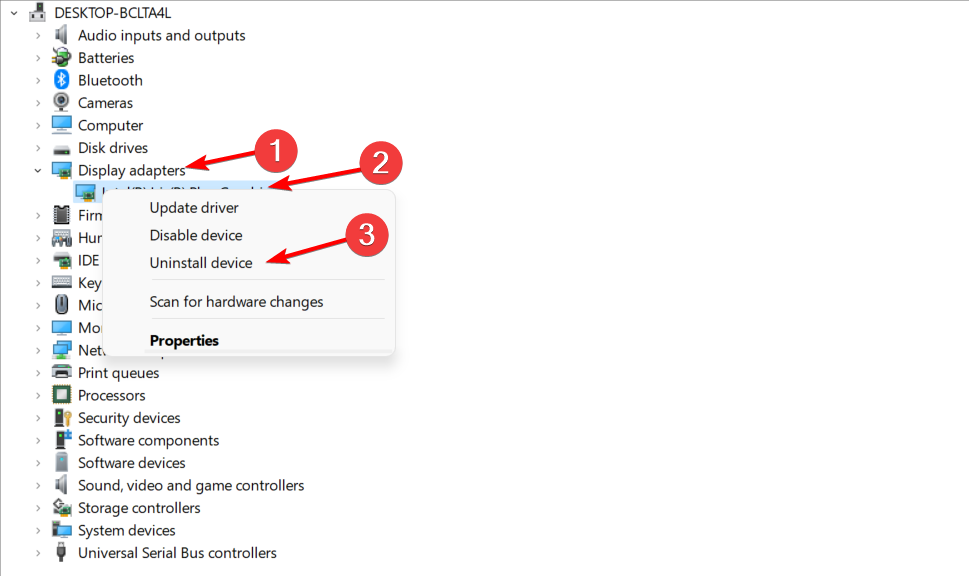
- Navigate to Display drivers, and click to expand.
- Locate the NVIDIA driver, right-click on it, and select Update driver.

- Select Search automatically for drivers.

- Wait for Windows to find the best match for your NVIDIA card.
It would be best if you kept your graphics card updated regularly to stay up-to-date with the latest technologies and features offered by NVIDIA. This will help enrich the user’s experience. If your graphics card has not been updated in a long time, it may not support new features.
Alternatively, if updating drivers manually is not your thing, you’ll be happy to know there’s a way to achieve similar results without going through too many steps. Outbyte Driver Updater is the driver updater utility you need.
It will detect any missing/corrupted/damaged driver, then search from its comprehensive database to find the correct one. Once the process is complete, it will download and install it for you.
3. Reinstall your NVIDIA drivers
- Hit the Start Menu icon, type Device Manager in the search bar, and click Open.
- Navigate to Display drivers, and click to expand.
- Locate the NVIDIA driver, right-click on it, and select Uninstall device.
- Restart your PC, and new drivers will automatically be installed.
4. Disable your antivirus temporarily
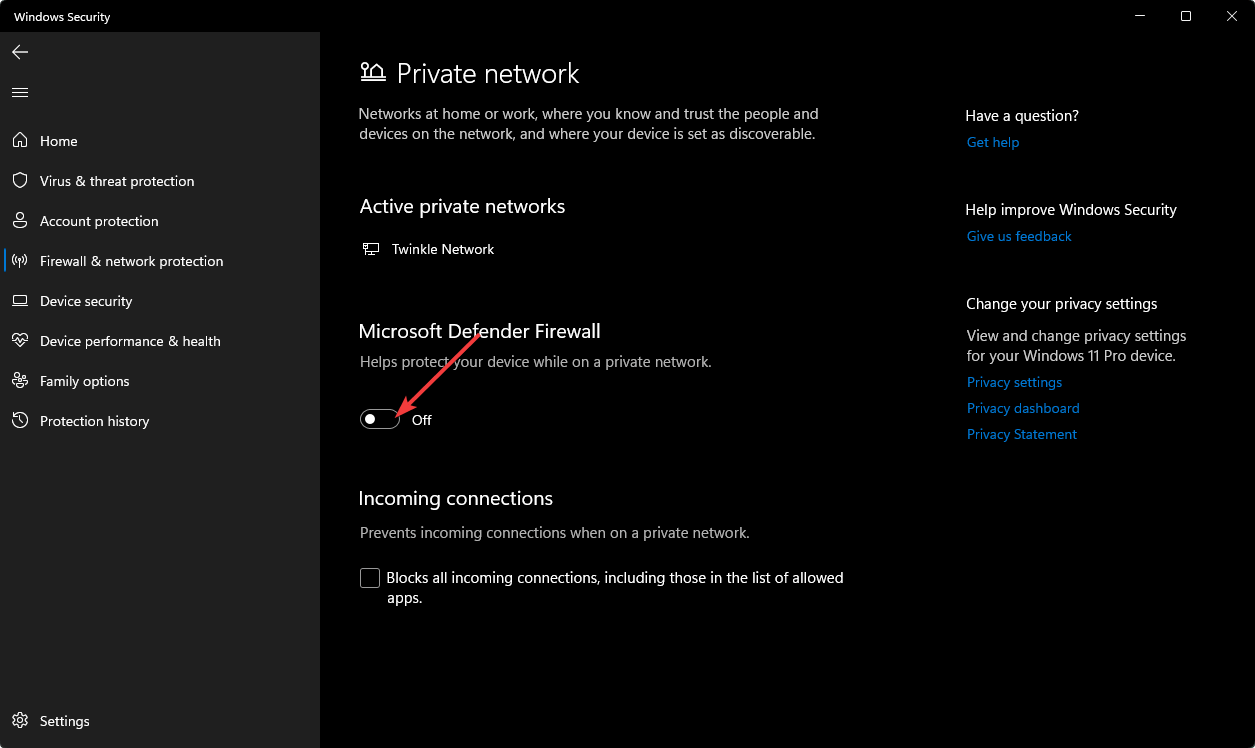
- Hit the Start menu icon, type Windows Security in the search bar, and click Open.

- Click on Firewall & network protection then select Public network.
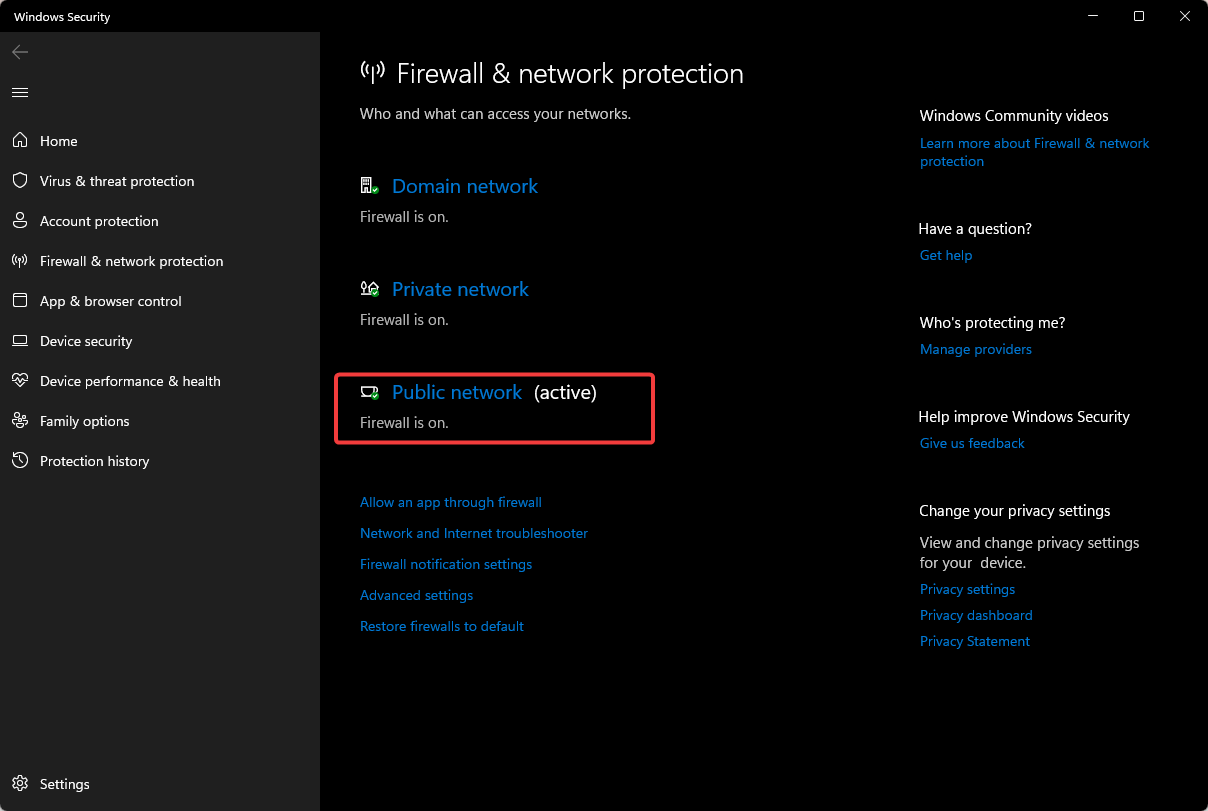
- Locate Microsoft Defender Firewall and toggle the off button.
If you have other third-party antivirus tools installed on your PC, proceed to disable them too. Consider whitelisting the NVIDIA Control Panel utility to ensure you’re not blocked in the future from making changes.
5. Run program as administrator
- Go to the following location:
C: Drive/ program files/NVIDIA Corporation/Control Panel Client/ - Find nvcplui.exe, right-click on it, and select Properties.

- Navigate to the Compatibility tab and check Run this program as an administrator.

The NVIDIA Control Panel also faces a myriad of issues from time to time. You may find that the control panel crashes often. Check out our helpful guide for more solutions if this is the case.
You may also be unable to launch the NVIDIA Control Panel, so don’t hesitate to refer to our article for various ways to force it to open.
That brings us to the end of this article but do let us know if there’s any solution we may have missed in the comment section below.
Read our disclosure page to find out how can you help Windows Report sustain the editorial team. Read more


Improve this guide


User forum
0 messages