Fix: Nvidia Driver not Compatible with This Windows Version
Find out how others managed to get rid of the error in no time
6 min. read
Updated on
Read our disclosure page to find out how can you help Windows Report sustain the editorial team. Read more
Key notes
- The This NVIDIA driver is not compatible with this version of Windows error occurs because of installing the wrong drivers for your system.
- Common reasons include users downloading the 32-bit driver version on a 64-bit OS or running an outdated version of Windows.
- Using a dedicated tool to update your drivers can be the key to a quick recovery or you could manually install them.
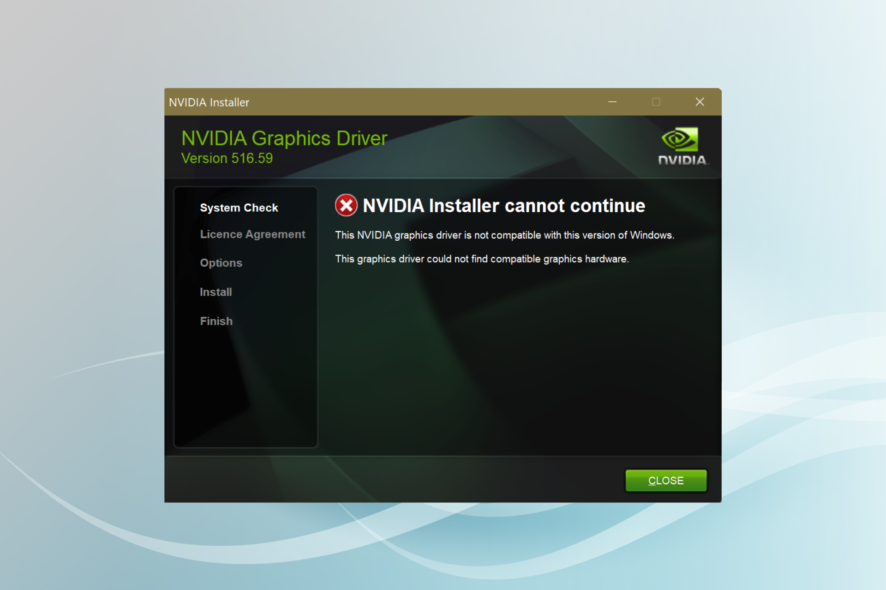
NVIDIA is one of the most popular manufacturers of graphics cards, with wide usage amongst gamers. But many reported getting the This NVIDIA driver is not compatible with this version of Windows error while installing the driver.
The error may appear on all iterations of the OS, including Windows 7, Windows 10, and Windows 11. Though the chances of encountering it on the latest iteration are far lower. So, let’s find out all about the error.
Why can’t I install NVIDIA drivers on Windows 10?
Here are a few reasons you can’t install NVIDIA drivers and get an error instead:
- Driver doesn’t match with Windows architecture: The error usually appears when you download a 32-bit version of the driver on a 64-bit Windows or vice-versa.
- Outdated OS: In many cases, users get the This NVIDIA driver is not compatible with this version of Windows error when OS has not been updated for quite a long time, and a quick trick is to update Windows.
- Compatibility issues: Sometimes, compatibility issues may arise between NVIDIA drivers and Windows, as was reported by some users when they upgraded the OS.
How can I fix Nvidia driver not compatible with this version of Windows?
Before we head to the slightly complex solutions, here are a few quick things you must try:
- Check if any updates are available for Windows and install them.
- Make sure the graphics card is properly seated and check if the GeForce game ready driver is not compatible with this version of Windows error is fixed.
- Verify that you are downloading the correct drivers for the GPU. If the driver is meant for another GPU, you are just as likely to get the NVIDIA This DCH driver package is not compatible with the currently installed version of Windows error.
- If you get the error when installing the latest driver version, download the previous one since there may be a bug triggering conflicts.
- For those with the Armoury Crate program installed, ensure it has not set the GPU to Eco Mode. In this case, switch to Balanced Mode.
If these don’t work, move to the fixes listed next.
1. Uninstall and reinstall the drivers
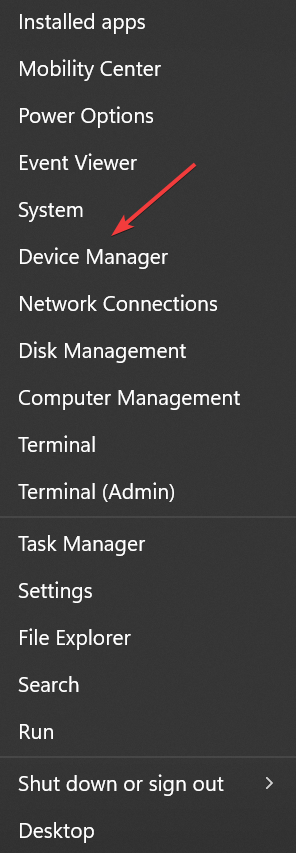
- Press Windows + X to open the Power User menu, and choose Device Manager.
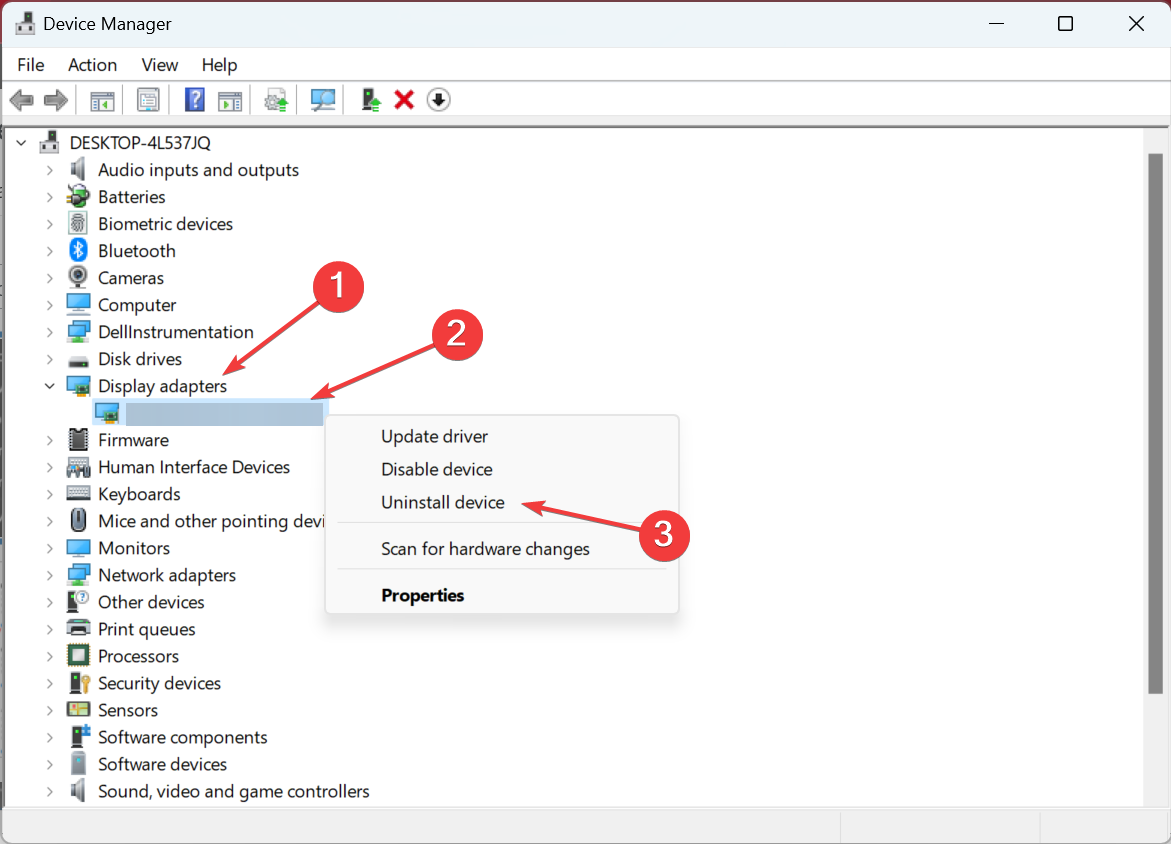
- Expand the Display adapters entry, right-click on the NVIDIA GPU, and select Uninstall device.
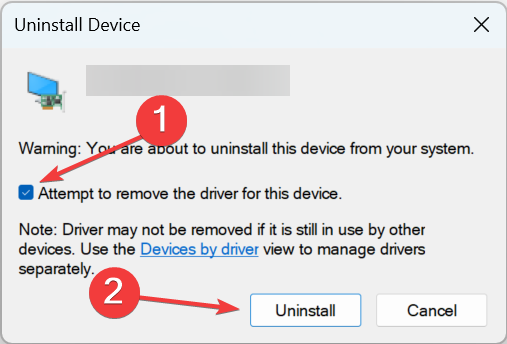
- Tick the checkbox for Attempt to remove the driver for this device, and then click Uninstall.
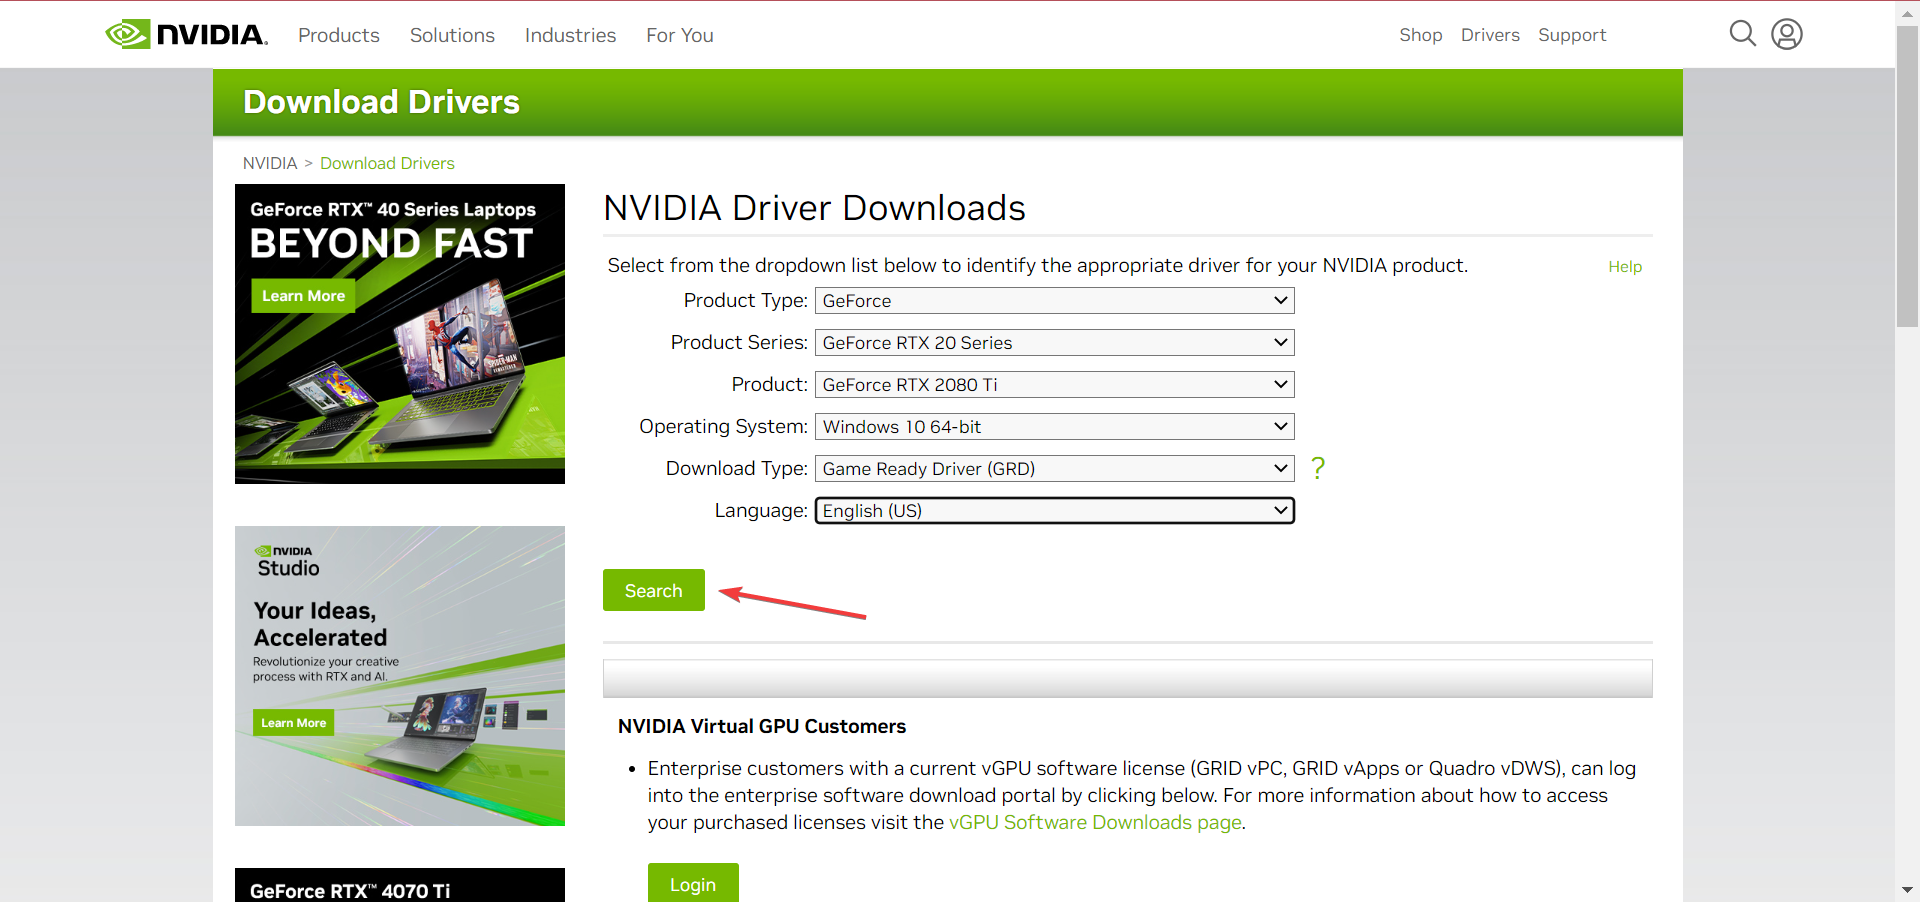
- Now, go to NVIDIA’s official website, choose your graphics card, iteration of the OS with the correct architecture, download type, and language, and then click on Search.
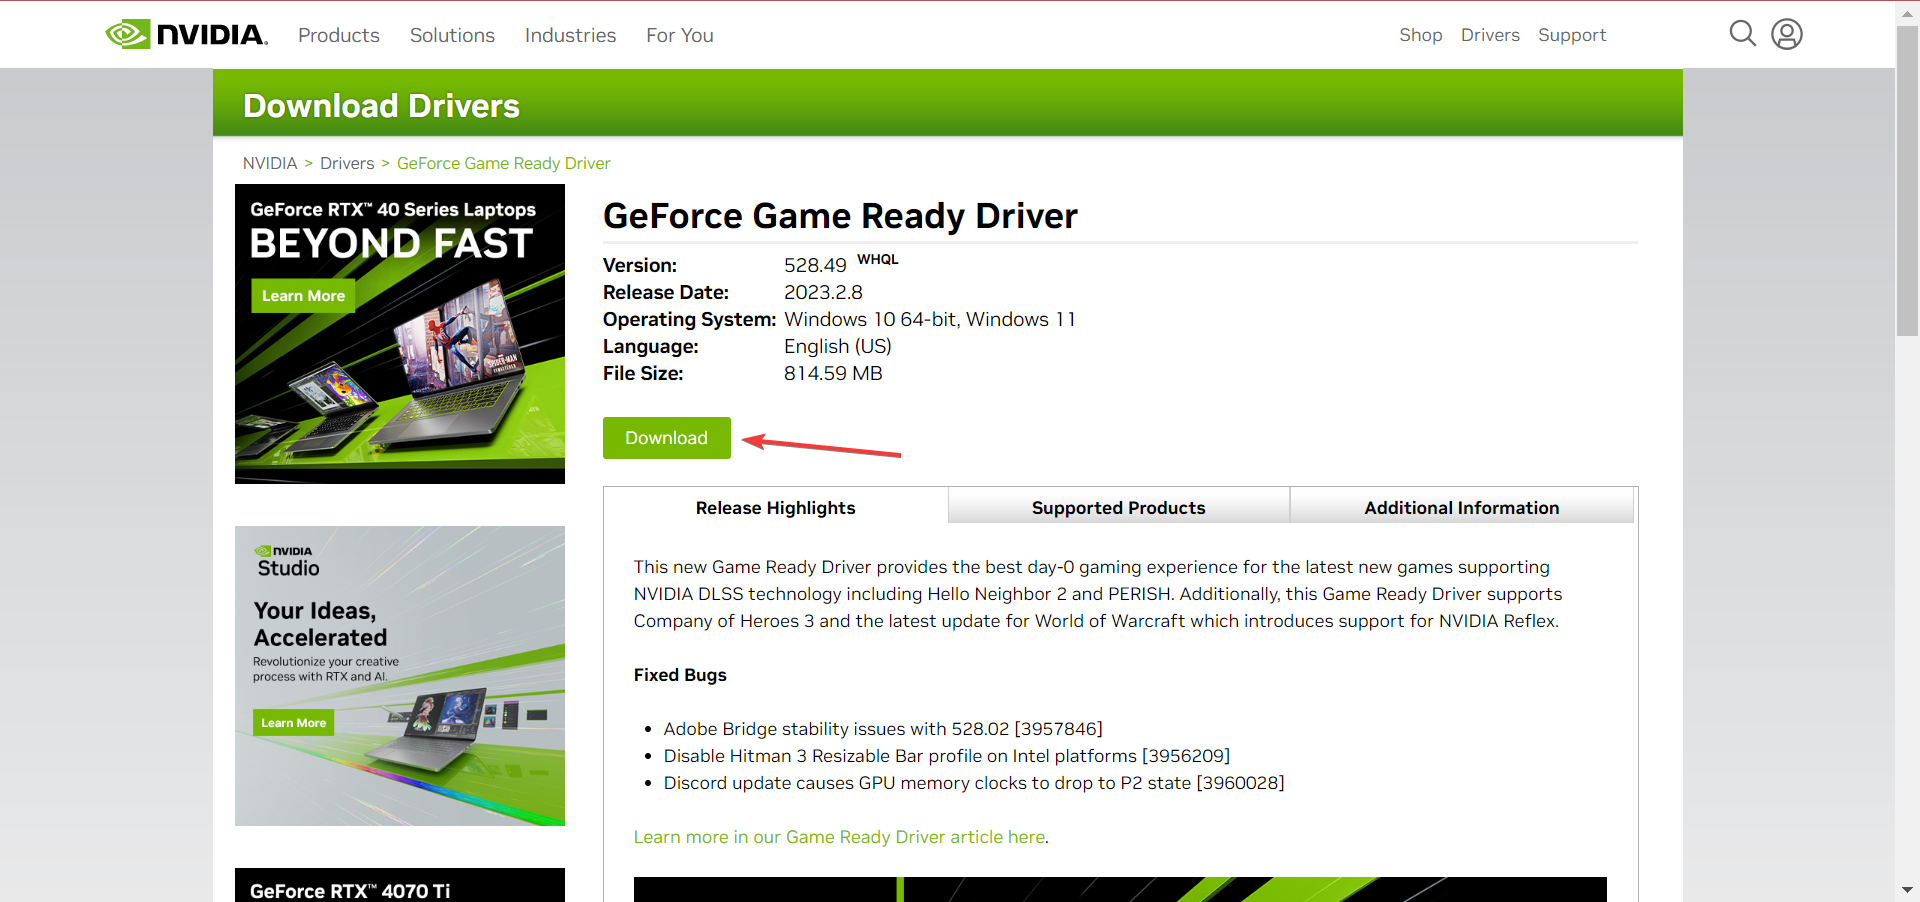
- Click on the Download button.
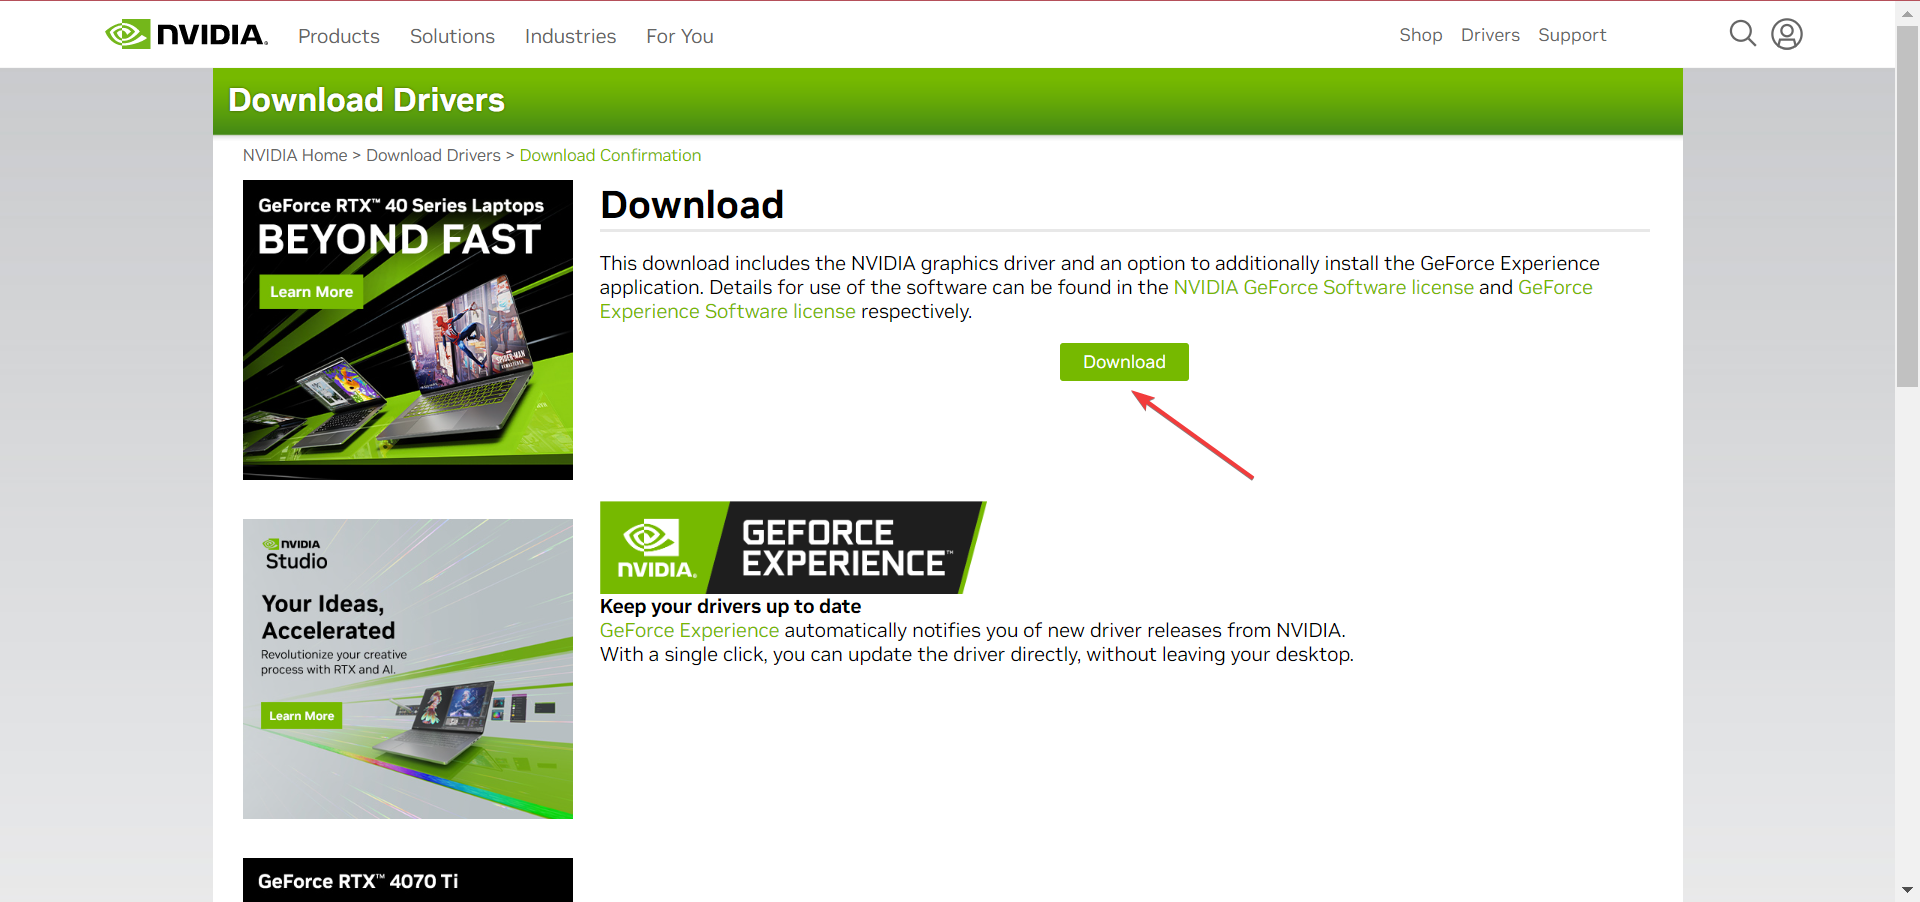
- Again, click Download to get the driver.
- Next, run the setup, and follow the on-screen instructions to complete the process.
One of the ways to fix things when you get the This NVIDIA driver is not compatible with this version of Windows error is to remove the current one and manually install the driver from the manufacturer’s website. Though a simpler solution would be to use specialized software.
2. Use a specialized driver updater program
Since we already know that the issue is due to incompatible drivers, we can now make use of a program that does the driver update automatically.
The software recommended below is an all-in-one Windows tool that helps you update your device drivers easily and safely.
⇒ Get PC HelpSoft Driver Updater
3. Use GeForce Experience
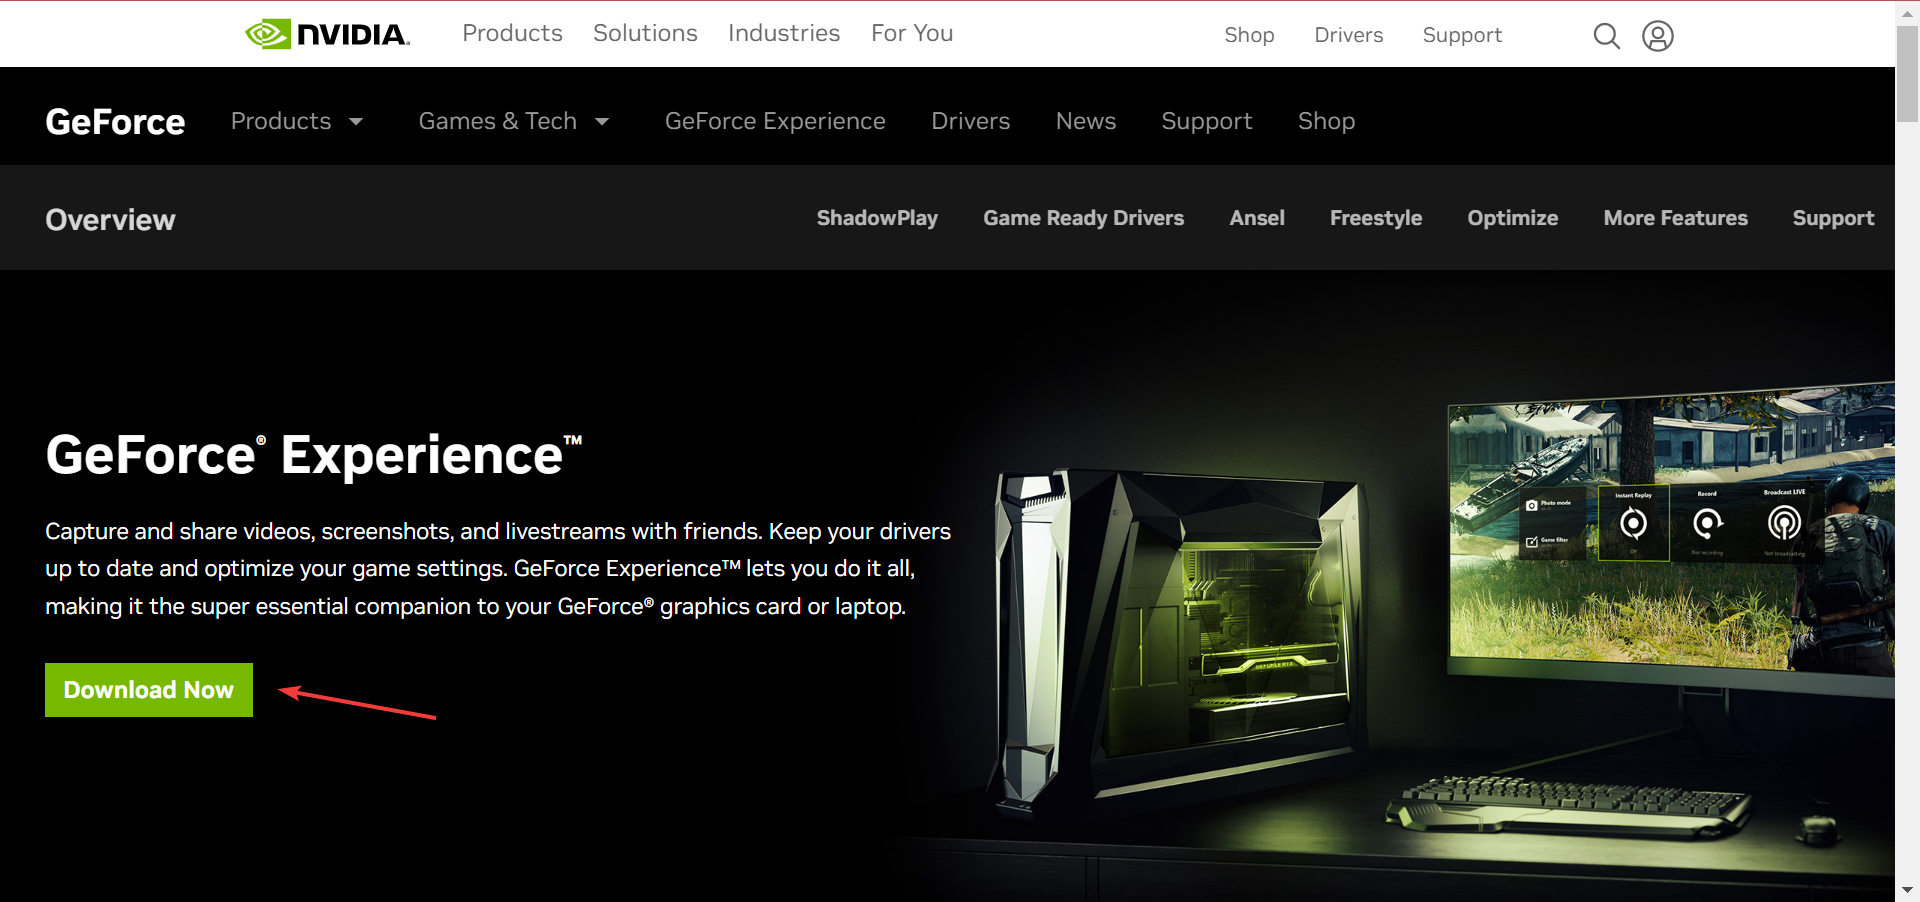
- Visit GeForce’s official website, and click on the Download Now button.
- Once done, run the setup, and follow the on-screen instructions to complete the installation.
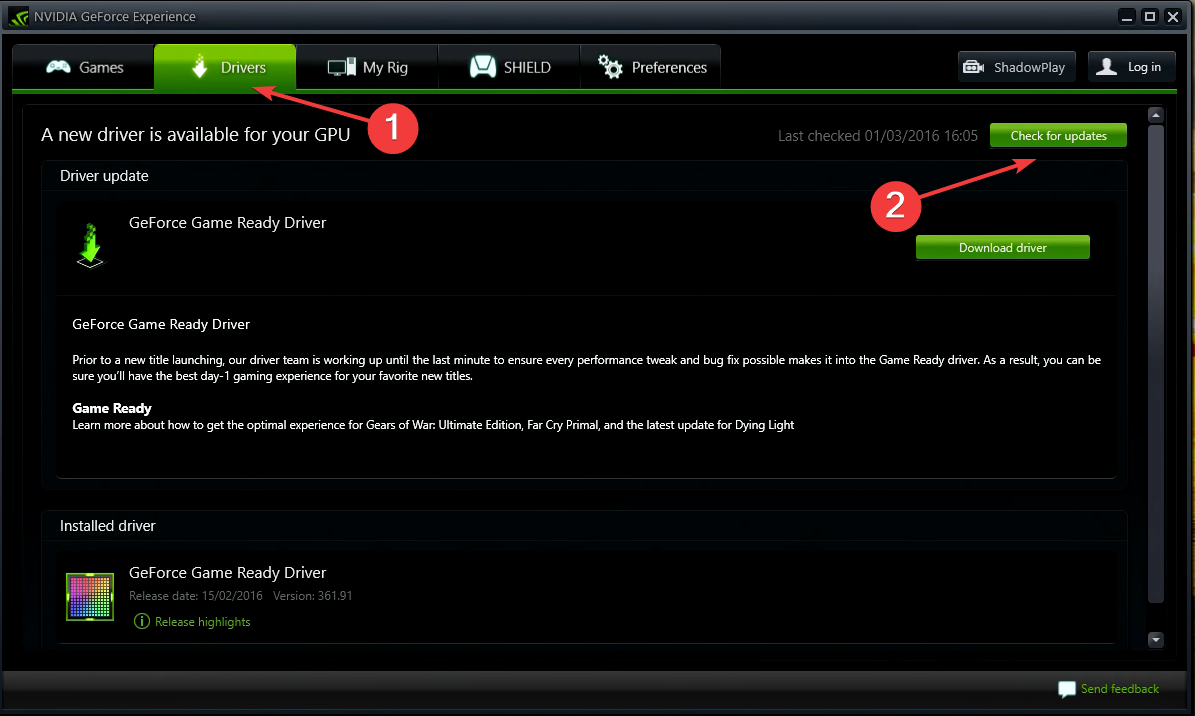
- Launch the GeForce Experience app, go to the Drivers tab, and click on Check for updates.
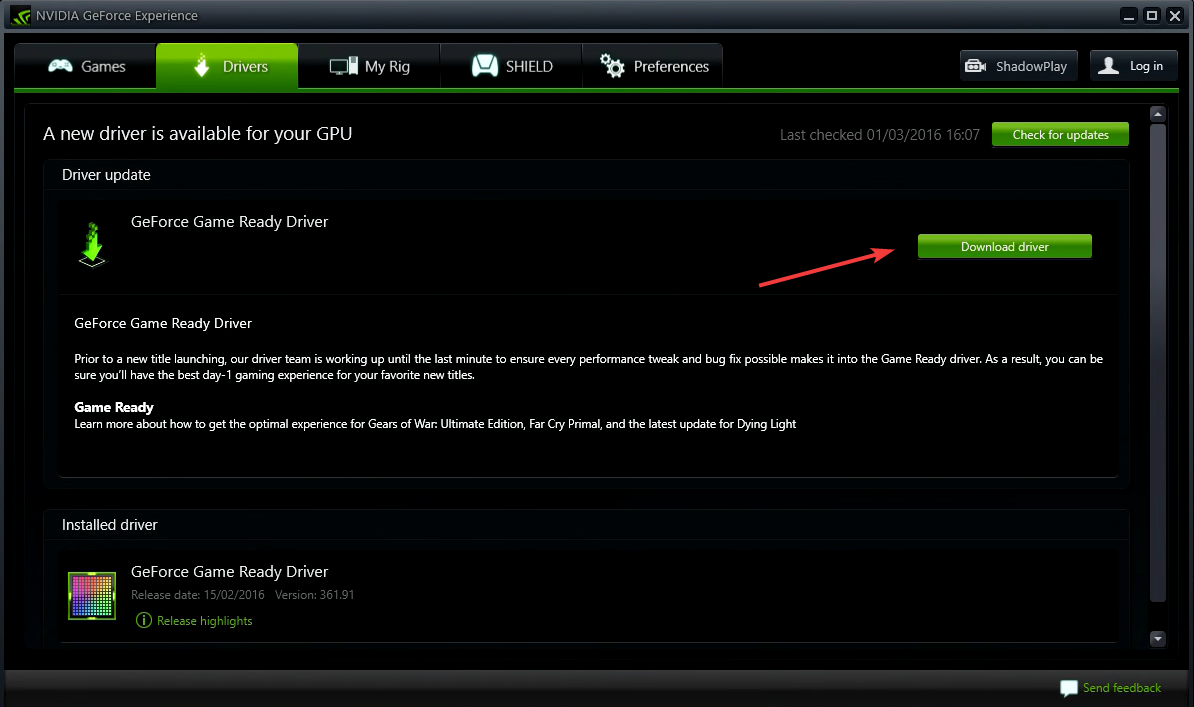
- After an update is listed, click on Download driver.
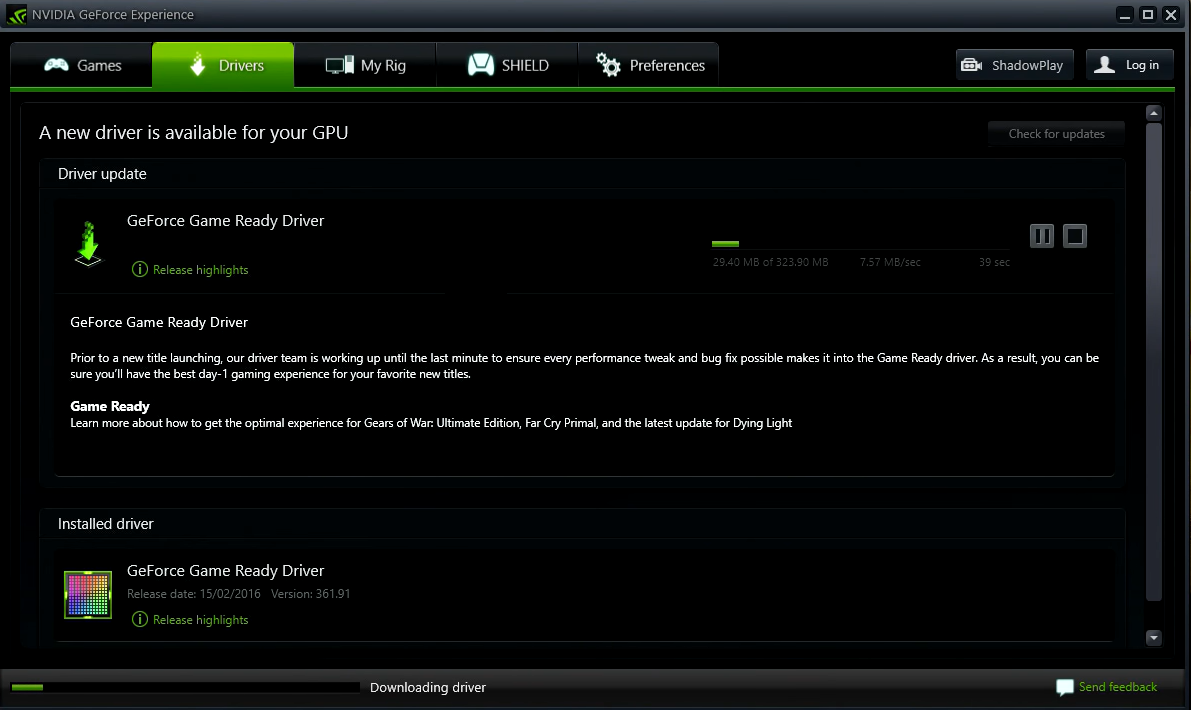
- Wait for the download to complete.
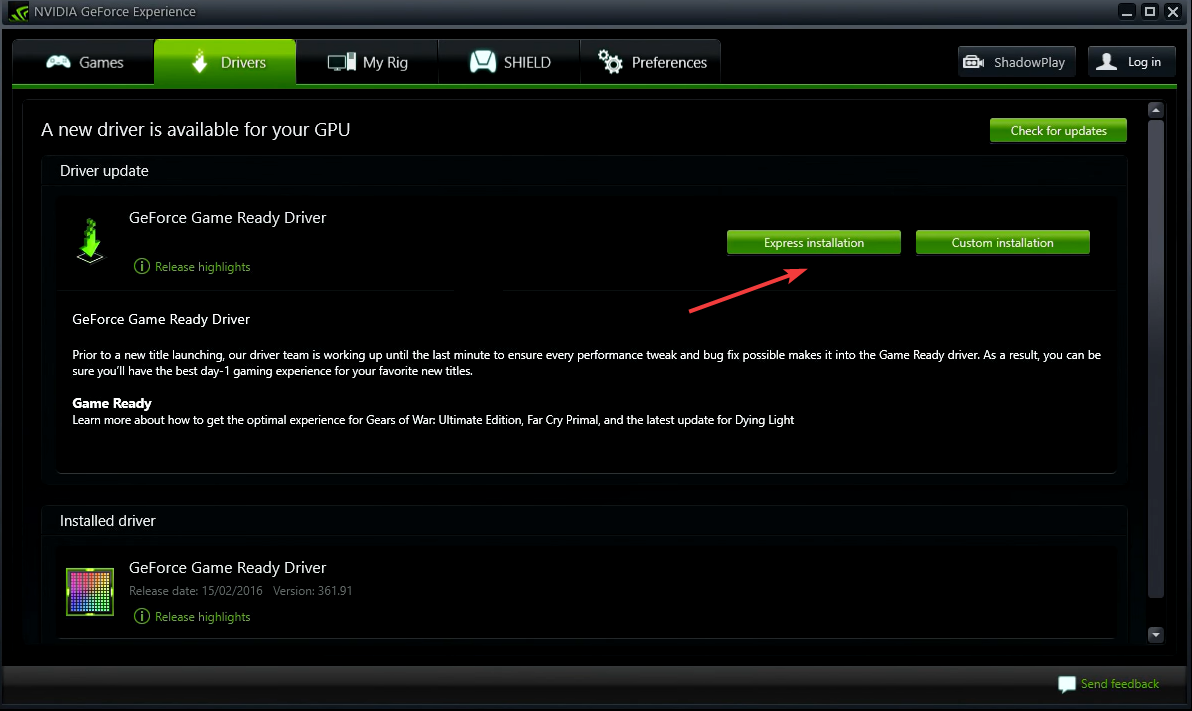
- Click on Express installation.
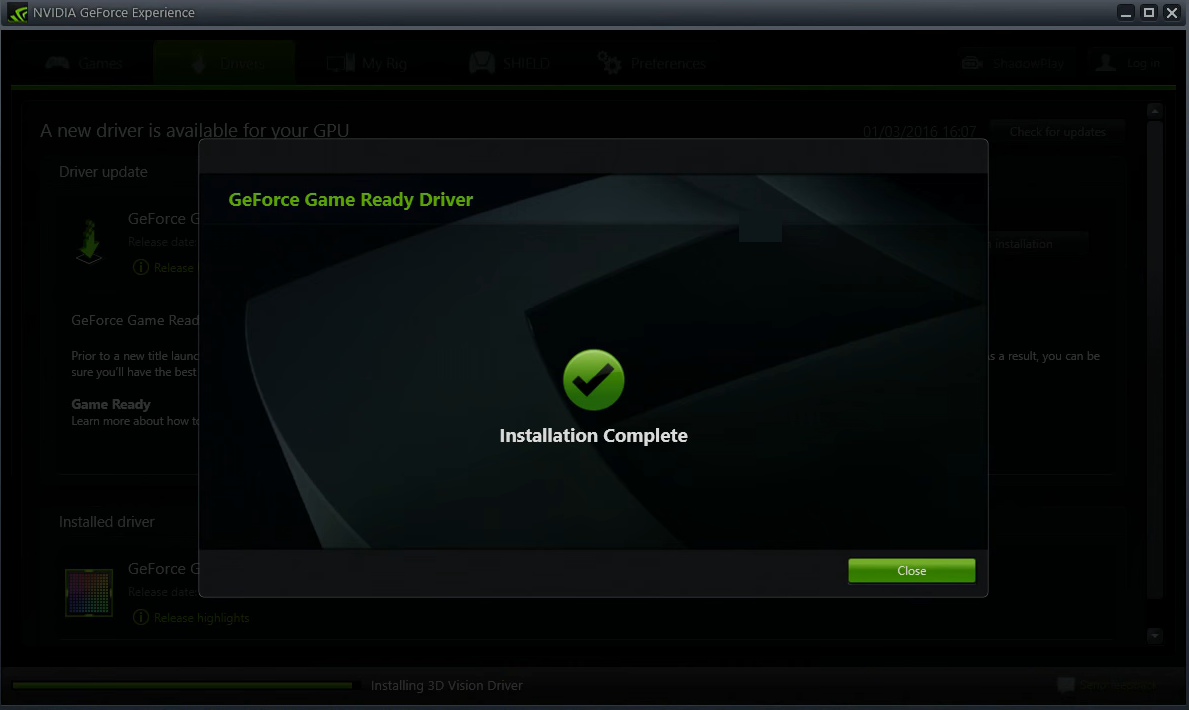
- The installation will start right away.
- After the installation is complete, restart the computer for the changes to come into effect.
The GeForce Experience program also allows the option to install the driver. It should come in handy when you get the This NVIDIA driver is not compatible with this version of Windows error.
4. Manually install the driver using Device Manager
- Don’t close the setup when you get the error while installing the NVIDIA driver, instead, proceed with the steps below.
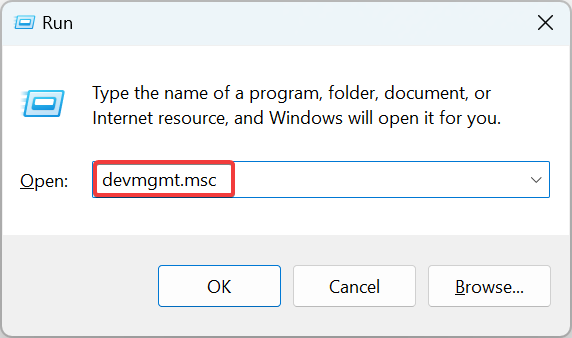
- Press Windows + R to open Run, type devmgmt.msc in the text field, and hit Enter.
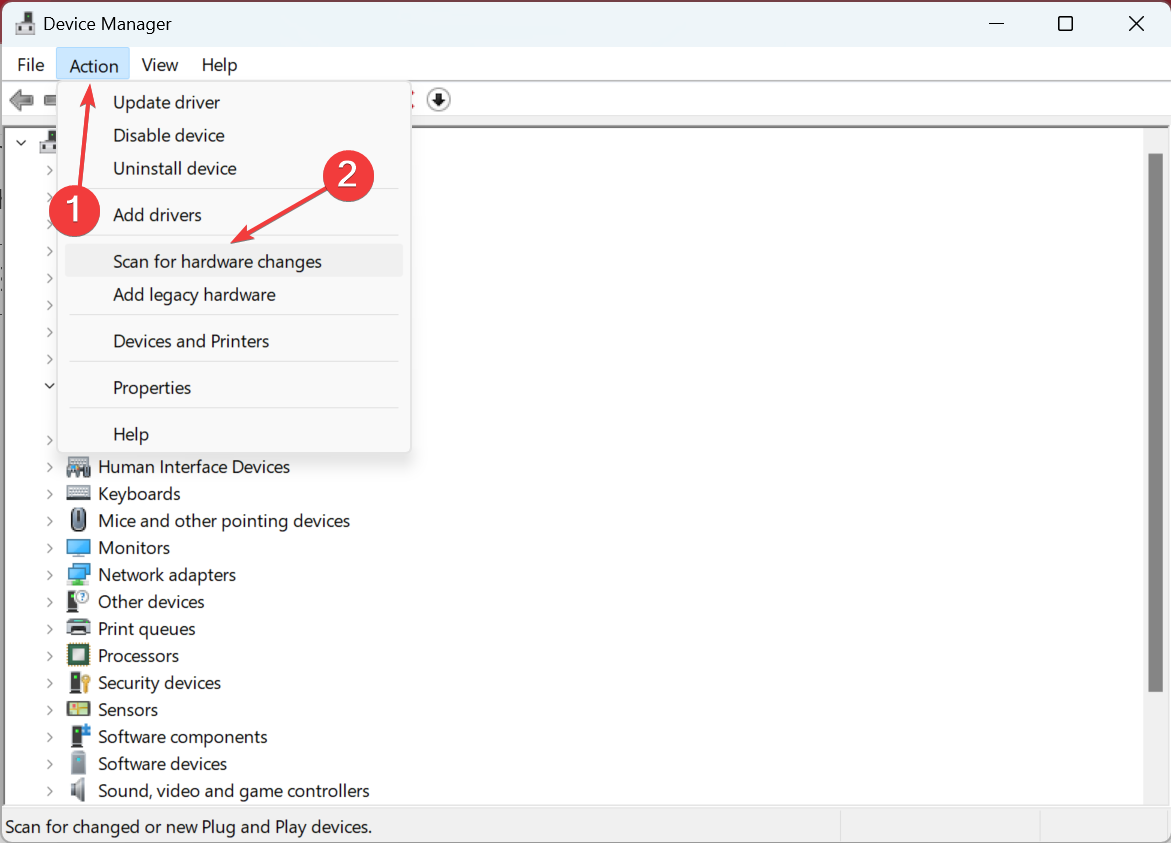
- Click on the Action menu, and choose Scan for hardware changes.
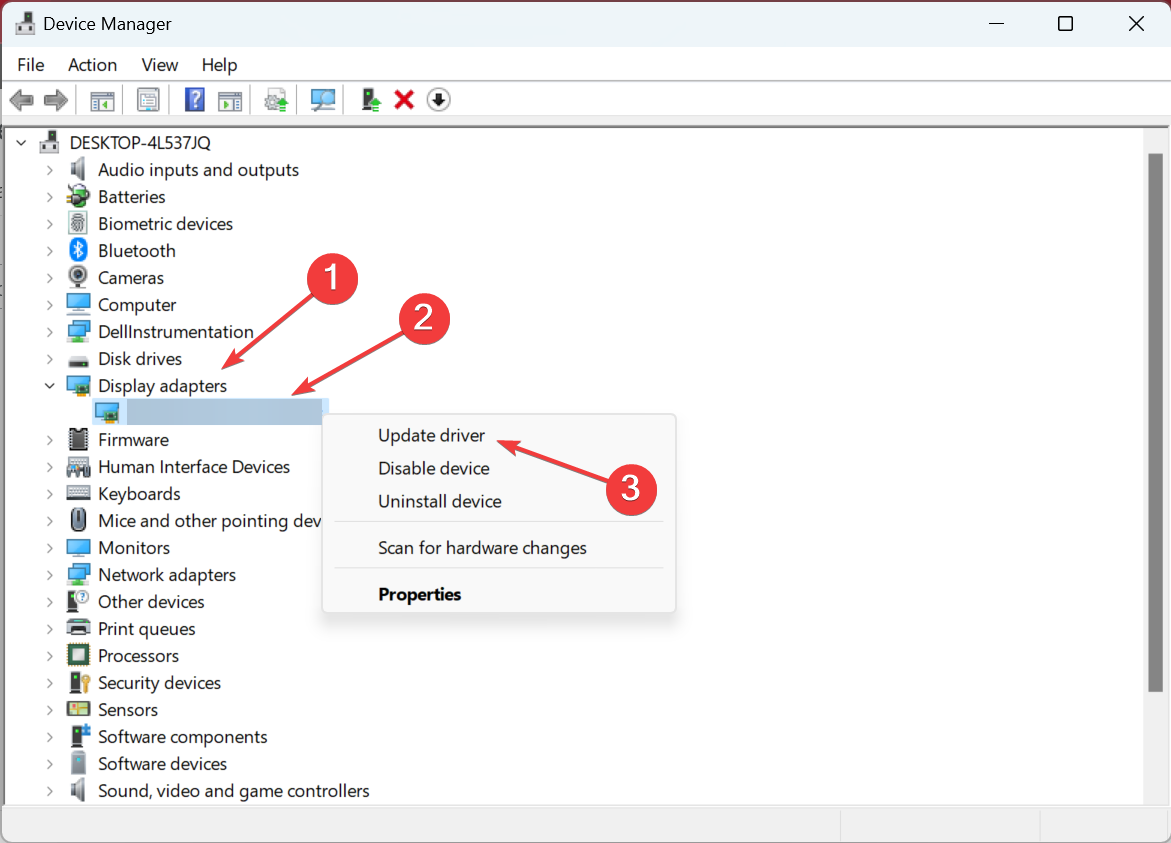
- Double-click on the Display adapters entry, right-click on the NVIDIA adapter, and then select Update driver. (If the NVIDIA GPU is not listed, click on View and choose Show hidden devices)
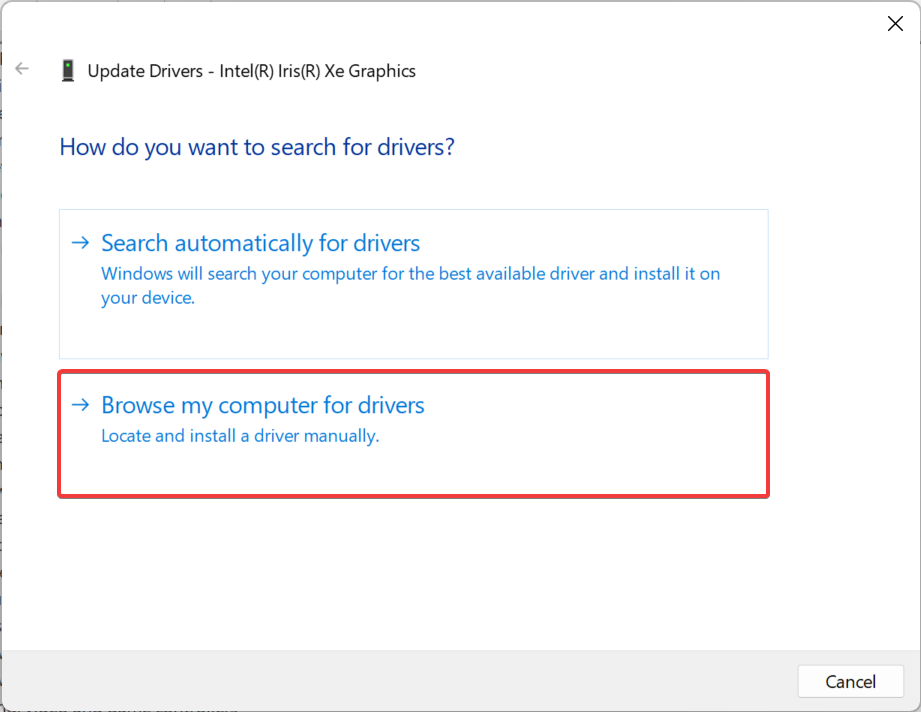
- Now, choose Browse my computer for drivers.
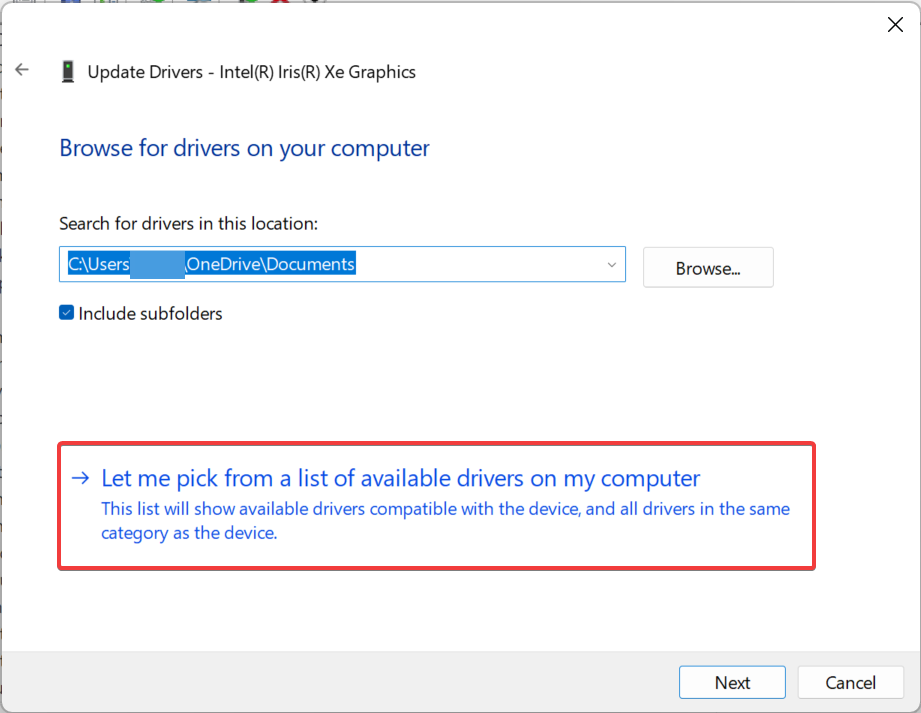
- Next, click on Let me pick from a list of available drivers on my computer.
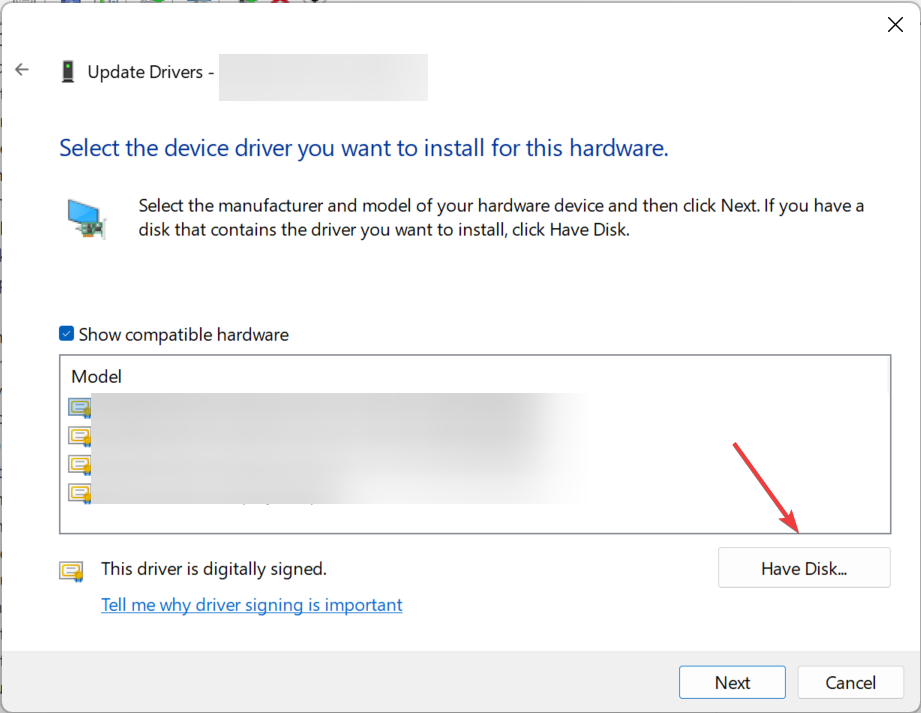
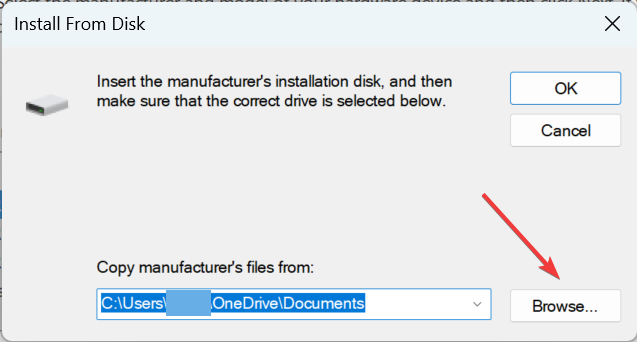
- Click on Have disk.
- Click on Browse.
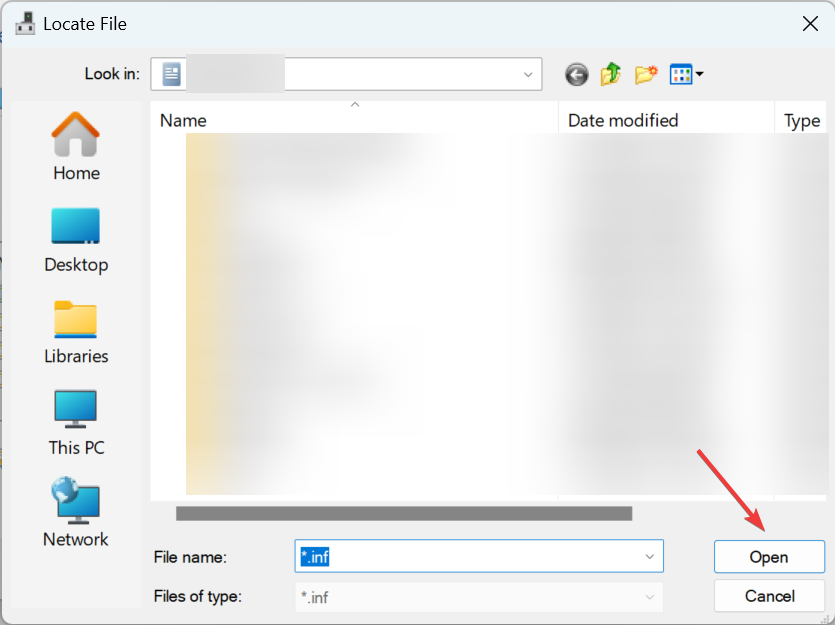
- Now, navigate the following path, open the folder with its name as the driver version, then the one that’s named after the iteration, followed by the International folder, and then the DisplayDriver folder:
C\NVIDIA\DisplayDriver - Choose a .inf file and click Open.
- Click OK.
- Now, choose the correct version, click Next, and follow the instructions to complete the process.
A user shared a quick workaround to fix the This NVIDIA driver is not compatible with this version of Windows error by manually installing the driver package, and this seemed to work for others as well. So make sure you try this if the previous solutions didn’t work.
5. Perform an in-place upgrade
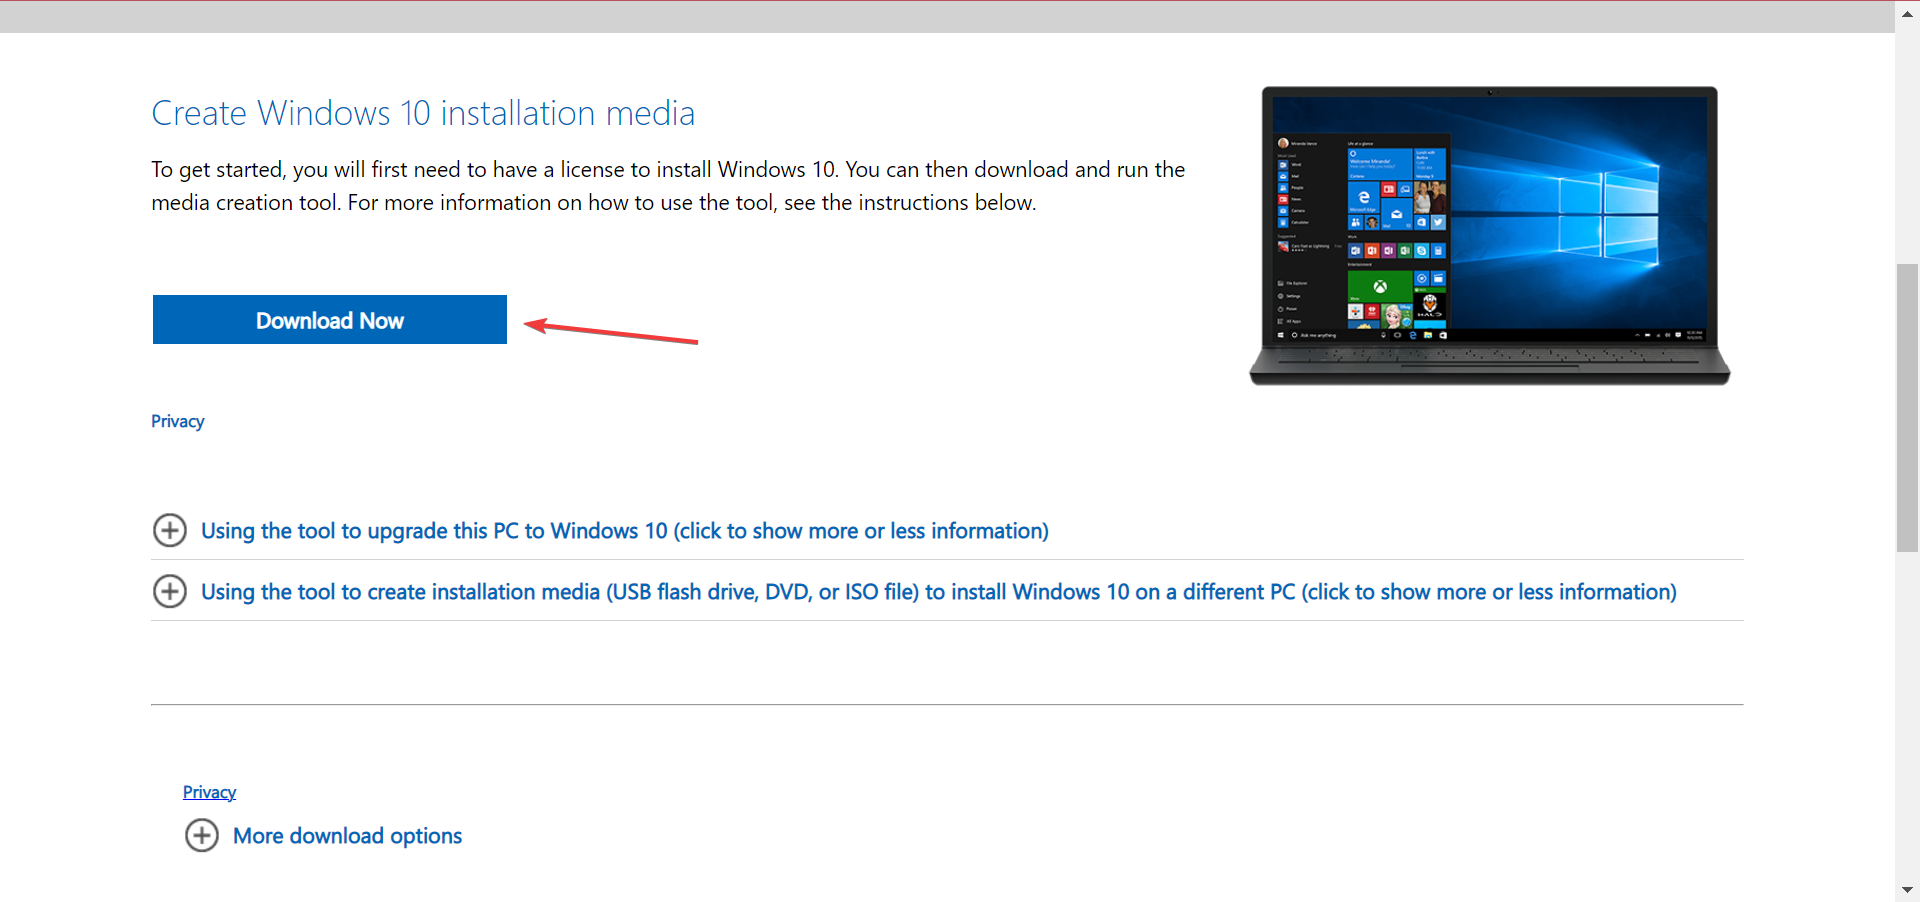
- Go to Microsoft’s official website, and download the Media Creation Tool for Windows 10.
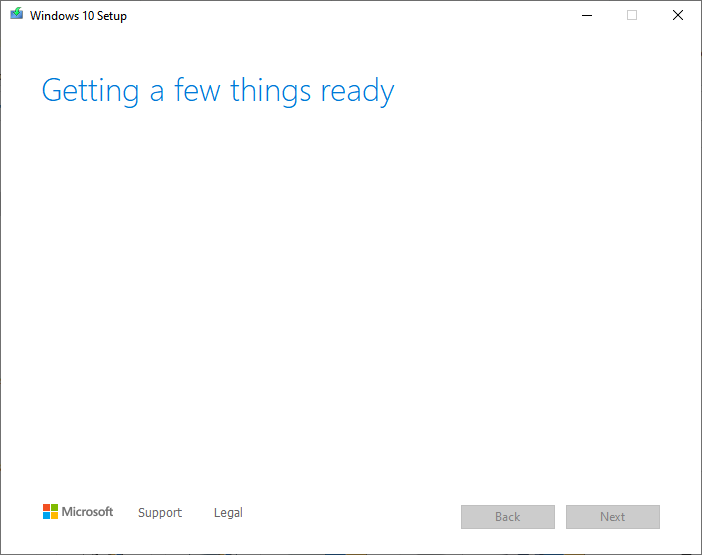
- Once downloaded, run the tool, and wait for it to initialize.
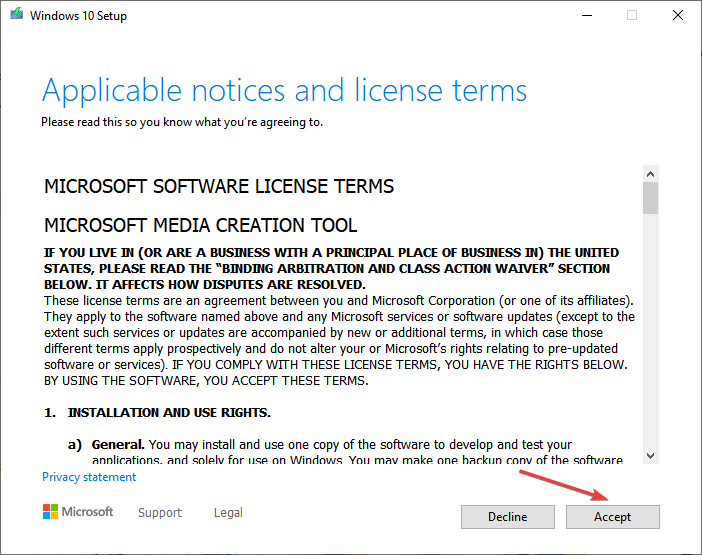
- Now, click on Accept to agree to the license terms and conditions.
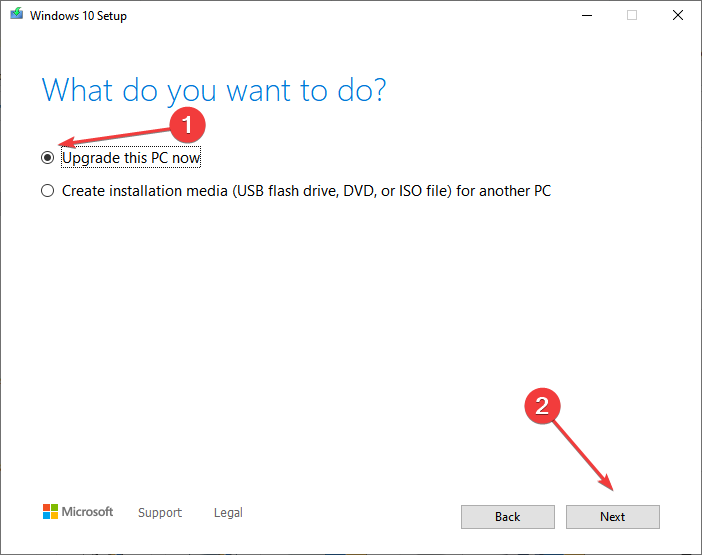
- Choose the Upgrade this PC now option, and click Next.
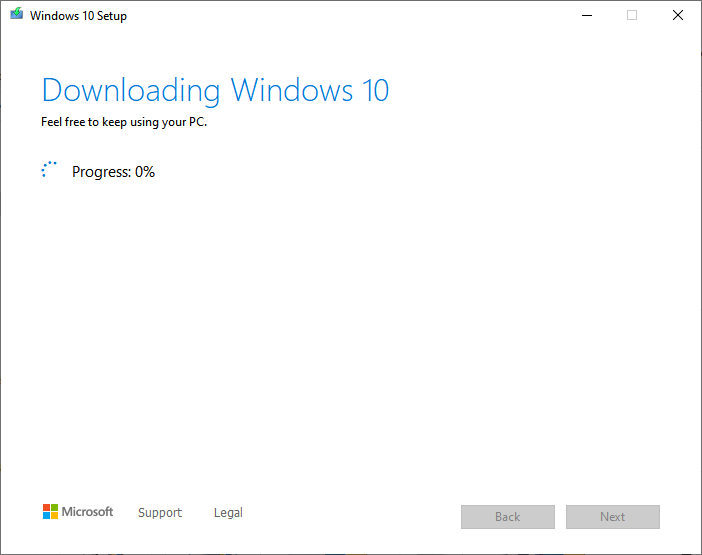
- Wait for the download to complete and follow the instructions to perform an in-place upgrade.
That’s it! If the solutions listed previously did not work, an in-place upgrade should get things up and running. It will update the OS, replace any corrupt system files, and eliminate a range of issues with the OS. And the best part is you don’t lose any data.
Before you leave, do not forget to check some great tips and tricks to speed up Windows 10.
If you have any queries or want to share a solution not listed here, comment below.



User forum
0 messages