How to Set the Right OBS Keyframe Interval for Your Content
You should play a little bit with the settings before streaming
3 min. read
Published on
Read our disclosure page to find out how can you help Windows Report sustain the editorial team. Read more

Streaming quality can make or break your viewer’s experience, and one key aspect to get right is the keyframe interval in OBS Studio. Let’s dive into how you can master the OBS keyframe interval to ensure perfect streaming quality.
How do I set Keyframe Interval in OBS Studio?
1. Set the recommended Keyframe Interval
- Launch the application by clicking the OBS icon on your desktop or Start menu.
- Click on the Settings button on the bottom right-hand corner of the OBS Studio window.
- In the Settings window, click on the Output tab from the left-hand side menu.
- Ensure you are in Advanced output mode by selecting it from the dropdown at the top of the Output settings.
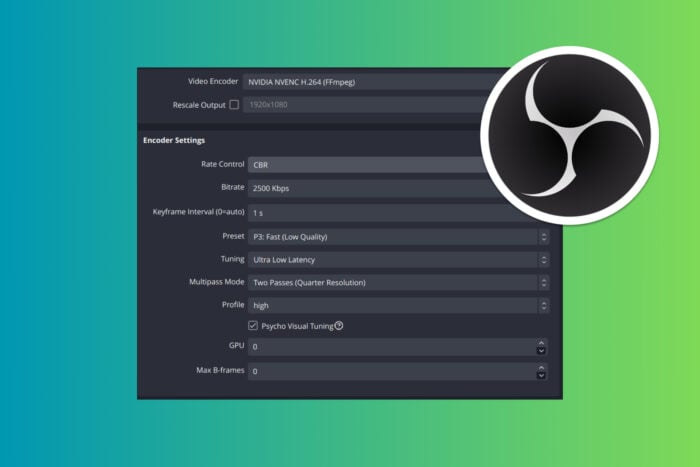
- Locate the option labeled Keyframe Interval and set it to 2. This is the commonly recommended setting for most streaming platforms to balance quality and latency.
This will help your stream maintain a good quality while ensuring that the viewers experience minimal delay. It’s a balanced setting approved by many streaming platforms like Twitch and YouTube.
2. Adjusting Keyframe Interval for different content types
- Start the application by clicking the OBS icon on your desktop or Start menu.
- Click on the Settings and click on the Output tab.
- Select the Advanced output mode from the dropdown at the top.
- Keyframe Interval based on content:
- For static scenes (e.g., news desk or talk show): Set the keyframe interval to 2 seconds.
- For dynamic content (e.g., sports events): Set the keyframe interval to 1 second.
This adjustment allows you to optimize your stream based on the type of content, ensuring the best quality and performance tailored to what you are broadcasting.
3. Custom Keyframe Interval for high FPS recordings
- In OBS Studio, enter Settings ang go to Output.
- Switch to the Advanced output mode.
- In the Keyframe Interval field set the following values:
- For high FPS recording (e.g., 240 FPS): Set the keyframe interval to a value based on your needs. For instance, setting it to 1 will insert a keyframe every 240 frames. You can also use 0.5 for every 120 frames.
If you set the Keyframe Interval to 0, this lets OBS automatically adjust the keyframe interval based on the encoding settings and stream requirements.
Custom settings can optimize performance and quality for specific recording setups, particularly useful for high FPS recordings, balancing file size and quality.
Additional tips for OBS Keyframe Intervals
- Test different settings: It’s advisable to test different keyframe intervals and monitor the quality and performance of your stream.
- Monitor CPU usage: A shorter keyframe interval can increase CPU load. If your system struggles, consider lengthening the interval or upgrading hardware.
- Consider bitrate and resolution: Keyframe interval is just one of the many factors affecting stream quality. Balancing bitrate and resolution is also crucial.
Setting the correct keyframe interval can significantly improve your streaming quality and viewer experience. Adjust these settings based on your specific needs and the type of content you are broadcasting.
Now that you know how to set the OBS Keyframe Interval,


User forum
0 messages