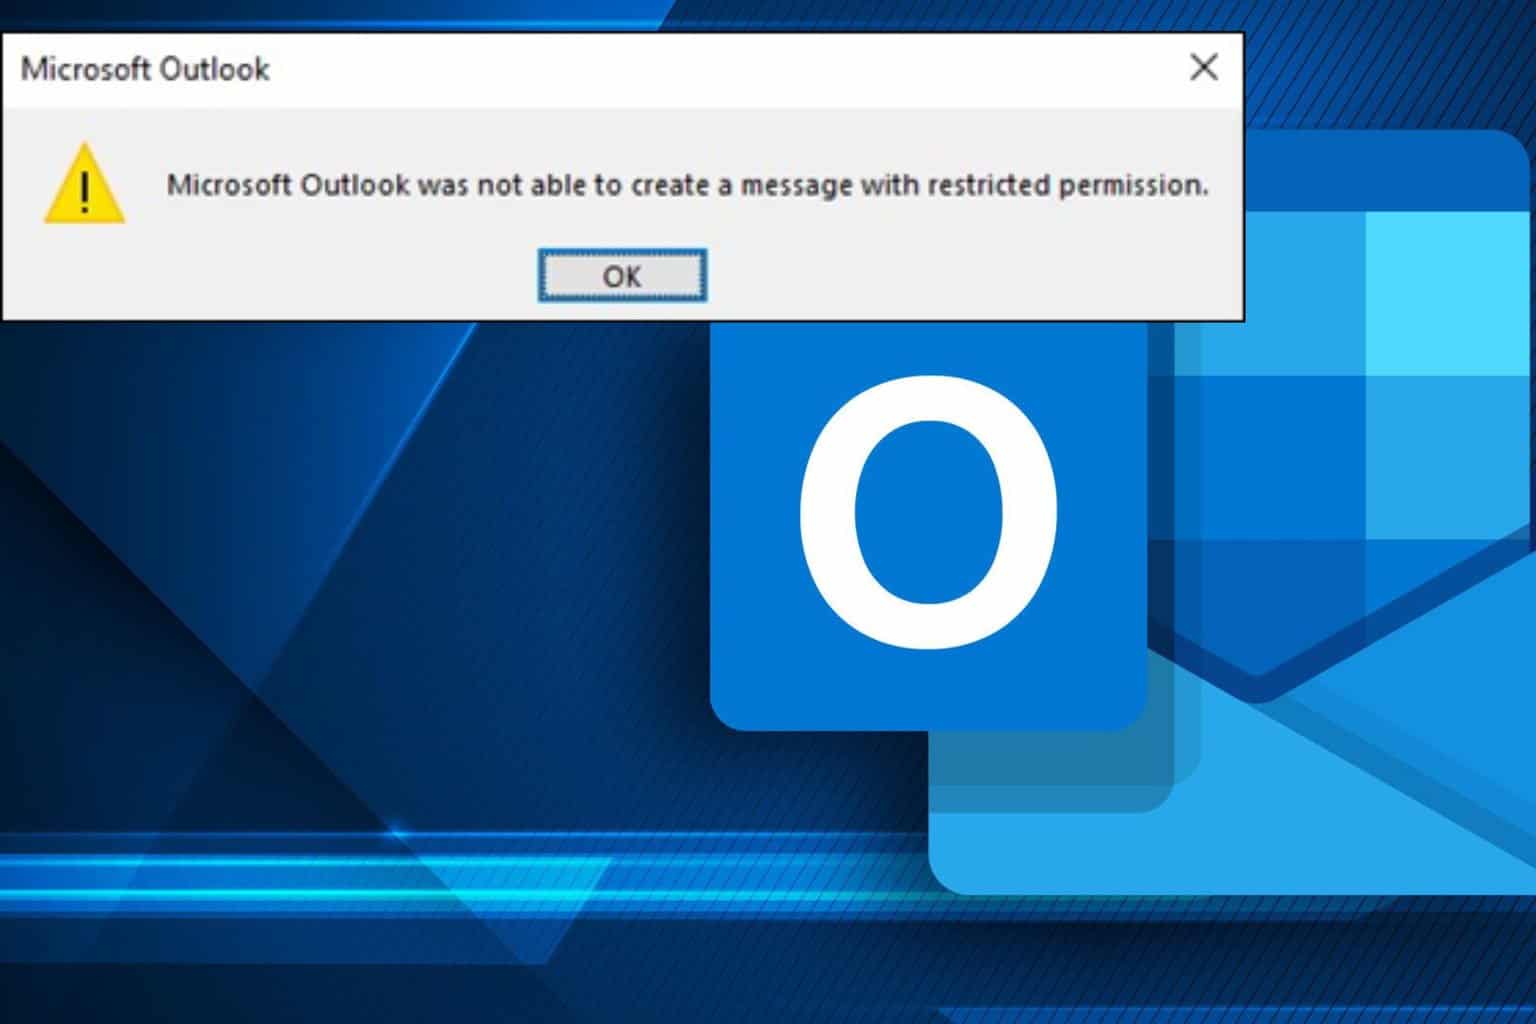
Error code 0x85050041: Simple ways to deal with the issue
![]() 8 min. read
8 min. read
![]() Updated on
Updated on
Share this article
Improve this guide
Read our disclosure page to find out how can you help Windows Report sustain the editorial team Read more
Key notes
- Windows Mail is the default email app for the Windows 10 OS.
- The guide below will showcase the fixes needed to solve Error code 0x85050041.
- You can repair your system files with an SFC scan and also try to reinstall your mail app.
- We also guide you on how to re-add your mail account, and more.
Error Code 0x85050041 pertains to certain inconsistencies with the Windows 10 mail app which might prevent the app from syncing with the mail servers on a regular basis.
It does not always have to do with the app on your device as the error might also be generated if there are issues within the mail server. Of course, that would be beyond your scope.
However, you can always make sure the problem does not have its origin at your end by following a few simple steps.
Here is how you can deal with error code 0x85050041
- Uninstall the mail app
- Use System File Checker
- Disable firewall and/or anti-virus software
- Re-add your e-mail account
- Reinstall Mail app
- Install the latest Windows 10 updates
- Re-install Windows 10
1. Uninstall the mail app
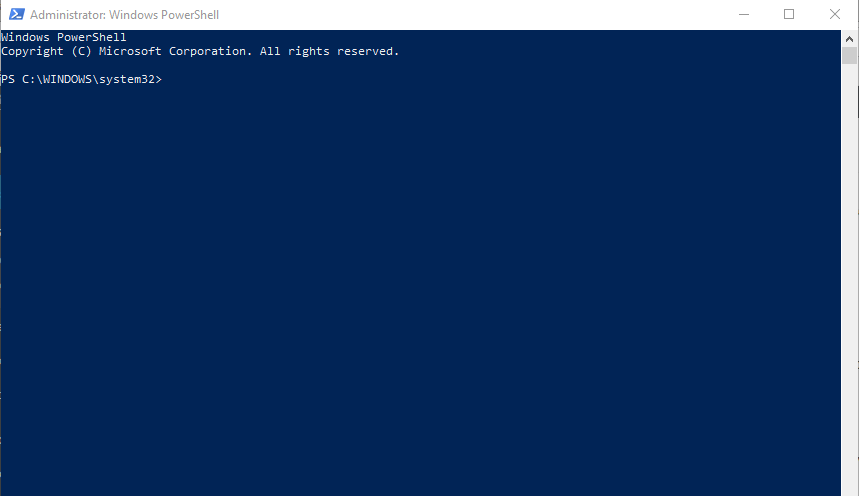
- Type PowerShell in the taskbar search box. In the search result shown, right-click on Windows PowerShell and select Run as administrator.
- There will be the User Account Control popup showing Do you want to allow this app to make changes to your PC? Click on Yes.
- Alternatively, you can also launch Powershell by pressing Windows + X and choosing Windows PowerShell(Admin) from the list of options.
- Type Get-AppxPackage-AllUser in PowerShell and press Enter. This will list all apps currently installed in your device.
- Locate windowscommunicationapps from the list of apps.
- Once you have found windowscommunicationapps, copy the contents in its PackageFullName section.
- Type Remove-AppxPackage X in PowerShell replacing X with all that you have copied from PackageFullName field from windowscommunicationapps app.
- Press Enter.
This will remove the default Windows 10 Mail app from your device. Restart your PC.
Please be informed that the above process will also remove the Calendar app as well as both are bundled together. However, the good thing here is that both the Mail and Calendar app also gets installed simultaneously.
If Microsoft’s mail app is still not working and giving errors, we strongly recommend you to switch to a third-party mail app that will do the job even better. We suggest you try Mailbird, a great tool with a bunch of useful features that will help you manage your emails.
2. Use System File Checker
Here are the steps to be followed.
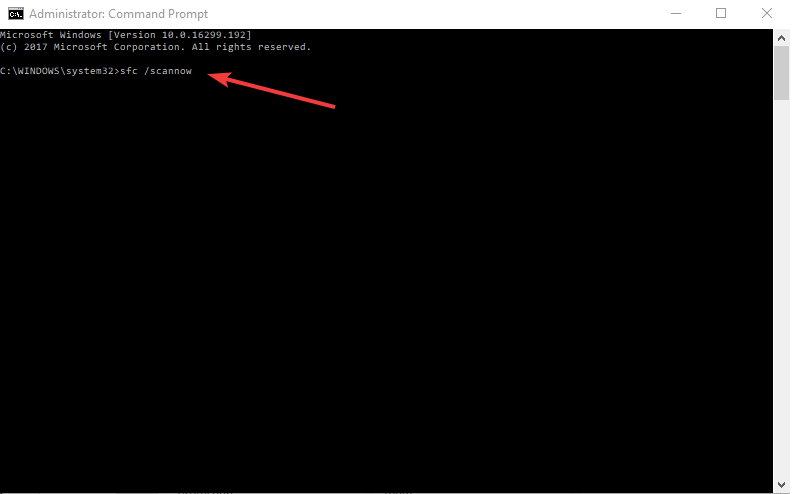
- Type Command Prompt in the taskbar search box and select Command Prompt desktop app from the search results.
- Right-click on Command Prompt and select Run as administrator.
- In the command prompt windows, type the exact phrase including the spaces: sfc /scannow.
The working principle of the built-in System File Checker is rather simple though Windows recommends it for advanced users only.
To begin with, the System File Checker is a tool that is integral to Windows 10 and helps detect system files that might have got corrupted. In that case, the SFC not only detects the corrupted files, it also repairs those as well.
The process takes some time to finish. Also if there are no errors, there will be a message: ‘Windows Resource Protection did not find any integrity violations‘.
However, if there are issues, there will be a suitable message with a mention of the error found. There will also be the path provided to the log file where you can check for further resources on this.
Check to see if this resolves the problem. Press on the sync tab just beside the settings tab on the Mail app. If the problem persists, read on.
3. Disable firewall and/or anti-virus software
The default Windows firewall has often been found to interfere with the connection between your mail app and the mail provider’s servers.
Though far from being the ideal scenario but that is how the firewall or anti-virus software might start behaving. Disabling the two will help determine if that is the case, with suitable remedial steps coming thereafter.
Note: please be forewarned disabling firewall and anti-virus software is a potential security risk for your device.
As such, limit your online activities to only safe zones or sites whilst the protection is down and re-enable both immediately after the testing is complete.

Here is how to disable firewall
- Type Windows Defender Security Center in the taskbar search box and select the app from the search result shown.
- Alternatively, you can also click on the upper pointed arrow on the taskbar along the right bottom corner, followed by the shield icon. The latter provides a quick snapshot of all the security scenario of your PC along with the current status and controls to change the settings.
- Click on Firewall and network protection.
- Click on Domain network and toggle the Windows Defender Firewall to off.
- There will be the usual warning message Allow this app to make changes to your device. Click on Yes
- Repeat the same for Private network and Public network as well.
Now that your firewall protection is turned off, restart your mail app and re-sync your mail. If the problem has been resolved, your firewall was the culprit. In that case, you will have to uninstall your firewall and install it again. Doing so usually solves the problem.
If not, we got to repeat the above process with the anti-virus software.
How to disable anti-virus
- In the ‘Windows Defender Security Center’, click on ‘Virus and threat protection’. Your anti-virus software will be listed here.
- Toggle the setting to off to disable anti-virus.
- As usual, give your consent when prompted with the warning message, ‘Allow this app to make changes to your device’.
Launch your mail app and re-sync your mails again. Check if the problem is resolved. If yes, your anti-virus has been at fault and you have some work to do with it. Try uninstalling and reinstalling the anti-virus software to see if that remedies the issue. You might even have to get in touch with the software manufacturer and see if a patch for the particular type of problem you are facing is available. Also, update your anti-virus to any latest version that might be available. In the most extreme case, you might even have to change your anti-virus software if the current one does not offer a viable solution.
However, if Error 0x85050041 persisted even when the firewall and anti-virus was off, the solution lies somewhere else. Read on.
4. Re-add your e-mail account
Often, deleting and re-adding your e-mail account will establish a clean and uninterrupted connection between your mail app and e-mail server. Here are the steps.
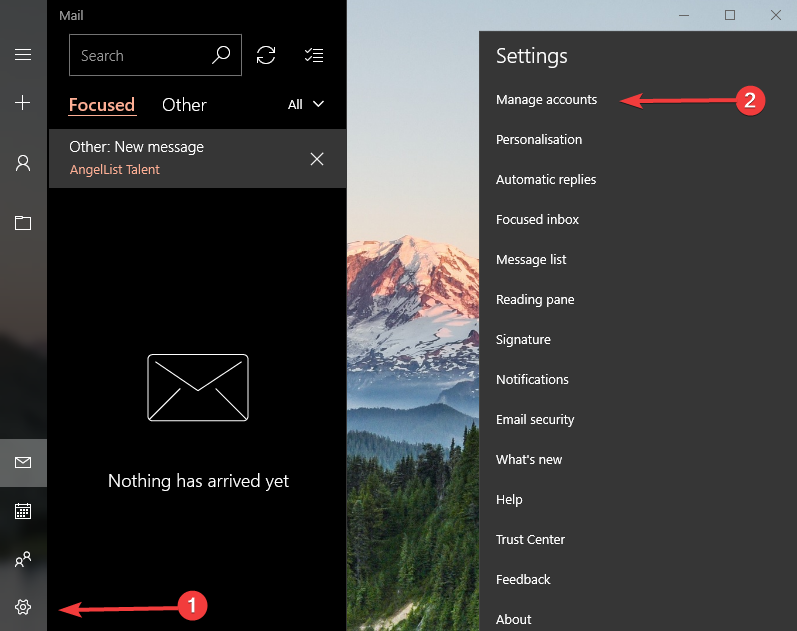
- Click on the Settings icon in your mail app. It is located in the left bottom corner.
- Select Manage accounts and select the e-mail account you want to delete.
- In the Account settings window that appears, select Delete account. This will completely remove the account from your device. There will be a warning message before the account is actually deleted. Consent to it.
Once your account has been deleted, here is how you can re-add it again.
- Click on Settings as before followed by Manage accounts -> Add account.
- Follow the on-screen instruction to add an account.
Check to see if this solves the problem. If yes, that is fine. If not, there is one other thing you can do – uninstalling the mail app itself followed by re-installing the same again.
5. Reinstall Mail app
- Open Windows Store. You can simply type ‘Store‘ in the taskbar search box if the Store icon isn’t already in your taskbar.
- Search for ‘mail‘ in the search box within Windows Store.
- Select ‘Mail and Calendar’ from the search suggestions.
- On the ‘Mail and Calendar’ app page, click on ‘Install‘.
Once the installation is complete, set up your e-mail account from scratch (steps mentioned above).
Restart your device. Error Code 0x85050041 shouldn’t be bothering you anymore.
6. Install the latest Windows 10 updates
If you are still having issues, check to see if you are running the latest version of Windows 10 available. If any updates are available, upgrade your device.
To manually check and install updates, type update into the taskbar and open the Windows update center. Select Check for updates and wait for the process to complete.
If any updates are available, you can choose to install them right away or schedule a preferred date and time for it.
For a seamless Windows user experience, we recommend activating automatic updates. This way your system will always function at the best capacity and be as secure as possible.
7. Re-install Windows 10
Some have also reported they got rid of the Error Code 0x85050041 by re-installing Windows 10 afresh. This should be your last resort. Go for it only if all other steps mentioned above fail.
The reinstall process is quite time-consuming and difficult, so if you decide to do it, make sure you are very careful and create backups for all valuable data on your PC.
To reinstall Windows 10 you will need to remove the current operating system version, and then proceed with the installation process.
We hope these solutions helped you solve the error and use your PC again with no issues.
To read more on the matter, visit our Windows Mail Hub.
For more troubleshooting guides, visit our Windows 10 Fix page.
User forum
0 messages