Fix: Windows 10 Could Not Connect to the ProfSvc Service
Easy fixes for the the user profile problem
Key notes
- The ProfSvc service, also known as the Performance Service, is a Windows service that manages system performance and responsiveness.
- Restarting the services is often seen as a good fix if you have access to the Services app.
The User profile service (ProfSvc) is a Microsoft service in charge of loading and unloading the user profile. However, sometimes, the ProfSvc may be disabled or blocked.
The consequence is that users won’t be able to log into their user profiles, apps could have issues accessing users’ data, and some components installed to receive profile event notifications won’t receive them. Some users have associated the problem with the installation of Windows 10.
In this article, we will explain how to get rid of this problem in a few simple steps to bring your user profile to a normal state of use.
Why won’t Windows 10 connect to the ProfSvc service?
There could be several reasons why Windows 10 cannot connect to the ProfSvc (Profile Service) service. Some possible causes include the following:
- Network connectivity issues – If there is a problem with your network connection, Windows may not be able to connect to the ProfSvc service.
- Firewall settings: If your firewall is blocking access to the ProfSvc service, Windows may not be able to connect to it.
- ProfSvc service not running: The ProfSvc service may not be running, preventing Windows from connecting.
- Corrupted or missing system files – If specific system files are missing or corrupted, it could prevent the ProfSvc service from running correctly.
- Malware or other security threats: Malware or other security threats may have affected the ProfSvc service, preventing it from running correctly.
Let us now explore some common fixes.
How can I fix ProfSvc connection issues?
1. Reset the account password
- Restart your computer and press the key to enter the boot menu (usually F8, F11, or F12).
- Select the option to boot from a Windows installation media (such as a USB drive or DVD).
- Select your language preferences and click Next.
- Now click Repair your computer.

- Select Troubleshoot, then Advanced options, and then click Command Prompt.

- In the Command Prompt, type the script below and hit Enter, replacing [username] with the username of the account you want to reset the password.
net user [username] *
- You will be prompted to create a new password for the account. Enter the new password and press Enter.
- Exit the Command Prompt and select Continue to restart your computer.
- Log in to Windows with the new password.
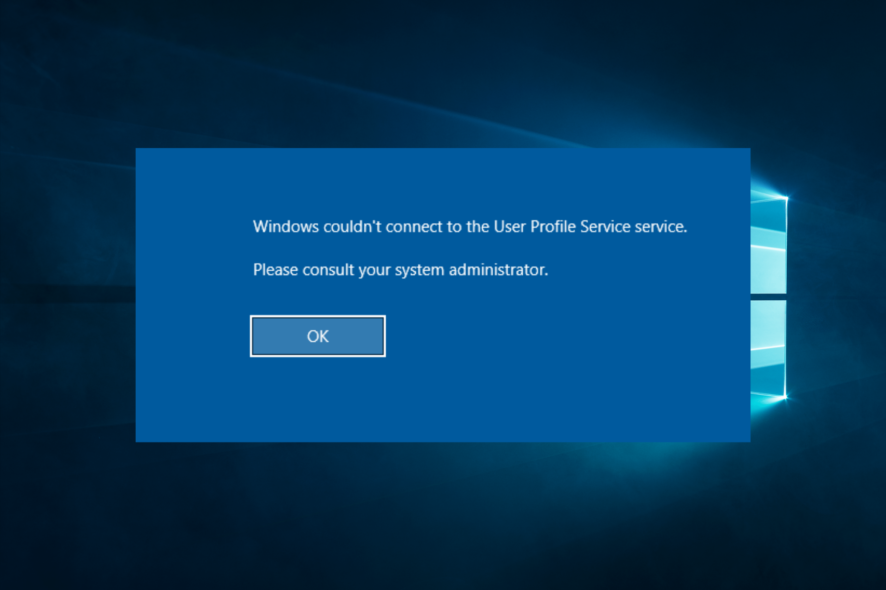
The first and most natural action is to solve the problem by resetting your account password. If this approach cannot solve the issue, the computer will display the following error alert: “Windows couldn’t connect to the ProfSvc service.”
Before diving into more fixes, check if the apps, the user manager, shared PC Account Manager (shpamsvc), and the natural authentication are well configured, and make sure they are working correctly.
2. Restore the original ProfSvc service from Windows 10
- Restart your computer and press the key to enter the boot menu (usually F8, F11, or F12).
- Select the option to boot from a Windows installation media (such as a USB drive or DVD).

- Select your language preferences and click Next.

- Now click Repair your computer.
- Select Troubleshoot, then Advanced options, and then click Command Prompt.
- Type the following commands in the command window, hitting Enter after each one:
sc config ProfSvc start= autosc start ProfSvc
- Close the command window.
- Restart your computer and check if the problem persists.
The ProfSvc service uses the profsvc.dll file in the %WinDir%\system32 folder. You can restore the original version from Windows 10 installation media if the file is changed, damaged, or deleted.
3. Create a new user account
3.1 Log in to the administrator
- Click the power button on the sign-in screen and press Shift + Restart to go to safe mode.
- You are now in the recovery boot menu. Go to Troubleshoot, then click on Advanced options and select Startup settings.

- Now it can be seen as a list where you can choose Safe Mode with Command prompt by pressing F6.

- In the Command Prompt, type the script below and hit Enter.
net user administrator /active:yes - Login into the built-in administrator user profile and create a new user profile with administrator privileges.
- Lock your screen by pressing the Windows key + L, and sign in at the Administrator account.
- You can disable the built-in administrator account by typing the script below in the Command Prompt:
net user administrator /active:no
The first seven steps should allow you to be ready to create a new user account. Now you can follow these final steps to solve the problem.
3.2 Create a new user account
- Right-click the Windows key and select Command prompt (Admin).

- Type the script below and hit Enter.
net user NewAccount password /add - Run the next script below as well.
net localgroup Administrators NewAccount /add - Log off from the system and log in to the new user account.
Following these steps, you have enabled the built-in administrator and created a new user profile. Transfer all the data from the corrupted user to the newly created user profile and verify if the issue has been resolved.
Following one of the three above solutions should help you fix your issue. Let us know in the comments section below if you have any suggestions.
Read our disclosure page to find out how can you help Windows Report sustain the editorial team. Read more


Improve this guide


User forum
0 messages