The program stopped because an alternate diskette was not inserted
![]() 8 min. read
8 min. read
![]() Updated on
Updated on
Share this article

Improve this guide
Read our disclosure page to find out how can you help Windows Report sustain the editorial team Read more

If you’re getting the ‘ERROR_DISK_CHANGE 107 (0x6B)’ error code with ‘The program stopped because an alternate diskette was not inserted‘, follow the troubleshooting steps below to resolve the issue.
This error might refer to various problems, so it’s not exactly easy to address it. However, once you’ve learned about the exact way it occurs, and it mostly occurs once the troubled program is run, we can easily apply some of the available workarounds.
Most of the time, this error occurs due to:
- Missing EXE, DLL or SYS files.
- Malware.
- Registry corruption.
- Corrupted installation of the program.
- Outdated or even faulty drivers.
- Outdated BIOS version.
ERROR_DISK_CHANGE 107 (0x6B) might appear on every known Windows PC platform, and, consequently, the troubleshooting steps may differ. However, we provided you with a list of valuable workarounds that should help you overcome the issue at hand. For that purpose, we advise you to check the solutions below, and hopefully, get rid of this critical system error.
Fix ‘The program stopped because an alternate diskette was not inserted’ error
also known as ERROR_DISK_CHANGE 107 (0x6B)
Scan for malware presence
The first thing you should do is to perform a thorough cleanup regarding the viruses. Various users reported critical system errors inflicted by the virus. Once they are safe to roam trough your computer, they tend to navigate to system folders and corrupt or delete essential system files. Moreover, they can damage the installation of a certain program which will, eventually, cause crashes led by errors.
For that purpose, we strongly advise you to install a 3rd-party antimalware software or use Windows Defender to scan and get rid of the possible virus infections on your system partition. Additionally, it’s recommended to use a deep scan for better locating and identification of malicious software. The procedure varies on various 3rd-party tools, but we’re sure that you’ll find your way around it.
When it comes to Windows Defender, this is how to perform a deep scan:
- Click on the Windows Defender icon from the Notification area.
- Open Settings.
- Save everything before you start, to prevent the data loss since the PC will restart.
- Locate Windows Defender Offline and click Scan Offline.
- Your PC will restart and the scanning procedure will last for approximately 15-20 minutes.
This should be enough to get the malware out of the equation. Now, if the problem is still there, we should turn to additional steps.
Update/reinstall drivers
For the seamless and coherent system performance, you’ll need to create an optimal state in which the software and hardware can function without issues. That link, or bond if you wish, depends on drivers. There’s more than one case where the system freezes or works with flaws, just because a certain driver isn’t properly installed. The same goes for the critical system errors, like the one with the error code 107 which we’re addressing today.
For that purpose, we advise you to check the driver status and install latest, functioning drivers. If you’re unsure how to do so, these instructions should help you substantially:
- Right-click on the Start button and, from the Administrative Tools menu, open Device Manager.
- If you locate any driver with the yellow exclamation sign, right-click and click Update Driver Software.
- In addition, you can navigate to the OEM’s site and download the drivers for various devices.
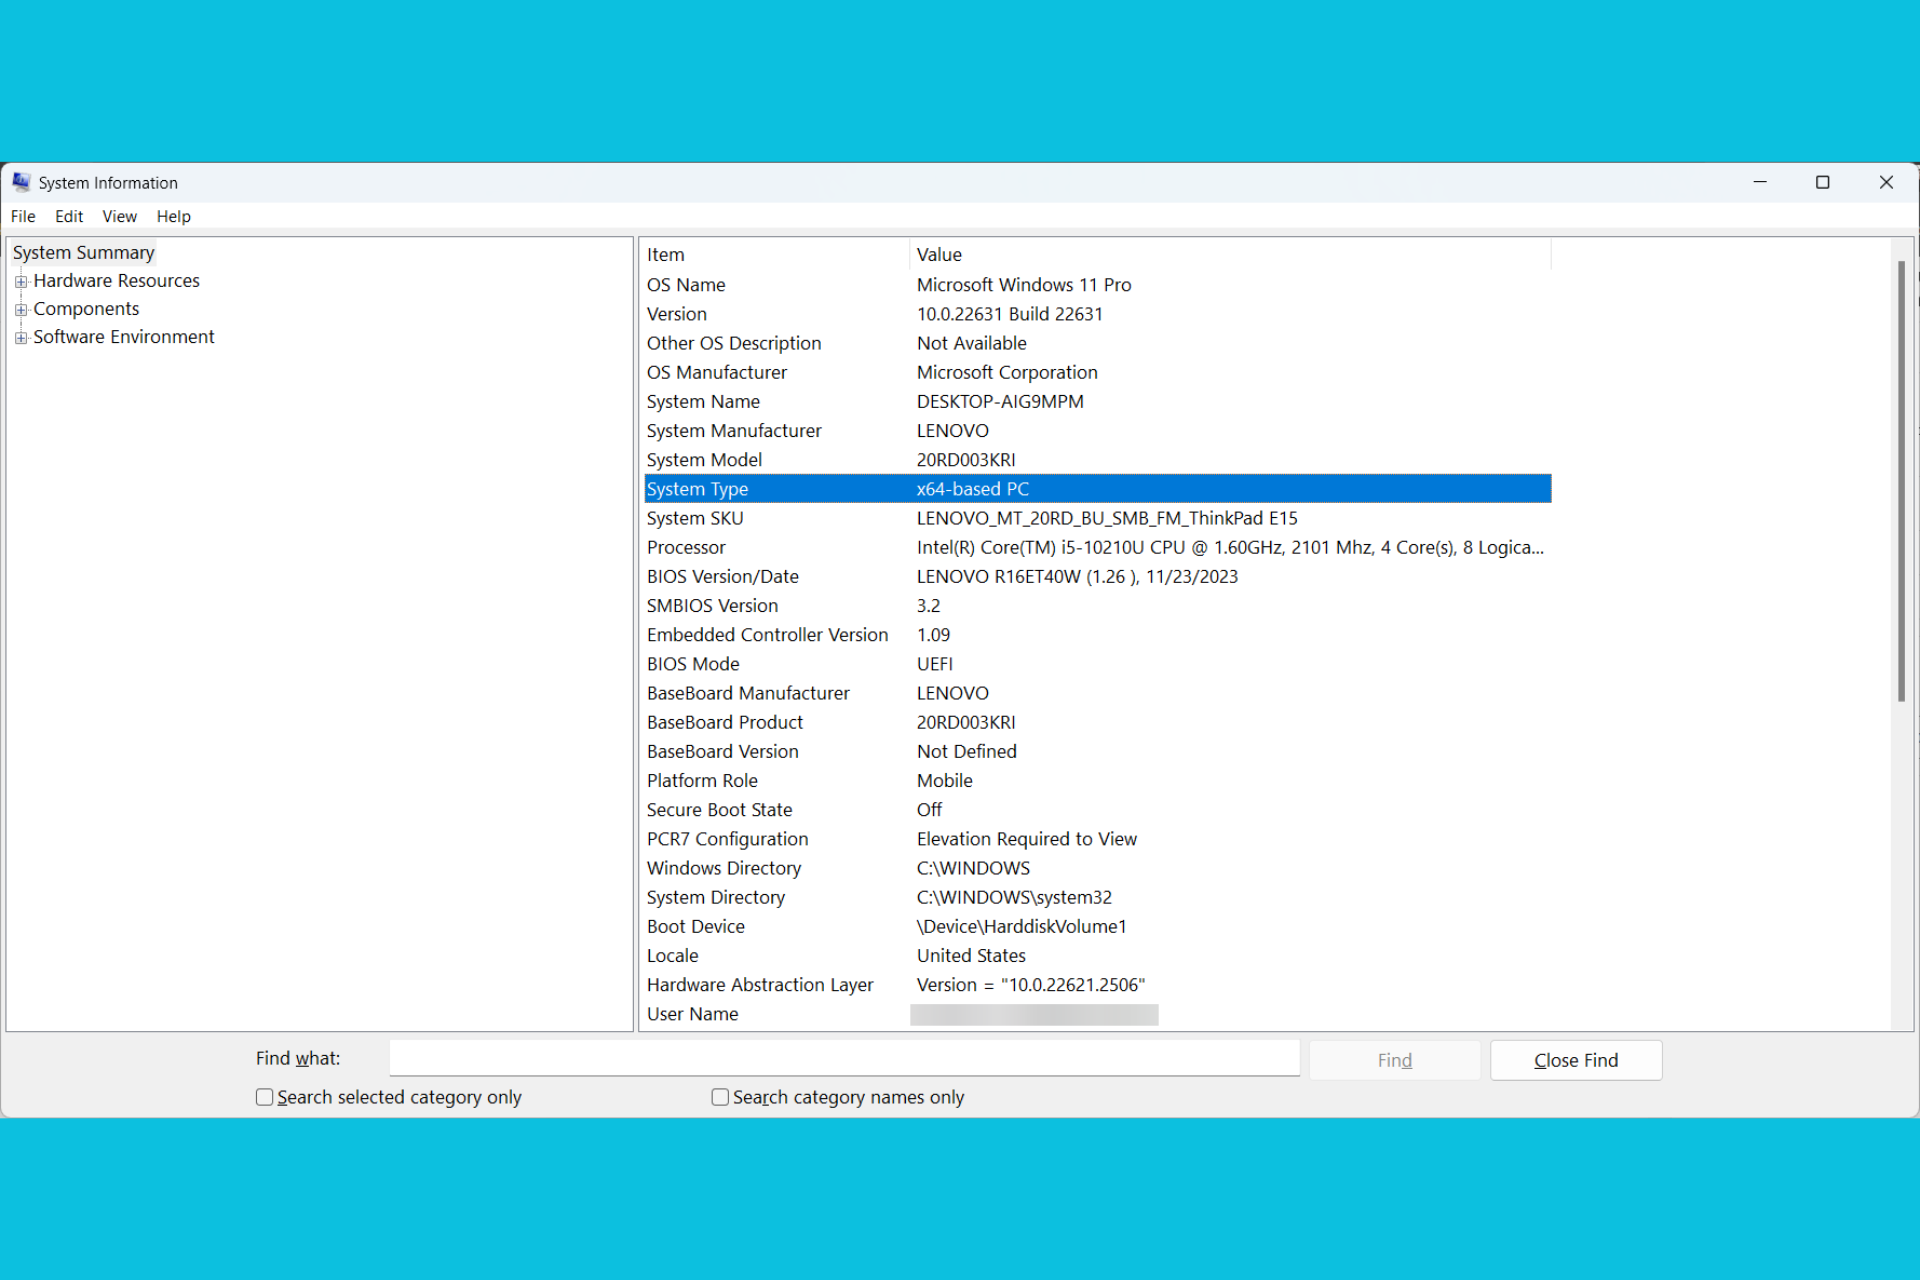
Moreover, if you’re unable to locate and install a proper driver trough the Windows Update feature, you can always turn to an official manufacturer’s site and find the appropriate driver. Some users have problems with the identification of the device, but there’s a simple way to find out the exact name and traits of the device at hand.
- Right-click the Start button and, from the Administrative tools list, choose Device Manager.
- Right-click the device and open Properties.
- Open the Details tab
- From the drop-down menu choose HardwareId.
- Copy the values from the box and paste them into the preferred browser.
- You should see the exact name of your device and act accordingly.
Reinstall troubled program
If the problem is related just to a single program, you can always turn to a reinstallation. Some users resolved the problem and got rid of the system error 107, simply by reinstalling the troubled program. On some occasions, the problem can be resolved by repairing, but there’s just so many programs that offer that procedure.
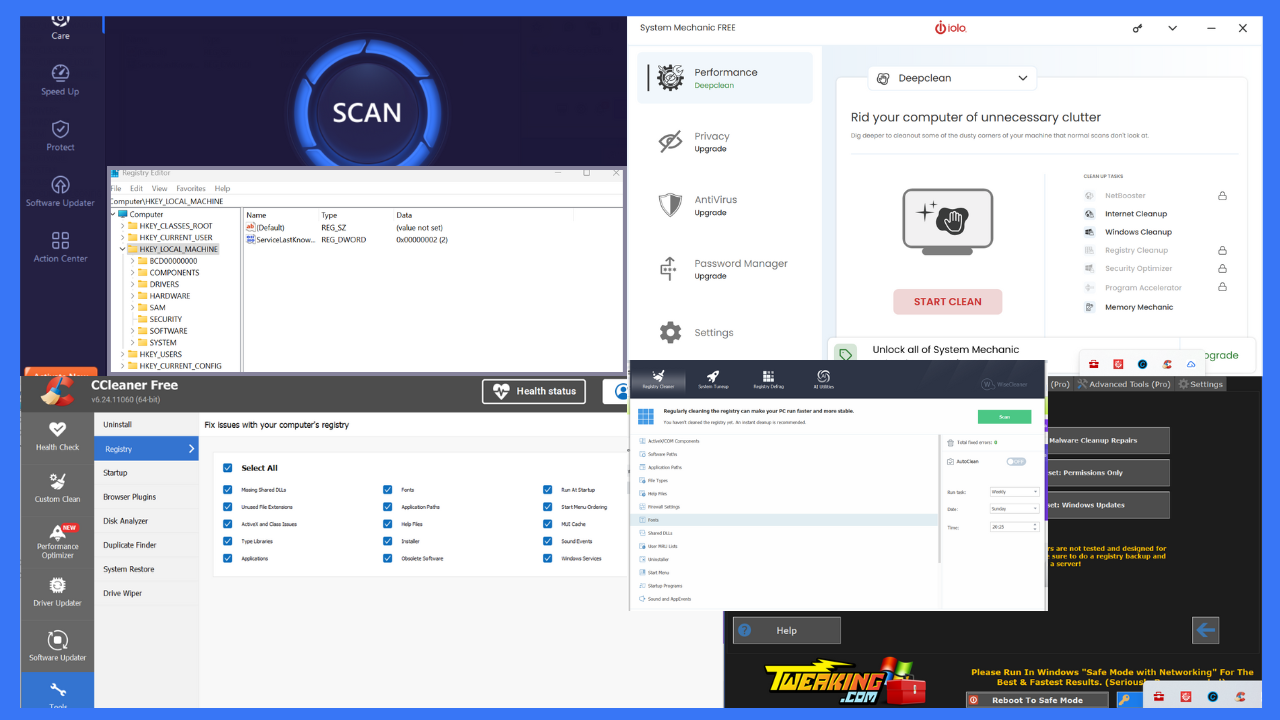
One thing that’s of utmost importance is a registry. So make sure to, after the program is uninstalled, use a 3rd-party tool and clean the remaining registry values. Moreover, you should navigate to the installation folder and delete the remaining files from there. Follow these steps to reinstall the troubled program and resolve the issue at hand:
- Right-click Start menu and, from the contextual menu, open Control Panel.
- While in the Category view, choose to Uninstall a program in the bottom left corner.
- Locate the program that inflicted the error dialog box in the list.
- Right-click and Uninstall it.
- Delete remaining folders and clean the registry (make sure to back it up before you run the cleanup tool).
- Restart your PC.
- Install the program and look for changes.
However, if the error occurrence isn’t program-related, you should move to the additional steps.
Scan system with SFC and DISM
The bare name of the critical system error says enough. The corruption of system files can cause all kinds of errors. system instability or large performance drops. For that purpose, it’s advised to use one or even both elevated command-line tools. System File Checker or SFC is the repair tool that checks the integrity of the system files. If they’re incomplete or corrupted, SFC will restore them to original values.
Follow the instructions below to use the SFC tool and restore the possibly corrupted files:
- Right-click the Start button and open Command Prompt (Admin).
- In the command line, copy-paste the following command and press Enter:
- sfc/scannow
- After the procedure is finished, restart your PC.
However, if the SFC wasn’t able to find and fix problems, you should turn to Deployment Image Servicing and Management tool or DISM. This is a bit more advanced tool and it can be utilized in various ways.
Follow the instructions below to resolve the problem with DISM:
- Right-click Start and, from the Administrative menu, run Command Prompt (Admin).
- In the command line, type the following command and press Enter:
-
- DISM /Online /Cleanup-Image /RestoreHealth
-
- Wait until the scan is performed It can take about five to ten minutes.
- After DISM has finished scanning, restart your computer.
With DISM, you’ll safely resolve the problems and, possibly, relieve yourself of errors.
Use recovery options
If all of the previous steps fell short and you’re still experiencing the same error in various scenarios, we have to inform you that your options are kind of limited. For the pre-Windows 10 systems, you can turn to System Restore. This procedure will restore your system to a latest properly functioning point so you can move on with a smooth PC use. Follow the steps below to restore your system to earlier restore point:
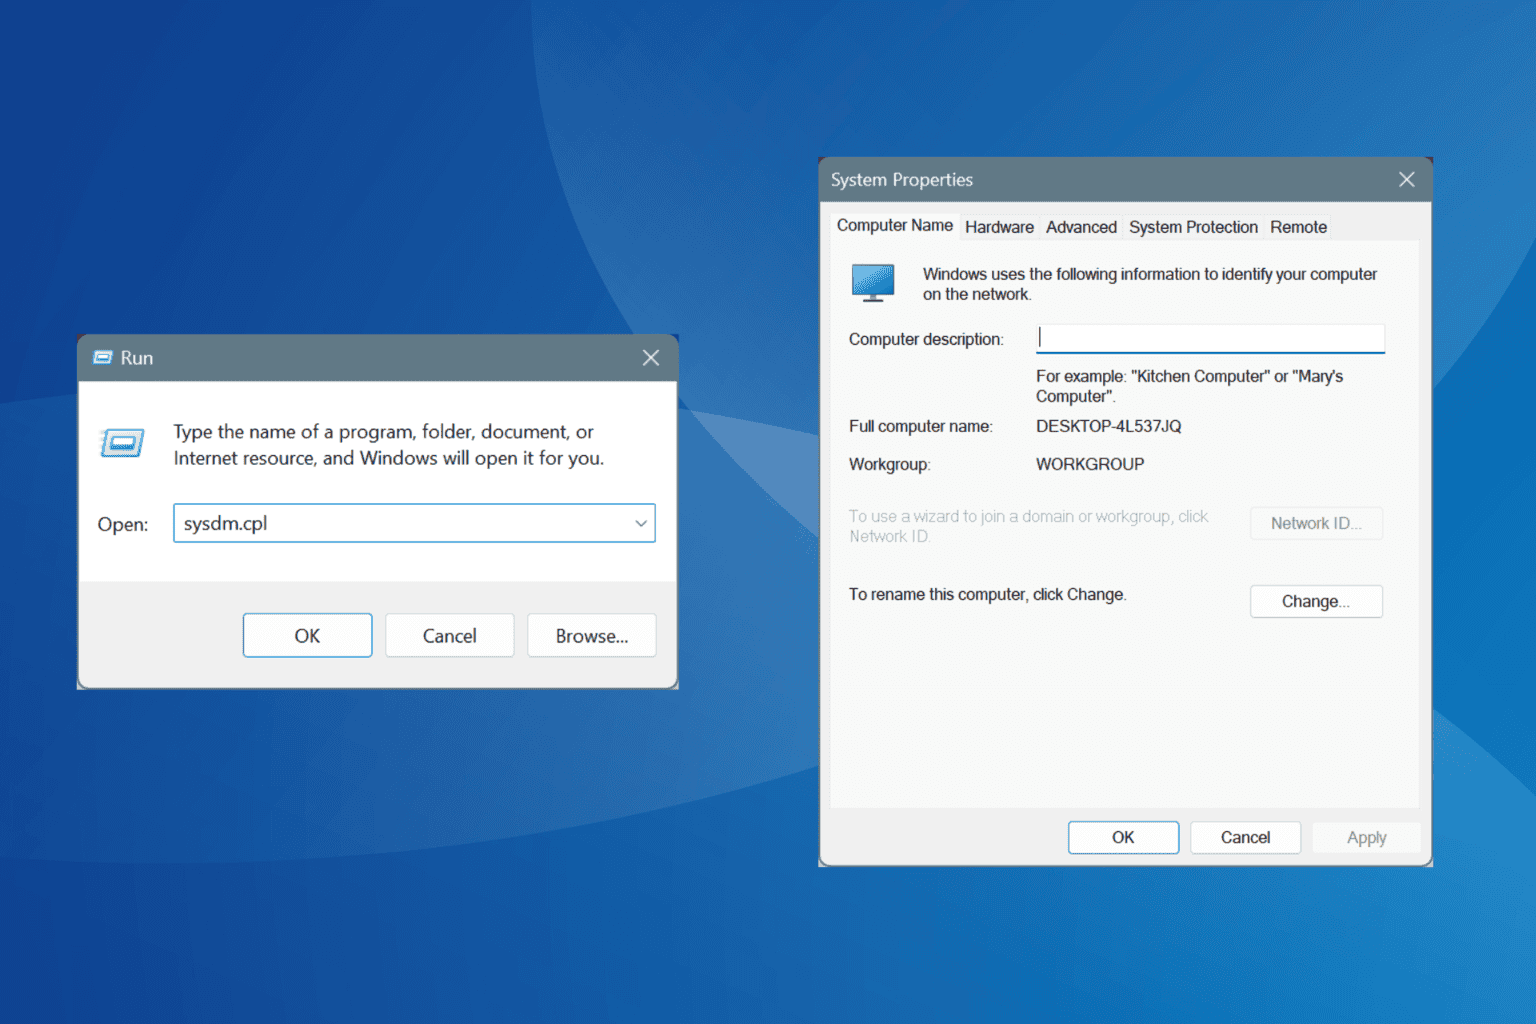
- In Windows Search, under the Start Menu, type system properties and open System Properties.
- In the System Properties dialog box, open System Protection.
- Click on System Restore.
- Click Next and, from the next window, choose the preferred restore point.
- You can inform of applicable changes that will occur after the restore by clicking on Scan for affected programs.
- Once you’re certain to which date you want to restore your PC, highlight the restore point and click Next.
- Click Finish.
- Your PC will restart and the restoring procedure will start.
However, you have some other Recovery options that were introduced with Windows 10. One of those is ”Reset this PC” wich restores your PC to default values while keeping your files. Follow the steps below to use a Reset this PC and, after the procedure is done, you should be in a clear when it comes to system errors:
- Press Window key + I to open Settings.
- Open Update & Security.
- Click on Recovery under the left pane.
- Click on Get Started under Reset this PC.
- Choose to Keep your files.
- Follow the instructions until everything is done.
With that, we’re concluding this article. We certainly hope that you’ll find it helpful. If you have any questions or suggestions regarding the system error we addressed today, post them in the comments section below.
RELATED STORIES YOU NEED TO CHECK OUT: