Raspberry Pi Camera not Detected? Try These Simple Steps
Modifying the raspi-config file will enable the camera
Key notes
- If your Raspberry Pi camera can not be detected, following this guide will surely help you get back on track.
- To start solving this problem, first, make sure the camera is enabled in the Raspi-config tool.

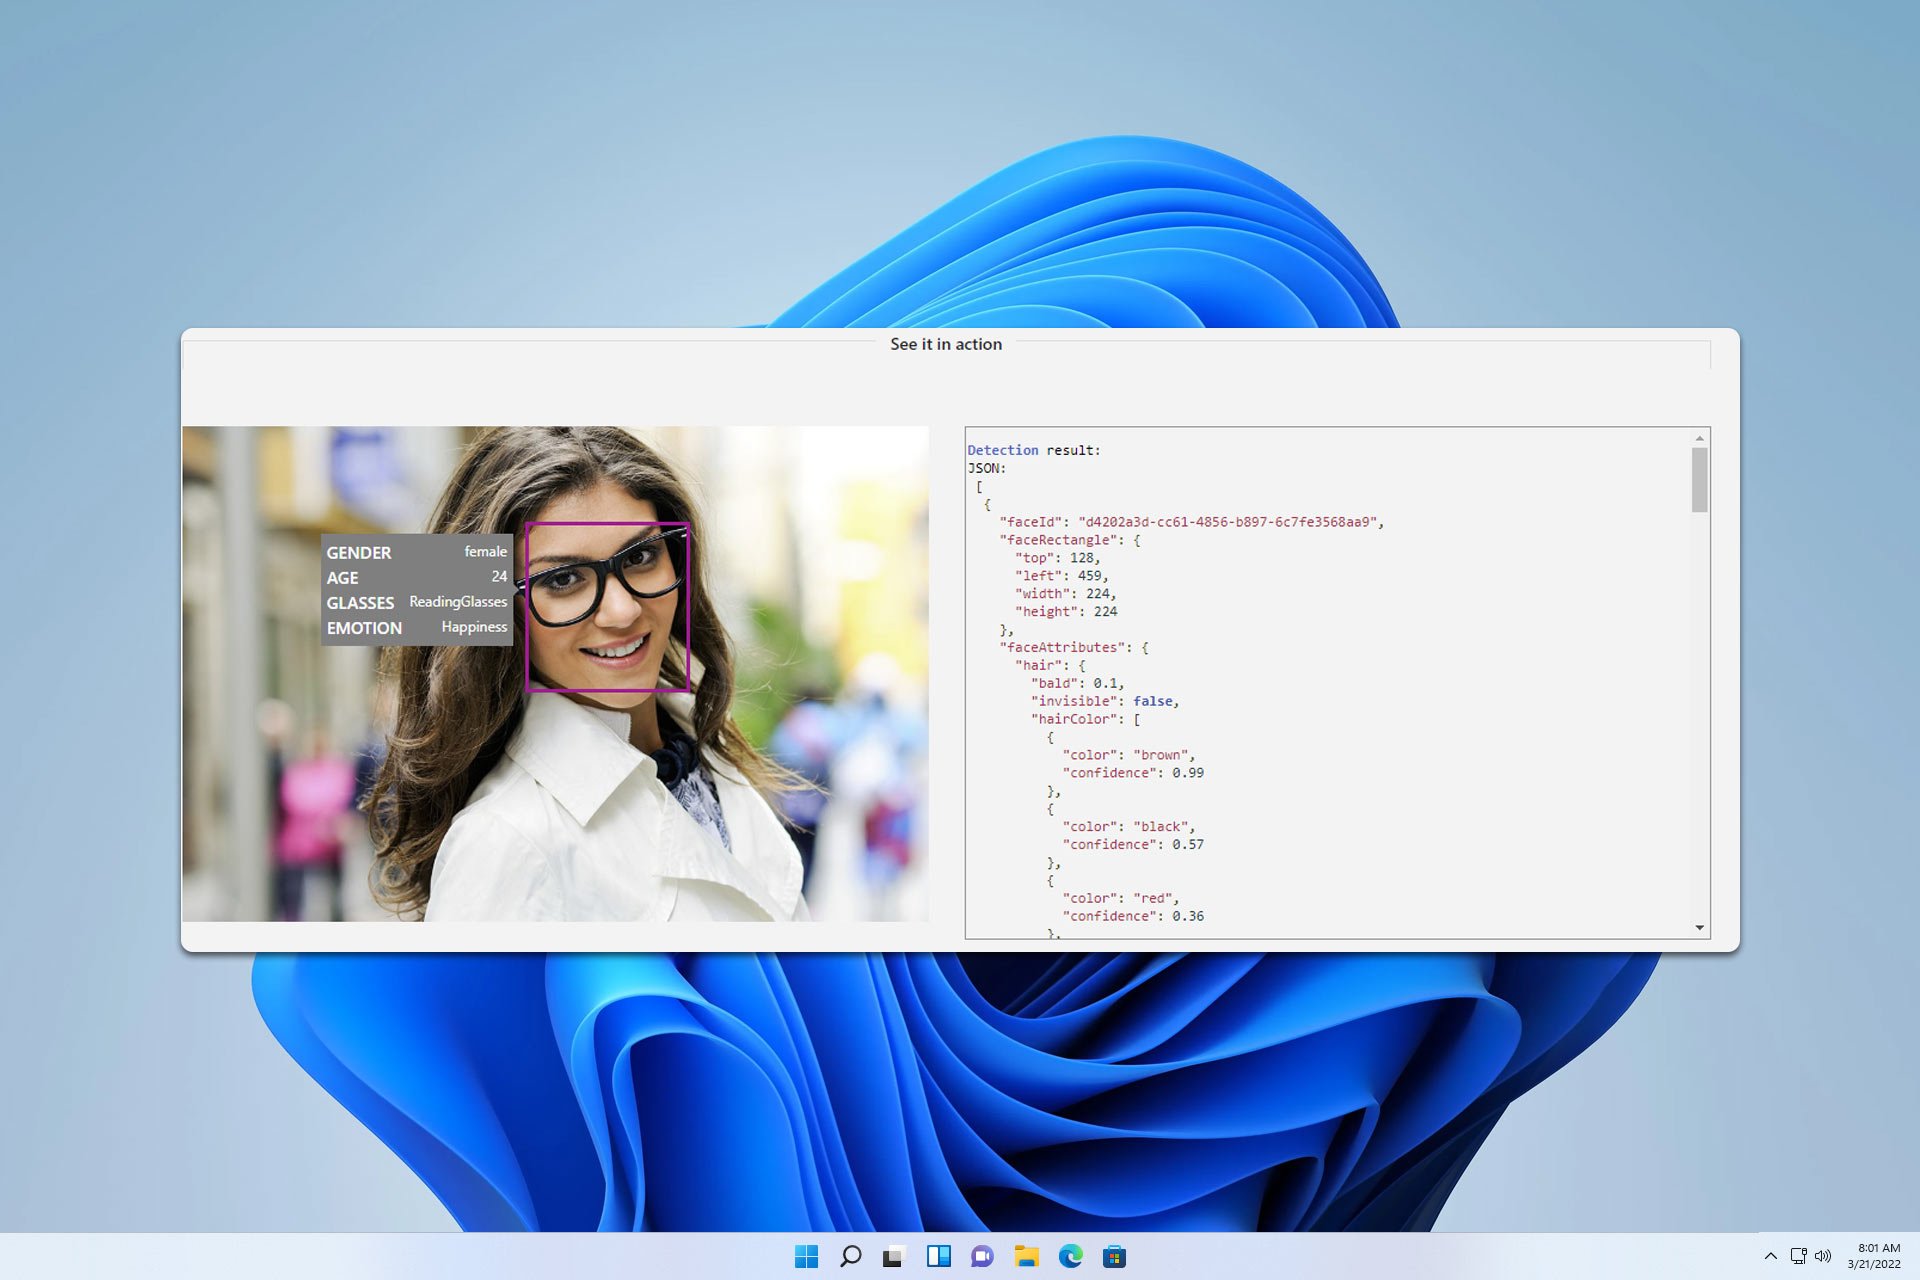
Raspberry Pi allows users to connect third-party cameras that plug directly into the CSI connector on the Raspberry Pi. However, at times you may encounter the Raspberry Pi camera not detected issue after installing a new one or accessing the existing camera hardware.
This problem can occur due to several reasons including a faulty camera, incorrect installation of the capturing device, loose connection, and incorrectly configured raspi-config file.
I have Picamera v1 which I have been using Rpi3 for a while now and it has been working properly. Yesterday I updated RASPBIAN and now the camera doesn’t work.
If you are also troubled by this issue, here are a couple of troubleshooting tips to help you resolve the Raspberry Pi camera not detecting a problem.
What to do if my Raspberry Pi does not detect the camera?
1. Perform a power cycle

- Power off your Raspberry Pi device and disconnect the HDMI and other cables that are connected.
- Press gently on the SUNNY connection on the camera until you hear a click that will reseat the connector.
- To keep the device powered off, check the ribbon cable, and make sure it is connected the right way and in the right socket. The cable is connected to the socket next to the HDMI and Ethernet ports.
- Also, make sure the camera is fully home in the connectors on the Raspberry Pi and the camera.
- Make sure the lens is not detached from the camera board.
- Power on the device and test again to see if the error is resolved.
2. Enable the camera from the Raspi-config file

- For the camera to work, you must enable it from the Raspi-config > Interfacing options.
- Go to Raspi-config and open Interfacing Options.
- Select Camera and follow the prompt to enable the camera.
- Next, go to Raspi-config > Interfacing Options and then enable I2C.
- Exit Raspi-config and check if the issue with your camera is resolved.
Check for hardware issues
- If the issue persists, and you have made sure the camera is enabled in the raspi-config file as well the camera is seated correctly, check if the camera has hardware faults.
- For testing, connect the camera to another Raspberry Pi device and connect it to your PC.
- Test the camera to see if it is working.
- If the issue persists, you may have a faulty camera unit that requires replacement.
The Raspberry Pi camera not detected issue usually occurs if the device is not enabled from the Raspi-config section.
In other cases, Raspberry Pi may fail to detect the camera if it is not correctly seated or has a loose connection. Follow the steps in the article and let us know which method helped you resolve the issue in the comments.
Read our disclosure page to find out how can you help Windows Report sustain the editorial team. Read more


Improve this guide


User forum
2 messages