Fix: Realtek Audio Manager Keeps Popping Up
This problem is often caused by an improper audio connection
Key notes
- Sometimes, the Realtek Audio Manager keeps popping up on the screen and the issue is related to outdated Realtek drivers.
- In order to have a smooth user experience, try uninstalling it or updating drivers, as described below.

Trying to get your work done, but the Realtek Audio Manager keeps popping up constantly to annoy you and disturb the overall workflow?
If you don’t know about the installation of audio drivers, do check our complete guide on how to install any audio drivers in Windows 11.
What causes the Realtek Audio Manager to pop up?
With the popping up error, if you are getting the not supported message, then you should check our guide on fixing the device type not supported error Realtek Audio Manager.
Mostly an issue with the driver can result in Realtek Audio Manager behaving like this. Apart from this, the following causes can potentially cause the Realtek Manager to pop up.
- Incompatible plugged audio device – One possibility is that you have an audio device plugged into your computer that is not compatible with the Realtek sound drivers.
- Outdated Realtek drivers – Another possibility is that your Realtek drivers are outdated and need to be updated.
- Windows might need an update – It is also possible that your Window needs to be updated.
Now that you can identify the causes behind this issue let’s move on to possible solutions that can help you keep the Realtek Audio Manager from popping.
To troubleshoot further issues that can occur with the Realtek audio manager or having no sound problem, you can have help from our guide to fixing no sound problems in Windows 11.
How do I keep Realtek Audio Manager from popping up?
Before moving towards detailed solutions, here are some quick checks that you can do to keep Realtek Audio Manager from popping up.
- Check the audio device connector that is not loose. Realtek Audio Manager will pop up if the connector is not tight.
- Make sure that the cables are properly intact and that there is no issue with the hardware.
- Restarting your computer can also help because restarting will reinitialize the sound drivers.
- If you have installed any new programs or updates, try uninstalling them by following the given method to uninstall updates in Windows 11.
Now that we have gone through some quick checks let’s move on to the detailed solutions.
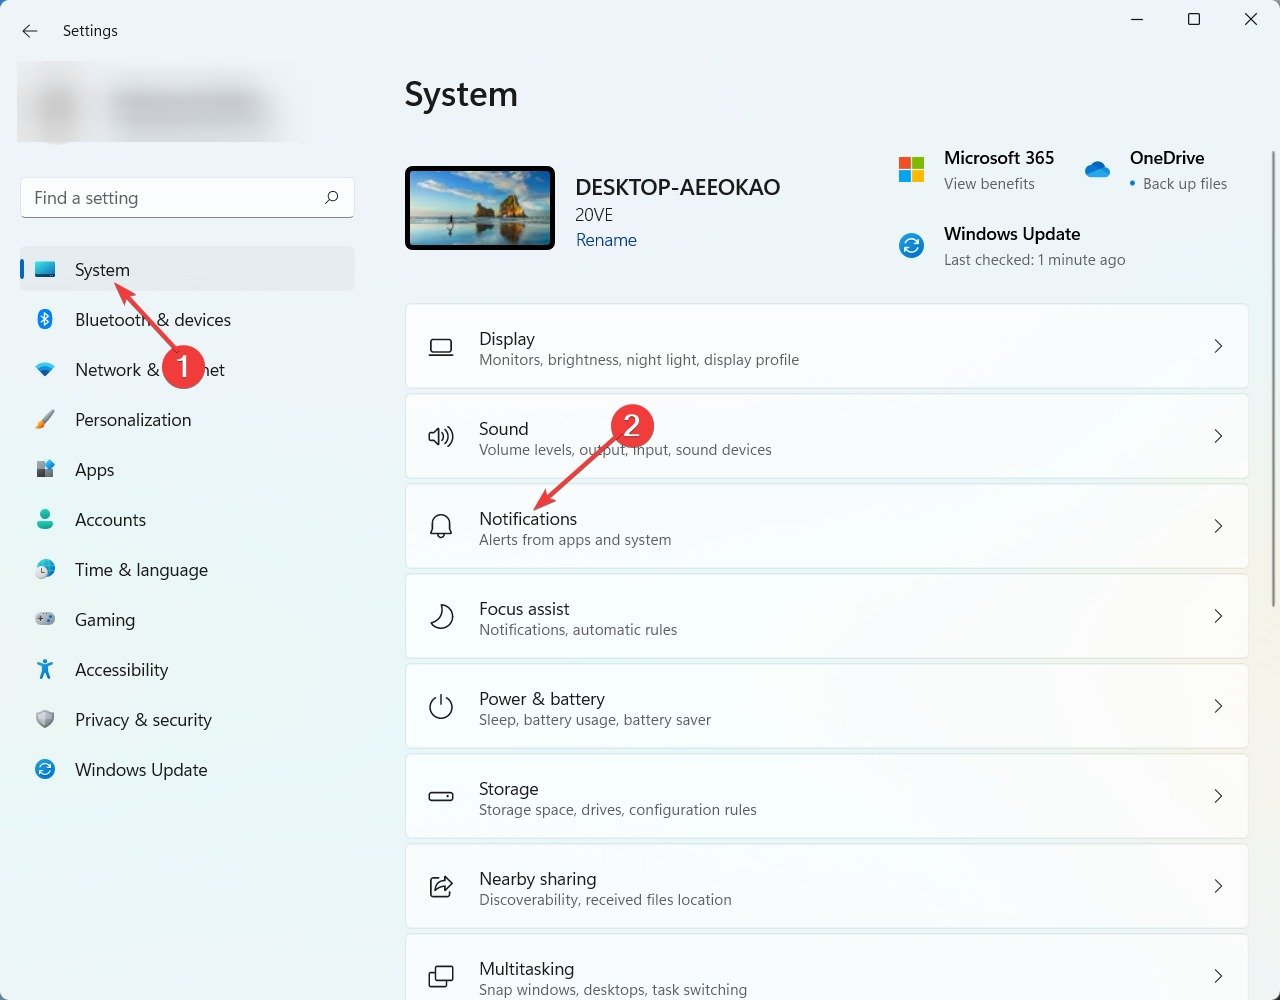
1. Disable notifications via Settings
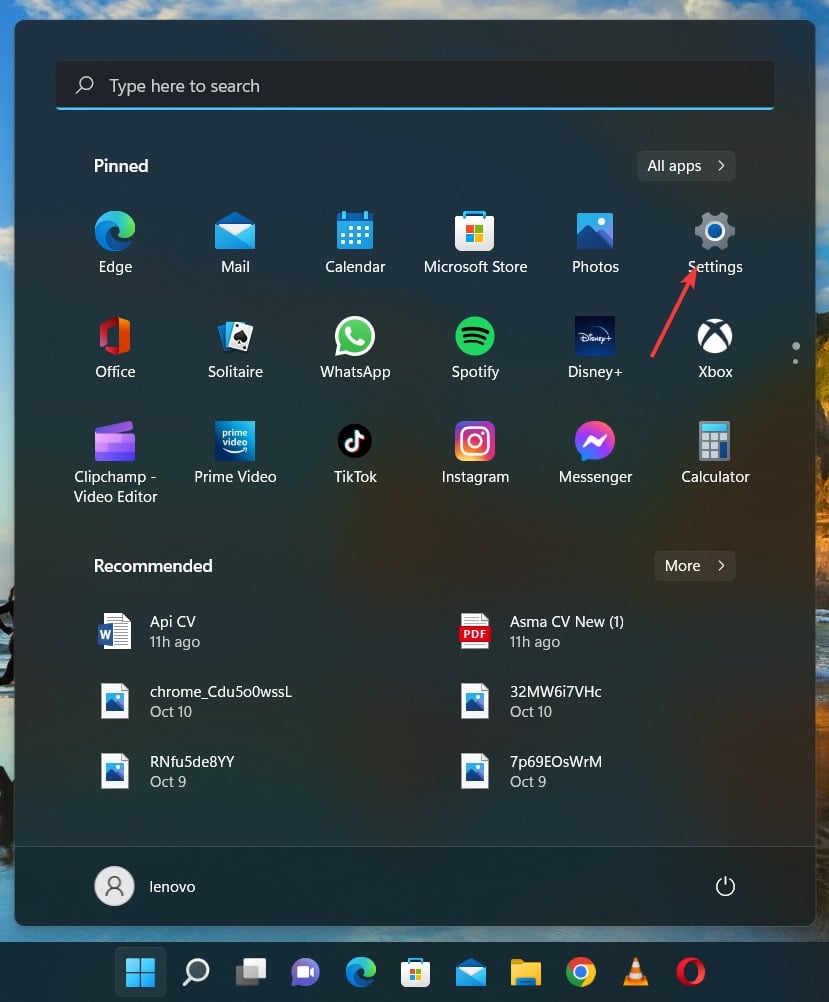
- Click on the Start button at the bottom of your screen and select the Settings option.
- Click on System in the side panel and then click on Notifications.
- Turn the Notifications toggle button of Realtek Audio Manager to Off.
Turning off all notifications via settings will keep the Realtek Audio Manager from popping on the screen.
If you do not see the Realtek Audio Manager in your Windows 11, check the article comprising solutions for missing Realtek Audio Manager in Windows 11.
2. Check for Windows updates
- Click on the Start button at the bottom of the screen and select the Settings option.
- Click on the Windows Update from the right sidebar and then click on Check for updates.

- If updates are available, then install them, and hopefully, your issue will be resolved.
3. Update the Realtek audio drivers
- Type device manager in the search bar and click on Open.

- Then, click on Sound, video and game controllers, right-click on Realtek(R) Audio and click on Update driver.

- A confirmation prompt will open up again; click on Search automatically for drivers to automatically search and install the updated drivers.

Uninstalling the Realtek Audio Manager from your system will definitely resolve this issue. If you wish to reinstall the Realtek driver, then check this article on how to download Realtek audio drivers in Windows 11.
- Download and install Outbyte Driver Updater.
- Launch the software.
- Wait for the app to detect all faulty drivers.

- Now, it will show you all the malfunctioning drivers listed to select the ones to Update or Ignore.
- Click on Update & Apply Selected to download and install the newest versions.
- Restart your PC to ensure the applied changes.

Outbyte Driver Updater
Secure your Windows PC with Outbyte from various errors caused by problematic drivers.4. Enable the Remove Ballon Tips
- Press the Windows + R button to open the run box, type the following command to open the Local Group Policy Editor, and click on the OK button.
gpedit.msc
- Click on Administrative Template and then click on Start Menu and Taskbar.

- Double-click on Remove Balloon Tips on Startup Menu items.

- Then, select the Enabled option and click on the OK button.

5. Uninstall and reinstall the Realtek Audio software
- Click on the Start button and select the Settings option.
- Click on Apps and then click on the Apps and features option.

- Type Realtek, click on the three dots of Realtek Audio Console, and click on Uninstall option from the dropdown.

- Again click on the Uninstall option on the confirmation popup.

- Once the Realtek software is uninstalled, install it again and check whether the issue is resolved or not.
However, if you think Realtek Audio Manager is necessary, then you should check this guide to know why I should need Realtek Audio Manager.
We hope this guide helped you immensely in clearing the issue of the Realtek Audio Manager popping up on the screen for a smooth workflow.
Before you go, don’t miss out on our RtkAudUService64 guide that explains more about this file and Realtek Manager.
If you have any further queries or suggestions or facing any other problem regarding Windows 11, do let us know in the comments section below.
Read our disclosure page to find out how can you help Windows Report sustain the editorial team. Read more


Improve this guide


User forum
0 messages