How to Downgrade to Office 2013 From Office 2016
3 tested methods to roll back to the superior Office 2013
5 min. read
Updated on
Read our disclosure page to find out how can you help Windows Report sustain the editorial team. Read more
Key notes
- There are users who upgraded to Office 2016 and prefer the 2013 version.
- In order for them to use Office 2013, they need to downgrade their Office.
- We made an article on how to roll back to Office 2013 on your Windows 10 device using multiple methods.

Newer isn’t always better, especially when it comes to software, and sometimes newer versions of software can cause certain compatibility issues.
In some instances, Office 2016 can be the cause of these issues, and today we’re going to show you how to downgrade to Office 2013 from Office 2016 on Windows 10.
How can I roll back to Office 2013?
- Use Office 2013 Subscription
- Remove Office 2016 and install Office 2013
- Download Office 2013 offline installation package
1. Use Office 2013 Subscription
1. Open your preferred browser.
2. Navigate to the Microsoft site.
3. Sign in to your account using your credentials.
4. Click on Install.
5. Select the language and the install options.
6. Choose Additional install options.
7. Pick Office 2013 as the preferred version, in the 32 or 64 bit version, depending on your operating system and processor.
8. You can now use Office 2013 on your device.
Microsoft has recently added a way to roll back to Office 2013 on your My Account page. From it, you can downgrade from Office 2016 to Office 2013 in a few clicks, without having to use any third-party tools.
2. Remove Office 2016 and install Office 2013
This is a pretty straightforward solution:
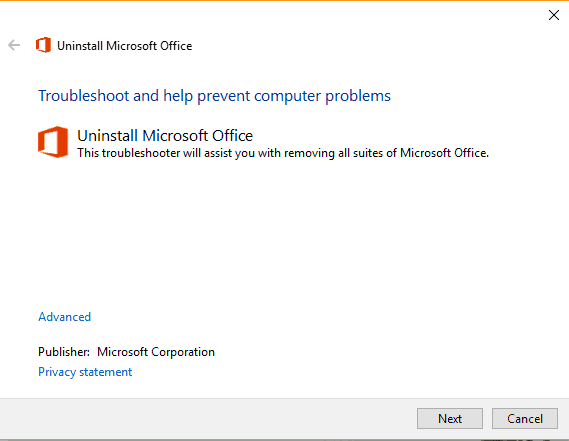
- Download Fix it tool from Microsoft to remove Office 2016. You can download Fix it tool from here.
- Install one of the following versions of Office 2013:
- For Business or Business Premium version:
- For Enterprise E3 or ProPlus version:
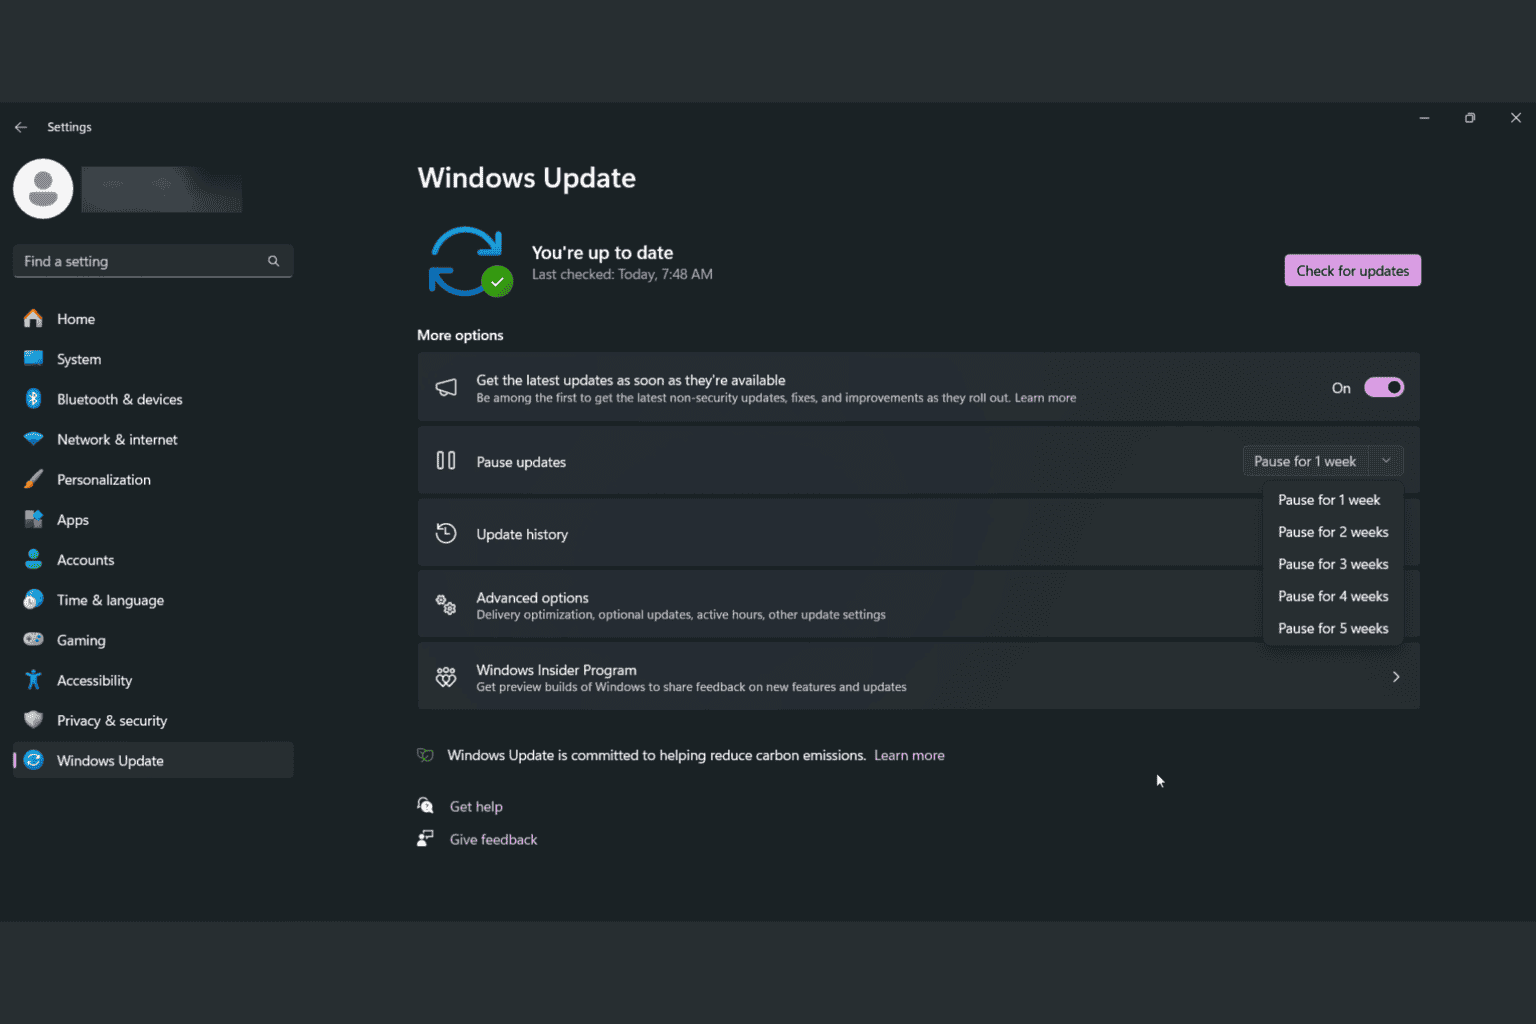
After Office 2013 installation you might want to disable automatic updates so it doesn’t update to Office 2016 on its own.
To do so follow these steps:
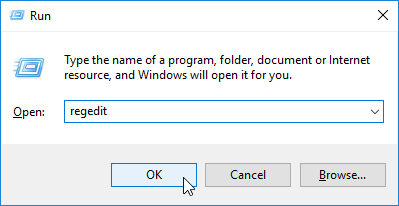
- Open Registry Editor. You can open it by typing regedit in the Search bar or by pressing Windows key+R.
- Navigate to the following path:
HKEY_LOCAL_MACHINESOFTWAREPoliciesMicrosoftoffice15.0commonOfficeUpdate
- Add this value to the Office Update subkey:
- “enableautomaticupgrade”=dword:00000000.
If you don’t know how to do this, skip this step and instead download and run this file.
Can’t access Registry Editor on your PC? Here’s a quick and easy fix for that!
3. Download Office 2013 offline installation package
- Download Office Deployment Tool for Click-to-Run from here (If the download link doesn’t work, download older version from here).
- Run Office Deployment Tool for Click-to-Run and extract it to C:Office15.
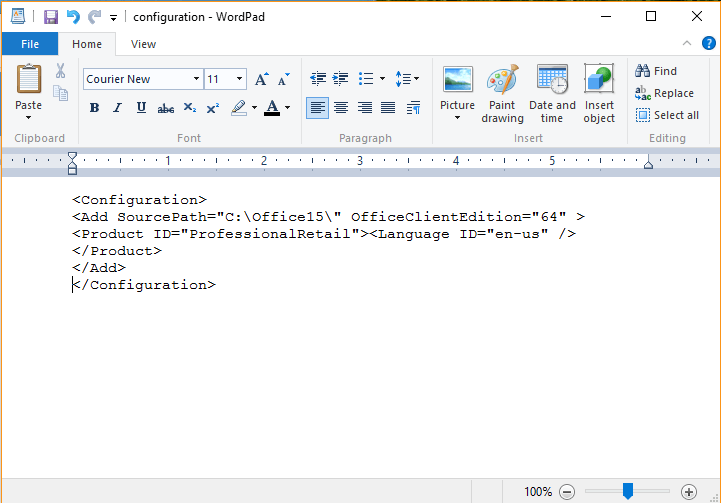
- Go to C:Office15 and open configuration.xml and delete everything from it.
- Enter this into configuration.xml file:
- <Configuration><Add SourcePath=”C:Office15″ OfficeClientEdition=”64″ ><Product ID=”ProfessionalRetail”><Language ID=”en-us” /></Product></Add></Configuration>
- Now you will need to replace certain data. Remember to keep all the values between the quotes:
- Set SourcePath to the C:Office15
- Set OfficeClientEdition to 32 for 32bit version or 64 for 64bit version.
- Set Product ID to one of the values from the table below.
-
Product ID Product Name AccessRetail Microsoft Access 2013 ExcelRetail Microsoft Excel 2013 GrooveRetail Microsoft OneDrive for Business 2013 HomeBusinessPipcRetail Microsoft Office Home and Business Premium HomeBusinessRetail Microsoft Office Home and Business 2013 HomeStudentRetail Microsoft Office Home and Student 2013 InfoPathRetail Microsoft InfoPath 2013 LyncAcademicRetail Microsoft Lync Academic 2013 LyncEntryRetail Microsoft Lync Basic 2013 LyncRetail Microsoft Lync 2013 MondoRetail Microsoft Office Mondo 2013 O365BusinessRetail Microsoft Office 365 Business O365HomePremRetail Microsoft Office 365 O365ProPlusRetail Microsoft Office 365 ProPlus O365SmallBusPremRetail Microsoft Office 365 Small Business Premium OneNoteFreeRetail Microsoft OneNote 2013 OneNoteRetail Microsoft OneNote 2013 OutlookRetail Microsoft Outlook 2013 PersonalPipcRetail Microsoft Office Personal Premium PersonalRetail Microsoft Office Personal 2013 PowerPointRetail Microsoft PowerPoint 2013 ProfessionalPipcRetail Microsoft Office Professional Premium ProfessionalRetail Microsoft Office Professional 2013 ProjectProRetail Microsoft Project Professional 2013 ProjectStdRetail Microsoft Project Standard 2013 ProPlusRetail Microsoft Office Professional Plus 2013 PublisherRetail Microsoft Publisher 2013 SPDRetail Microsoft SharePoint Designer 2013 StandardRetail Microsoft Office Standard 2013 VisioProRetail Microsoft Visio Professional 2013 VisioStdRetail Microsoft Visio Standard 2013 WordRetail Microsoft Word 2013 - Set Language ID to en-us for English version.
As we already mentioned mind the quotes, so please keep all the values between the quotes. If you don’t do that, the installation will fail.
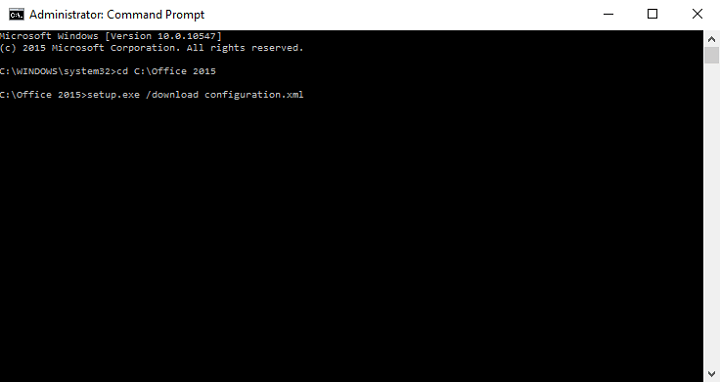
- Run Command Prompt. You can run it by entering cmd in Search bar. Type the following to switch to that folder:
- cd C:Office15
- Now enter the following (This will start the download process. Remember, this might take a while depending on your internet speed, so make sure that you don’t cancel it):
- Now go to C:Office15OfficeData and locate the folder with numbers in its name (Remember those numbers, you’ll need them for next step).
- Go back to C:Office15 and open configuration.xml and paste this into it:
- <Configuration><Add SourcePath=”C:Office15″ Version=”15.0.4481.1005″ OfficeClientEdition=”64″ ><Product ID=”ProfessionalRetail”><Language ID=”en-us” /></Product></Add><Display Level=”Full” AcceptEULA=”TRUE” /></Configuration>
- Now you need to change values to the ones you used when downloading Office in Step 4 (Remember to change the Version value to the one from the Step 7).
- Open Command Prompt and enter: cd C:Office15.
- Now enter this into Command Prompt for the installation to start:
- setup.exe /configure configuration.xml
- If you get any errors, you might need to check configuration.xml if the values are the same like in Step 4 and Step 7 and if they are placed properly between the quotes.
Can’t install Office 2016 due to Error 30015-6 (-1)? Fix that with this guide!
That’s about it. As you can see, the solutions aren’t very complicated, but you need to be aware of the quotes and the lines you enter. One missed letter can be enough to ruin the installation process.
If you have any other questions, please feel free to ask in the comments section below.



User forum
2 messages