How to Set up the SMTP Server For Office 365
Set up secure and reliable email transmission

A Simple Mail Transfer Protocol (SMTP) server for Office 365 is crucial for organizations that wish to secure their outgoing emails. Not only is it reliable but integrates with the Office suite apps making it a no-brainer to configure it.
How do I enable SMTP in Microsoft 365?
1. Set up a static IP address
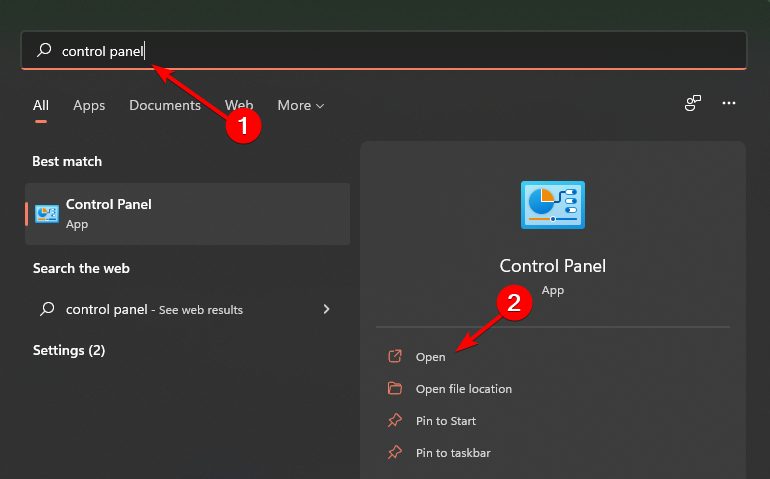
- Hit the Windows key, type Control Panel in the search bar, and click Open.
- Navigate to Network & Internet.

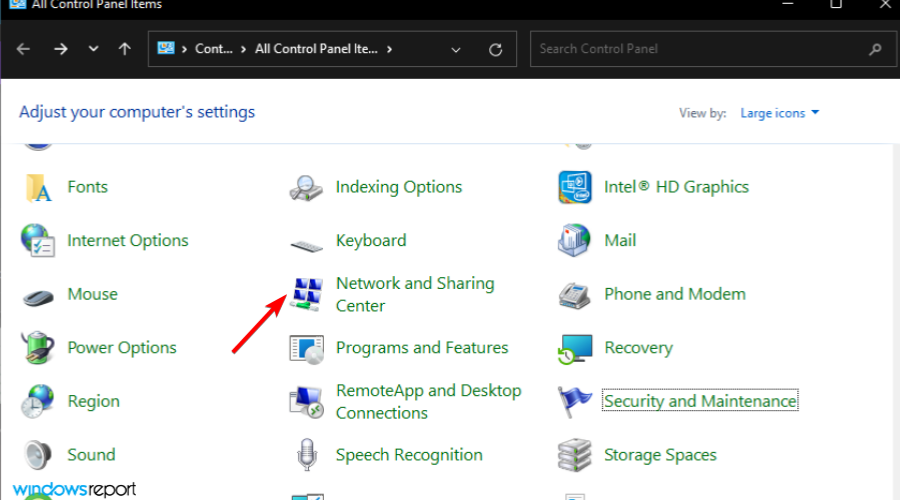
- Select Network and Sharing Center.
- On the left pane, select Change adapter settings.

- Right-click your network connection and click the Properties option.

- Select the Internet Protocol Version 4 (TCP/IPv4) option and select Properties.

- Select Use the following IP address option, and under Use the following DNS server addresses set Preferred DNS server and press the OK button.

Aside from providing a consistent address, using a static IP makes it easier to create firewall policies that enhance network security because you can now manage traffic from both sides.
2. Enable TLS 1.2
2.1 Check status
- Start by checking whether TLS has been enabled on your device. Hit Windows + R, type regedit, and navigate to the following location:
HKEY_LOCAL_MACHINE\SYSTEM\CurrentControlSet\Control\SecurityProviders\SCHANNEL\Protocols\TLS 1.2\Client\Enabled - The corresponding value should be 1, it has been enabled.
2.2 Check TLS version
- Next, verify the version to ensure it’s compatible with your device.
- Press Windows + X. and select Windows Powershell.
- Enter the following command:
Get-TlsCipherSuite.
- Press Enter. Y
2.3 Enable TLS
- Click on Windows + R.

- Press Enter.
- In the Internet Properties window, click on the Advanced tab.

- Scroll down and check for the TSL protocol in use

- Select Apply.
- If you can’t find the option available, you’ll have to enable it from the Registry.
2.3.1 Enable TLS via the Registry
- Before you make any changes to the Registry Editor, we recommend that you backup your registry or create a restore point. This way, if anything goes wrong, you can undo the changes and avoid damage to your PC.
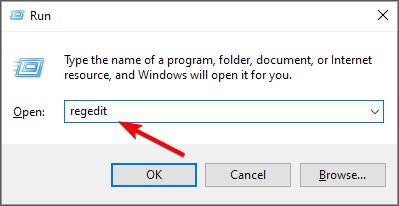
- Hit the Windows + R keys to open the Run command.
- Type regedit in the search box and hit Enter.
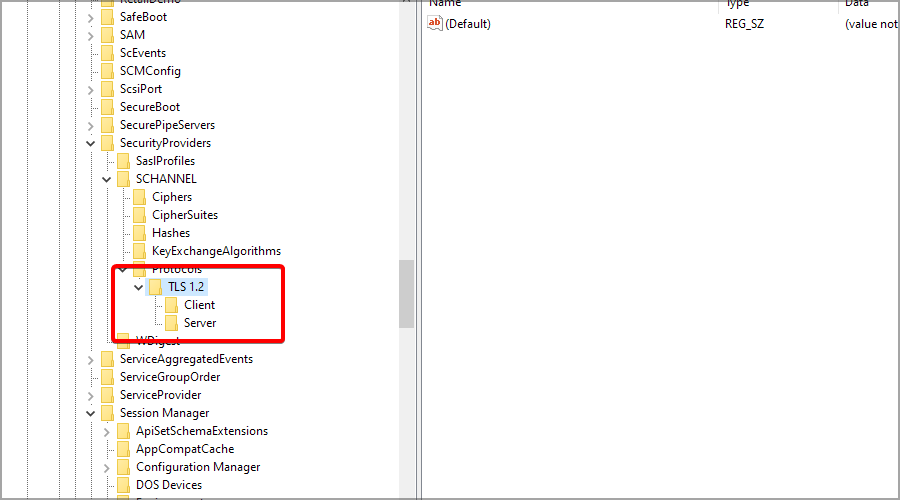
- Navigate to the following path:
Computer\HKEY_LOCAL_MACHINE\SYSTEM\CurrentControlSet\Control\SecurityProviders\SCHANNEL\Protocols - Right-click on an empty space in the right pane and select New>Key.

- Name the new key TLS 1.2 and click to expand it.
- Navigate to TLS 1.2, click on the empty space in the right pane, and add two new keys. Name the first one Client and the second one Server.
- Now, select the Client key, right-click in the right pane and select New, and then DWORD (32-bit) Value.
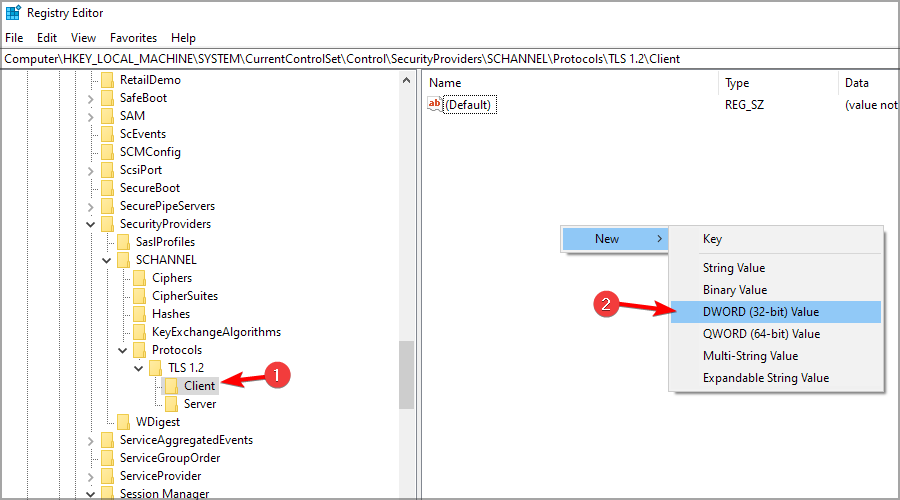
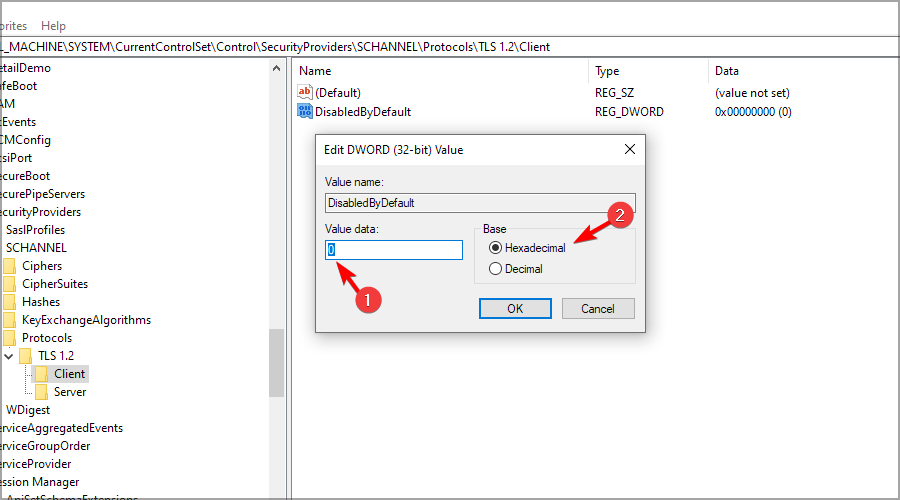
- Name the DWORD DisabledByDefault, and double-click it.

- Ensure that the Base is Hexadecimal, and the value is 0 (zero).
- Create a new DWORD and name it Enabled, and double-click it.
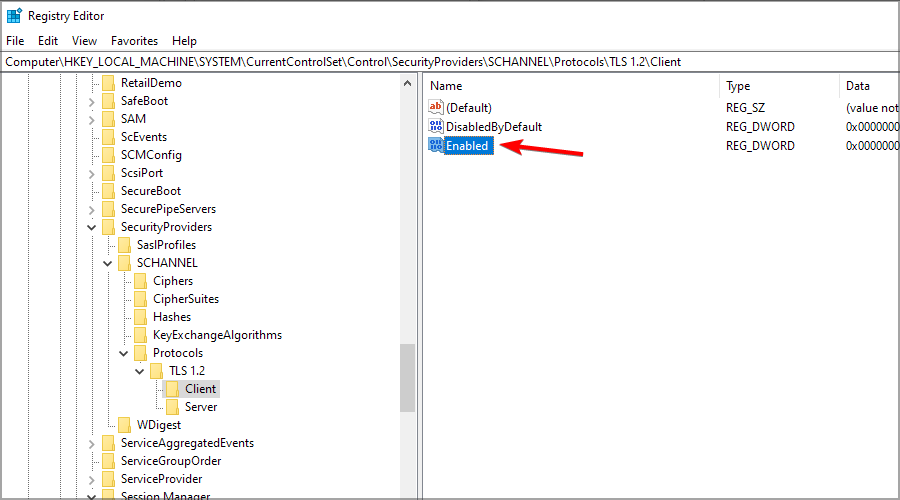
- Ensure that the Base is, again, Hexadecimal and the Value is set to 1.
- Close the Registry Editor and reboot your PC.
TLS 1.2 is the preferred security protocol for email servers because it is widely adopted by most email clients and has strong encryption properties compared to older versions.
3. Unblock port 587
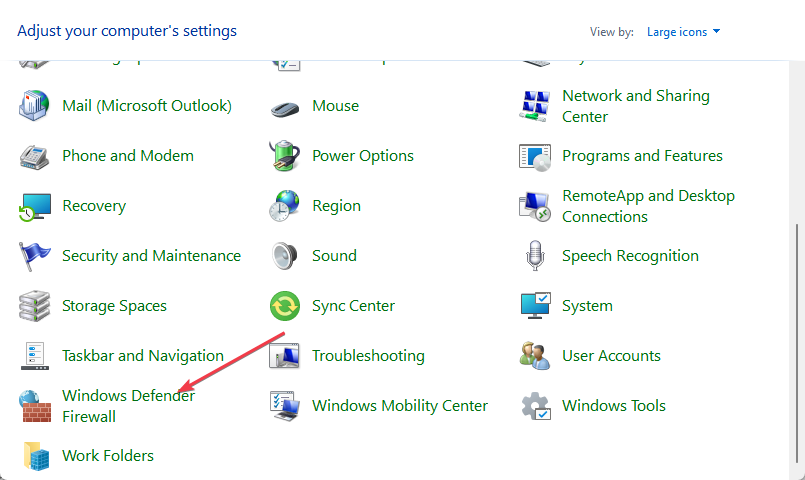
- From the Start menu, search Control Panel, and press Enter.
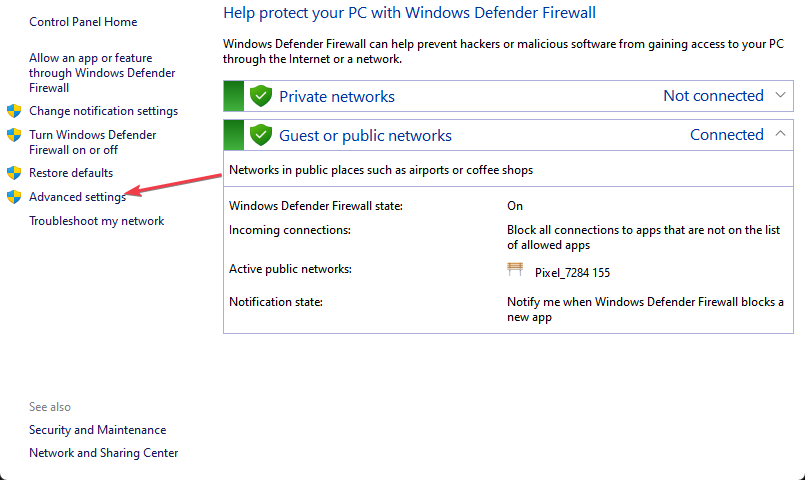
- Then, click on Windows Defender Firewall.
- Select Advanced Settings.
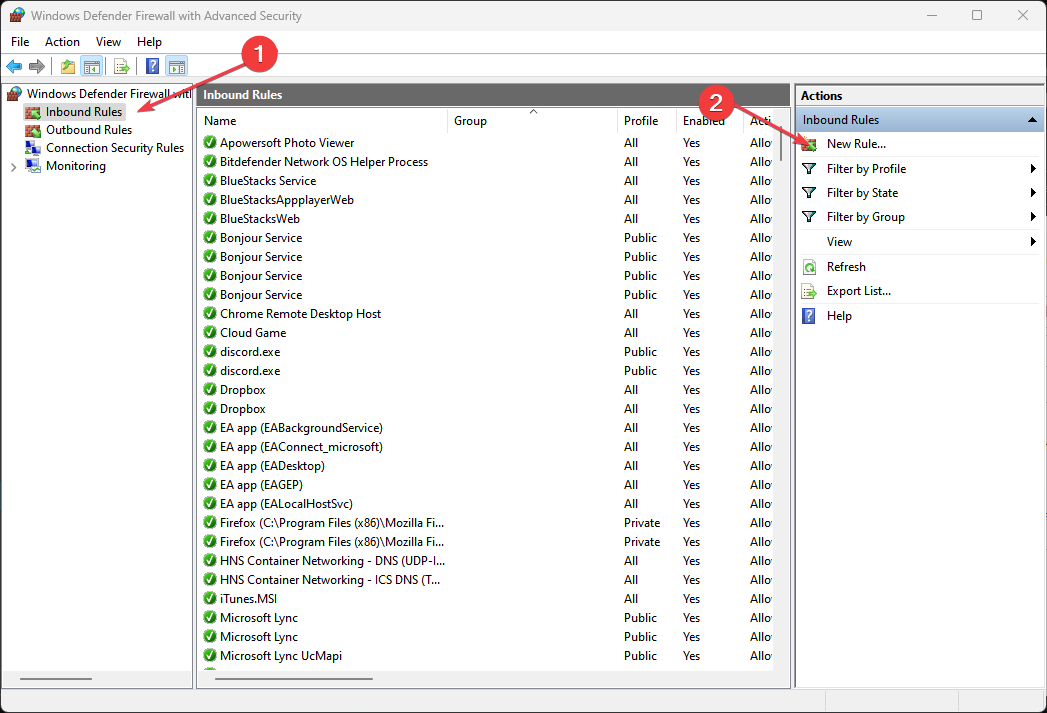
- Then, choose Inbound Rules and click New Rule in the Actions window.
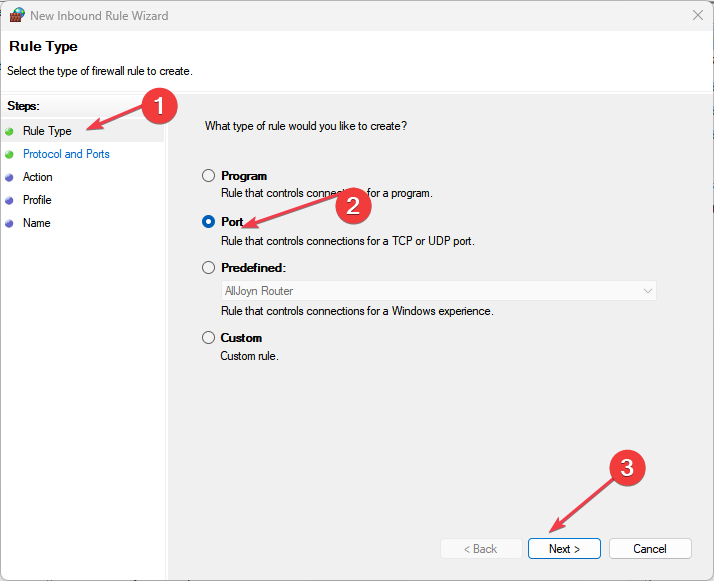
- Now, select Rule Type of Port and click Next.
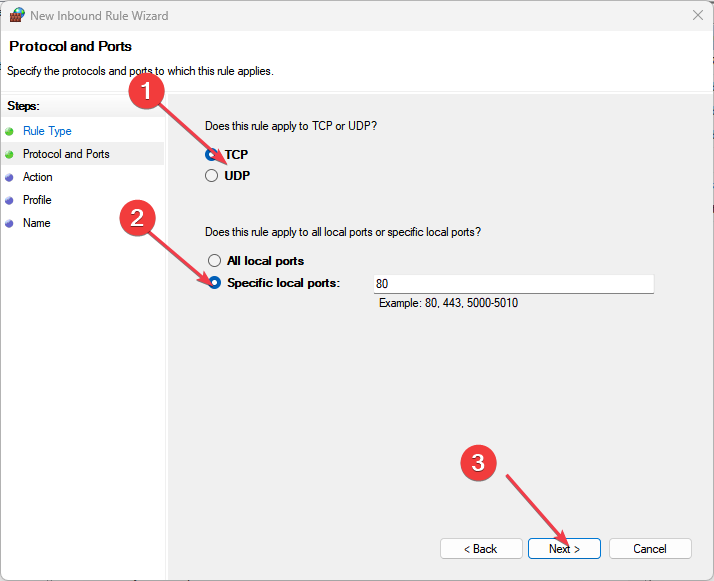
- On the Protocol and Ports page click TCP. Select Specific Local Ports, type a value of 587 or 25, and click Next.
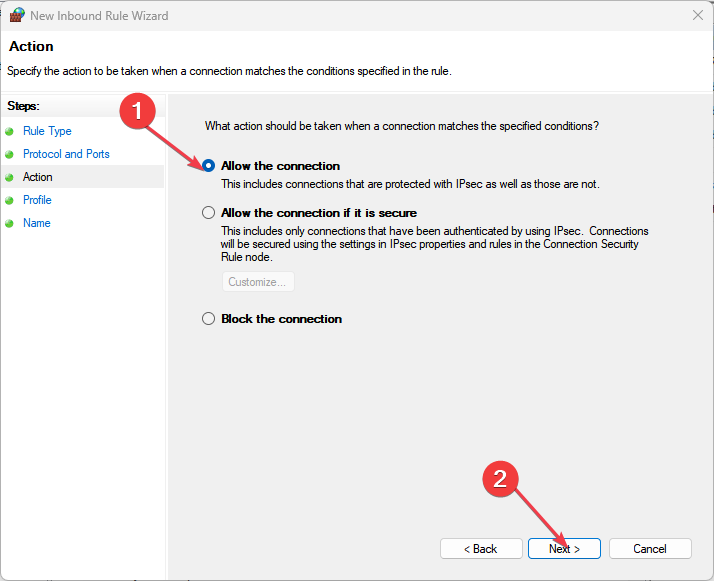
- On the Action page click Allow the connection and click Next.
- In the Profile page click the appropriate options for your environment and click Next.

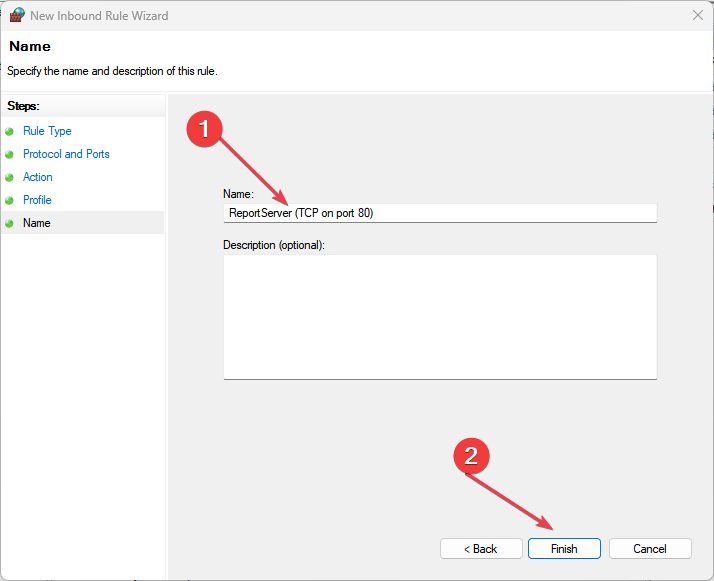
- On the Name page enter the name of SMTP (TCP on port 587) and click Finish.
- Restart the computer.
Port 587 or 25 is the default port for outgoing email traffic. Most ISPs block this port but if you enable TLS 1.2, you’ll require this port for email transmission to further enhance your security. It will also help avoid being blacklisted on email inboxes as spam since the port will now be free from restrictions.
4. Set up SMTP server
4.1 Set up via domain
- Navigate to your browser and sign into your Microsoft 365 admin center account.
- Go to Settings > Domains and under your MX record, note down the Point to address value. It should be something like: contoso-com.mail.protection.outlook.com.

- Go back to the admin center and navigate to Mail flow > Connectors. If none is available for your organization, create one.

- Set your email flow scenario to Office 365.

- Hit Next, and give the connector a name and brief description.

- Next, check the By verifying that the IP address of the sending server matches one of these IP addresses that belong to your organization box and add the IP address from step 1.

- Hit Save and a summary will appear.

- You can send a test mail to confirm whether your emails are being received on the other end.
4.2 Set up for individual accounts
- Navigate to your browser and sign into your Microsoft 365 account or launch the Outlook mail app on your desktop.

- Expand Account Settings and select Manage Profiles.

- Click on the Email Accounts button.

- Choose your email account from the list, click on it to select then hit Change.
- Click on More Settings.

- Navigate to the Outgoing server tab and check the My outgoing server (SMTP) requires authentication and Log on using boxes.

- Next, move to the Advanced tab and under the Use the following type of encrypted connection, select SSL/TLS from the drop-down menu then hit OK.
Potential issues and best practices for SMPT server for Office 365
Your TLS certificate may expire while you’ve enabled SMTP authentication. A quick update of your system should fix this since most are meant to be compatible with certain OS versions.
In case the emails end up in the spam folder, review your spam filtering settings or whitelist the specific sender/domain.
For best practices, SMTP port problems can occur at any time so check your firewall and network configurations frequently to ensure it is not blocking any connections and all necessary ports remain open.
That’s all we had for this article. If you’ve enabled an SMTP server on your Office 365, we’d like you to share your experience thus far. Drop us a comment down below.
Read our disclosure page to find out how can you help Windows Report sustain the editorial team. Read more


Improve this guide


User forum
0 messages