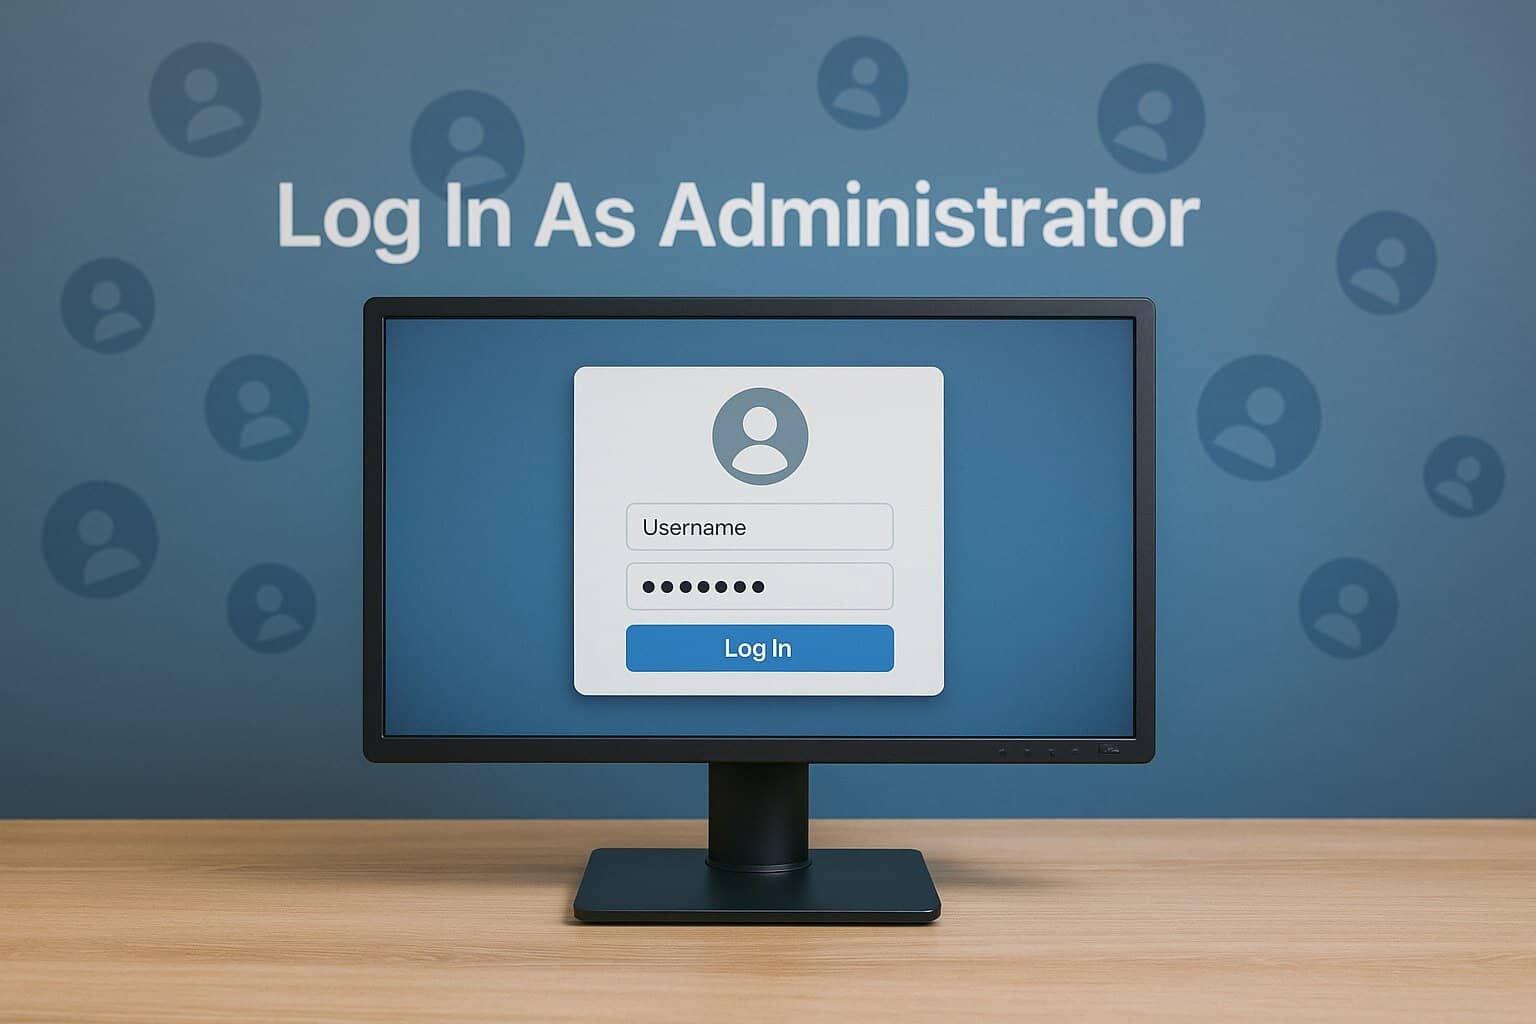
How to Fix “Some Settings Are Managed by Your Organization” in Windows 11

Seeing that some settings are managed by your organization message in Windows 11 or 10 can be frustrating. It often shows up when trying to adjust Windows Update, privacy, or system settings, and it usually means a policy was applied via the Registry Editor or Group Policy.
This guide walks you through how to remove those restrictions and regain full control over your PC settings.
Fix the “Managed by Your Organization” Settings Issue
Table of contents
- Fix the “Managed by Your Organization” Settings Issue
- 1. Use Registry Editor to Remove Applied Policies
- 2. Reset Group Policy to Default
- 3. Enable Diagnostic Data Sharing
- 4. Check Windows Update Restrictions in the Registry
- 5. Remove Work or School Account
- 6. Use the Local Group Policy Editor (Windows Pro Only)
- 7. Disable Telemetry via Registry
- 8. Check System Info for MDM Enrollment
- 9. Use Windows Troubleshooter
- 10. Perform a Clean Boot
- 11. Restore the System to a Previous Point
- FAQs
1. Use Registry Editor to Remove Applied Policies
- Press
Windows + R, typeregedit, and press Enter. - Navigate to:
HKEY_LOCAL_MACHINE\SOFTWARE\Policies\Microsoft\Windows- Look for subkeys like
WindowsUpdateorDataCollection. - Right-click each one and select Delete.
- Restart your PC.
This helps resolve conflicts like windows update settings are managed by your organization or privacy settings controlled by enterprise policies.
If you’re uncomfortable editing the registry manually, PC HelpSoft PC Cleaner can scan and safely remove leftover group policies or hidden restrictions automatically.

PC Helpsoft PC Cleaner
Use PC HelpSoft PC Cleaner to safely remove hidden policies without editing the registry manually.2. Reset Group Policy to Default
- Open Command Prompt as Administrator.
- Run:
RD /S /Q "%WinDir%\System32\GroupPolicy"- Then:
gpupdate /force- Restart your PC.
This can help if your system was affected by temporary restrictions such as when your organization requires you to change your PIN.
3. Enable Diagnostic Data Sharing
- Go to Settings > Privacy & security > Diagnostics & feedback.
- Set Diagnostic data to Required only or Optional.
- Restart your PC.
4. Check Windows Update Restrictions in the Registry
- Open
regeditagain. - Go to:
HKEY_LOCAL_MACHINE\SOFTWARE\Policies\Microsoft\Windows\WindowsUpdate- Delete values like
DisableWindowsUpdateAccess,WUServer, andDoNotConnectToWindowsUpdateInternetLocations.
This helps if you’re blocked by organization-controlled update settings, similar to what happens when your organization manages updates in Windows 11.
5. Remove Work or School Account
- Open Settings > Accounts > Access work or school.
- Select any connected organizational accounts and click Disconnect.
- Restart your device.
This resolves issues triggered by domain-linked accounts, especially those that result in prompts like another account from your organization is signed in.
6. Use the Local Group Policy Editor (Windows Pro Only)
- Press
Windows + R, typegpedit.msc, and hit Enter. - Navigate to:
Computer Configuration > Administrative Templates > Windows Components- Find the relevant section (e.g., Windows Update, Data Collection) and set all configured policies to Not Configured.
- Restart your PC.
Useful for removing changes made by IT departments or software when your organization is switching to Microsoft Edge.
7. Disable Telemetry via Registry
- Navigate to:
HKEY_LOCAL_MACHINE\SOFTWARE\Policies\Microsoft\Windows\DataCollection- Delete the
AllowTelemetryentry. - Restart your PC.
8. Check System Info for MDM Enrollment
- Press
Windows + R, typemsinfo32, and press Enter. - Under System Summary, look for Device Management.
- If “MDM: Enrolled” appears, you’re connected to a mobile device management service.
- To remove it, disconnect from any work/school accounts and reset your PC if needed.
This is critical if you’re encountering app restrictions such as data cannot be pasted here because your organization prevents it.
9. Use Windows Troubleshooter
Go to Settings > System > Troubleshoot > Other troubleshooters.
Run the relevant option:
- Windows Update
- Privacy
- Network Adapter
Windows will attempt to fix settings restrictions automatically.
10. Perform a Clean Boot
- Open System Configuration (
msconfig). - Under Services, check Hide all Microsoft services, then click Disable all.
- Open the Startup tab and disable all entries.
- Restart your PC.
11. Restore the System to a Previous Point
- Search for System Restore in Start and open it.
- Select a restore point before the issue began.
- Follow the prompts to complete the process.
FAQs
Use Registry Editor or Group Policy Editor to delete or reset policies. Disconnect work/school accounts if needed.
Because policies were applied through accounts, optimization tools, or registry edits—intentionally or not.
Yes, as long as you back up your registry or create a restore point before editing.
Yes. This may happen if you’re enrolled in a domain or affected by policies like forced Edge migration.
Disconnecting a work/school account can help, especially if you’re facing synced policy issues or MDM restrictions.
Read our disclosure page to find out how can you help Windows Report sustain the editorial team. Read more


Improve this guide


User forum
16 messages