TCPIP.sys on Windows 10: How to Fix This Blue Screen Error
Run the Blue Screen troubleshooter to fix it
Key notes
- This blue screen error could occur due to incomplete installation of software, corrupted network drivers, or third-party antivirus settings.
- In this guide, we will discuss all the expert-tested fixes to resolve the issue.

Tcpip.sys is a driver file associated with Transmission Control Protocol over Internet Protocol. It is a library of rules for connecting various devices over the internet. This system file allows internal hardware components to communicate with other programs and operating systems. If this file gets corrupted or incompatible, it can cause system errors, including TCPIP.sys blue screen error.
This guide will cover all the methods to fix the issue after discussing the causes. Let’s get started!
What causes the tcpip.sys blue screen error on Windows 10?
There are several reasons for this blue screen error on Windows 10; some of the common ones are:
- Improper installation of software – If software installation is interrupted in between, it might not work correctly and can cause errors like this. To fix this error, reinstall the application.
- Outdated driver – If the network drivers are corrupt or outdated, you might see this BSOD error. To fix this, you need to update the drivers on your computer.
- Conflicting antivirus settings – If you use third-party antivirus, and some of the settings are incompatible, you might get this error.
- Windows update – Sometimes, a newly installed bad Windows update could cause issues, including this BSOD error. You need to uninstall it to fix the problem.
What can I do to fix the tcpip.sys blue screen error on Windows 10?
Before engaging in advanced troubleshooting steps, you should consider performing the following checks:
- Check for pending Windows updates.
- Restart your computer.
- Check recently installed applications, and if they are not properly working, reinstall them.
1. Reset the TCP/IP
- Go to the search bar, type CMD, and click Run as administrator.

- Click Yes on the UAC prompt.
- Copy and paste the following command and press Enter:
netsh int ip reset
- The process will take some time to finish; restart your computer to let the changes take effect.
2. Run the troubleshooter
- Press Windows + I to open Settings.
- Go to Update & Security.

- From the left pane, select Troubleshoot.
- Under Find and fix problems, locate Blue Screen and click Run the troubleshooter. The troubleshooter will look for errors and issues.

- If any errors are found, the troubleshooter will automatically fix them. Once done, restart your PC.
3. Update the network driver
3.1 Update drivers manually
- Press Windows + R to open the Run console.

- Type devmgmt.msc and press Enter to open Device Manager.
- Locate the Network adapters section and expand it. You will get a list of drivers, right-click on the first one and select the Update driver.

- On the next window, click Search automatically for drivers.

- Follow the onscreen instructions to complete the process. Then, repeat the process for all the drivers listed under the Network adapter section.
3.2 Use a third-party tool
Updating drivers manually can be time-consuming and troublesome. Therefore, it is advised to use a third-party driver updater to keep the drivers updated. One such reliable driver updater tool is Outbyte Driver Updater. It can efficiently scan your computer to find outdated drivers and download the latest ones within a few minutes. To update drivers using Outbyte Driver Updater, follow these steps:
- Download and install Outbyte Driver Updater.
- Launch the tool and click Scan.
- Once the scan is complete, it will show you the list of outdated drivers. Select the driver you want to update and click the Update driver.
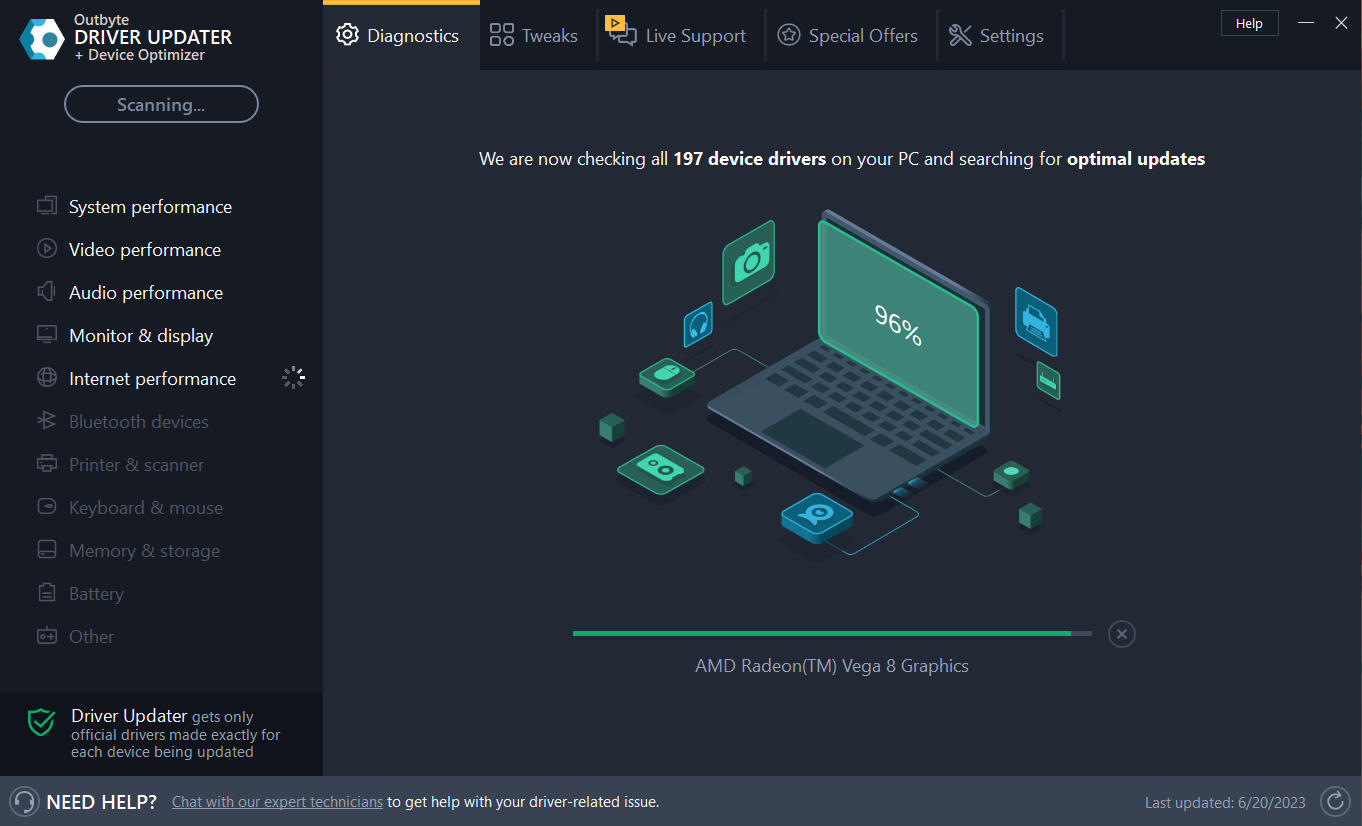
- The tool will then download and install the compatible drivers.
- Follow the onscreen prompts to complete the process.
4. Disable web protection in Antivirus
- Launch your antivirus tool from the system tray or shortcut. For demonstration purposes, we are using Avira antivirus.
- Click Security from the left pane.

- Go to the Protection options module.
- Now under Web Protection, click OFF to disable it.

5. Update BIOS
5.1 Check the BIOS version
- Press Windows + X to open the context menu and select Command Prompt(Admin).
- Type the following command and press Enter:
wmic bios get smbiosbiosversion
5.2 Download BIOS update
- Locate the device model or serial number and go to your manufacturer’s support page or download center.
- For demonstration purposes, we have used HP support. The steps may vary for other devices.

- Enter the serial number; when the product is detected, go to the Software and Drivers tab.
- Click All Drivers, locate the BIOS file, and check if it is the same version as shown in Command Prompt. If not, download the file.

- If it is a zip file, extract it and copy it to a USB flash drive.
5.3 Update BIOS
- Connect the USB drive and boot your computer.
- Press Windows + I to open Settings.
- Go to Update & Security.

- Click Recovery, then under Advanced startup, click Restart now.

- On the Choose an option screen, click Troubleshoot.

- On the next screen, click Advanced options.

- Now click UEFI Firmware settings.

- Click Restart.

- Choose an appropriate option to enter BIOS.
- Once in BIOS, look for the BIOS update option and select it.

- Now select the file from the USB drive and start the update process.
6. Perform a memory test.
- Go to the search bar, type Windows Memory Diagnostic, and click Open.
- On the next window, select Restart now and check for problems.

- Your computer will restart automatically, and the Windows Memory Diagnostic tool will run.

- When the process completes, your computer will restart again.
- You will get an error report once you are logged in.
So, these are methods that you need to follow to fix the TCPIP.sys BSOD error on Windows 10. Try them and let us know what worked for you in the comments below.
Read our disclosure page to find out how can you help Windows Report sustain the editorial team. Read more


Improve this guide


User forum
0 messages