How to hide the default Teams meeting control task bar
![]() 3 min. read
3 min. read
![]() Updated on
Updated on
Share this article

Improve this guide
Read our disclosure page to find out how can you help Windows Report sustain the editorial team Read more
Key notes
- Microsoft Teams is a powerful business communication and workplace collaboration solution that powers millions of users daily
- In this guide, we'll show you how you can hide the meeting control task bar so as to create a distraction-free environment during business conferences
- Improving your skills is a must if you want to increase your productivity. Bookmark our Microsoft Teams page for more tips and tricks on how to become a Teams expert.
- Visit our Microsoft Teams Hub for additional guides.

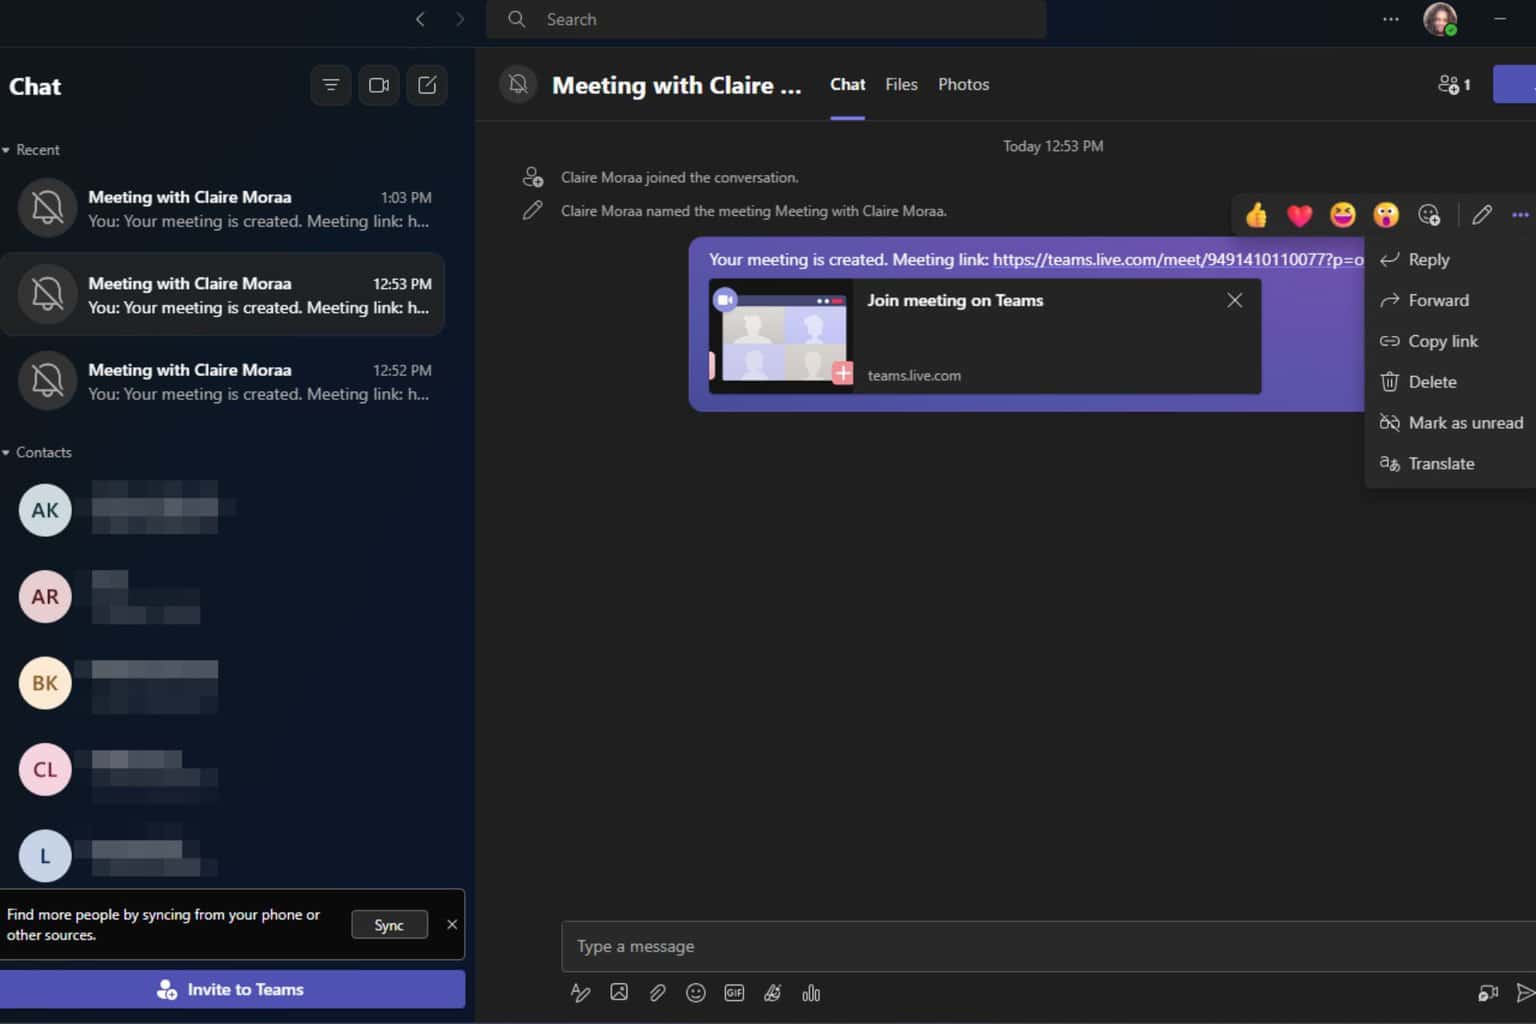
Microsoft Teams is getting more and more popular, but trying to make little changes such as the one here detailed can be overwhelming. It’s clear that you want to hide the default Teams meeting control task bar at the bottom of the screen, and we get you.
This would further encourage a distraction-free environment. You could forget all about any visibility interference and finally take screenshots of what is being displayed without the meeting control task bar in the way.
Even if there is no actual option to disable the control bar in a Team meeting, you cannot go on with the task bar being always visible.
This remains one of users’ top complaints when using Teams for meetings, so let’s see how you can at least ease the situation.
How can I hide the default Teams meeting control task bar?
1. Wait for Auto-hide to kick in

The task bar auto hides when you move the mouse outside of the sharing screen for a while. There’s a catch though: the second you move the mouse, the task bar reappears.
On top of that, when using third party screenshot apps, you need to move your mouse back onto the window of choice before clicking to capture the screenshot. When doing this, the task bar reappears.
Finally, Auto-hide doesn’t work adequately on multiple occasions. Users move their mouse down to the video feed or even completely outside the window, keep it still for several seconds, but the control bar sometimes remains on screen and blocks view.
2. Use Snipping Tool to take screenshots

If capturing a screenshot remains your main concern, give a try to Snipping Tool. This is an intuitive screenshot tool included in Windows Vista and higher.
To open Snipping Tool, select the Start button, and type snipping tool. Select it in the search results. Then, you can keep the tool on the top of the sharing screen and move your mouse to the tool.
When doing so, the control bar is still hiding and you can immediately click New to get the screenshot.
3. Record, then play and share the meeting recording in Teams

When capturing hundreds of screenshots during a team meeting isn’t feasible, you could also record the meeting to capture audio, video, and screen sharing activity.
Then, play and share the recording with other team members.
Microsoft Teams won’t connect to a meeting? Check this tutorial and set things right once again.
Final thoughts
You know all about the default Teams meeting control task bar. It’s acting as a distraction and it often obscures important information. Bottom line, it could turn into a deal breaker for adoption at work.
For now, apply the above tips, at least until Microsoft comes with a product change addressing this issue. An intuitive Minimize or Hide controls button would put an end to this.
If you know any method to manually get that bar out of the way, please do let us know. You can reach out to us via the comments section. Meanwhile, make sure you’re getting the most out of Microsoft Teams.
Keep in mind that the maximum number of persons who can access the notes is 20. In other words, if the meeting exceeds 20 participants, only the first 20 participants are allowed to view the notes.
[wl_navigator]