How to uninstall Windows 10 Update Assistant
How to disable Windows 10 update assistant permanently
The Windows 10 Update Assistant enables users to upgrade Windows 10 to the latest builds. Thus, you can update Windows to the latest version with that utility without waiting for an automatic update.
However, the Update Assistant is hardly essential as the updates will eventually roll out to you without it.
You can uninstall the Win 10 Update Assistant much the same as most software. However, some users have discovered that the Update Assistant has a habit of automatically reinstalling.
Thus, you might also need to turn off some scheduled tasks for the Update Assistant after uninstalling it.
Which is the latest version of Windows 10? Find out from our constantly updated article!
How to remove Windows 10 update assistant permanently
Uninstall the Windows 10 Update Assistant
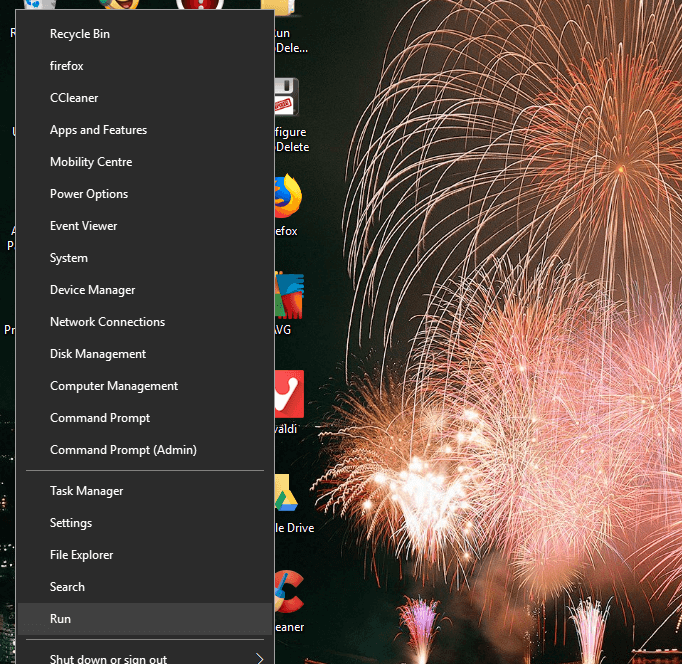
- To uninstall the Windows 10 Update Assistant, right-click the Start button and select Run.
- Enter ‘appwiz.cpl’ in Run’s text box, and click the OK button.
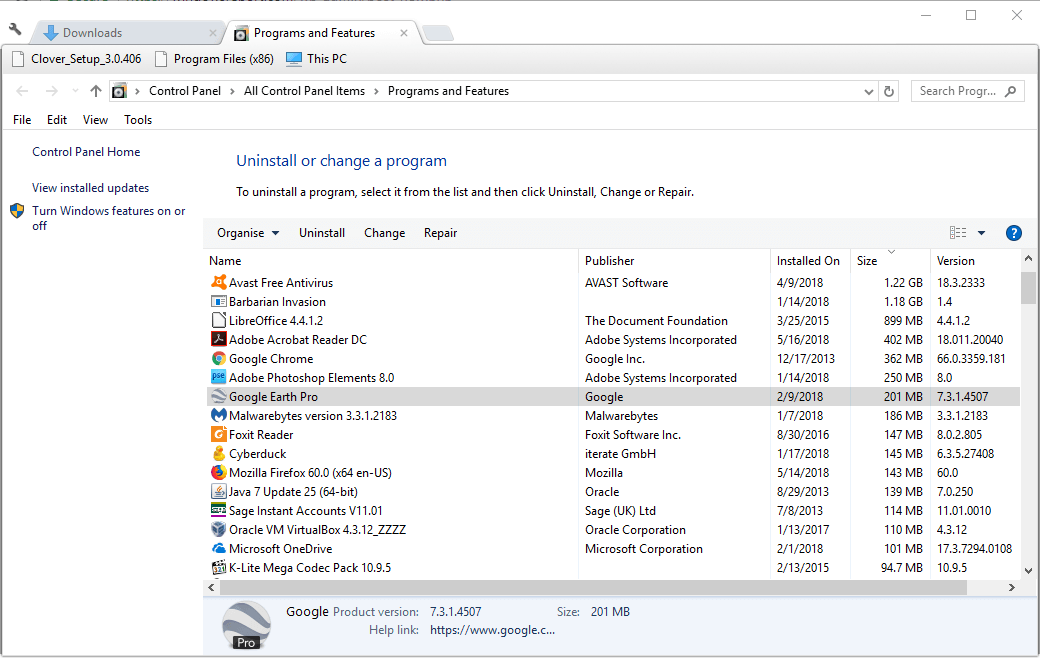
- Select the Windows 10 Update Assistant in the software list.
- Click the Uninstall option.
- Then click Yes to further confirm.
- Next, click the File Explorer taskbar button.
- Select the Windows10Upgrade folder in the C: drive.
- Press the Delete button.
- Restart your desktop or laptop.
Epic guide alert! This is how you delete downloaded Windows Updates which failed to install!
Turn Off Update Assistant’s Scheduled Tasks
After you’ve uninstalled Windows 10 Update Assistant, you might also need to turn off the scheduled UpdateAssistant, UpdateAssistanceCalenderRun and UpdateAssistantWakeupRun tasks.
To do that, open the Cortana app.
- Enter ‘Task Scheduler’ in Cortana‘s search box.
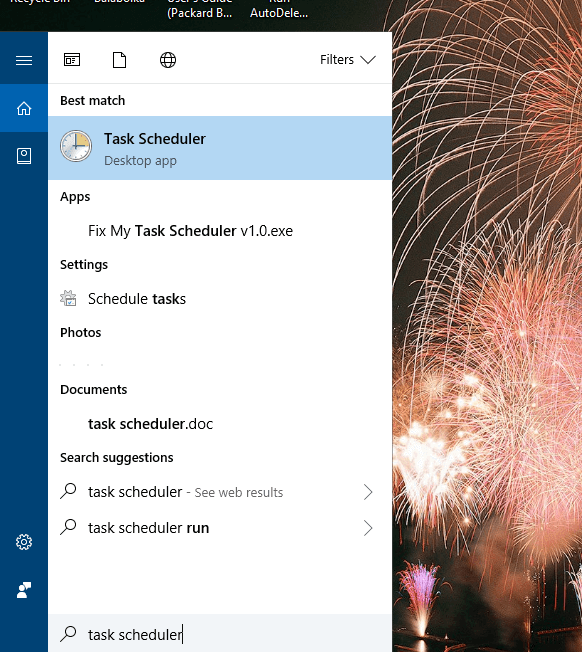
- Then select to open the Task Scheduler window shown directly below.
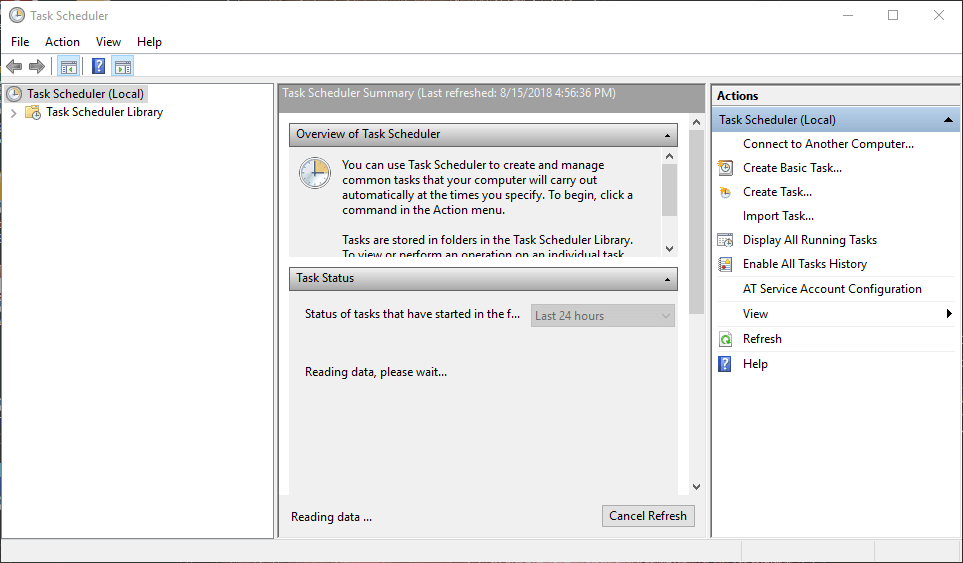
- Double-click Task Scheduler > Microsoft > Windows > UpdateOrchestrator on the left of the Task Scheduler window.
- Turn off the UpdateAssistanceCalenderRun, UpdateAssistant and UpdateAssistantWakeupRun scheduled tasks by selecting them and clicking their Disable options.
- To check if there are any other scheduled update tasks that might reinstall the Update Assistant, add the freeware CCleaner to Windows by clicking Download on this page. Then you can open CCleaner’s setup wizard to install it.
- Open CCleaner and click Tools.
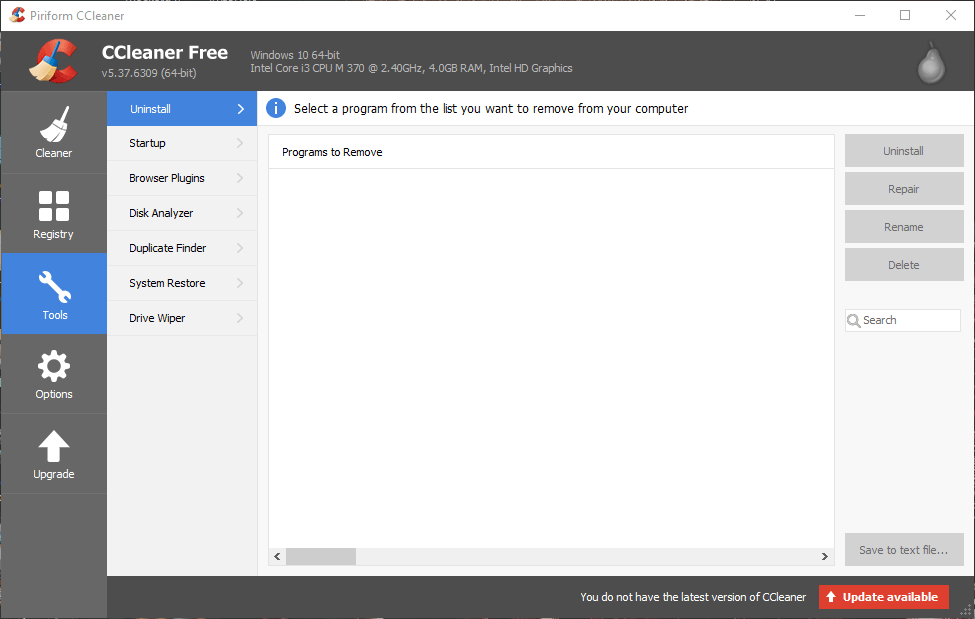
- Click Startup to open a list of startup software.
- Then click the Scheduled Tasks tab shown directly below.
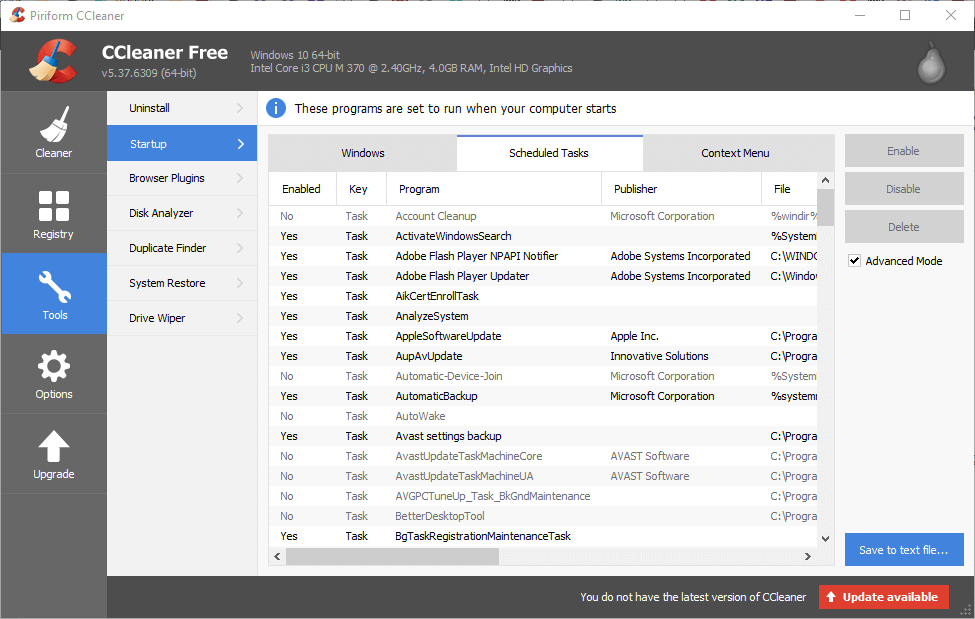
- Select the Advanced Mode option.
- Disable any Windows 10 Upgrade or Windows Update scheduled tasks listed there. You can turn off a scheduled task by selecting it in CCleaner and clicking Disable.
So that’s how you can both uninstall the Windows 10 Update Assistant and turn off scheduled tasks that might later revive it. You can also more thoroughly uninstall the Update Assistant with third-party uninstallers.
Check out this post for further third-party uninstaller software details.
RELATED STORIES TO CHECK OUT:
Read our disclosure page to find out how can you help Windows Report sustain the editorial team. Read more


Improve this guide


User forum
0 messages