Fix: USP10.DLL is Not Designed to Run on Windows
Safe Mode to the rescue

The usp10.dll is missing or not designed to run on Windows or any other related errors can prevent you from launching programs, installing or even uninstalling.
We also noted that the genesis of these issues began shortly after a Windows update so it could also be related to a corrupt build.
How do I fix usp10.dll is missing?
 NOTE
NOTE
1. Perform DISM and SFC scans
- Hit the Start Menu icon, type cmd in the search bar, and click Run as administrator.

- Type the following commands and press Enter after each one:
DISM.exe /Online /Cleanup-Image /Restorehealthsfc /scannow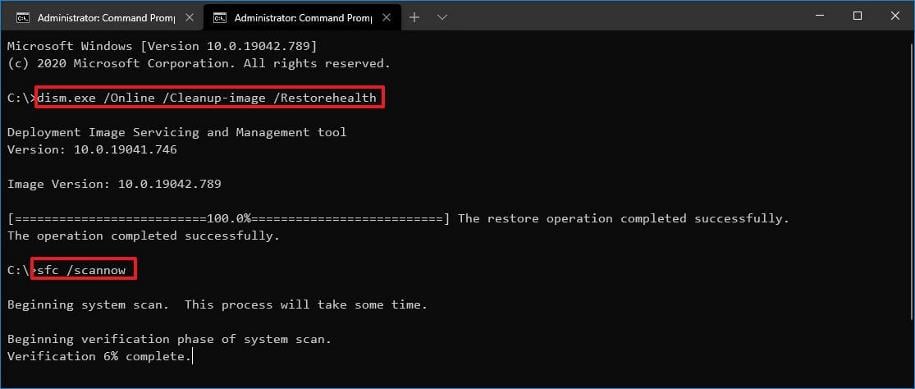
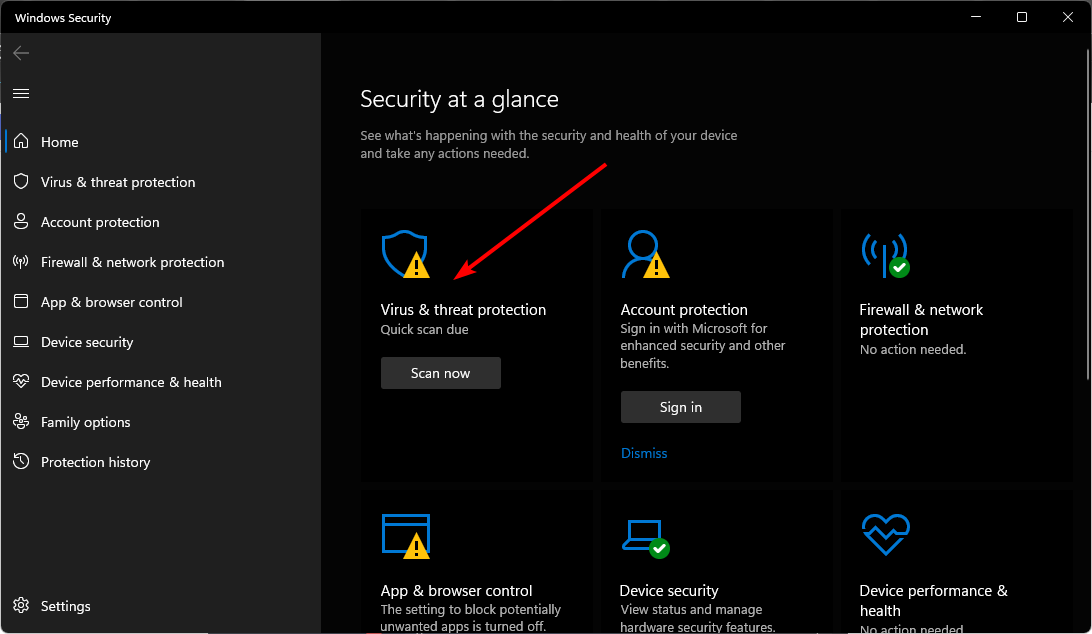
2. Scan for viruses
- Press the Windows key, search Windows Security, and click Open.

- Select Virus & threat protection.
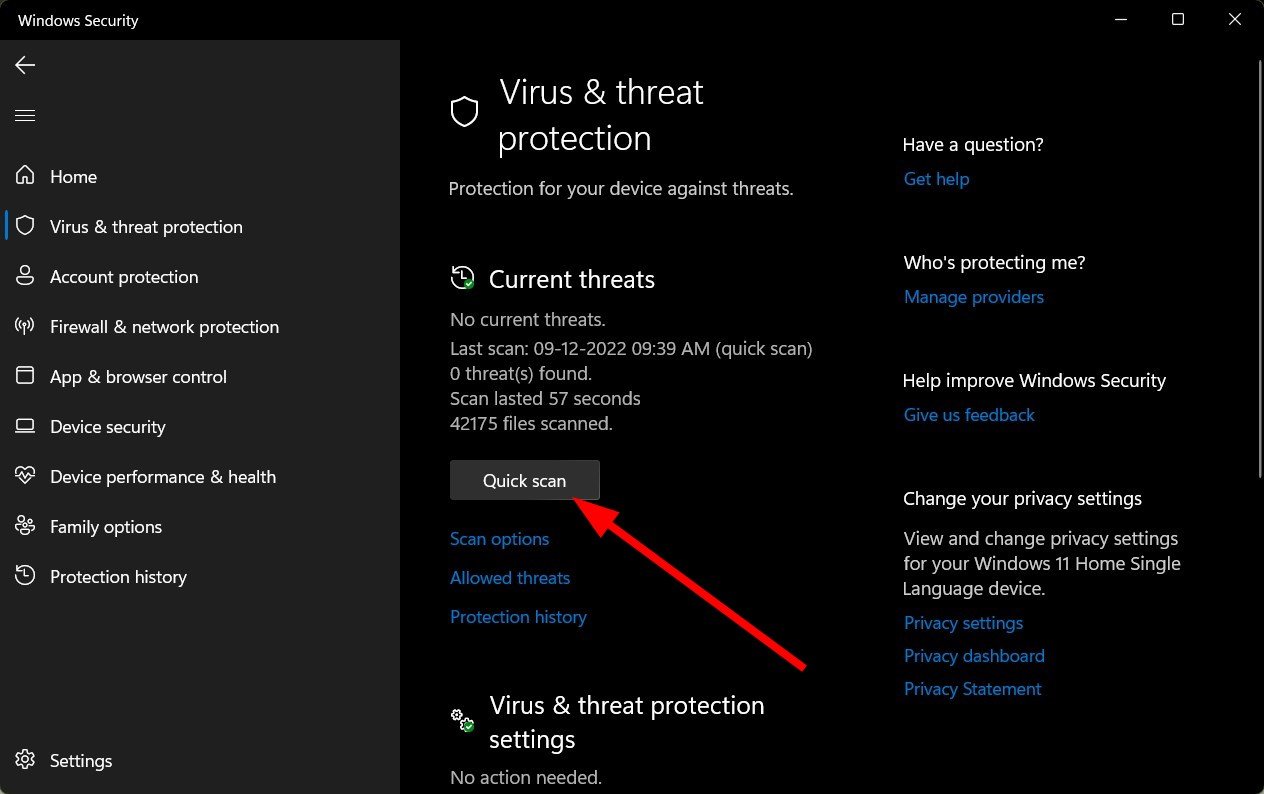
- Next, press Quick scan under Current threats.
- If you don’t find any threats, proceed to perform a full scan by clicking on Scan options just below Quick scan.
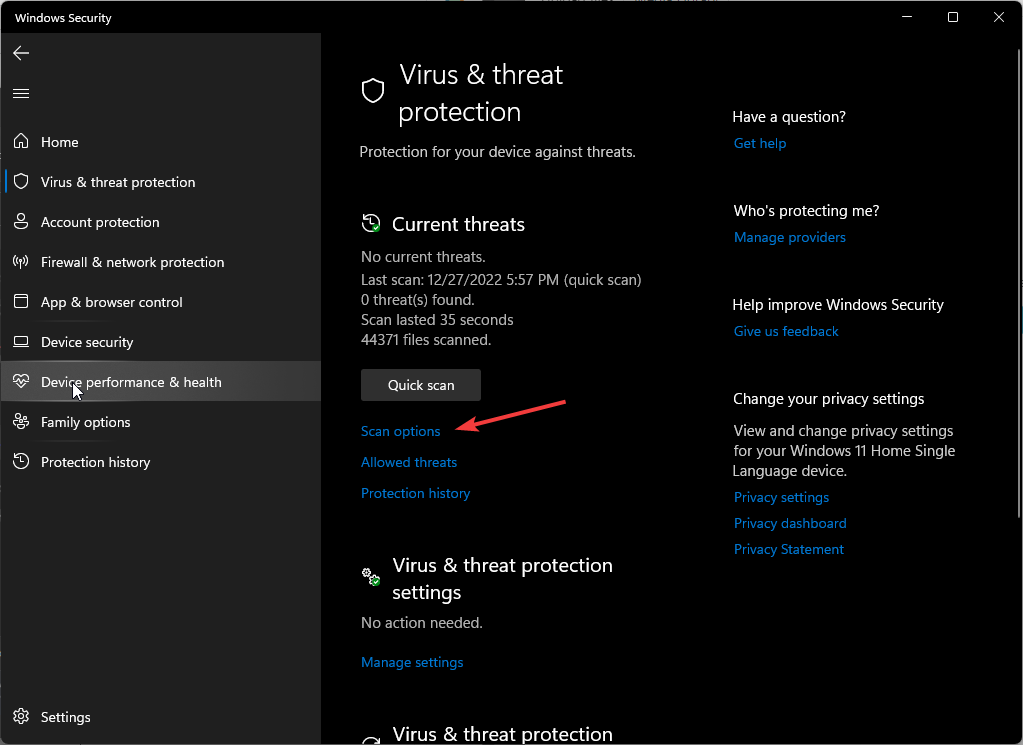
- Click on Full scan, then Scan now to perform a deep scan of your PC.
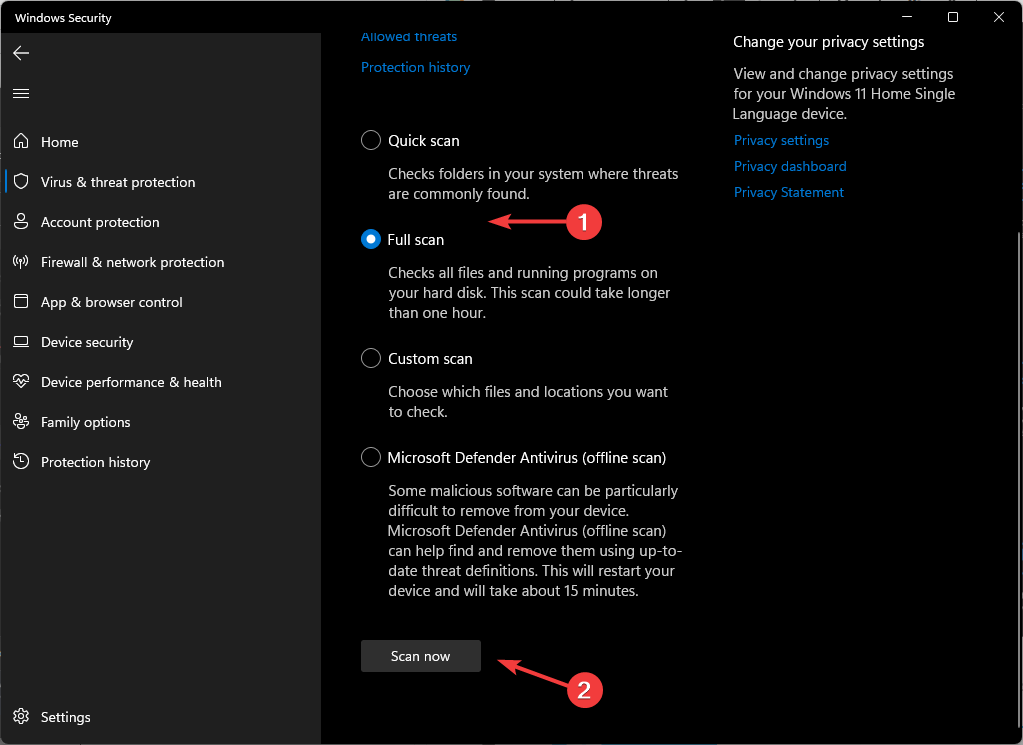
- Wait for the process to finish and restart your system.
3. Repair/reinstall the problematic app
3.1 Repair app
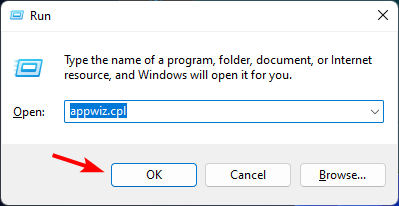
- Hit the Windows + R keys to open the Run command.
- Type appwiz.cpl in the dialog box and press Enter.
- Select your problematic app in this case, Microsoft Office suite software. Then, click the Change button to open a repair utility for MS Office.

- Select the Online Repair option and click the Repair button.

3.2 Reinstall the program
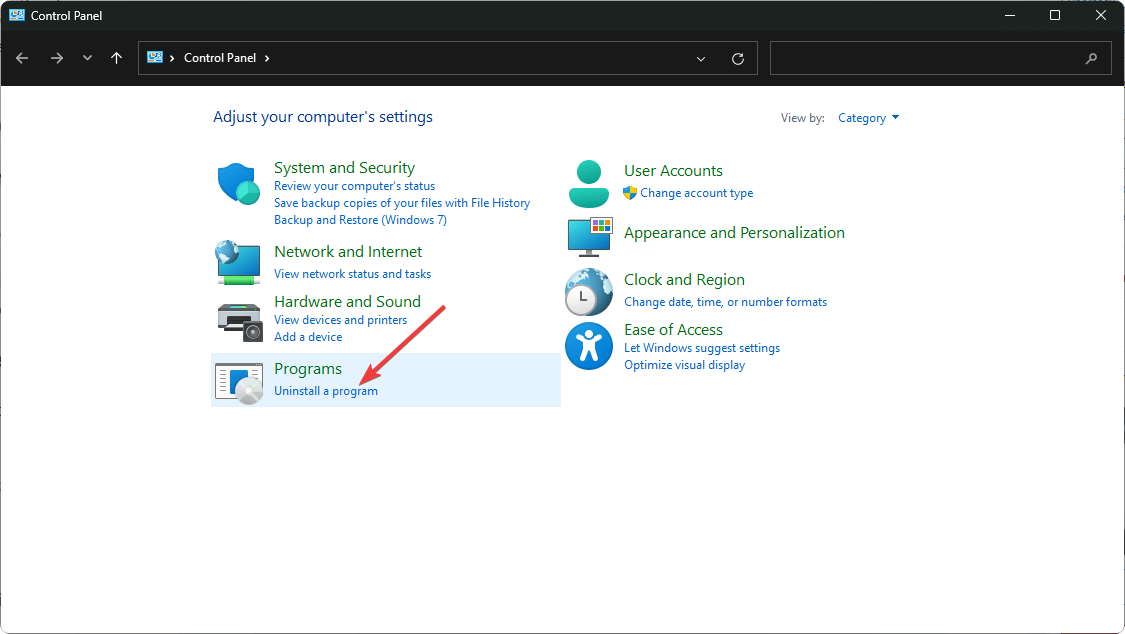
- Hit the Windows key, type Control Panel in the search bar, and click Open.

- Click on Uninstall a program under Programs.
- Find your MS Office suite software and click Uninstall to remove the software.

- Restart Windows after you’ve uninstalled MS Office.
- Go to Microsoft’s website and download MS Office.
4. Perform a clean boot
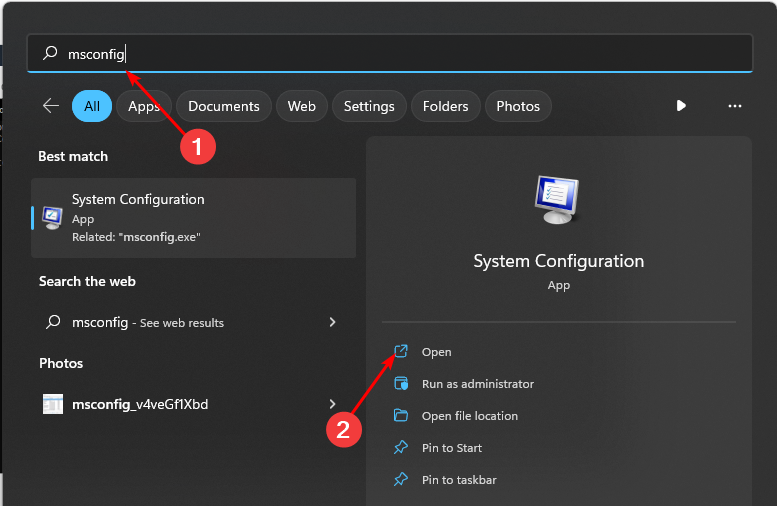
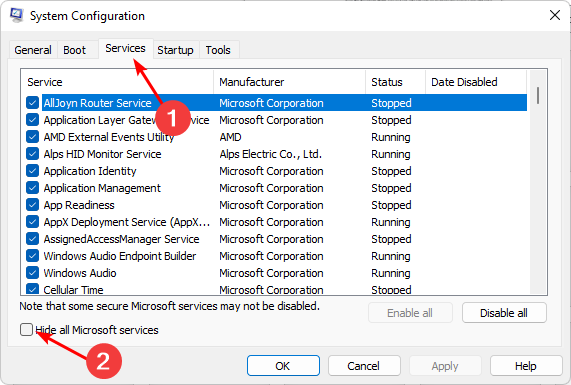
- Hit the Windows key, type msconfig, and open System Configuration.
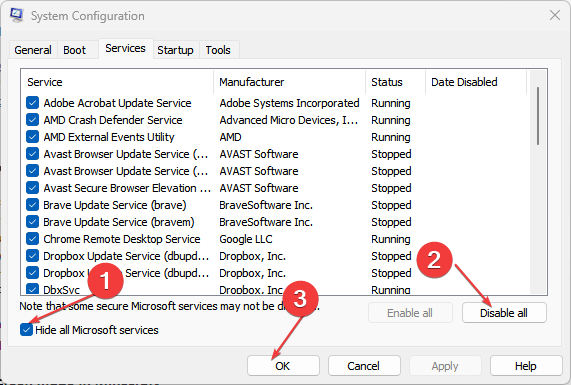
- Switch to the Services tab and select Hide all Microsoft services.
- Click on the Disable all button, then hit the Apply button to save the changes.
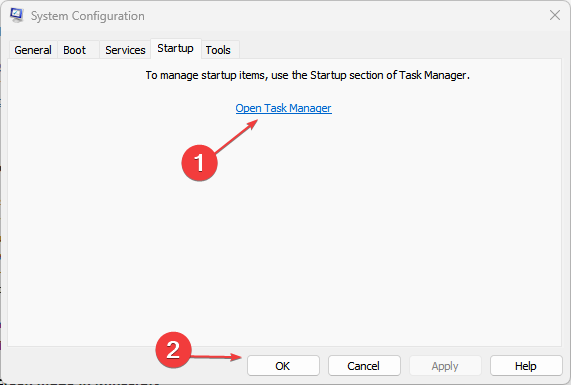
- Go back and click on the Startup tab, select Open Task Manager then click OK.
- In the Startup tab of the Task Manager, Disable all the Enabled startup items.
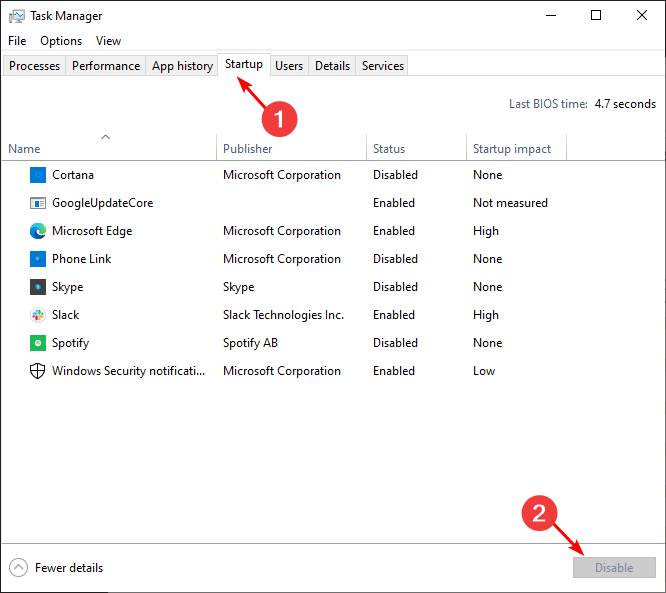
- Close Task Manager and restart your PC.
5. Uninstall the latest Windows update
- Press the Windows + I keys simultaneously to open Settings.

- Navigate to Windows Update, then go to Update history.
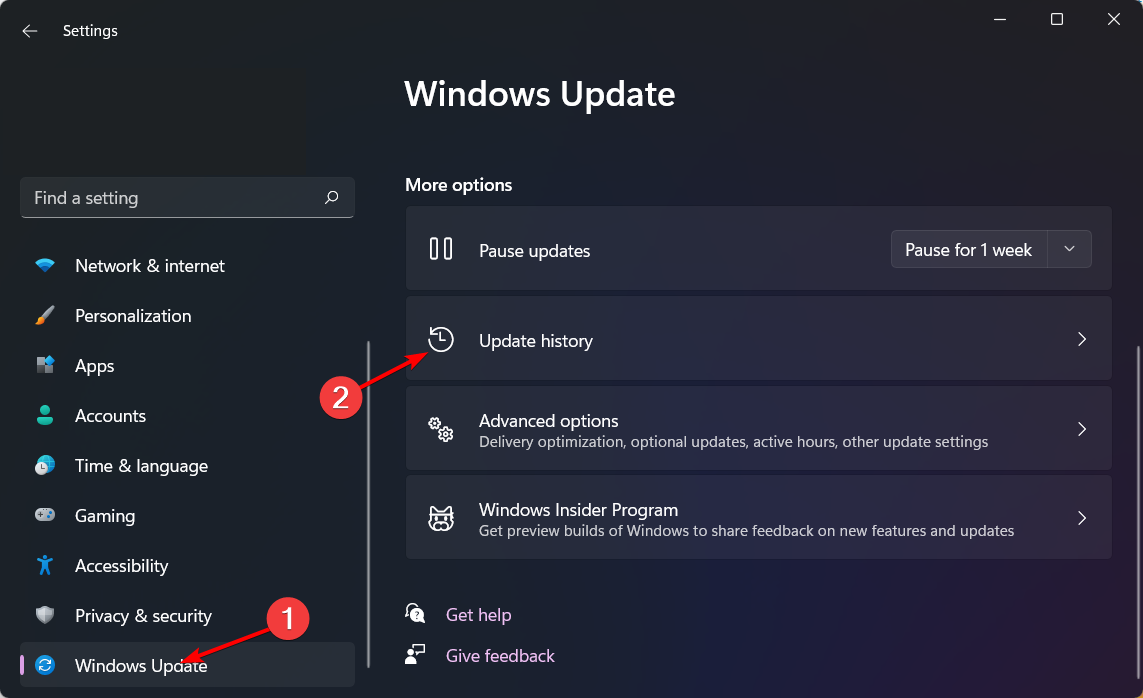
- Click on Uninstall updates.
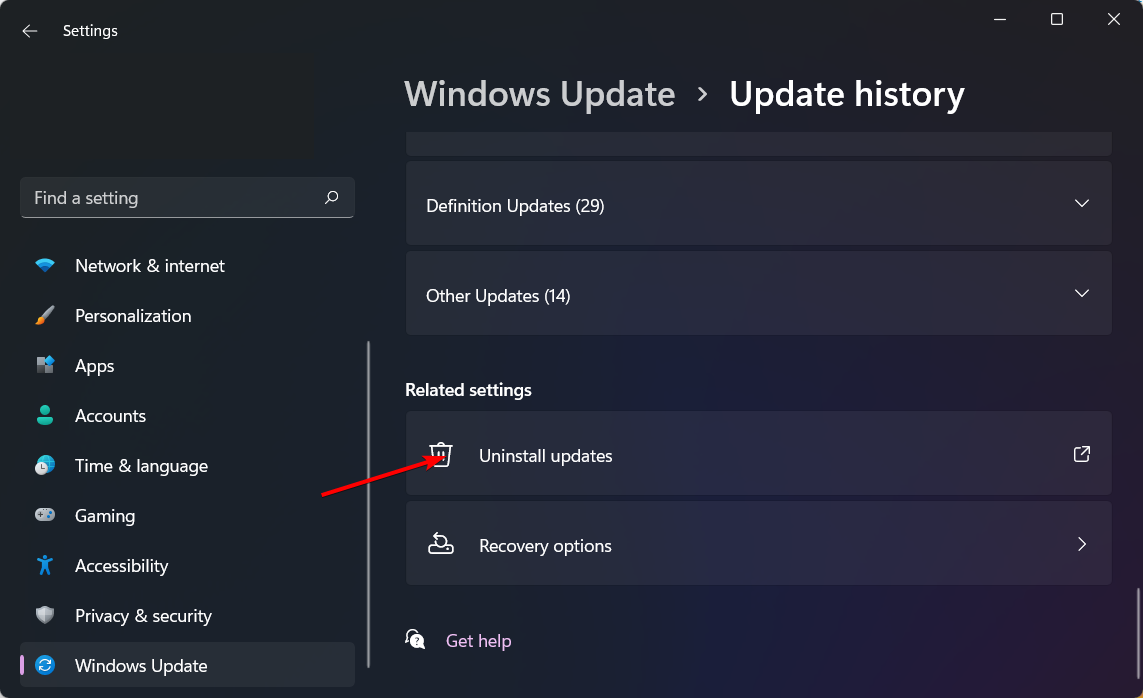
- Select the most recent update, then click Uninstall.
6. Perform a System Restore
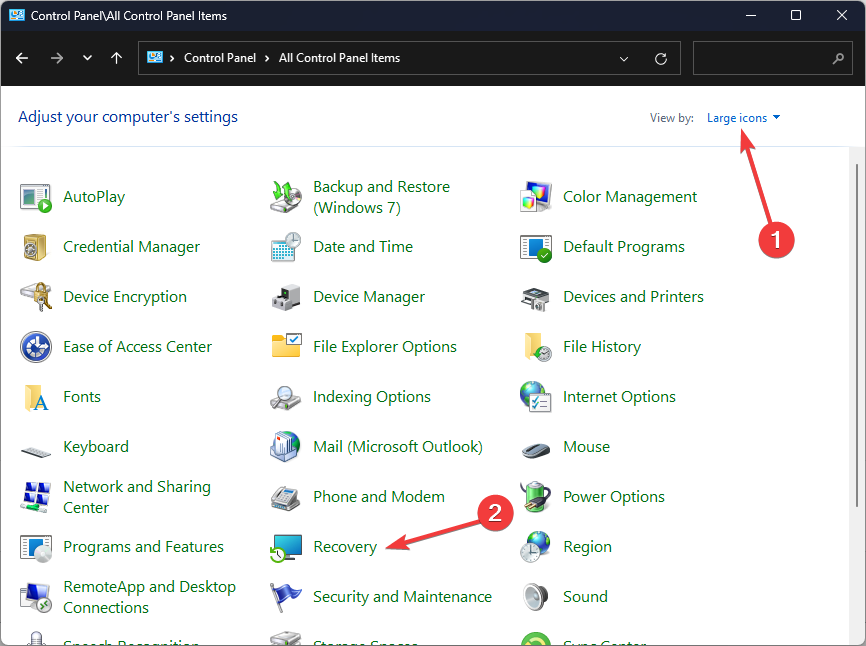
- Press the Windows key, type Control Panel, and click Open.
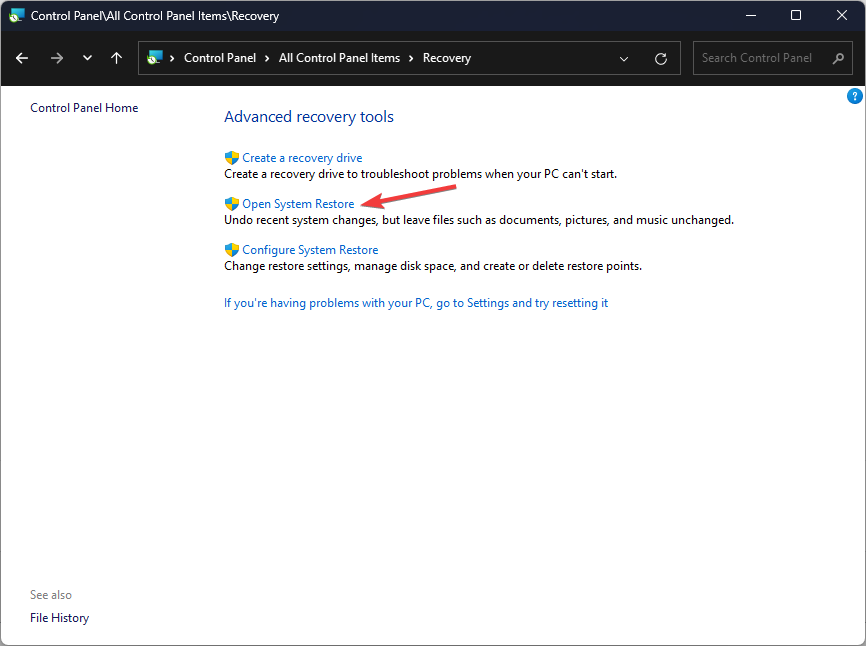
- Select Large icons as View by and click Recovery.
- Click Open System Restore.
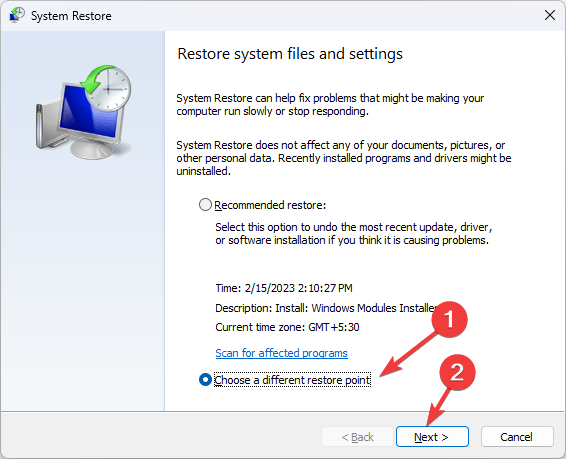
- Select Choose a different restore point and click Next.
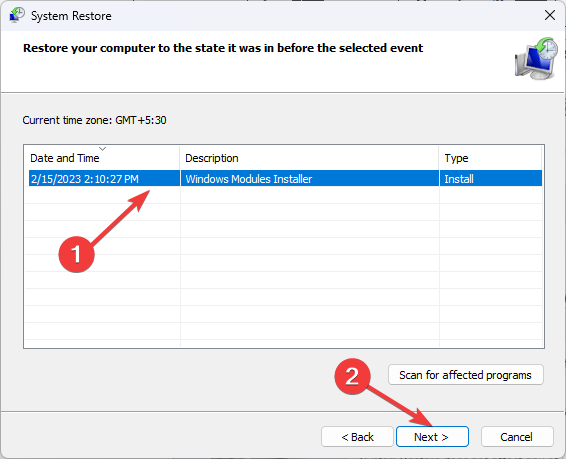
- Now select the restore point and click Next.
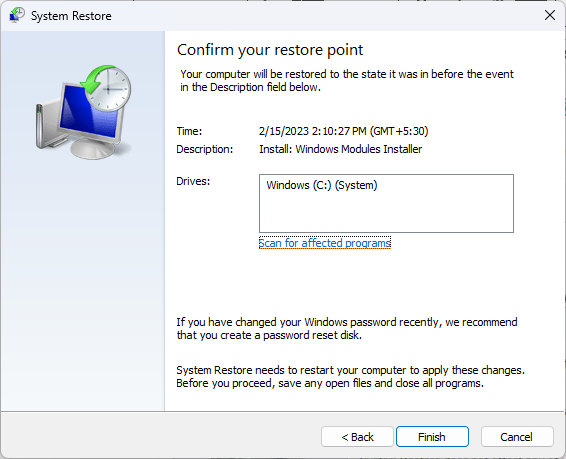
- Click Finish to restore the previous settings, and Windows will restart.
7. Clean Install Windows 11
 NOTE
NOTE
- Navigate to your browser and go to the Windows 11 Downloads page and click on Download now under Create Windows 11 Installation Media, to download the Windows 11 Media Creation Tool.

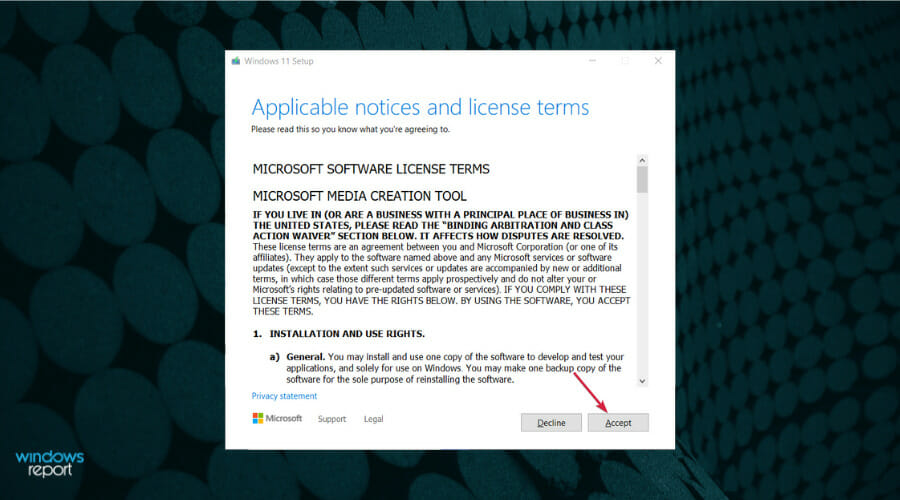
- Run the downloaded file to start the Media Creation Tool app. Start by accepting the license terms.
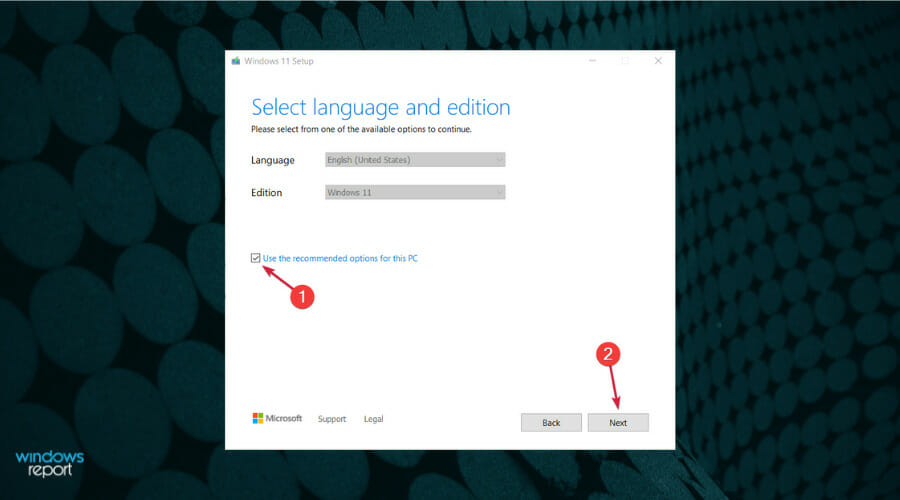
- Uncheck the Use recommended box if you want to change the Windows language, then hit the Next button.
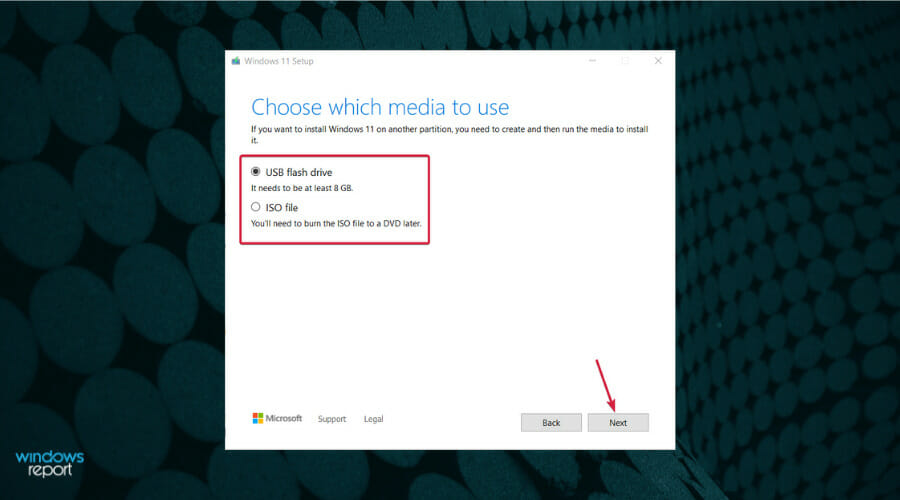
- Next, you can choose whether you want to create a bootable USB drive or just to save the Windows 11 ISO and use it later. Insert your USB drive and select the first option then click Next to create a bootable USB drive.
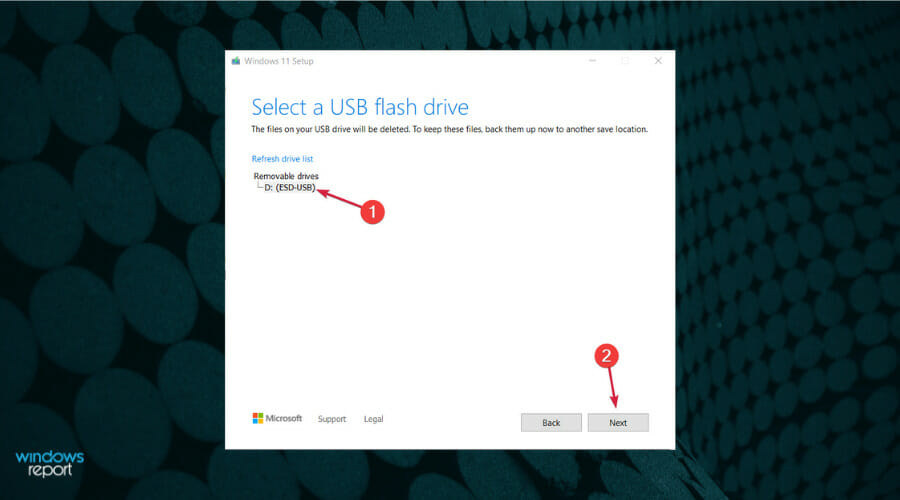
- Now select the drive you prepared and hit Next.
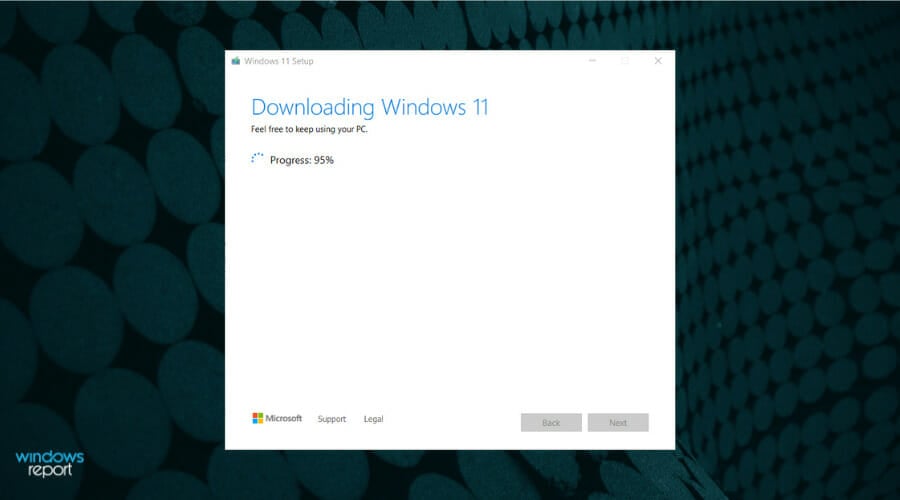
- The app will start downloading Windows 11, then verify the download and ultimately creating your Windows 11 bootable media you can use to install the new OS.
Aside from corrupt DLLs, your Windows apps may fail to open for other reasons but we’ve nailed them down and found quick workarounds. For other missing DLL files, check out our article for other troubleshooting recommendations.
We also have a list of DLL repair tools if you don’t like the trial-and-error manual method of fixing DLL errors.
That’s it from us but if there’s a solution you think we should highlight, drop us a line below.
Read our disclosure page to find out how can you help Windows Report sustain the editorial team. Read more


Improve this guide


User forum
0 messages