VAN 1067 Valorant Error Code: How to Fix it on Windows 11
Disabling CSM has proved to be a useful fix
Key notes
- This error can appear if Secure Boot or TPM 2.0 is disabled on Windows 11.
- Sometimes certain services or applications can cause this issue.

In this article, we shall explore the van 1067 error on Windows 11 since this error has prevented many from playing the game. However, we have a few solutions that can help.
What does error code VAN 1067 mean?
This error appears if you don’t meet the hardware requirements, most notably TPM 2.0.
How do I fix the error code Van 1067 on Windows 11?
1. Enable TPM 2.0 and Secure Boot
1. Click the Start button, click the Power icon, and press the Shift key + Restart to reboot your PC to Windows Recovery Environment (WinRE).

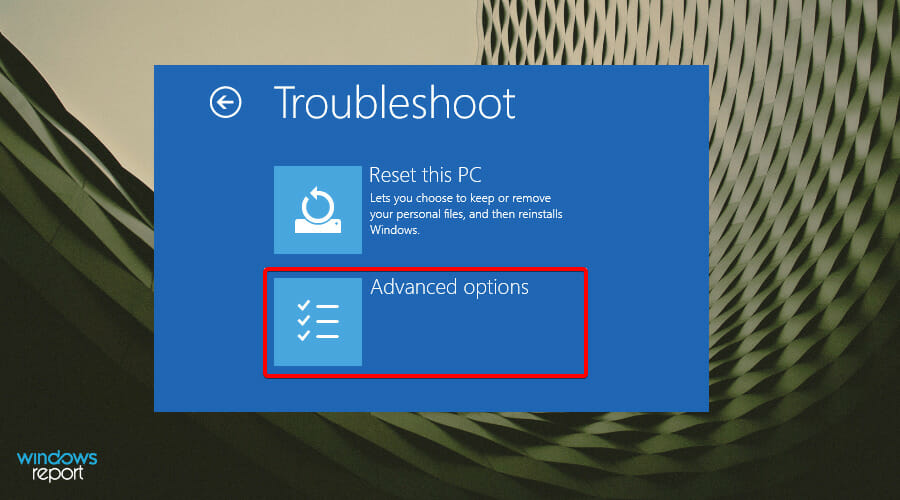
2. Navigate to Troubleshoot.

3. Select Advanced options.
4. Click on UEFI Firmware Settings.

5. Go to the Security tab, locate the Trusted Platform Module (TPM) and enable it.

6. Also, find Secure Boot and enable it. Based on different PCs, the UEFI settings are usually different.

The following guide offers you the practical steps to enable your Trusted Platform Module (TPM) in order to fix your Van 1067 error on Windows 11 computers.
2. Check for Windows updates
- Press the Windows key and search Check for updates in the Search bar.

- Hit Check for updates.

- If you have any pending updates, proceed to install and restart your system.
3. Disable Discord
- Head to the Settings menu in Discord.

- Click on Windows Settings.

- Turn off Open Discord.

- Restart your computer.
4. Restart VGC Service
- Press the Window + R keys to open the Run dialog, type the script below, and hit Enter.
services.msc
- Find vgc.

- Double-click on it, and choose Start.

- Click on Startup type and select Automatic, save the changes by clicking Apply, and then OK.

5. Disable CSM
5.1 Disable CSM on Gigabyte
- Enter the BIOS screen or Security menu by pressing the Del key while the computer is on boot.

- Locate CSM Support under the BIOS tab, double-click on it, then select Disabled.

- Save the changes, click on the Power tab, then go to Save & Exit Setup.

- Reboot the system again and enter the BIOS screen.
- Double-click on Secure Boot in the BIOS tab and select Enabled.

- Once again, go to the Power tab and click Save & Exit Setup.
- Click on Yes and reboot the system one final time.

- Enter the BIOS screen again and go to the Peripherals tab.

- Double-click on Intel Platform Trust Technology (PTT) and select Enabled.

- Save these changes by going to the Power tab and clicking on Save & Exit Setup.

5.2 Disable CSM on MSI
- Enter the BIOS screen by pressing the Del key.

- Once on the menu, click the Boot tab at the top of the screen.

- Locate Boot mode select and UEFI.

- Save these changes by pressing the F10 key and exit BIOS.
- Your computer will restart automatically.
5.3 Disable CSM on Biostar
- Enter the BIOS screen by pressing the F12 key.
- Go to the Boot tab.
- Locate CSM Support and set it as Disabled.

- Exit and reboot the system.
 Tip
Tip
Should you find yourself stuck with this error on your screen, we hope one of the solutions we have discussed will be able to resolve the problem. We also have other fixes for Valorant Windows 11 errors, so check out our guides.
If you need more solutions, we also have a guide that will help you solve the VAN9003 problem in Valorant on Windows 11, so don’t miss it.
We also covered VAN 152 on Valorant as well as Valorant error 84, so be sure not to miss them.
This error can also appear on previous versions of Windows, and we have a great guide on VAN 1067 Valorant error on Windows 10 that you might want to check out.
We also have a guide on what to do if Valorant is not working, so don’t miss it.
Have you come across the VAN 1067 error in Valorant? What are some of the fixes that worked for you? Share your comments down below.
Read our disclosure page to find out how can you help Windows Report sustain the editorial team. Read more


Improve this guide


User forum
0 messages