Webcam Settings Keep Resetting: 5 Quick Ways to Fix It
The webcam settings may be saved permanently to prevent changes
Key notes
- It can be frustrating when your webcam settings keep resetting every time you restart your PC, but fortunately, this issue can be fixed.
- This is a common scenario with people using certain brands of webcams that work fine only with their own set of drivers, and not with the UVC drivers.
- While you can upgrade it to a Logitech streamcam, or use a webcam from another brand, you may want to try the below troubleshooting methods first.
Many readers encounter an issue with the webcam settings which keep resetting and reverting to the default settings, each time they restart their PC.
So, every time they try to use the camera, they need to set it up manually using the webcam Properties window, for example, if you are using OBS Studio.
While uninstalling and reinstalling the external webcam may help fix the issue sometimes, in most cases it does not.
But, if you want to change the camera settings in Windows 11, you can refer to our post to fix the issue.
Why do my camera settings keep resetting?
Many readers complain that their camera settings change to the default settings every time you reboot your PC.
Some webcam models are designed to work with their own drivers and hence, using a 3rd party webcam with a standard UVC driver may lead to a glitch.
So, if your webcam settings keep resetting every time you reboot your PC, here we have some workarounds for you.
How do I change my webcam settings permanently?
1. Update drivers to generic drivers
- Right-click on Start and select Device Manager.
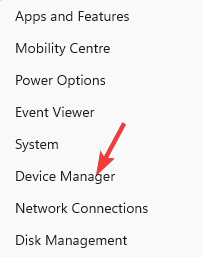
- Expand Cameras, right-click on Integrated Webcam and select Update driver.

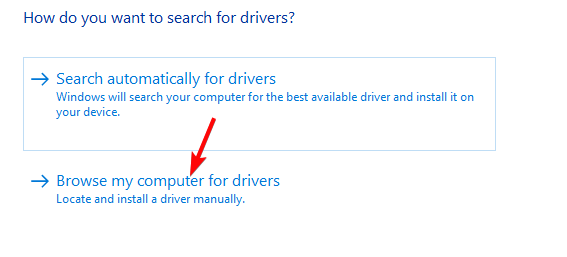
- Next, click on Browse my computer for drivers.
- Click on Let me pick from a list of available drivers on my computer.

- On the next page, select USB Video and click on Next to finish installing the driver.
Once done, exit Device Manager, restart your PC, and now check if the webcam settings still keep resetting.
In case you want a faster and safer option, you can always opt for a software that will perform these steps automatically. Outbyte Driver Updater scans your device drivers and immediately updates them with the latest version.

Outbyte Driver Updater
A dedicated program that improves your PC performance by keeping your drivers updated.2. Install G HUB and configure its settings
- Visit the official website for Logitech G HUB to download the software.

- Now, wait for the software to complete installation.

- Next, connect your Logitech camera to the G HUB and go to the Webcam settings on the left.
- Here, you can add a new camera mode, and configure other camera settings.

This will help you to save your settings and will override your system’s default software for your web camera. So, when you restart your PC, the webcam settings won’t keep resetting.
3. Save the webcam settings
1. Create the cam_sett.cfg file
- If you are facing a webcam issue with OBS, open the app, and double-click on your camera to open its Properties.
- Next, click on Configure Video, then modify the settings as per your requirement.

- Now, download the WebCameraConfig.exe, and save this in a location like Documents/Downloads.

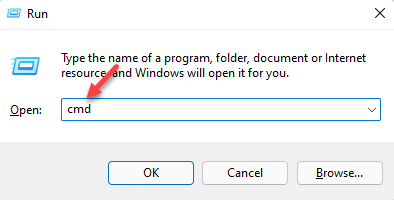
- Once done, press the Win + R keys simultaneously to launch the Run console.
- In the search field, type cmd and press the Ctrl + Shift + Enter keys together to open the elevated Command Prompt window.
- Now, in the Command Prompt, type the below path (You can replace the location Documents with where you saved it):
C:\Users\%UserProfile%\Documents
- Next, run the below command:
WebCameraConfig.exe --savedev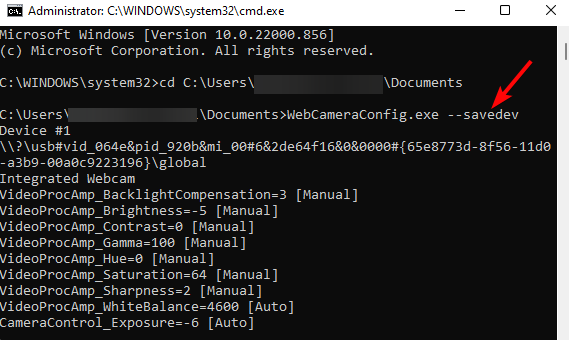
- A file named cam_sett.cfg will now be created next to WebCameraConfig.exe.
- You can now configure the OBS webcam settings to test the output.

2. Create a .bat file and make it automated
- Open Notepad, and type the details in the same format as shown in the image below.

- Make sure to replace the highlighted parts with your username and location.
- Also, add your OBS path, based on where the app is saved on your PC, in the below format:
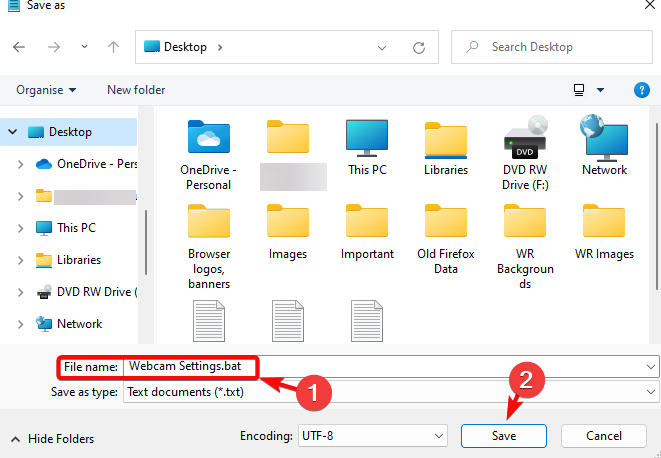
C:\Program Files\obs-studio\bin\64bit - Now, save the file with .bat as the file extension. For example, Webcam settings.bat.
- Once done, double-click on this .bat file and it should automatically change the webcam settings and launch OBS.

The next time you boot your PC and run OBS, you can simply run the script instead. This will open the OBS, with the saved webcam settings and won’t reset again.
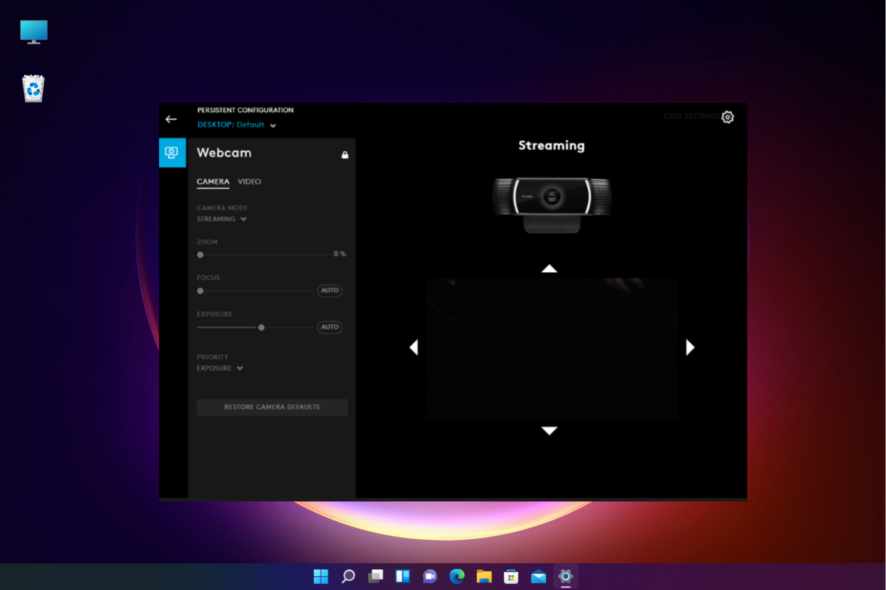
4. Lock the webcam settings
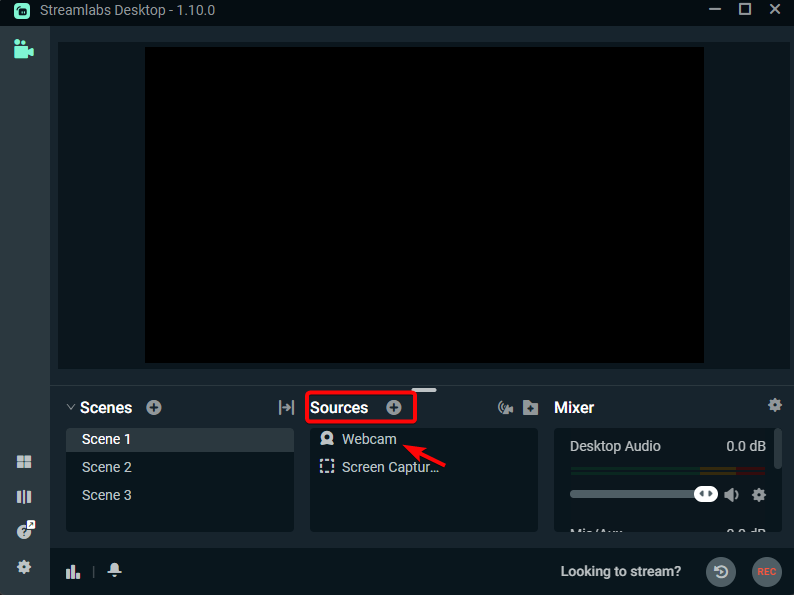
- If you are using OBS, launch the app and go to Source.
- Here, double-click on the webcam to open its Properties.
- Make changes to the settings as per your requirement.
- Now, return to the main page, and next to the webcam, click on the Lock icon.

Once you have locked the webcam settings, it should not keep testing back to the default settings on the next restart.
5. Reset webcam settings
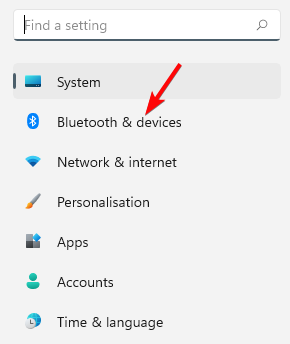
- Press the Win + I keys together to launch Windows Settings.
- Next, click on Bluetooth & devices on the left.
- Now, on the right, scroll down and click on Cameras.

- Again, on the right, under the Connected cameras section, click on the webcam.

- On the next screen, go to Reset default camera settings and click on Reset settings.

Once the Camera is reset, restart your PC and check if the webcam settings have changed again or are still the same.
Where is the webcam setting on Windows 10 & 11?
You can follow the below instructions to open the Camera on your Windows 10 & 11 to access the camera settings:
- Go to Start and type Camera in the Windows search bar.
- Click on Camera under Best match.

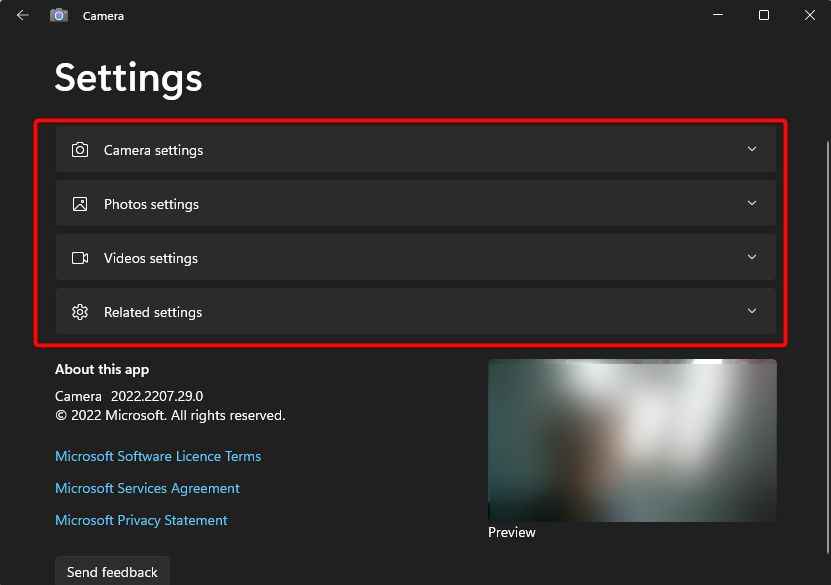
- As the Camera app opens, click on the gear icon (Settings) on the upper left.

- Now, you can access the Camera settings and make changes to the Framing grid, Photo quality, Video quality, privacy settings, and more.
To know more about how to access camera settings in Windows 10, you can refer to our comprehensive post on this topic.
Additionally, make sure that your webcams are plugged straight into the PC USB port, and not into the USB hubs as this may limit the bandwidth available.
You can also configure the settings in something like Logitech Capture and start this before you stream to reload the settings to fix the issue.
For more doubts and queries on the webcam settings, you can leave a message in the comments box below.
Read our disclosure page to find out how can you help Windows Report sustain the editorial team. Read more


Improve this guide


User forum
0 messages