How to use the WiFi printer driver for Chromebooks
3 min. read
Updated on
Read our disclosure page to find out how can you help Windows Report sustain the editorial team Read more
Key notes
- Connecting your Chromebook to a wireless printer is not such a difficult job.
- Read on to find out how to install your WiFi printer driver to Chromebooks.
- You can use a Chrome extension or a Google service or directly allow your Chromebook to recognize the printer.
Even with all the online access across multiple devices and platforms out there, sometimes having a hard-copy of certain documents or information is all you need.
Printing from a Chromebook is easy once you connect your printer to the device correctly. Chromebook supports most printer brands, but depending on the method you choose, some printers need extra capabilities.
How do I connect my Chromebook to a wireless printer?
Connect your printer to WiFi
- Turn your printer on.
- Connect the printer to an internet network. Settings are different, depending on the model.
- Turn your Chromebook on and connect to the same network (if this is not done by default).
Next, we’ll be looking at some ways in which you can set up the connection between your Chromebook and your printer.
1. Use the WiFi printer driver extension
You can find a WiFi printer driver extension for Chromebooks in the Chrome Web Store. This is an extension that, once installed, automatically recognizes your printer which is already connected to WiFi.
There’s no need for you to install other programs. The only setback of the extension is that it doesn’t support any printer and you have to contact the developer to tell them to add a certain printer model.
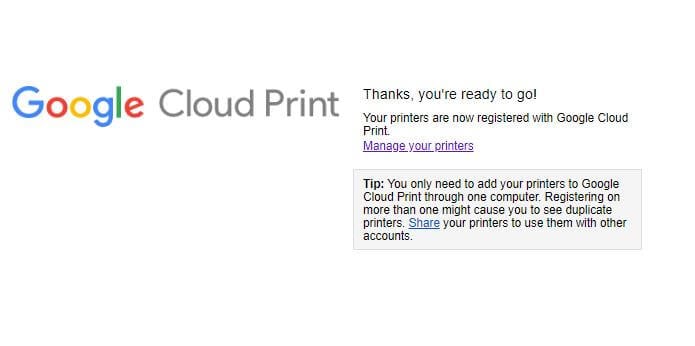
2. Use the Google Cloud Print system
- Open a Chrome browser.
- Type chrome://devices in the address bar and press Enter.
- Under New devices, find your printer > Manage.
- In the Confirm registration box that appears, click Register.
- Follow the steps to finish registering.
Google Cloud Print is a service available mostly for cloud-ready printers, that connects your printer to the web. Similarly to the previous method, while you’re logged in to the same network as the printer, you should be able to see it and print any document.
Unlike the Chrome printer extension, Google Cloud Print includes a wider selection of compatible printers. Your printer must have the Google Cloud Print feature for you to be able to use this service.
If your printer is not cloud-ready and you want to use this method, you will have to contact your manufacturer for help.
3. Directly connect your wireless printer to Chromebook
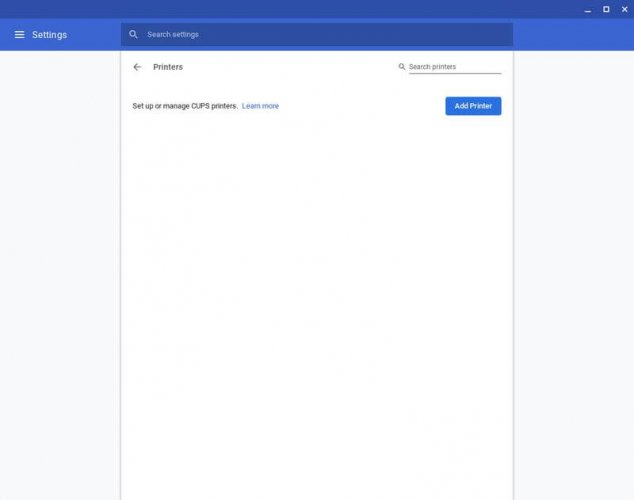
- Open the Settings menu from the Quick Quick Settings Panel at the right lower side of your screen.
- Type print into the search box.
- Select Printers > Add Printer.
- Click on your printer’s name in the list that appears > Add.
If your printer is older and does not appear in the mentioned list, do the following additional steps:
- Click the Add Manually button.
- Give the printer any name you want.
- Type its IP address into the Address box. (It’s shown somewhere in the printer’s display menu, or in its network or wireless configuration settings) > click Add.
- Then type in your printer’s manufacturer and model > click Add again.
That’s it! Now you can just hit Ctrl-P from any browser tab or document to get the hard copies you wanted.
Your suggestions on this topic are always welcome and you can use the comments section below to get in touch with us.

