Wi-Fi USB Tethering not Working: Causes & How to Fix
Try updating the network driver to fix this issue
![]() 5 min. read
5 min. read
![]() Updated on
Updated on
Share this article
Improve this guide
Read our disclosure page to find out how can you help Windows Report sustain the editorial team Read more
Key notes
- Wi-Fi USB Tethering lets you share your mobile data connection with your PC.
- Some mishaps in the system files can cause issues with the Wi-Fi USB tethering process.
- You can try to renew the IP configuration on your PC to resolve this problem.
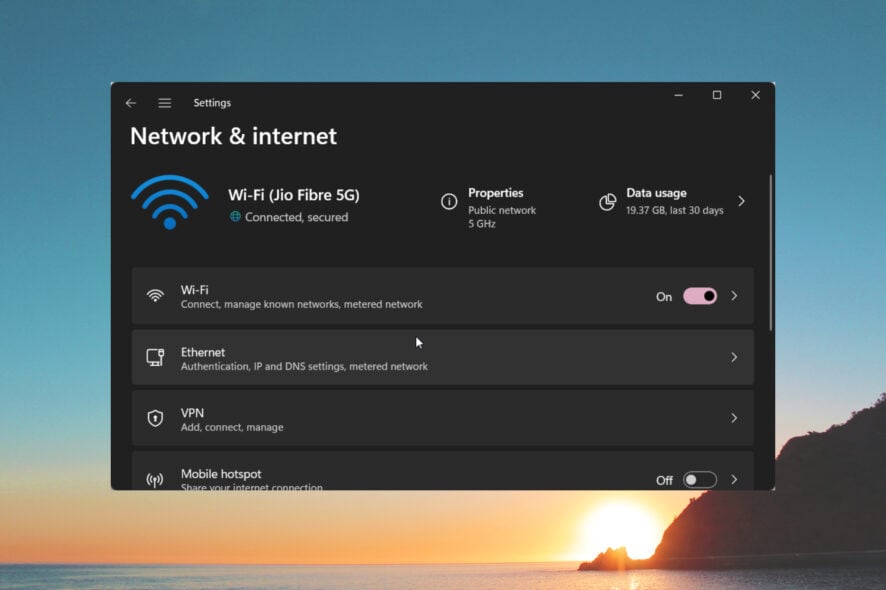
With the USB Tethering feature, you can easily share your smartphone’s cellular data with your PC and use it on the go. This comes in handy in situations when there is no Wi-Fi availability.
In this guide, we will give you a bunch of solutions that will help resolve the Wi-Fi USB Tethering not working problem on your system. Let us get right into it.
Why is Wi-Fi USB Tethering not working?
We did our research and found out some common reasons that several readers have reported because of which they are facing the Wi-Fi USB Tethering not working problem.
Some of the reasons are listed below:
- Multiple devices are connected simultaneously: Chances are that there are several wireless devices connected at the same time, causing the feature to malfunction.
- Defective USB cable: The USB cable that you are connecting your PC with for Wi-Fi Tethering is defective and causing the problem.
- Firewall is blocking the connection: Your Firewall or antivirus software might be getting in the way of a smooth connection on your PC.
- Drivers aren’t updated: For optimal performance, you should ensure that the drivers on your PC are up to date.
- Cellular data limit exceeded: It could be that your cellular mobile data plan is over which is why you aren’t able to use Wi-Fi USB Tethering.
Let us now apply the solutions and get rid of the Wi-Fi USB Tethering not working problem.
How can I fix the Wi-Fi USB Tethering not working problem?
Before applying the advanced solutions, let us apply some easy fixes and hopefully resolve the problem quickly.
- Disconnect all other wireless devices and connect only the one on which you wish to use the internet.
- Change the USB cable and check if this resolves the Wi-Fi USB Tethering not working problem.
- Check if the cellular data pack on your smartphone isn’t exceeded. If so, then recharge your phone with a suitable internet pack and get going.
Now let’s apply the advanced solutions and fix the problem as quickly as possible.
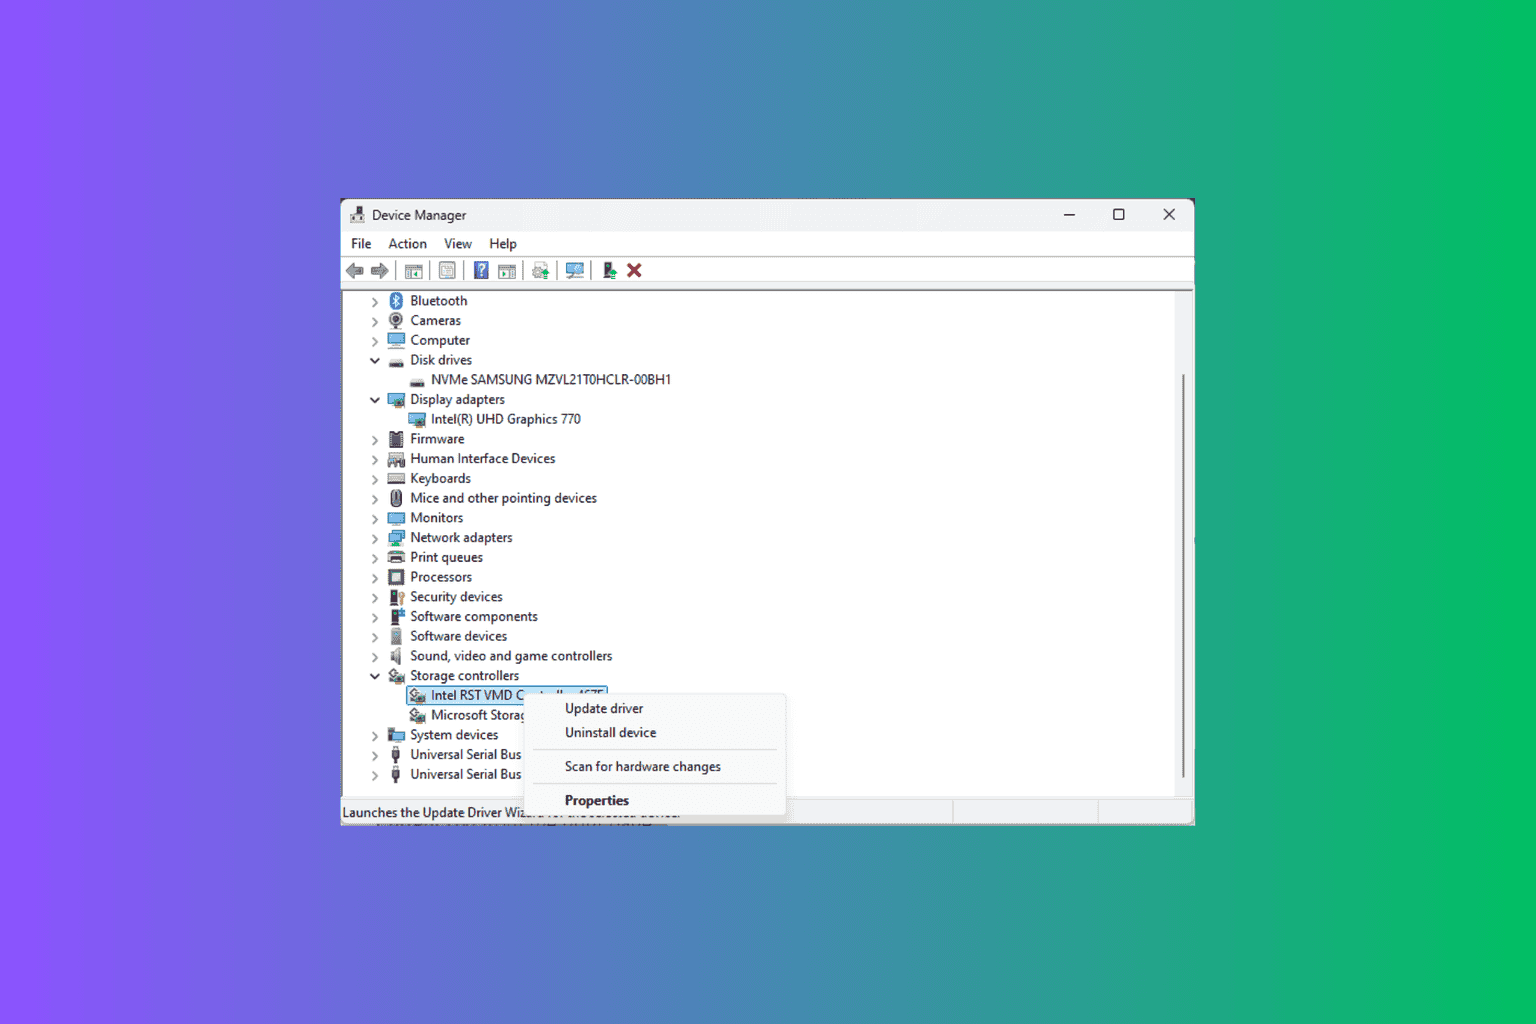
1. Update the network driver
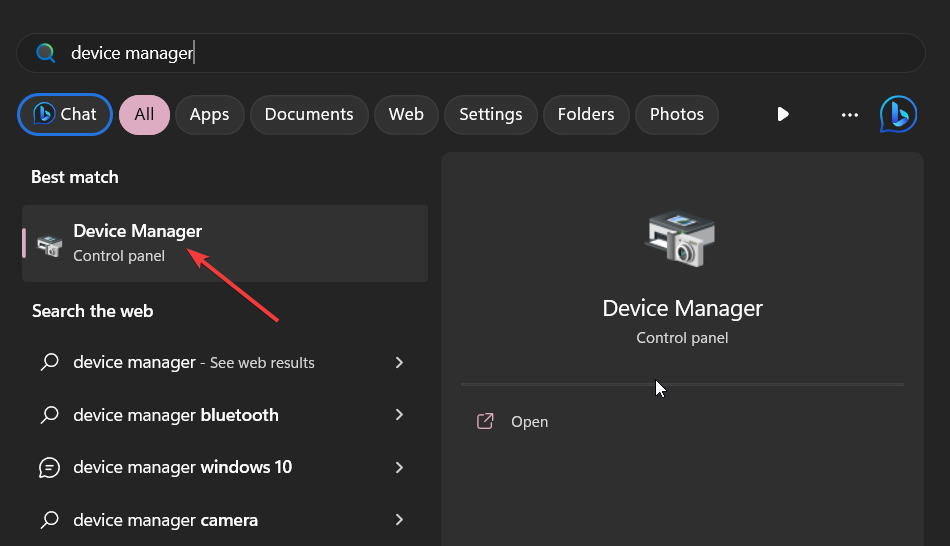
- Press the Win key to open the Start menu.
- Type Device Manager and open it.

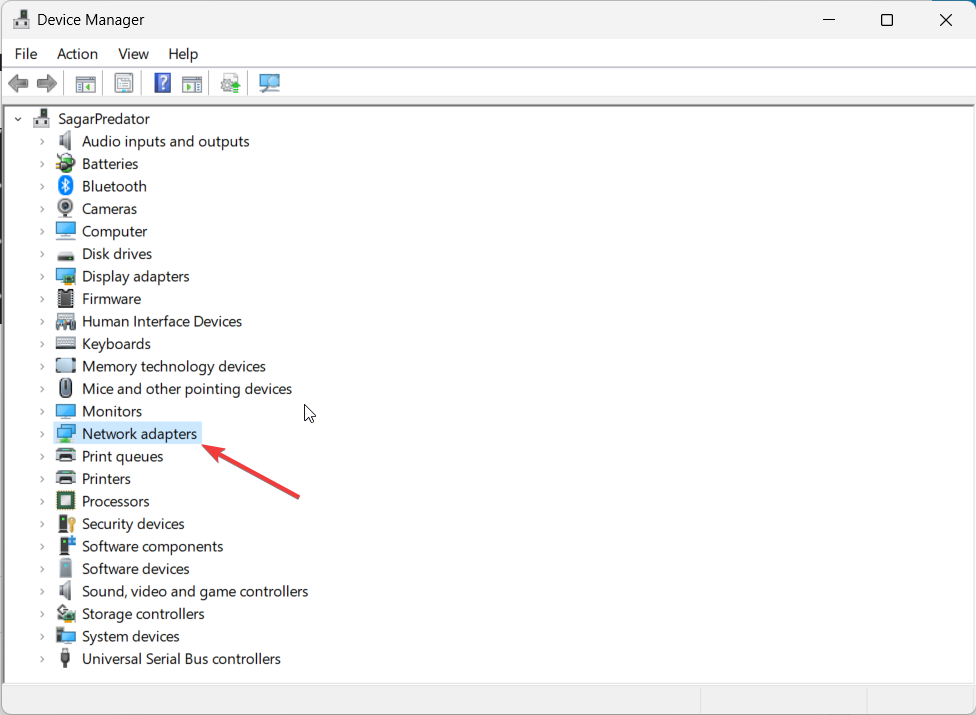
- Expand the Network adapters section.

- Double-click on the network hardware.
- Switch to the Driver tab.

- Select Update driver.
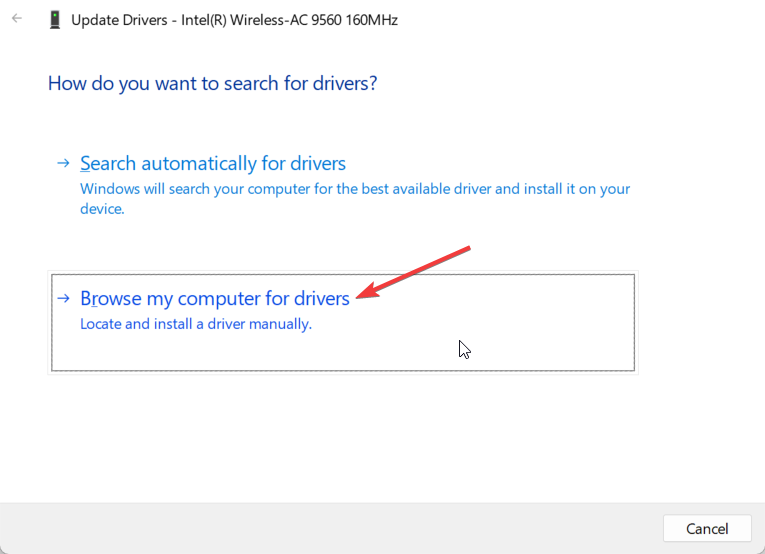
- Choose Browser my computer for drivers.

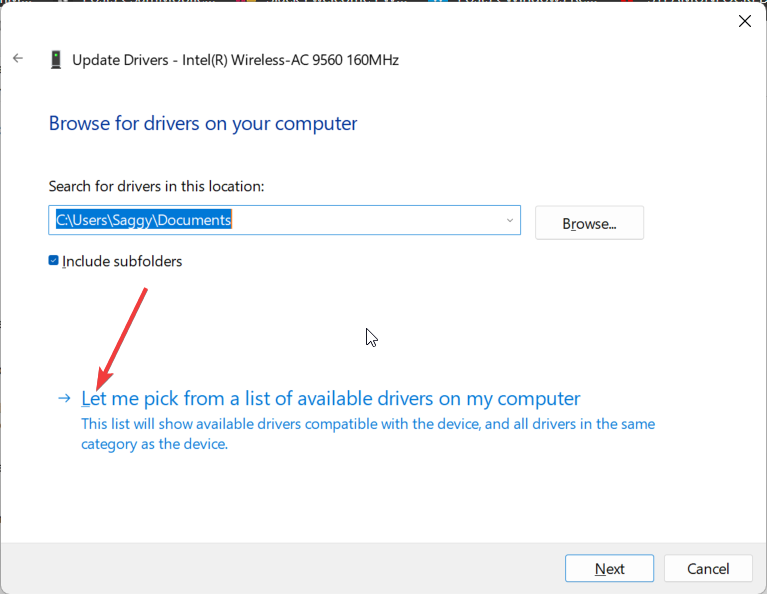
- Click on Let me pick from a list of available drivers on my computer.

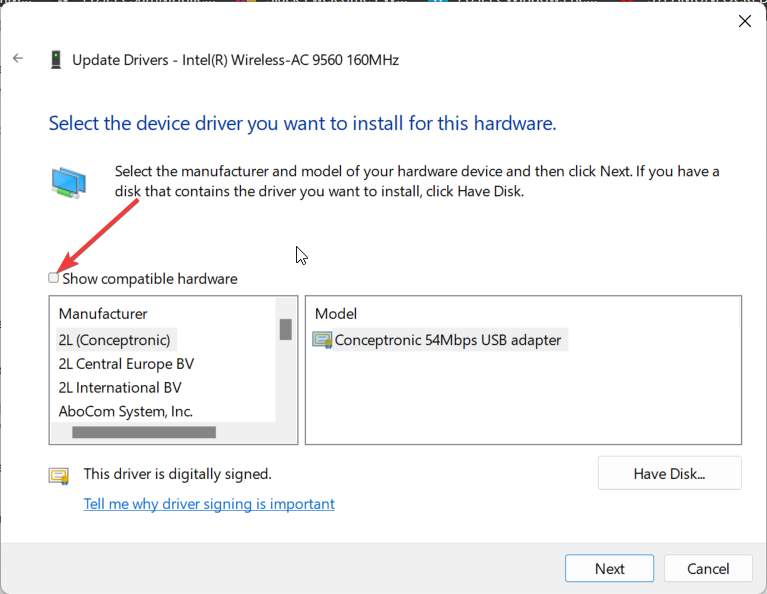
- Uncheck the Show compatible hardware.
- Select Microsoft under the Manufacturer section and then select Remote NDIS based Internet Sharing Device.

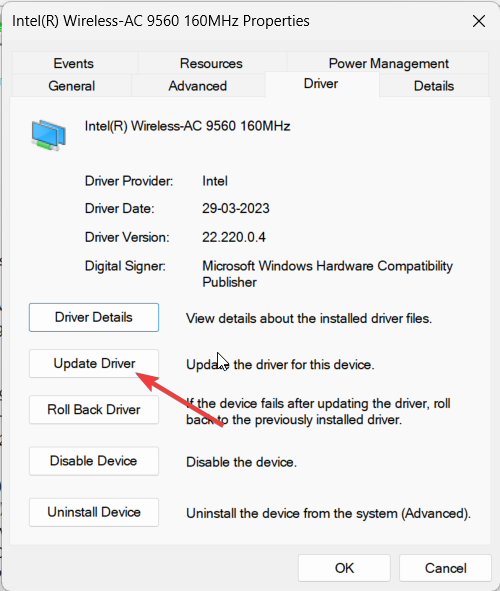
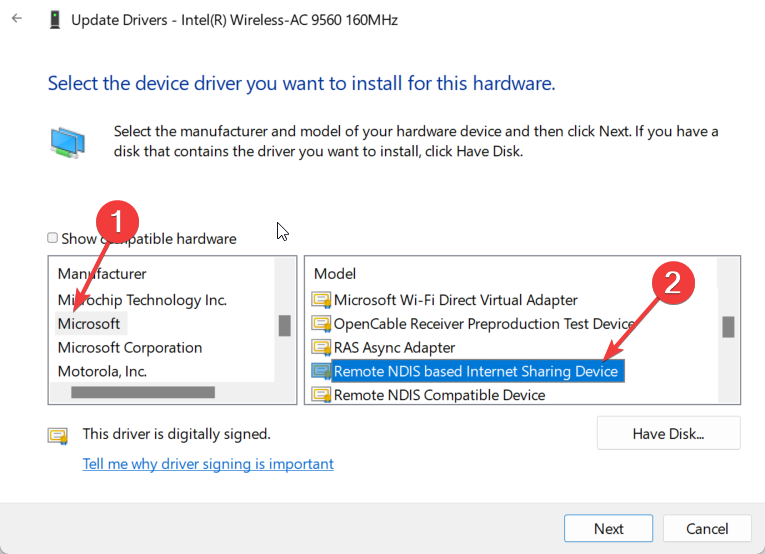
Some of our readers have suggested that manually updating the network driver as shown above and selecting the Remote NDIS based Internet Sharing Device option helped them resolve the Wi-Fi USB Tethering not working problem.
In case the method didn’t give any results for you, there is an alternative way to update drivers automatically. With a dedicated software application, your PC will run without any issues.
2. Run the Network Troubleshooter
- Press the Win + I keys to open the Settings menu.
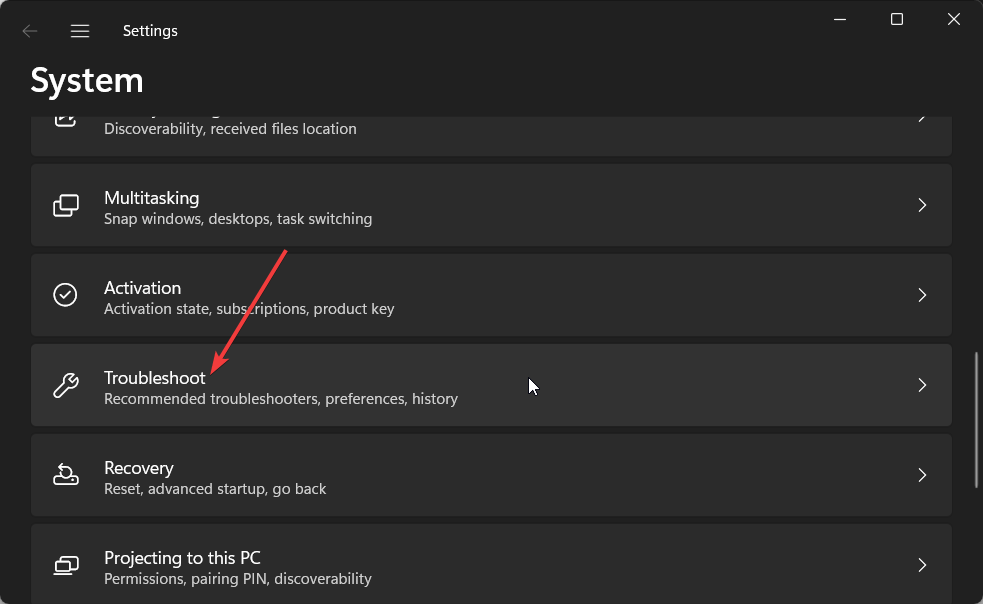
- Select Troubleshoot.

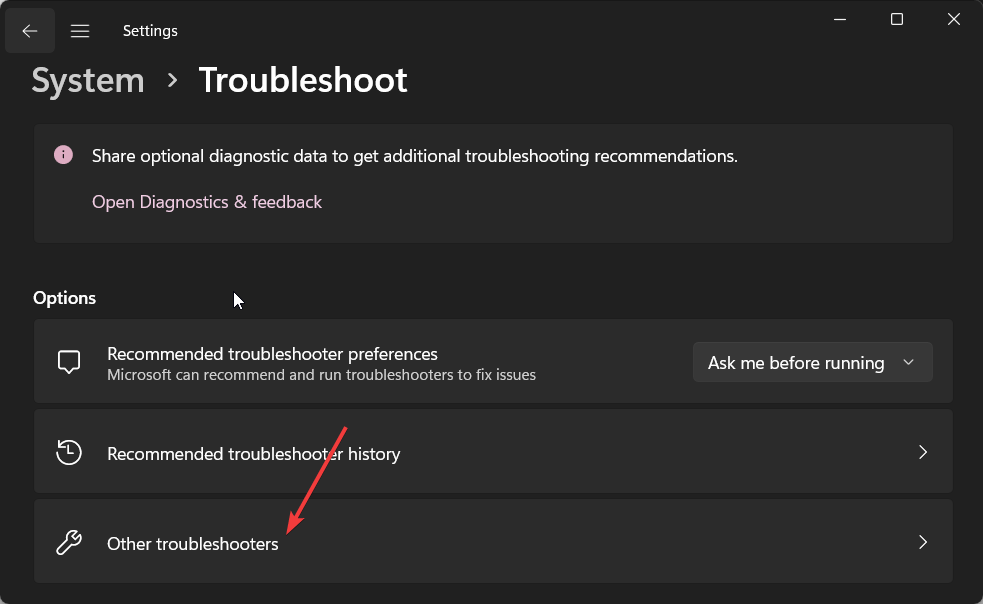
- Click on Other troubleshooters.
- Hit the Run button next to Network Adapter.
- Let the process diagnose and fix the issue for you.

3. Install the latest Windows update
- Press the Win + I keys to open the Settings menu.
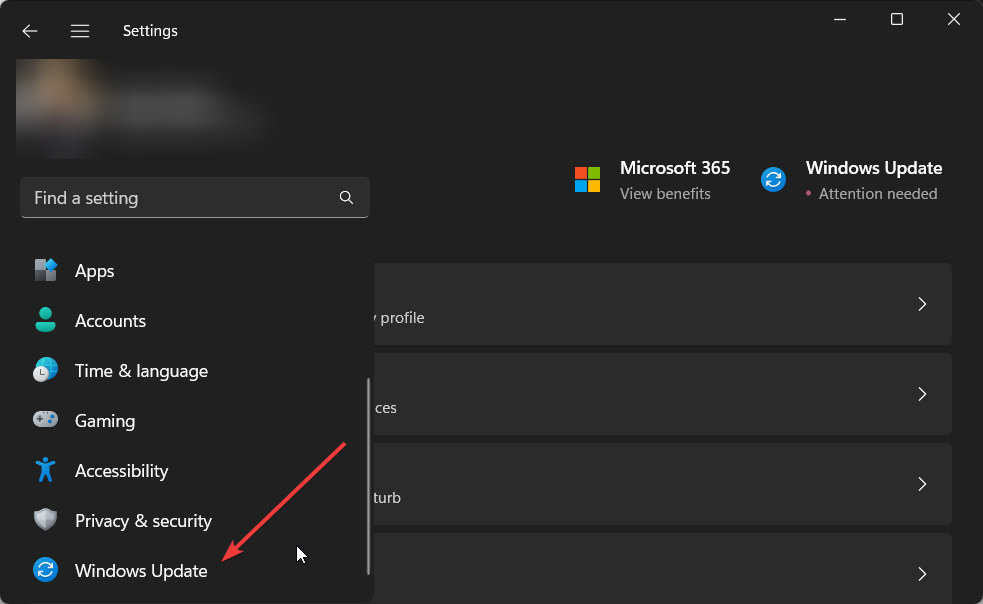
- Click on Windows Update on the left.
- Hit the Install button to get any pending updates.
- Reboot your PC.

Windows should be updated to the latest available version to avoid any version conflicts within the installed or system programs.
4. Renew the IP address
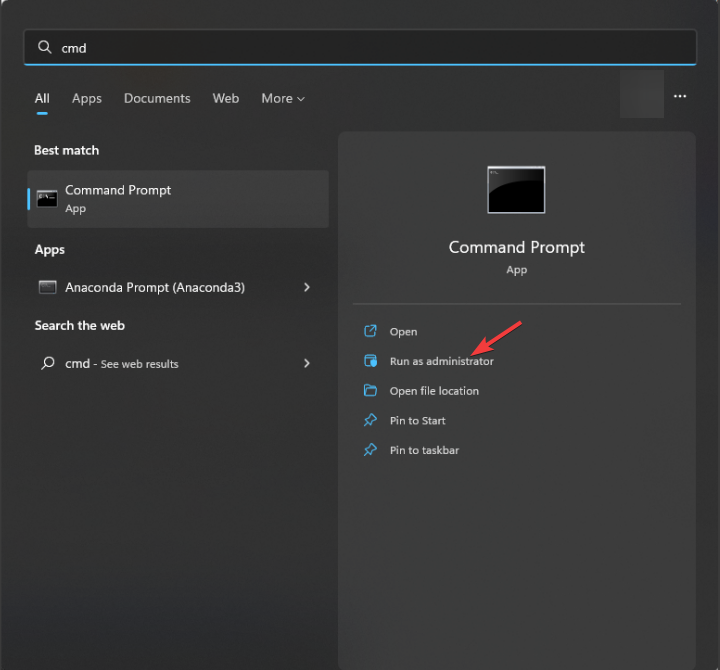
- Press the Win key to open the Start menu.
- Type command prompt and run it as an administrator.

- Type the below commands and press Enter.
ipconfig /releaseipconfig /renew
Running the above commands will release the old IP configuration and the second command simply replaces or renews the IP configuration, which could be the reason you were not able to use the Wi-Fi USB Tethering on your PC.
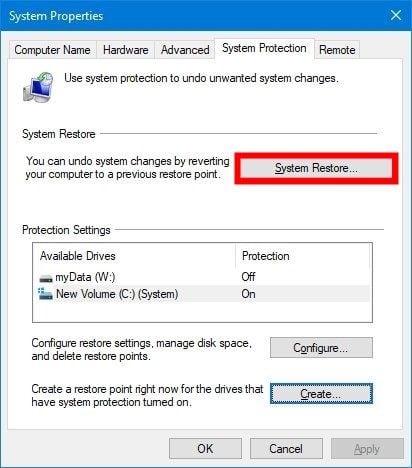
5. Perform System Restore
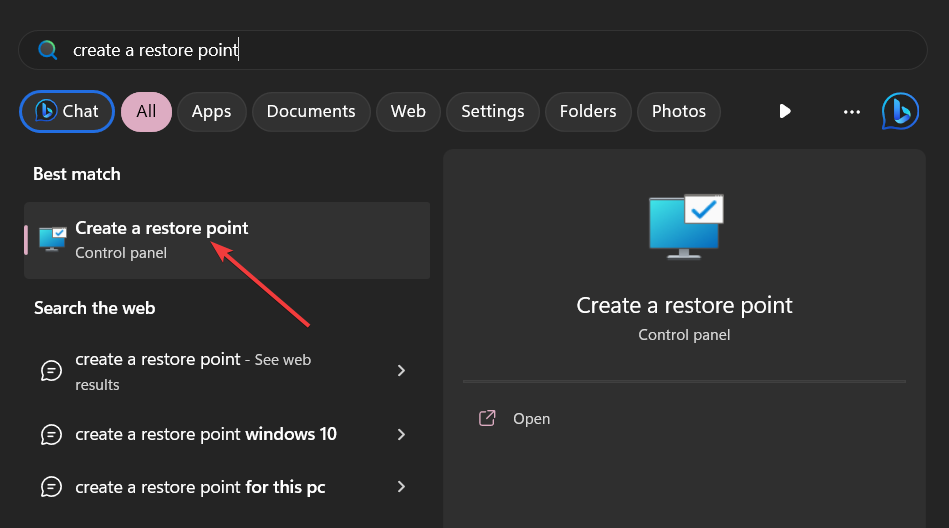
- Open the Start menu by pressing the Win key.
- Type Create a restore point and open the top result.

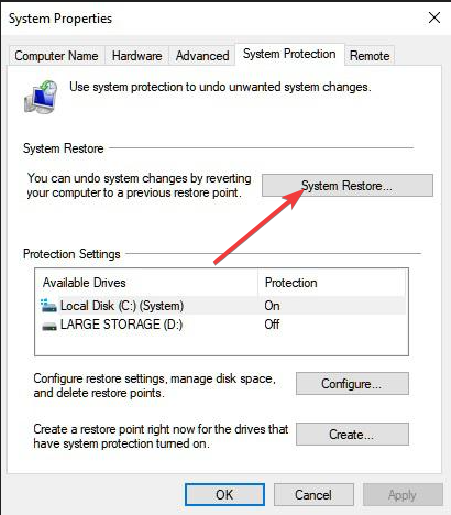
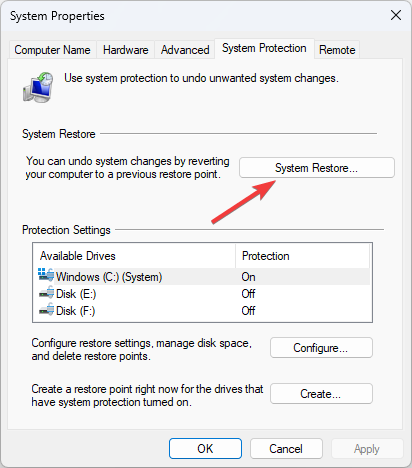
- Select the drive where you have installed the Windows OS and click on System Restore.

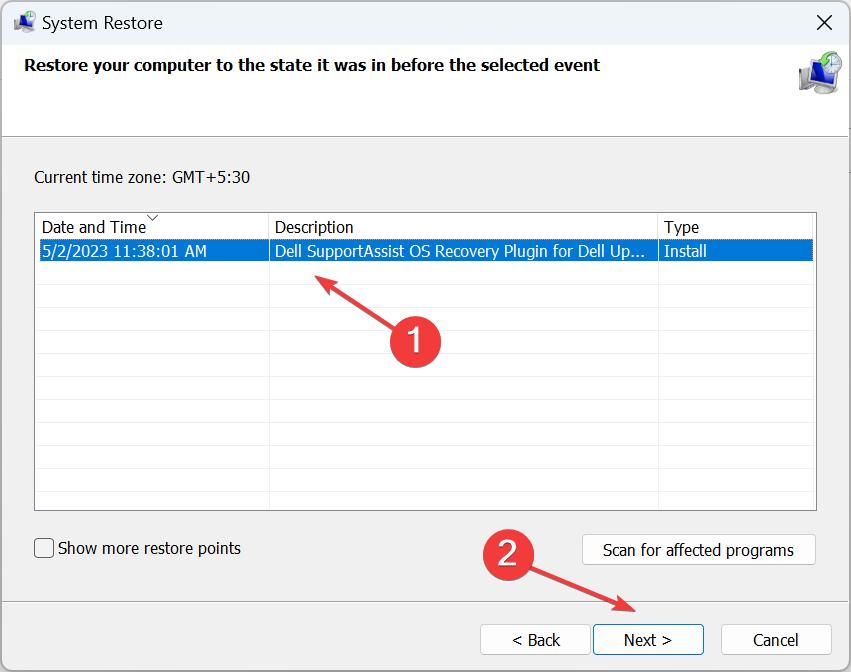
- Choose the restore point and select Next.

- Click Finish to begin the process.
You can also use the System Restore process to take your PC to the normal state when everything was working smoothly. Chances are that a third-party application has tweaked the important tethering-related files.
However, do note that the restore process will work only when you have created a restore point previously. If not, then you can check out our guide that explains how you can create a system restore point.
Feel free to let us know in the comments below, which one of the above solutions resolved the Wi-Fi USB Tethering not working problem.


User forum
0 messages