Installation Failed in the Second Boot Phase: 5 Fixes to Use
Easy steps to get you through the upgrade error
4 min. read
Updated on
Read our disclosure page to find out how can you help Windows Report sustain the editorial team. Read more
Key notes
- A Windows 10 error in the second boot usually happens if an upgrade is unsuccessful, especially when you have bad system files.
- The Welcome to Windows 10 screen is displayed at the second boot phase, but this error guarantees you do not get that far.

The installation failed in the second boot phase usually happens if an upgrade is unsuccessful, so it is helpful to understand at what point the error occurred during the upgrade.
This article reviews all the essential elements and recommends the best solutions for this OS installation error.
Note that some error codes during the upgrade phase take the form of 0xC1900101 (result code), with an extend code of 0x4000D. These are not the same as the second boot phase error.
Why does Installation failed in the second boot phase message appear?
There are different stages of the OS upgrade process. Users have pointed out that the major triggers are as follows:
- Bad installation files – These are files missing some essential elements or have been corrupted before use.
- Hard drive issues – The most common hard drive issues that will trigger this problem are bad sectors or insufficient space
- Hardware failures – You will experience failure if you have a faulty hard drive or memory module, often triggering the installation failed in the second boot phase error.
- Driver-related issues – Drivers are an essential link between software and hardware. You may expect errors if they are bad, corrupt, or incompatible.
- Viruses – You may expect a few complications, especially on systems without an antivirus, including this installation error.
That said, we will now cover the best solution on Windows 10.
How can I fix Installation failed in the second boot phase error?
Before going into any of our recommended solutions, there are a few preliminary steps you should try:
- Detach peripherals – Remove external hardware, such as docks and USB devices.
- Create space – Make sure you delete all unnecessary files from your storage
1. Run hard drive scans
1.1 How to run the chkdsk scan
- Press Windows + R, type CMD and hit Ctrl + Shift + Enter.
- Type the command below and hit Enter (make sure to use the drive alphabet in place of C):
chkdsk C: /f - Wait for the command to complete.
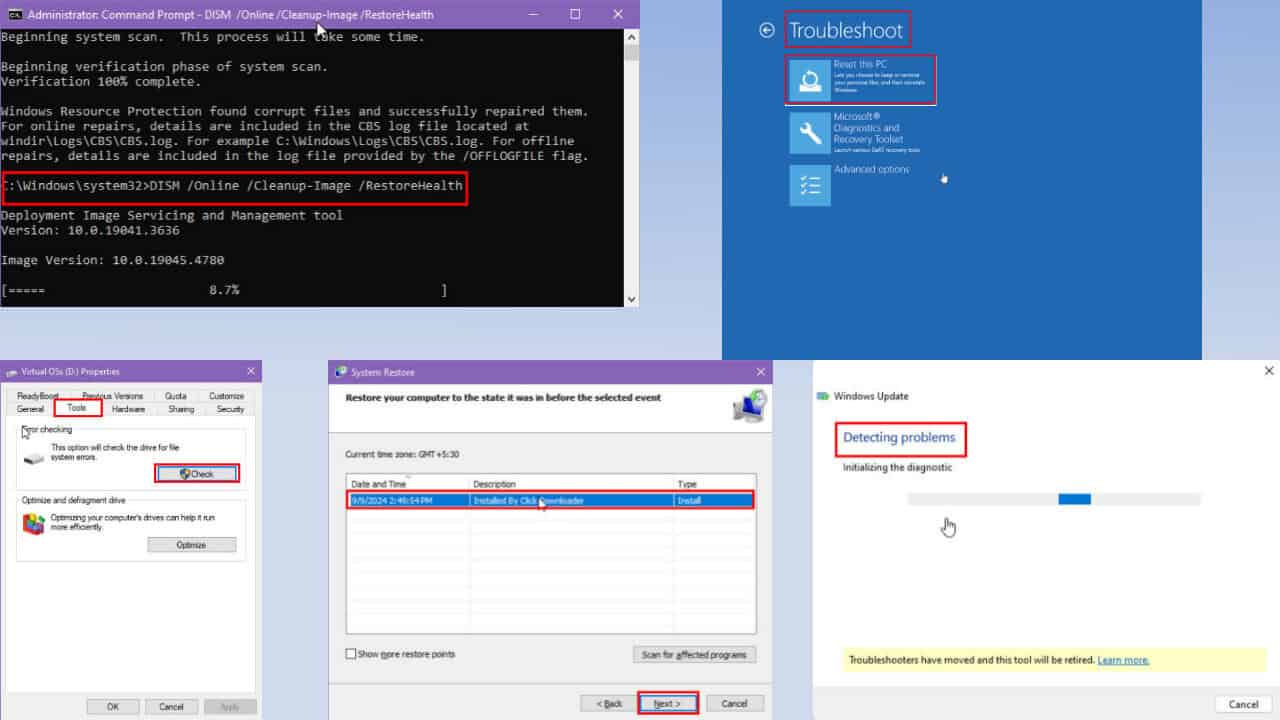
1.2 How to run a health check and SFC
- Press Windows + R, type CMD and hit Ctrl + Shift + Enter.
- Type the command below and hit Enter.
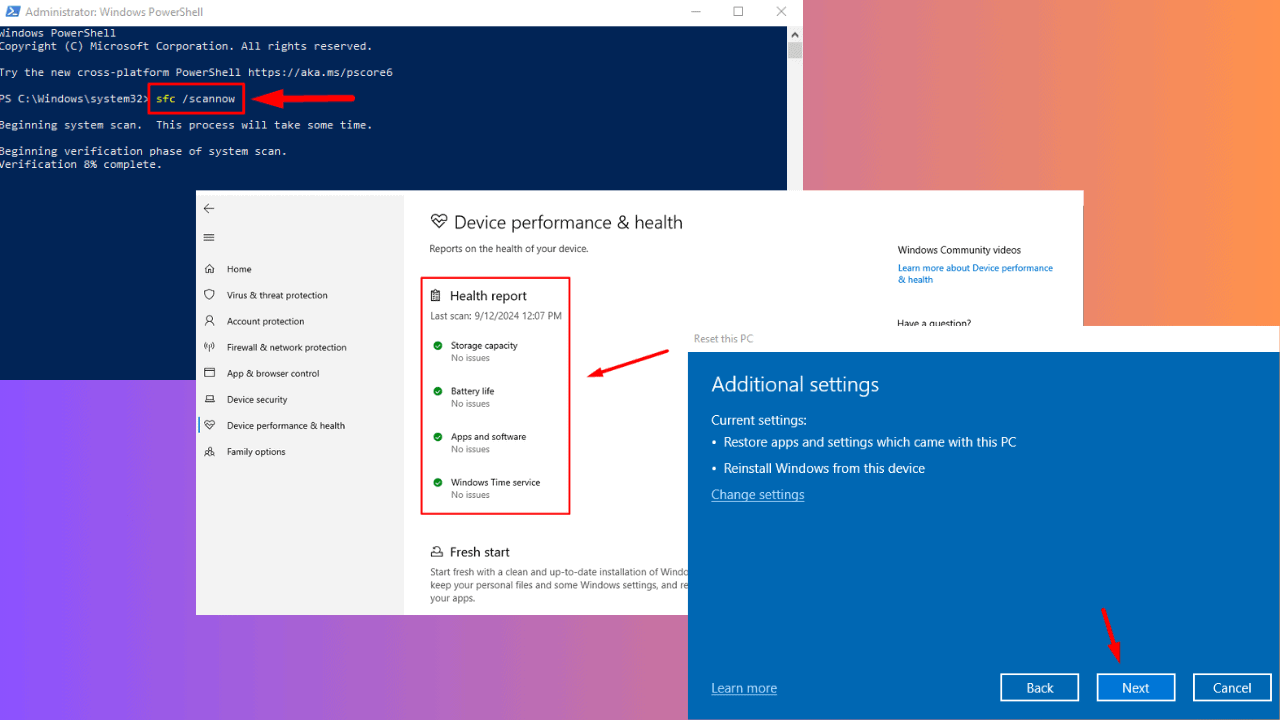
DISM /Online /Cleanup-Image /RestoreHealth - When it executes, run the script below:
sfc /scannow
2. Update Windows
- Press Windows + I to open the system Settings.
- Click on Update & Security.
- Select Windows update from the left pane and choose Check for updates.
An update is an important step before an upgrade. It guarantees all essential files, so you do not have errors during the process.
3. Update drivers
Since there may be many drivers to update, we suggest you perform this process automatically. The best solution is PC HelpSoft Driver Updater. You can fix driver issues with a few clicks and get the latest updates.
You usually must go to the manufacturer’s website and download drivers. This process is stressful because you must do this for every driver you need, one at a time. The software saves you time. It also ensures you do not download the wrong drivers.
⇒ Get PC HelpSoft Driver Updater
4. Perform a System Reset
- Press Windows + I to open the Settings app.
- Click Update & Security.
- Click Recovery on the left pane.
- Select Reset this PC.
- Click Get Started and choose an option to Keep my files, or Remove everything.
5. Upgrade using Windows 10 ISO file
- Download the official ISO media for Windows 10 from Microsoft.
- Right-click Start and select Command Prompt (Admin).
- Stop BITS, Cryptographic, MSI Installer, and Windows Update Services by typing these commands. Press Enter after each one:
net stop wuauservnet stop cryptSvcnet stop bitsnet stop msiserver - Rename the SoftwareDistribution and Catroot2 using the following commands. Remember to hit Enter after each command.
ren C:\Windows\SoftwareDistribution SoftwareDistribution.oldren C:\Windows\System32\catroot2 Catroot2.old - Restart the BITS, Cryptographic, MSI Installer, and Windows Update Services by running the following commands:
net start wuauservnet start cryptSvcnet start bitsnet start msiserver - Exit the Command Prompt and restart your computer.
After doing all this, uninstall your security software and activate Microsoft Defender (Microsoft’s default virus protection) so that your computer is not vulnerable to attacks from the internet.
That is as much as we will cover in its guide. You would find success using any of these solutions. Since we have not written them in any particular order, we encourage you to try what seems the most appropriate.
Let us know which solutions worked for you by commenting in the section below.


User forum
0 messages