How to set a static IP in Windows 10 [Easy Setup]
Key notes
- Devices on a network are identified by their IP and MAC addresses. The IP address can be static or dynamic.
- Assigning a static address remains unchanged when your machine restarts, but the router assigns dynamic addresses each time you reconnect to the network.
- Don't hesitate to explore our Windows 10 hub for more easy-to-follow guides.
- Our IP address webpage has detailed information about this subject.

By default, your Windows 10 PC or server is set to use dynamic IP addresses. But when adding the computer to a network, you may be required to set Windows 10 static IP address.
When you use a DHCP or dynamic routing, your router assigns an IP address to your machine each time you restart it.
You need a static IP address on your Windows 10 computer because your router may assign one IP address to multiple devices, and they won’t have connectivity because of the conflict.
That’s just one reason, however. For whatever reason, if you want to set a static IP address, here’s how to do it in Windows 10.
Users sometimes run into challenges after setting static IP addresses, the most common of which is where to system refuses to connect to a static IP address.
Here’s how to fix this issue:
- Confirm that no other device in your network is assigned the same static IP address.
- Unplug every cable from your router and reset the router.
- Rename your network and router, add your computer, and reset.
- Change the IP address to the subnet mask with the allowed number of connected devices.
- Add a 2nd computer to the network.
- Confirm that the default gateway and subnet mask are correct.
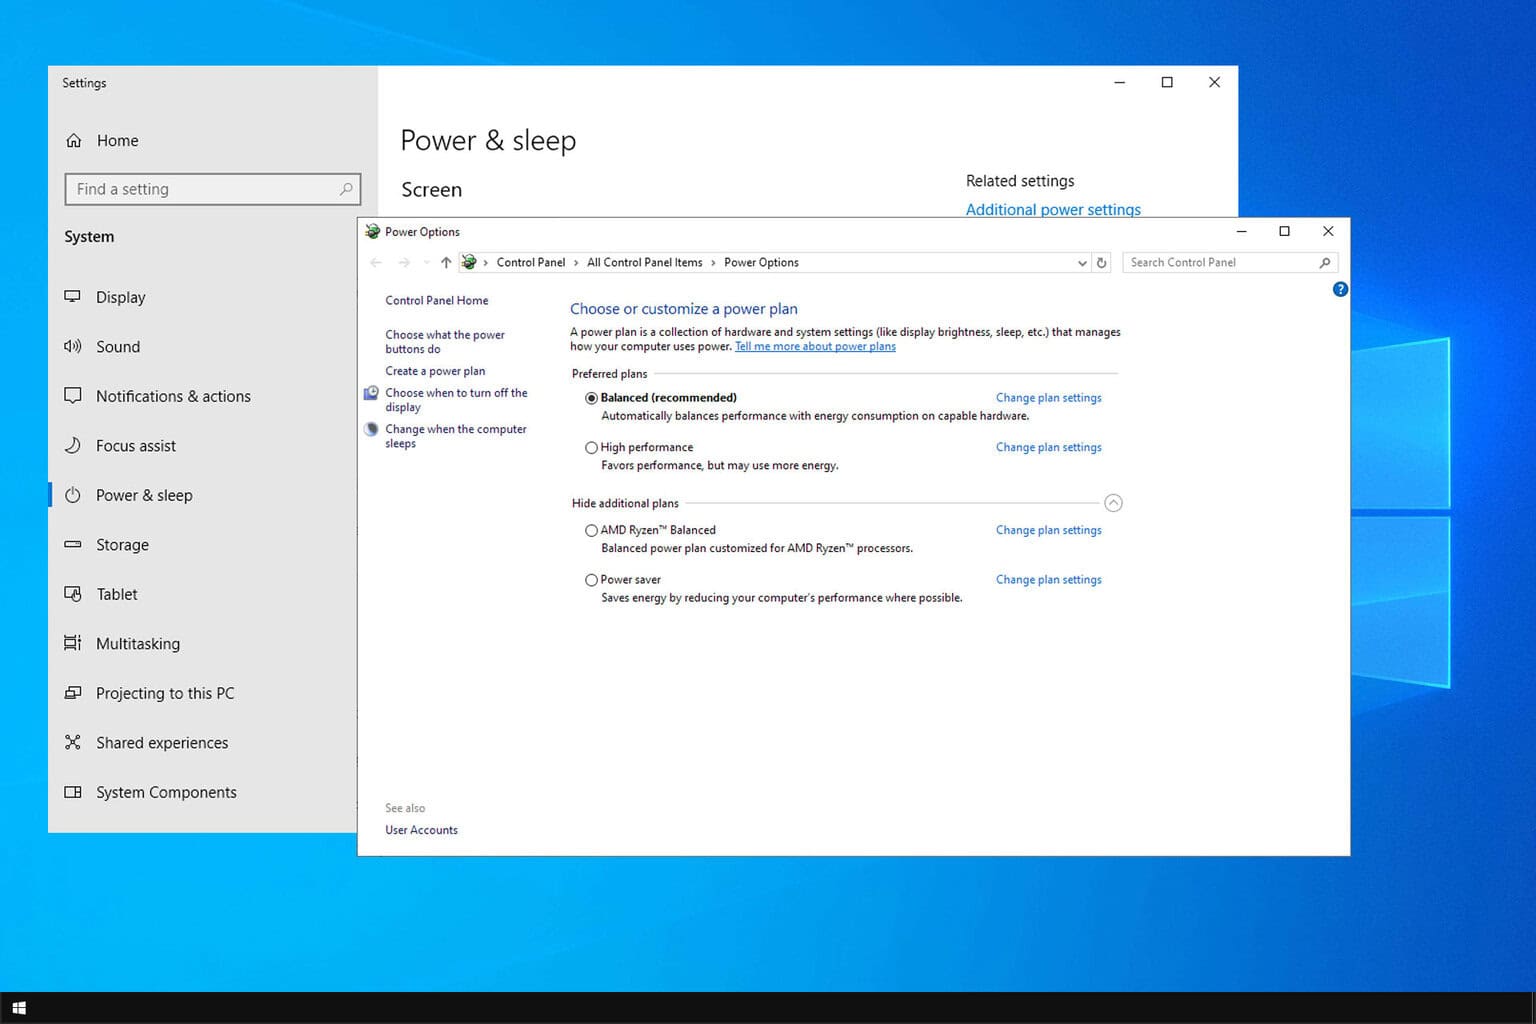
How can I set up my static IP address in Windows 10?
1. Set it manually
- Right-click on the network icon on your taskbar.
- Select the Open Network & Internet settings option.
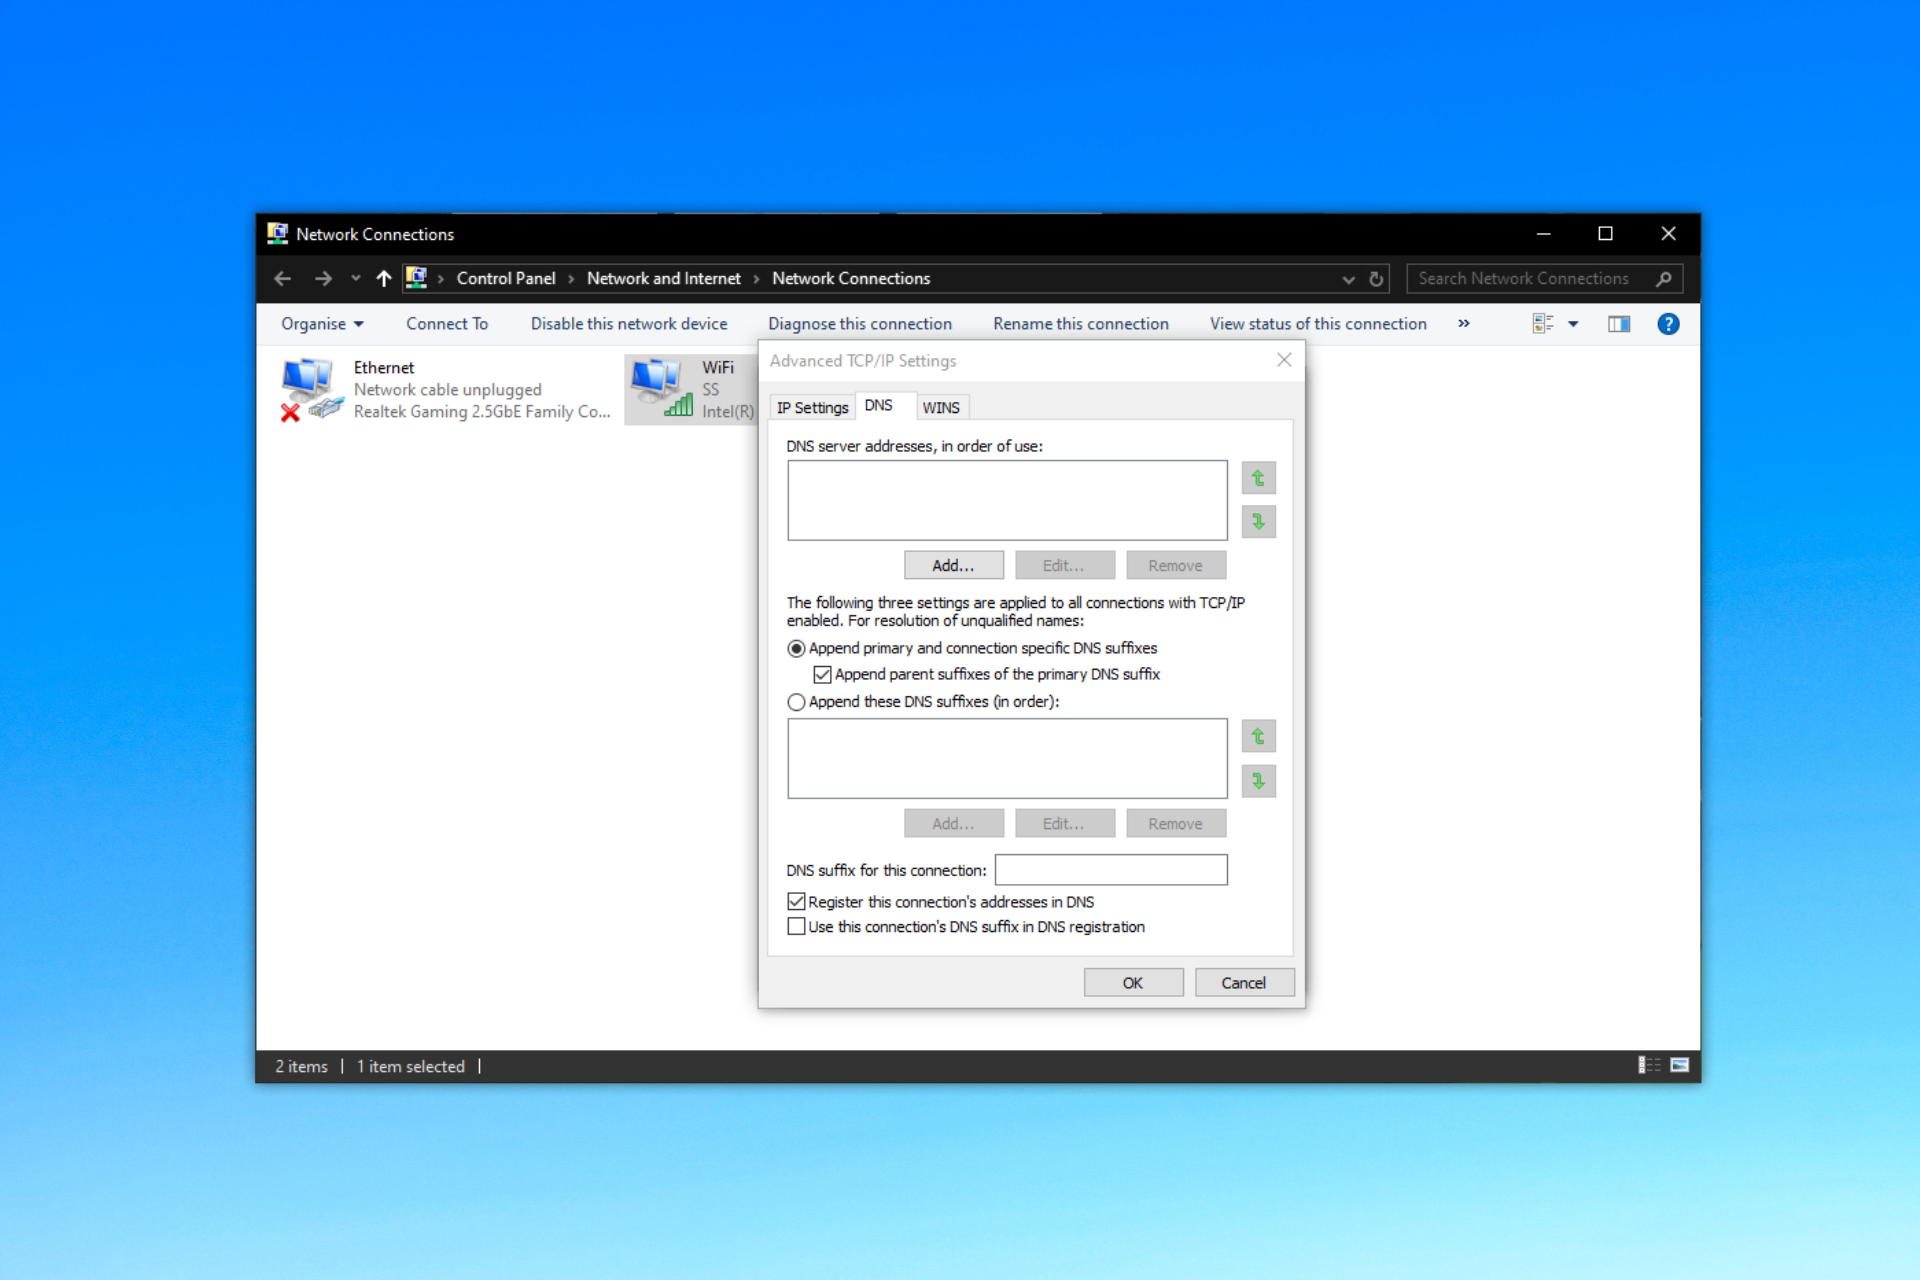
- Click on Change adapter options under the Change your network settings area.

- Right-click on your network connection and select Properties.
- Go to Internet Protocol Version 4 (TCP/IPv4) and click on it.
- Select Properties below the list.

- Click on the Use the following IP address option.
- Fill in your static IP address.
- Enter the subnet mask and default gateway.
- Optionally, choose to use the following DNS server addresses and enter your DNS server addresses.
- Hit the OK button to save the configuration.
2. Use the Command Prompt

- Press the Windows key and search for cmd.
- Right-click on Command Prompt and choose to Run as administrator.
- In the Command Prompt window, type in the following command and press ENTER:
ipconfig /all
- Write down the IPv4 address, subnet mask, default gateway, and DNS server addresses.
- Type in the following command and hit ENTER:
netsh interface ip set address name="Ethernet0" static 10.2.2.212 255.255.255.0 10.1.2
Note: Replace Ethernet0 with the name of your network adapter and change 10.2.2.212 255.255.255.0 10.1.2 to the correct IP address.
- To assign a DNS server address, run the following command:
netsh interface ip set dns name="Ethernet0" static 10.1.2.1
Note: Replace Ethernet0 with your adapter’s name and 10.1.2.1 with your network’s DNS server address.
- To assign an alternate DNS server address, run the following command:
netsh interface ip add dns name="Ethernet0" 8.8.8.8 index=2
Note: Change Ethernet0 your network’s name and 8.8.8.8 to the alternate DNS server address.
3. Use the Windows 10 Settings
- Press the Windows key + I combination.
- Select the Network & Internet tile.
- Click on Change connection properties.

- Scroll down to IP settings and hit Edit.

- Choose Manual from the dropdown menu.
- Toggle on the IPv4 switch.
- Enter your IP address, Subnet prefix length, Default Gateway address, and DNS addresses.

- Click on the Save button.
These are the three easiest ways to assign or set a static IP address on your Windows PC, so make sure to follow them exactly to avoid any unwanted issues.
[wl_navigator]
Read our disclosure page to find out how can you help Windows Report sustain the editorial team. Read more


Improve this guide


User forum
0 messages