Windows 11 Shared Folder Not Accessible: How to Fix it
Key notes
- Sharing folders on a Windows 11 network is a basic feature that sometimes sees failure.
- There are multiple remedies to shared folder problems from enabling certain permission to disabling protections.
- This guide goes through several solutions for shared folder issues, as well as some advice to go along with it.

Modern computing has brought forth many valuable features and created a new standard where we expect things to always work without fail. Because of this universal standard, it can be incredibly frustrating when something as basic as a shared folder on a network suddenly stops working.
The inability to access shared folders is a problem that plagued Windows 10 users years ago. Back then, some of the solutions to the problem were enabling network discovery and ensuring network services were working.
Fortunately, fixing the inability to access a shared folder is relatively simple. Even Windows 11 will help you out by showing a Network Error where the OS will tell you to check the spelling of the shared folder’s name.
Most of the time, getting the name right is all it takes to gain access to a shared, but other times, it requires a finer touch.
Why can’t I access the shared folder?
There can be a multitude of reasons as to why a shared folder won’t work. There could be a wrongly configured network, incorrect drive settings, and a misspelling above the folder’s name.
And in some cases, the user account behind the folder has inappropriate permission settings.
Before going through the fixes in this guide, it’s recommended that you first talk to whoever is in control of the shared folder. Perhaps some oversight prevents people from having access to the shared folder, like they forgot to enable permissions.
However, if you are the person who is in control of the shared folder, you’ll have to reconfigure and grant network-sharing permissions to facilitate that access. This may also help when NAS is not showing under the Network tab.
This guide will go through different processes that you can try out to fix this shared folder issue.
How do I fix the Cannot Access Shared Folder error?
1. Reconfigure network Sharing permissions
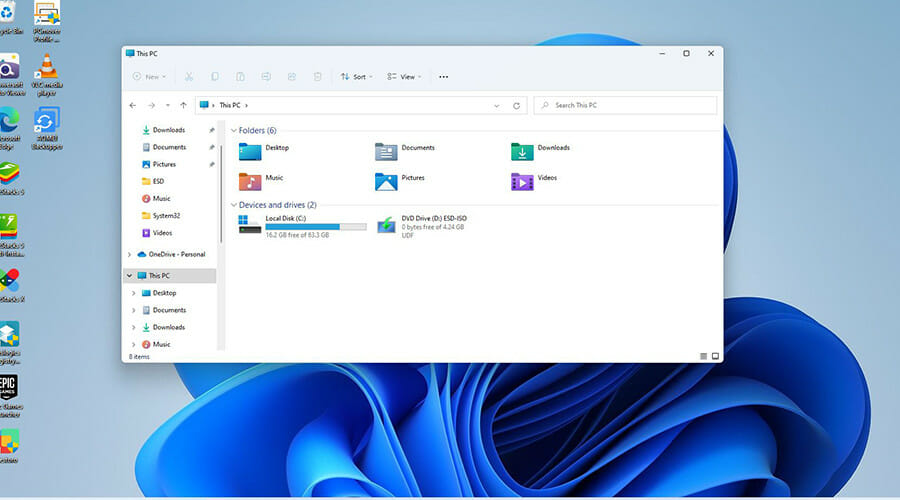
- Open the File Explorer and select either the drive or folder on your computer that you want to share. This guide will select a folder, but the methods are the same.

- Right click on the folder and select Properties.

- In the new Properties window, select the Sharing tab.

- Click on the Advanced Sharing button in the middle of the window. This will open the Advanced Sharing window.

- Click the checkbox at the top of the window to enable Share this folder.

- Enter a Share name underneath Settings for the drive or folder you want to share.

- You can limit the amount of users who can have access to the shared folder by changing the number on the right.

- Then click the Permissions button under Comments to open another small window.

- You can choose Everyone to allow everyone on the network to have access or choose a select few by click on their user names.

- Enable Permissions for Everyone by checking all boxes under Allow.

- Click on Apply to save the changes.

- Click Ok to close the Permissions for Saved Pictures window.

- In Advanced Sharing again, click Apply then OK to apply the settings.

- If you decided to share a drive, you will see a Shared icon on the bottom part of the screen.

2. Grant security permissions
- Select the drive or folder on your computer that you want to share.

- Right-click on the drive or folder and select Properties.

- Select the Security tab on the Properties window.

- Click on Edit in the middle to change permissions.

- Click on the Add button.

- In the new Select Users or Groups pop-up window, select Advanced at the bottom.

- A new window will appear. Click on Find Now to the right.

- A series of search results will appear at the bottom of window. Scroll down until you locate Everyone.

- Select Everyone in the list and then click Ok.

- You’ll go back to the Select Users or Groups window. Select Ok.

- You will see Everyone listed in the Security window under Group or user names.

- Select Everyone and then check all the Allow boxes in the Permissions for Everyone box.

- Click Apply at the bottom of the window to save the changes.

- Click Ok to close the Permissions window.
3. Disable the Password Protected Sharing option
- Click the magnifying glass icon on the taskbar.

- In the Search bar, type Advanced sharing settings and select the first entry you see.

- Click on All Networks to expand the options.

- Select the Turn on sharing… option under Public folder sharing.

- Scroll down to Password protected sharing and select Turn off password protected sharing.

- Hit Save Changes at the bottom.

- Close Advanced sharing settings and restart your computer.
 NOTE
NOTE
4. Enable File and Printer Settings
- Open your search bar by clicking on the magnifying glass icon and search for Advanced sharing settings.
- If on a private network, click Private to bring down the menu.

- Select Turn on file and printer sharing underneath Filer and printer sharing, if not already selected.

- Click Save changes on the bottom.

- If you’re on a public network, click Guest or Public.

- Then select Turn on file and printer sharing if already not chosen.

- Hit Save Changes.
- Close Advanced sharing settings, then restart your computer.
NOTE
What are some other basic functionalities on Windows 11 that may fail?
Shared folders aren’t the only basic functionality that can fail on Windows 11. Microsoft is constantly working on fixing bugs and delivering patches to Windows 11.
Case in point: sleep mode on Windows 11. Sleep mode allows you to put the computer in a low-power state to conserve electricity while running some of its functions.
It could be as simple as turning sleep mode on manually, but other times it requires you to change some settings.
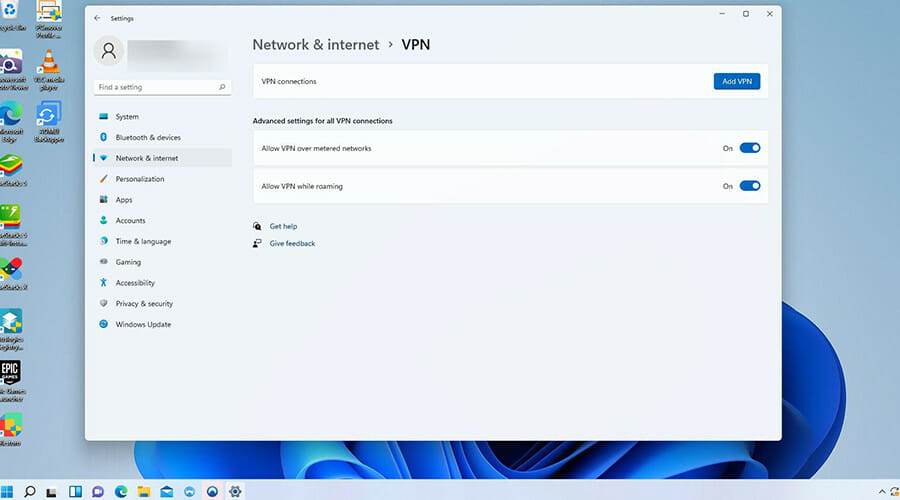
And in case you didn’t know, Windows 11 has a built-in VPN functionality that some have reported not working. Fixing the OS’s VPN is as simple as updating the computer, but tougher situations require reinstalling WAN network adapters.
In the past, there have been some cases of Wi-Fi networks randomly disappearing on Windows 11 computers or some apps on the OS simply not working.
Most of the time, a simple restart solves everyone, but other times, there is needs to be a proper solution.
Feel free to comment below if you have any questions about other Windows 11 problems or bugs. And leave comments about guides that you’d like to see or information on Windows 11 features.
Read our disclosure page to find out how can you help Windows Report sustain the editorial team. Read more


Improve this guide


User forum
0 messages