How to Change the Boot Order on Windows 11 [2 Ways]
3 min. read
Updated on
Read our disclosure page to find out how can you help Windows Report sustain the editorial team. Read more
Key notes
- There is a default boot order for every motherboard. In some situations like booting from a USB drive, you need to change the boot order.
- BIOS is a kind of firmware stored on the motherboard that configures hardware before booting.
- To change the boot order of a Windows 11 computer, you must first access the BIOS settings.

There are certain situations in which you need to change the boot order in Windows 11. You might want to boot from a USB drive or an external hard drive, or you may want to change your default OS.
Before Windows 10, there were not many ways to achieve this. You could only keep pressing a key at boot so many times, just to miss getting to the BIOS at all.
However, today, there are more ways to achieve this. This article will go into detail to tell you all the ways using which you can change the boot order in Windows 11.
How can I change the boot order in Windows 11?
1. Go to the BIOS menu
- First, click on the Start menu, search for Settings, and click Open.
- From the left-side panel, choose System then, scroll down to the Recovery option and click on it.
- Click on Restart Now in front of Advanced Startup.
- When your computer boots up, in the Choose an Option screen, select Troubleshoot. Then, head over to Advanced Options.
- Finally, choose UEFI Firmware Settings and click on Restart.
Getting into BIOS/UEFI settings enables you to tweak low-level computer settings. You can even access and alter the settings of your CPU.
There are many ways to open up the boot menu in Windows 11. However, this was the easiest way to achieve this.
You can also get to the UEFI Firmware settings by following the steps below:
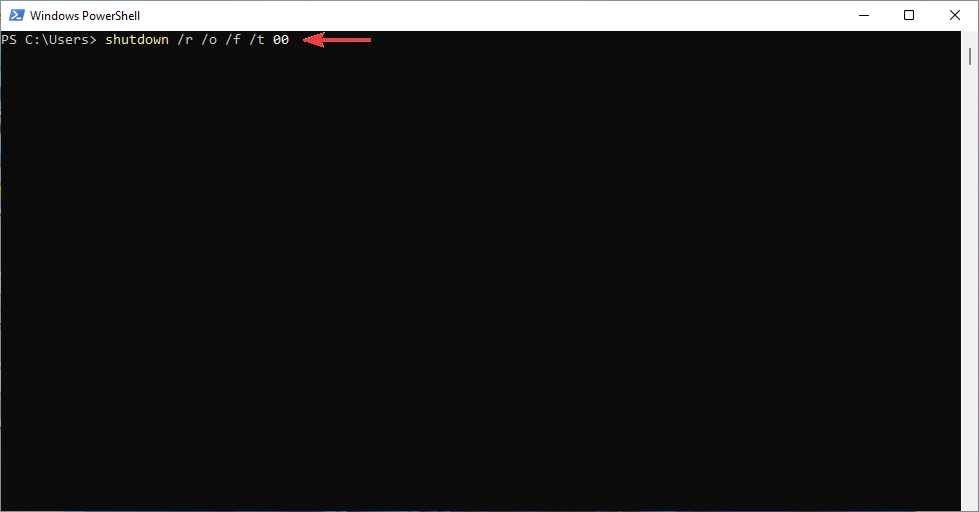
- Press the Window + S keys, search for PowerShell, and click on Open.
- Type the following command, and press Enter:
shutdown /r /o /f /t 00
- In the Choose an Option screen, select Troubleshoot.
- Then, head over to Advanced Options, and finally, choose UEFI Firmware Settings and click on Restart.
If you need to update the BIOS, follow the instructions given in this article.
2. Make changes from Boot Option Priorities
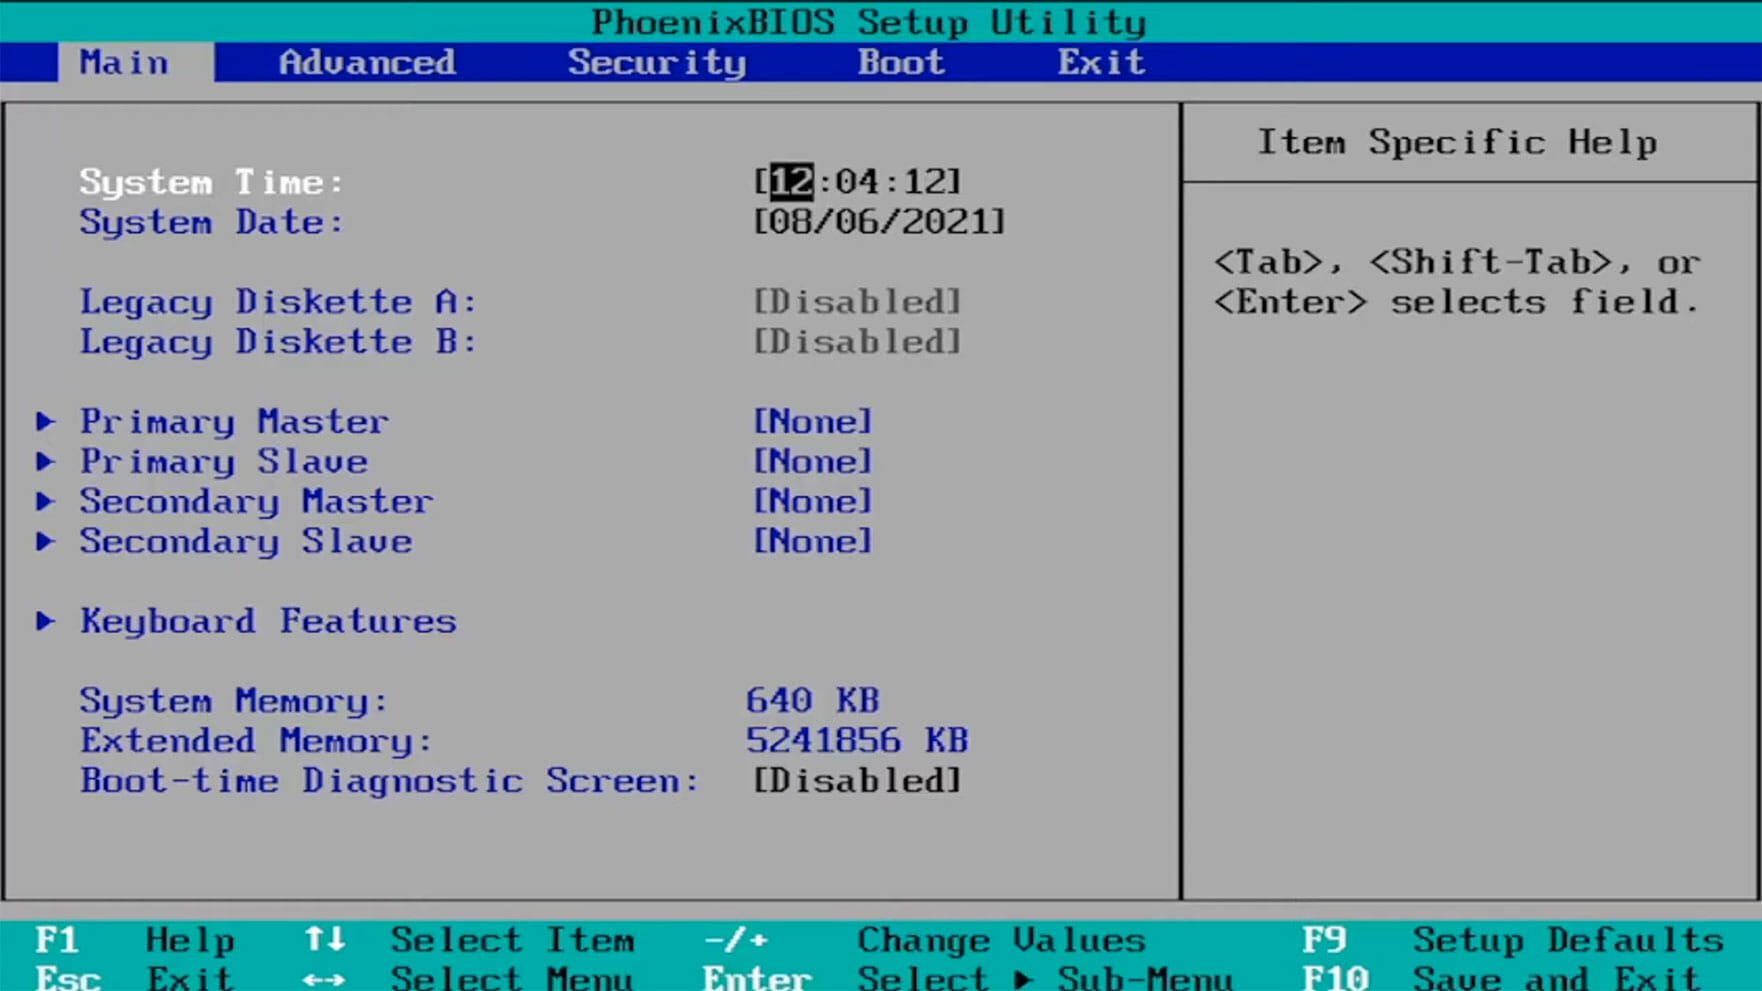
- Open the BIOS settings either using the aforementioned methods or by pressing the F10, F2, F12, F1, or DEL keys constantly when the computer starts.
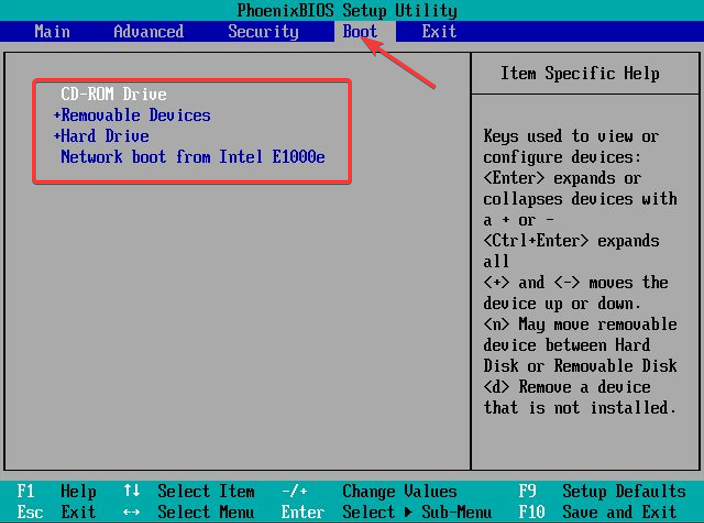
- After that, switch to the Boot tab. Then, under Boot Option Priorities, go to each boot option and press Enter.
- Next, go to the Exit tab, then choose Save and Exit, and press Enter.
BIOS is an acronym for Basic Input/Output System. It is firmware that is stored on a motherboard chip and has access to your computer’s hardware.
The computer boots into BIOS after starting and this configures your hardware before giving the system to a boot device, e.g. your hard drive.
Furthermore, using boot manager applications such as EasyBCD can be helpful if you do not want to go through all that trouble.
These applications give you complete control over your boot settings. They can even help you add boot options to the current list.
Check out this article if you’re looking for the best Windows 10/11 boot repair tools to rescue your PC.
Let us know whether you were able to successfully change the boot orders in Windows 11 in the comments section below.


User forum
0 messages