Dual Boot Windows 11 and Windows 7 [Easy Steps]
Apply these easy steps right away
Key notes
- If you want to dual boot Windows 11 and Windows 7, note from the start that the new OS requires a TPM to work.
- Dual booting two Windows systems is simple, and you just need to create a separate partition for the other operating system.
- To properly install Windows 11 after Windows 7, feel free to join the Windows Insider Program.

Windows 11 is an interesting operating system, but some users are still reluctant to make the transition, while others are determined to use Windows 7 forever.
However, according to our survey, Windows 7 users are excited about Windows 11 and they may switch to it.
If you’re ready for this change as well, in this guide we’re going to show you how to correctly dual boot Windows 11 and Windows 7 on your PC.
What are Windows 11’s requirements?
- CPU: 1GHz or more, 2 cores or more, compatible 64-bit processor
- RAM: 4GB or more
- Storage: 64GB or more
- Firmware: UEFI, Secure Boot capable
- TPM: Trusted Platform Module 2.0
- Graphics card: DirectX 12 compatible with WDDM 2.0 driver
- Display: 720p 9-inch display
Windows 11 requirements have been known for a while, and many users are unhappy because Windows 11 requires a TPM to work.
Many of them reported getting the same error saying This PC can’t run Windows 11 because they don’t have the TPM chip installed. Be sure to check our TPM and Windows 11 guide for more information.
Also, you must verify if your CPU is supported by Windows 11 since some older processors won’t work with Windows 11.
How can I dual boot Windows 11 and Windows 7?
Install Windows 7 after Windows 11
1. Create a Windows 7 partition on your PC
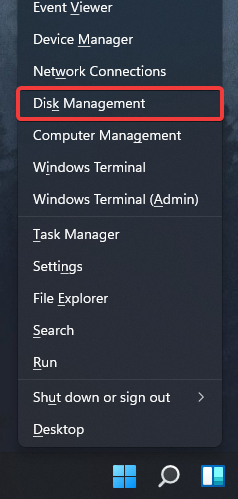
- Press Windows Key + X and select Disk Management from the list.
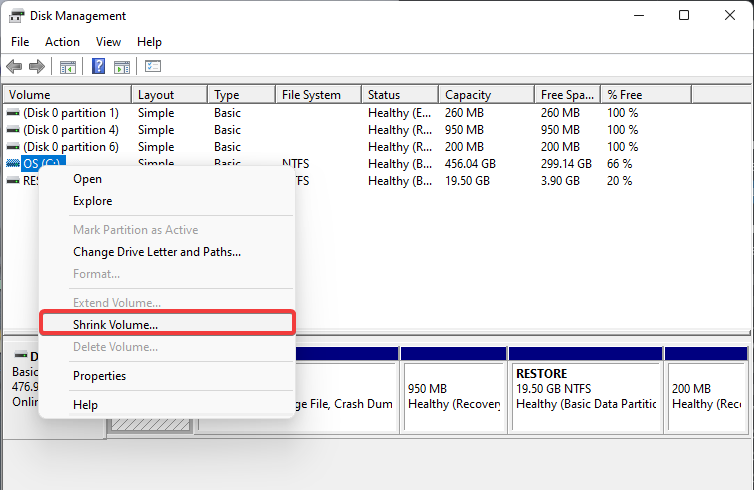
- Select the partition that has some extra space on it. You’ll need a partition that has at least 20GB of free storage space, but more space won’t hurt.
- Right-click the desired partition and choose Shrink Volume.
- In the Enter the amount of space to shrink in MB enter at least 20000.
- Now click the Shrink button.

- Unallocated space will now appear in Disk Manager. Right-click it and choose New Simple Volume.
- Set the Simple volume size in MB to the maximum value that you can. Now click Next.
- Then, set the label and the drive letter for the new partition.
- Once you’re done, click on Finish.
For more advanced drive manipulation capabilities, we recommend Paragon Partition Manager as the tool to go.
2. Download Windows 7 ISO and create a bootable drive
- Download Windows 7 ISO.
- Connect a USB flash drive to your PC.
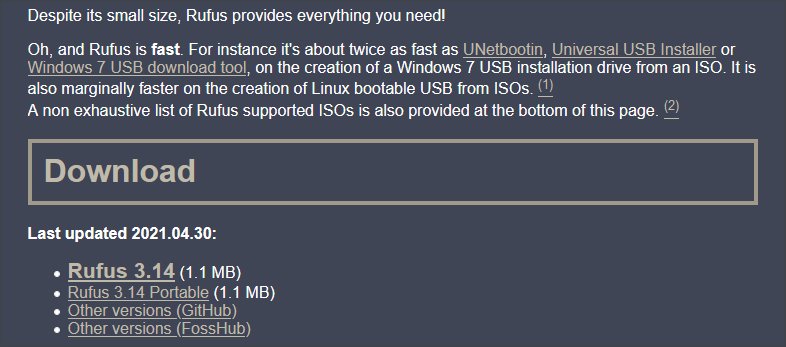
- Once you’ve downloaded the ISO file, download Rufus.
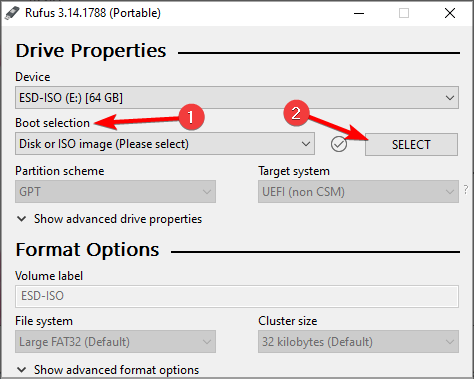
- Start Rufus and select your flash drive.
- Now click on Select and pick the Windows 7 ISO file.
- Click Start to start the process.

- When asked to format the drive, select OK.
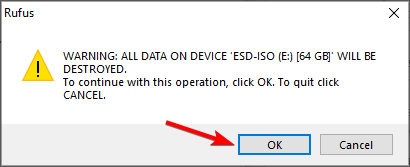
- Wait for the process to complete. It should take about 5 to 10 minutes.
 NOTE
NOTE
If you have Windows 7 DVD you can use it to create an ISO file using specialized software to convert files to ISO. Or if you have a DVD drive, you can use the DVD to install Windows 7 directly from it.
3. Boot from the Windows 7 flash drive and install Windows 7
- Connect the Windows 7 flash drive that you’ve created to your PC.
- Restart your PC and press the boot menu key. The key should be displayed during the boot section. Now select your USB flash drive from the list. If the key isn’t displayed, go to BIOS and set the flash drive as the first boot device.
- Press any key to boot from the flash drive.
- Select the desired language and keyboard layout, then click Next.

- Click on Install now.

- Choose Custom (advanced).

- Select the partition that you created for Windows 7. Be sure to select the correct one or else you’ll overwrite your Windows 11 installation.

- Wait while Windows 7 installs.

- Once the installation is finished, select Windows 7 on the boot screen.
- Enter your username and choose how your desired security settings.

After doing that, you’ll be able to dual boot Windows 11 and Windows 7 without any problems.
Install Windows 11 after Windows 7
1. Create a dedicated Window 11 partition
This process is almost identical to creating a partition on Windows 11, so we’ll keep it brief.
- Press Windows Key + R and enter diskmgmt.msc. Press Enter or click OK.

- Locate the partition that you want to shrink, right-click it and choose Shrink Volume.
- Set the size of the new partition from 50000-100000 or more depending on your needs.
- Right-click the unallocated space and choose New Simple Volume.

- Set the maximum size, choose the label and the desired drive letter.

- Once the process is complete, click on Finish.
2. Create a bootable Windows 10 drive
- Connect an 8-16GB flash drive to your PC.
- Go to the Microsoft download page and click on Download tool now.

- Once the Media Creation Tool is downloaded, run it.
- Select Create installation media (USB flash drive, DVD, or ISO file) for another PC and click Next.

- Check if the settings are correct. You can adjust them if needed by unchecking Use the recommended options for this PC.
- Select USB flash drive.

- Wait for the process to complete. This might take a while depending on your Internet download speed.
- Once the process is done, you’ll have Windows 10 installation media ready.
NOTE
3. Boot from the Windows 10 installation media and install Windows 11
- Connect the Windows 10 bootable flash drive to your PC.
- Restart your PC and press the boot menu key. Now select the flash drive to boot from it. Alternatively, change the boot device in BIOS to your flash drive.
- Select the desired language and click on Install now.

- Select the version that you want to install and accept the terms of service.
- Then, select Custom: Install Windows only (advanced).

- Select the Windows 11 drive that you created. If you select the wrong drive, you will lose your files and overwrite your Windows 7 installation.

- The installation will now start, so wait for it to finish. Then, you’ll have Windows 10 running on your system.
4. Join the Windows Insider Program and install Windows 11
- When your PC restarts, select Windows 10.
- Now press Windows Key + I to open the Settings app.
- Select Update & Security.

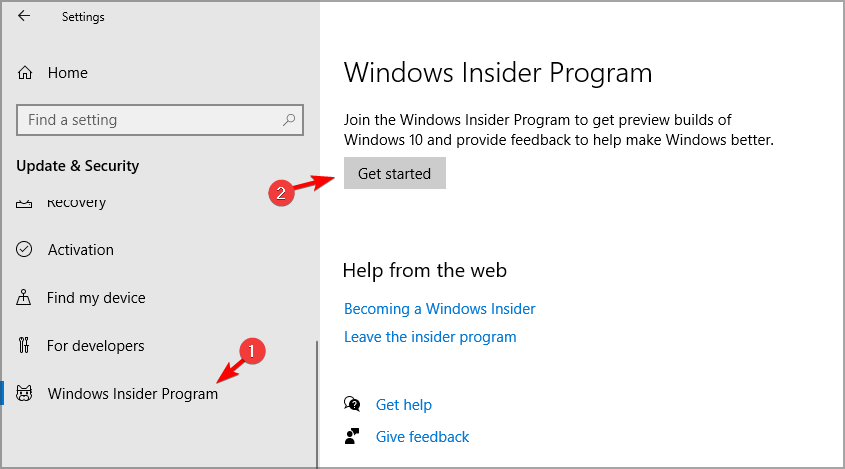
- Navigate to Windows Insider Program and click the Get Started button.
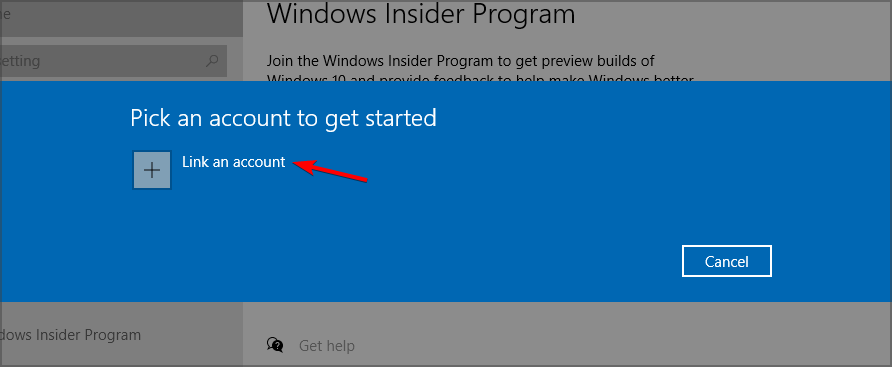
- Click Link an account and enter your Microsoft account credentials.
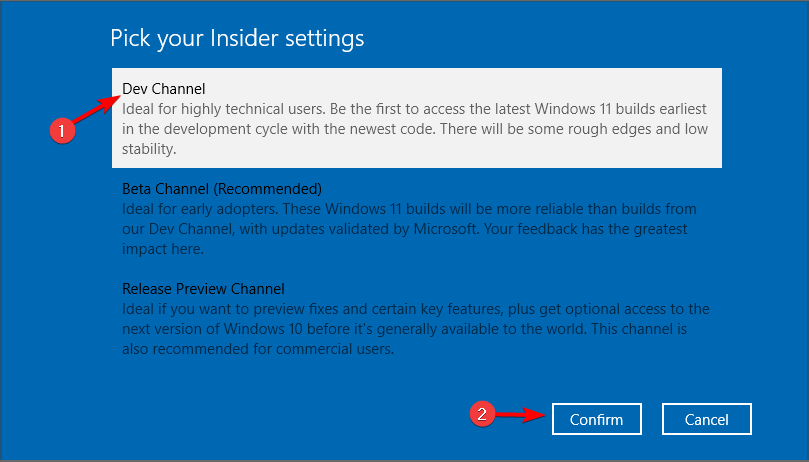
- Choose Dev Channel and click the Confirm button.
- Restart your PC and boot to Windows 10 again.
- Open the Settings app and go to Update & Security again.
- Click on Check for updates button.

- Windows will now download the Windows 11 update.
- Once the update is downloaded, restart your PC and follow the instructions on the screen to install it.
After doing that, the dual boot for Windows 11 and Windows 7 should be working without any problems.
Should I keep using Windows 7?
Microsoft hasn’t maintained Windows 7 since the beginning of 2020, so the system is outdated and vulnerable. However, you can still keep it safe using Windows 7 antivirus software.
Another problem is that many developers aren’t making software for Windows 7 anymore, so your favorite apps might not work on this OS.
As you can see, Microsoft and other developers are ready to drop it entirely, so you shouldn’t use it as your main operating system. But if you are a fan of the legacy OS, use an online Windows 7 simulator to relive the good old days.
This might be the right time to consider Windows 11, but you should know that upgrading to Windows 11 from Windows 7 will require a clean install.
How can I set the default operating system if I use dual boot?
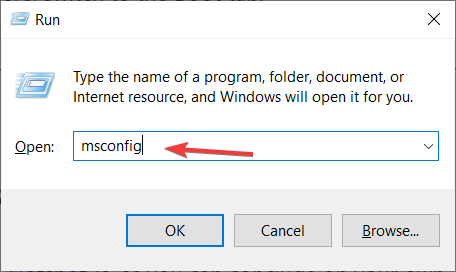
- Press Windows Key + R and enter msconfig. Press Enter.
- Navigate to the Boot section.
- Select the operating system that you want to use as default and click the Set as default button.

- Now click Apply and OK to save changes.
- After doing that, you’ll always boot to the default operating system.
We hope you found this guide informative and managed to dual boot Windows 11 and Windows 7 without any problems on your PC.
Keep in mind that Windows 7 isn’t supported anymore, and you shouldn’t use it as your everyday operating system, but you can enjoy it in dual boot mode, especially if you want it to run older applications or games. Also, you can triple boot Windows 11, Windows 7, and Linux.
Are you going to dual boot your PC, or do you plan to switch to Windows 11? Let us know in the comments section below.
Read our disclosure page to find out how can you help Windows Report sustain the editorial team. Read more


Improve this guide


User forum
1 messages