Change Sign in Options on Windows 10: How to do it
You can do so via the Settings
Key notes
- When you want to change sign in options in Windows 10, simply head to the Settings app.
- This allows you to secure your device and boost the security.
- There are several sign-in options available in Windows 10, including PIN, password, and biometrics.
When you turn on the computer, the first Windows screen appears for the sign-in. It lists the various user accounts, and some quick options to Shut Down or Restart the PC. Most users are wondering how to change the sign in options on Windows 10.
It’s not tricky and wouldn’t take more than a minute if everything else is properly in place. So, let’s get right to it!
How do I change the sign in options on Windows 10?
- Press Windows + I to open Settings, go to Accounts, and then Sign-in options.
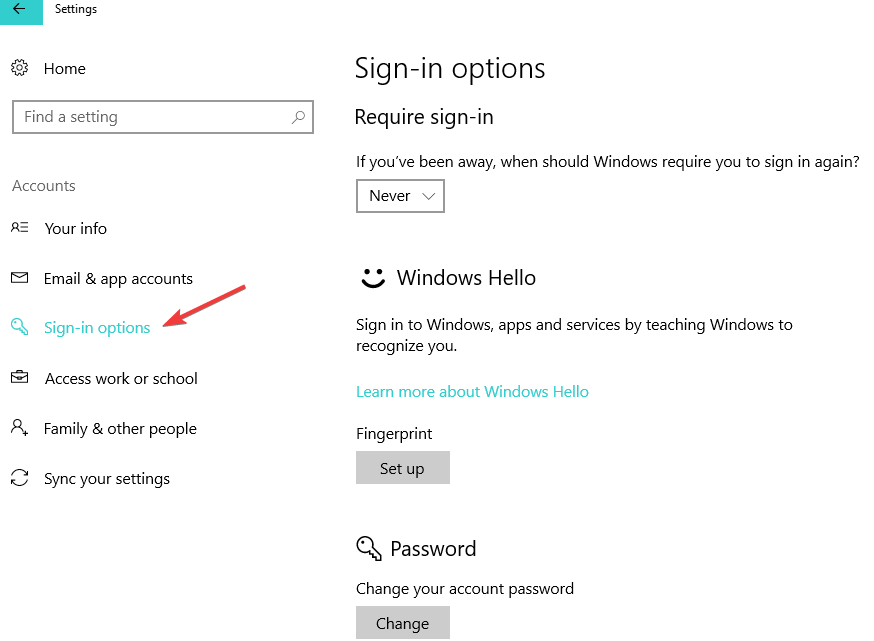
- You’ll see a series of sign-in options that you can edit.
- You can enable the option Require sign in so that Windows 10 requires you to sign in again if you’ve been away.
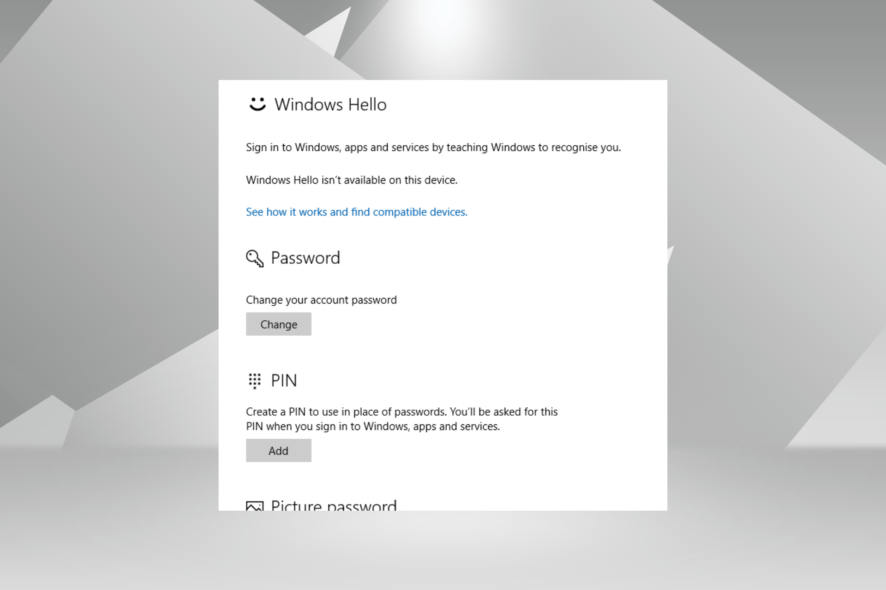
- Also, you can change password or set up a fingerprint, PIN, and picture password settings.
The most interesting option is probably the picture password, as it allows you to protect your Windows 10 touch device by enabling gestures that are known only to you.
That’s all for now! With this information, you can quickly change the sign in options in Windows 10 and set up what works best for you.
Before you leave, find out how to set up passwordless login on a PC.
For any queries or to share what worked for you, drop a comment below.
Read our disclosure page to find out how can you help Windows Report sustain the editorial team. Read more


Improve this guide


User forum
0 messages