Windows Cannot Find Updater.exe: How to Fix It
Tested methods to get rid of the updater.exe error in no time
![]() 4 min. read
4 min. read
![]() Updated on
Updated on
Share this article
Improve this guide
Read our disclosure page to find out how can you help Windows Report sustain the editorial team. Read more
Key notes
- Corrupted system files can trigger the Windows cannot find updater.exe error.
- Even more, corrupted drivers can prevent Windows from locating the updater.exe.
- Scanning for malware will help you detect if viruses cause the error.
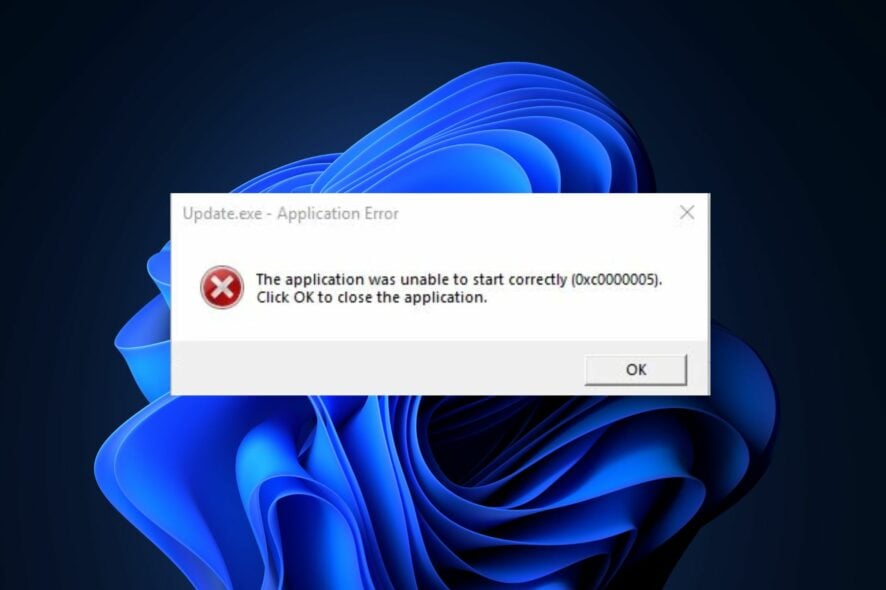
If you’re attempting to update an application, you might run into the Windows cannot find updater.exe error. When this error pops up, the desired application will be rendered inoperable.
If you bump into this error message, it’s nothing to worry about. This article will provide you with the necessary steps to resolve the error.
Why does updater.exe crash?
There are a lot of reasons causing updater.exe to crash. Usually, a updater.exe error is commonly associated with corrupted Windows files. However, here are some other reasons triggering this error:
- Missing executable: If the updater.exe file isn’t available in the specified file path, Windows cannot locate the executable. In this case, this can trigger the error.
- Corrupt drivers: If you don’t know how to install a driver, you might have messed up the process, which can corrupt the drivers. Corrupt drivers can prevent Windows from locating updater.exe.
- Malware or virus: Some skilled hackers can utilize Windows updates to spread viruses. If you have an infected PC, the malicious code might prevent Windows from locating updater.exe.
- Software conflicts: In rare cases, running too many background apps affects the ability of Windows to locate updater.exe.
What can I do if Windows cannot find updater.exe?
Before moving to advanced troubleshooting techniques, here are some quick checks:
- Ensure you have a stable internet connection if it’s a live update.
- Close all background applications. Here is a guide on how to turn off all background apps.
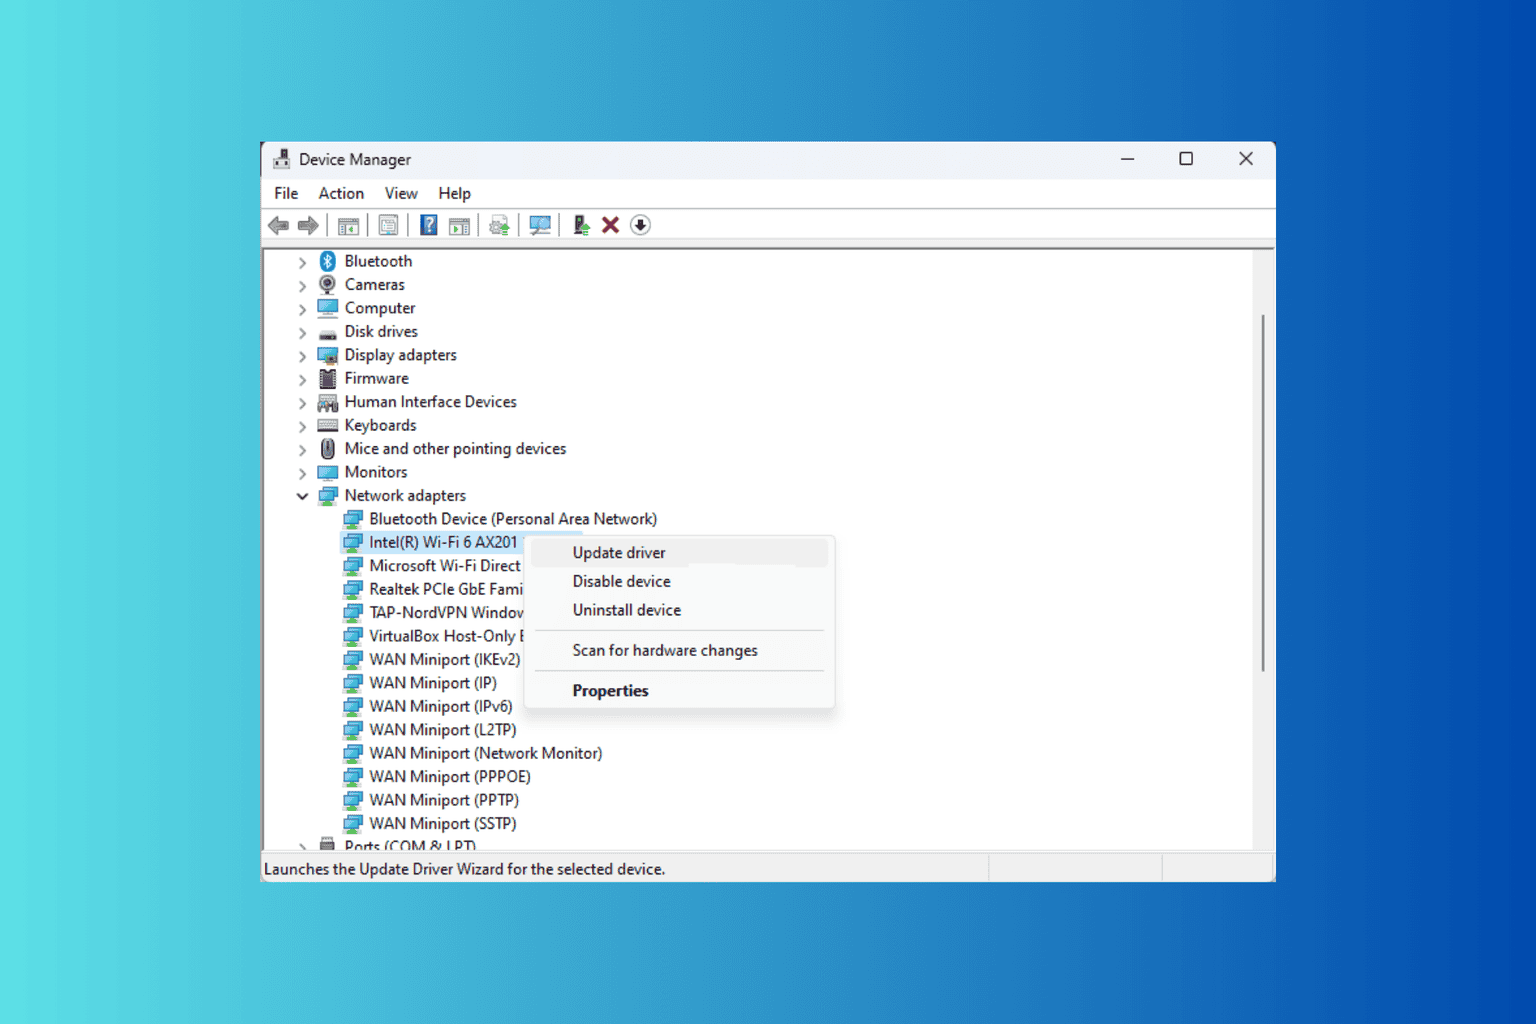
- Make sure you install the latest drivers.
If those quick fixes didn’t resolve the error, here are a couple of advanced techniques you can try.
1. Perform a Clean Boot
- Left-click the Start button, type in msconfig, and select System Configuration from the displayed results.
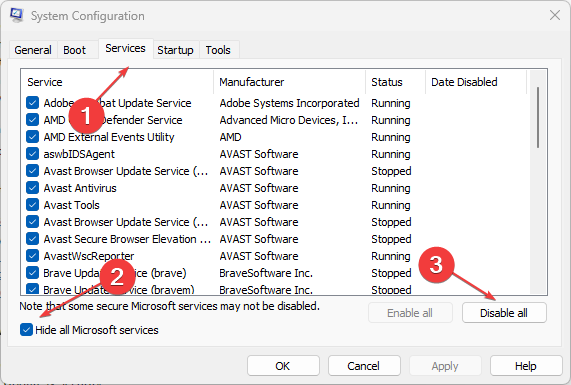
- In the System Configuration window, select the Services tab. Check the box to Hide all Microsoft Services and select Disable all.

- Navigate to the startup tab and select Open Task Manager.
- Right-click on all enabled programs in the Task Manager window and select Disable.

- Close the Task Manager.
- In the System Configuration window, select OK, and restart the computer.


Performing a clean boot will ensure your PC boots up with only the required services and applications, eliminating third-party and background processes.
2. Scan for malware or virus
- In the search bar, type in windows security and press Enter.
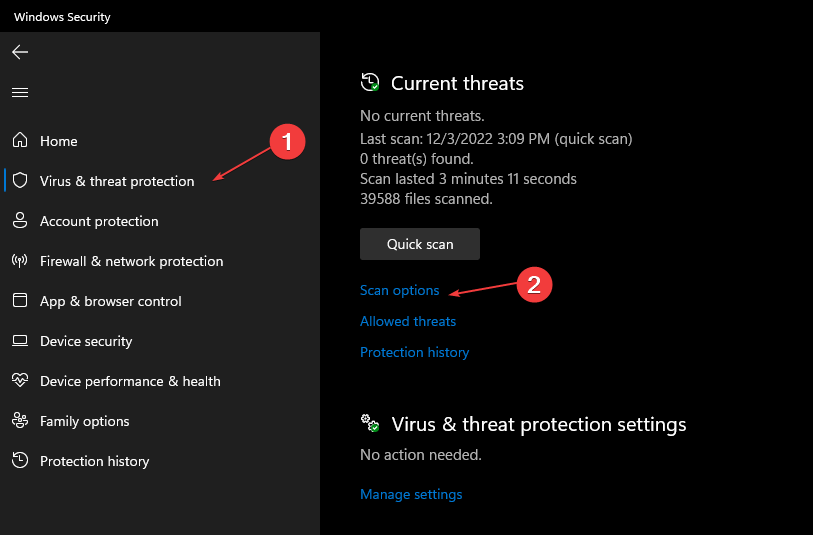
- Select the Virus and Protection tab and click on the Scan options on the right side of the window.

- Select the Full scan option and click the Scan now button.

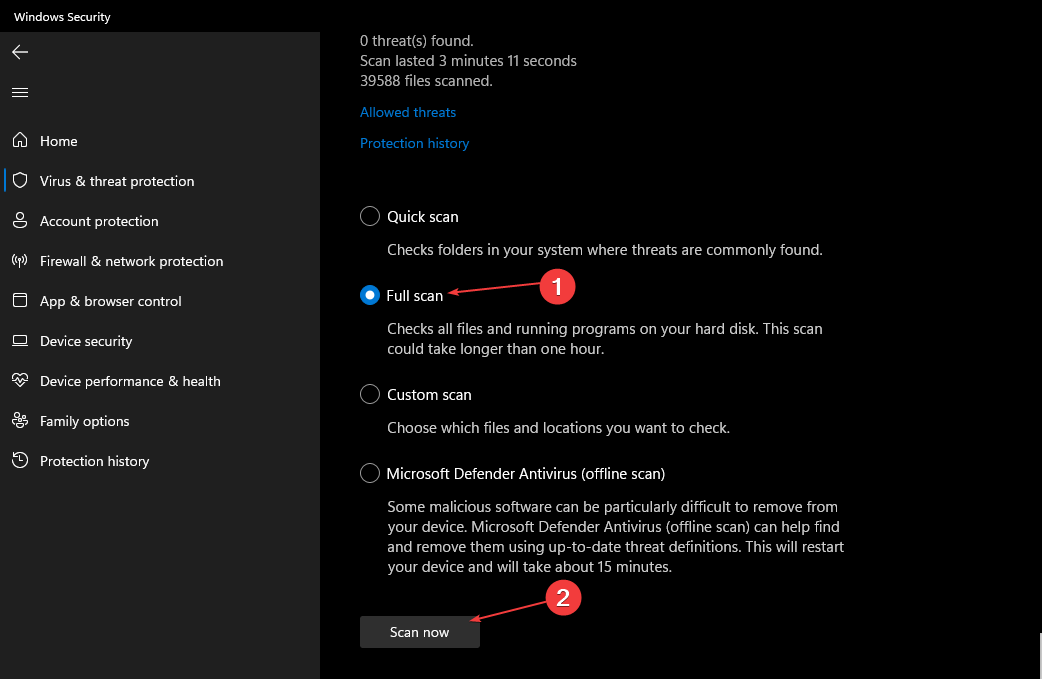
Once this step is completed, Windows Defender will scan the entire PC for threats and isolate and eliminate them.
We have a list of other antivirus and anti-malware software suitable for all Windows versions to check if this fails.
3. Run the SFC/ DISM scans
- In the Windows search bar, type in cmd and press Enter.
- Type the following commands and click Enter:
sfc /scannow
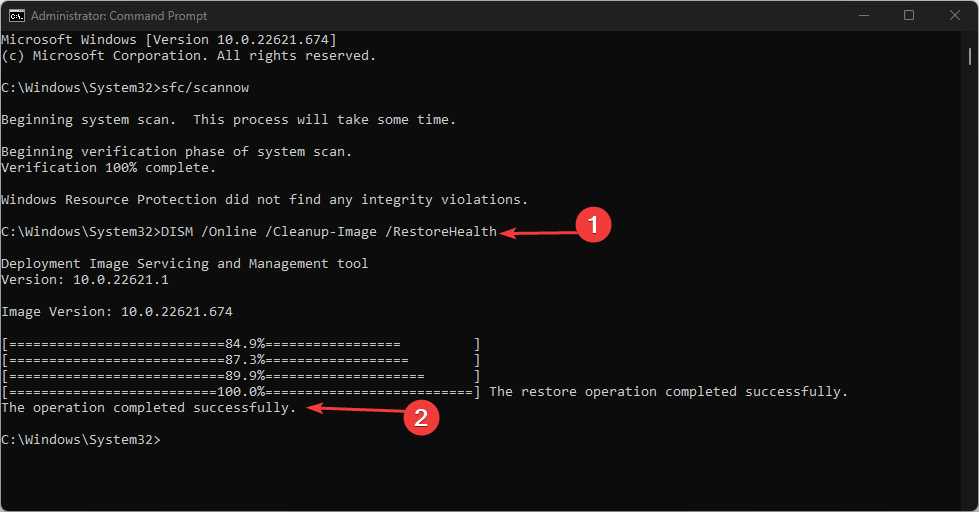
- Then, type this and press Enter:
DISM /Online /Cleanup-Image /RestoreHealth - Close the Command Prompt and restart your PC to take effect.
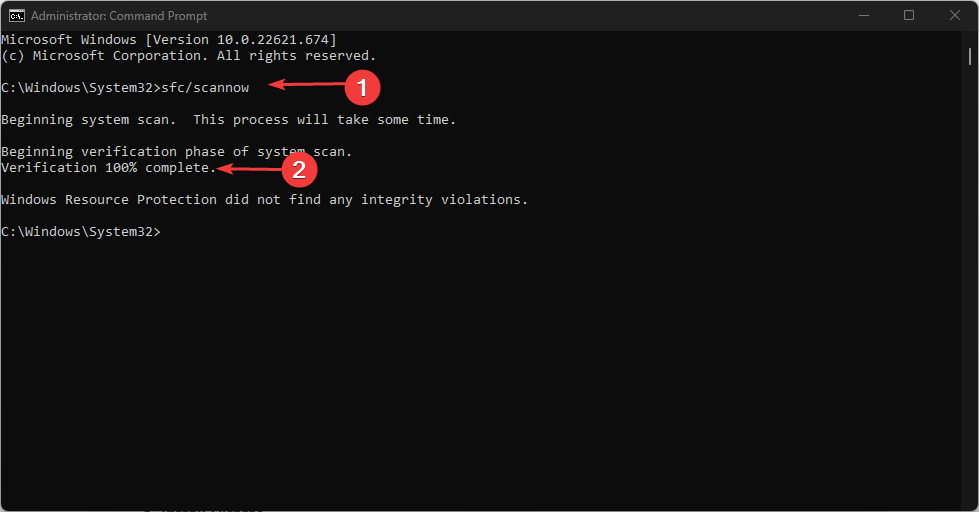
If the scan detects errors, it’ll display a message detailing its findings. Typically, it’ll try and fix the errors automatically. If the SFC scan fails to work, then read this guide to troubleshoot the causes.
Another efficient and intuitive way that we recommend is using a trustworthy tool to restore your PC’s health automatically. It may help you run a scan of your entire system to fix Windows Registry problems and replace any damaged components of the OS as well, optimizing your device altogether.
4. Restore PC to latest restore point
- Press the Windows key, type Create a Restore Point, and press Enter.
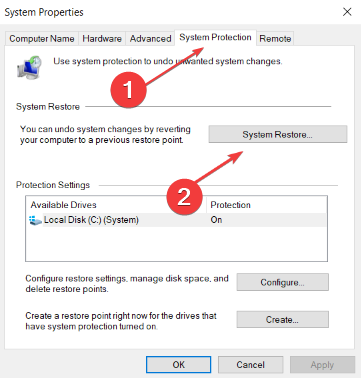
- Select the System properties tab in the popup window, and click on System Restore (If the option is greyed out, you have no existing system restore points).

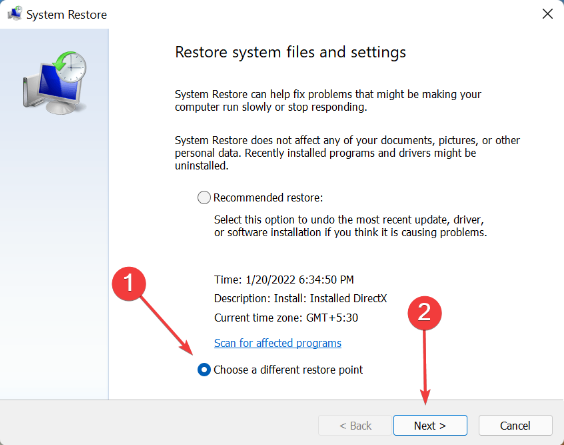
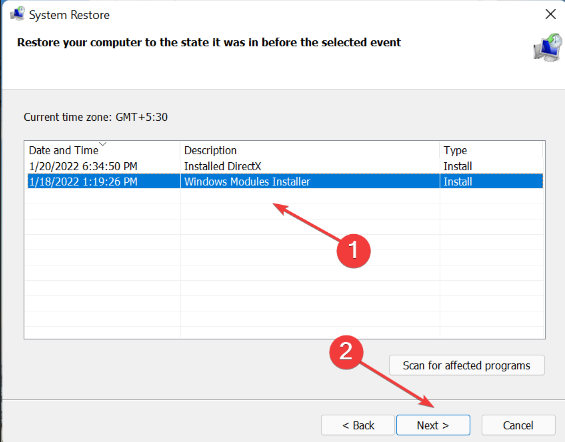
- Check the Choose a different restore point and hit the Next button to select a previously created one.

- Choose the desired restore point and select Next.

- Follow the onscreen prompts to navigate the process of restoring to the previous point.
Once you’ve finished this process, the system will restart and boot up from the last working state of the computer.
If you don’t have an existing restore point, read this detailed guide on how to create a restore point in Windows 11.
If you have more questions or suggestions, feel free to leave them in the comments below.


User forum
0 messages