Windows Defender Deleted my Files: How to Recover Them
Seamlessly recover files with via the built-in settings
2 min. read
Updated on
Read our disclosure page to find out how can you help Windows Report sustain the editorial team Read more
Key notes
- Many users found the Windows Defender deleted their files, even the ones that were completely safe.
- The built-in antivirus often inadvertently flags a legit file as a threat and quarantines it.
- You can easily restore the deleted files via the Windows Defender settings or using a few simple commands.
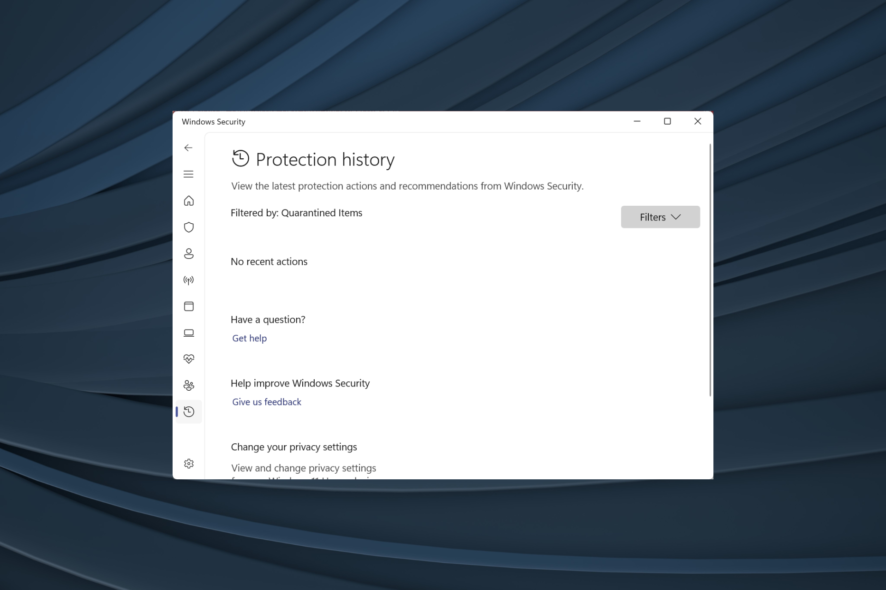
Windows OS comes with built-in antivirus protection called Windows Defender. If configured to detect and remediate threats on your device, Windows Defender Antivirus will quarantine suspicious files. As a result, many reported that Windows Defender deleted the files.
However, at times Windows Defender may remove files that are not necessarily a threat. If you are sure that the files deleted by Windows Defender are not a threat or have a use for them, then you may want to restore the removed files/folders.
How do I stop Windows Defender from deleting files on Windows 10?
1. Restore Quarantine Items
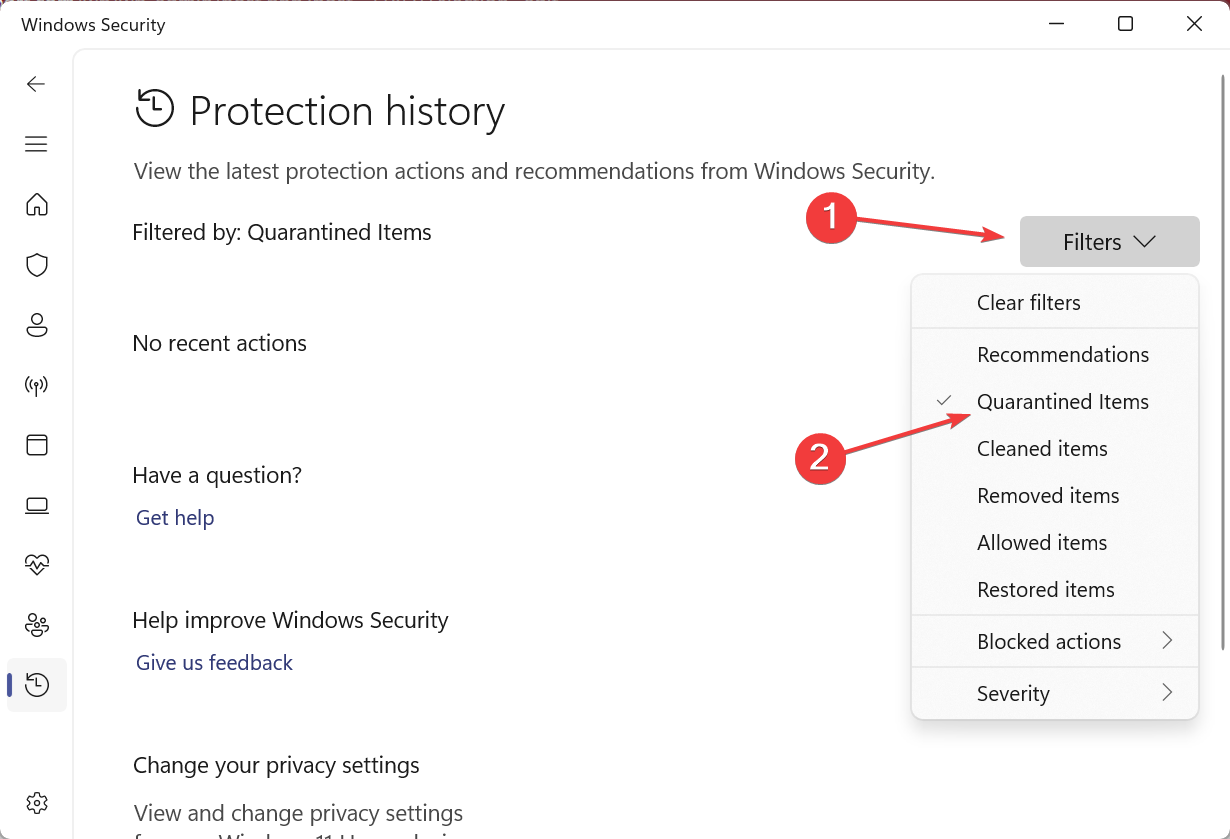
- Launch Windows Security, select Virus and threat Protection, and click on Protection history.
- Select Quarantined items from the Filters dropdown menu to view the files that have been deleted.
- Now look for the item you want to restore and click on Restore.
- Later, you can navigate to Virus & threat protection settings, go to Exclusions, and whitelist files to prevent Windows Defender from clearing them again.
If you were wondering how to recover files deleted by Windows Defender in Windows 11, a quick solution is to find and restore them individually via the built-in antivirus.
2. Restore Quarantine with Command Line
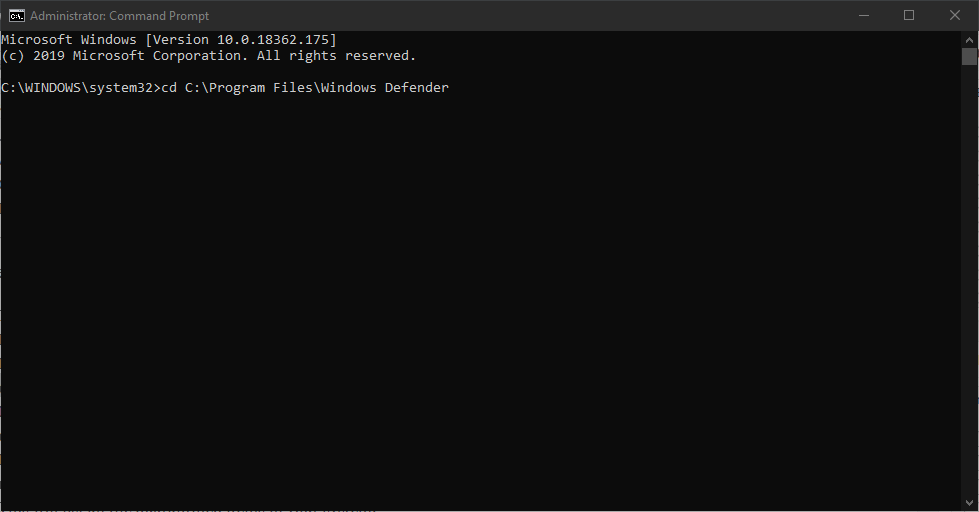
- Press Windows + R to open Run, type cmd, and hit Ctrl + Shift + Enter.
- Paste the following command and hit Enter:
cd C:\Program Files\Windows Defender - Next, type the following command and press Enter:
dir *.exe - Run this command:
mpcmdrun -restore -listall - This will list all the quarantined items in your system. Now enter the following command and hit Enter to restore all quarantined items to their earlier storage path:
mpcmdrun -restore -all
If Windows Defender deleted the files, you could recover them all at once via the Command Prompt. This is the preferred option for many, but remember not to restore any file you are unsure about as it could be a legit threat.
Before you leave, do check the most Windows-friendly antivirus solution and get one today to get rid of such issues.
For any queries or to share which file got deleted by Windows Security, drop a comment below.

