Fix: The Wizard Could not Start Microphone on Windows 10
Get the microphone functional again
3 min. read
Updated on
Read our disclosure page to find out how can you help Windows Report sustain the editorial team Read more
Key notes
- Windows 10 is highly optimized to support all peripherals and built-in devices, including the microphone.
- If you have issues with your microphone, check to see if it is off, muted, or if your drivers are outdated.
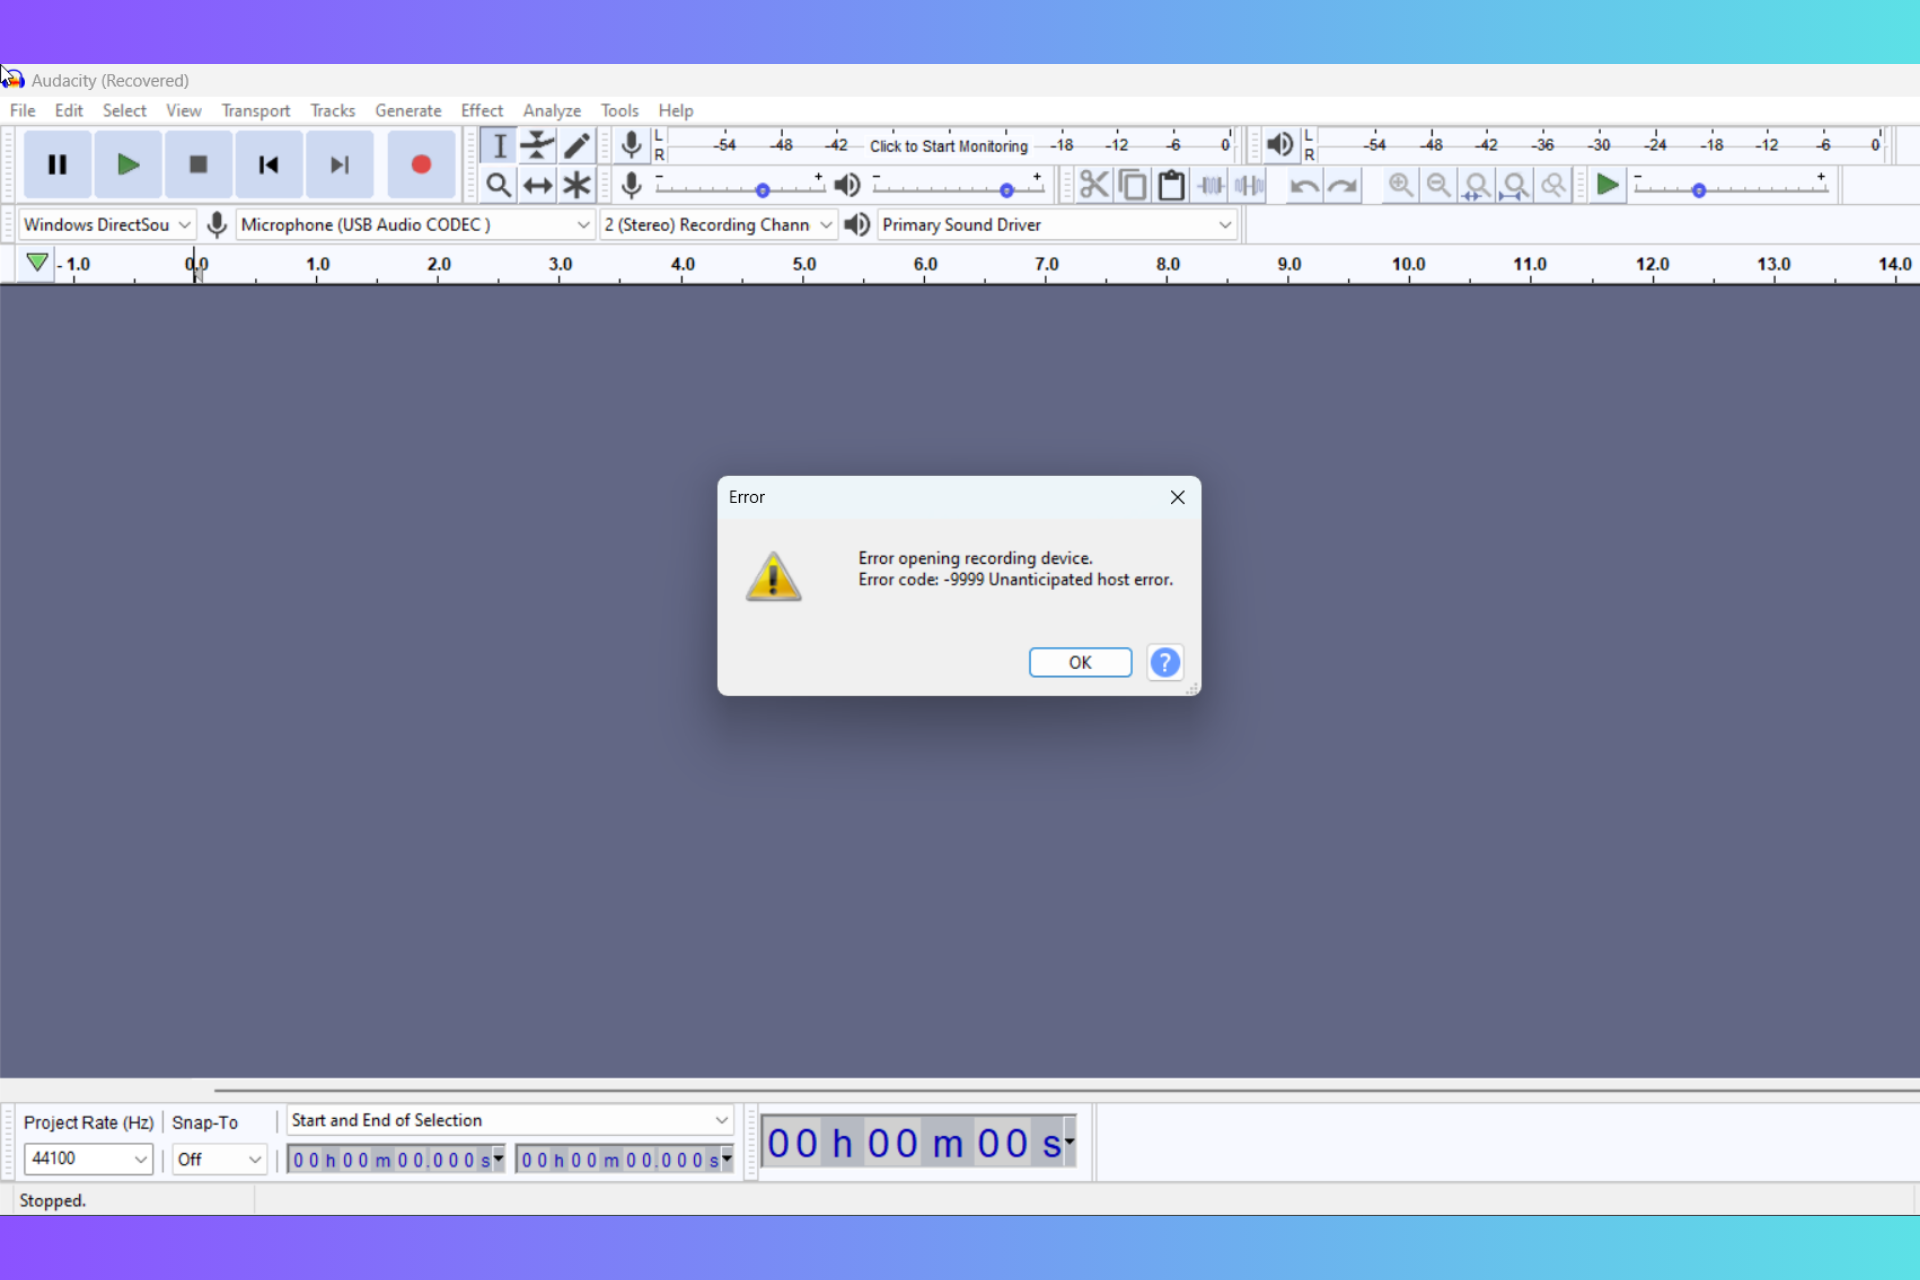
Some users have discussed the wizard could not start the microphone on Windows 10 error on Microsoft’s support forum.
This error often happens when a user tries to set up a Microphone on their device. Consequently, users can’t utilize the Microphone Setup Wizard when that issue arises.
Let us go through some common causes; then we will show you the best solutions.
Why is my microphone setup wizard not detecting my mic in Windows 10?
From our findings, there could be a few reasons for this error. The following are the most common triggers:
- Connection issues – In the case of wired microphones, you may be dealing with a loose connection.
- Microphone muted or off – Many users will get this error message if the microphone they need to connect to is not switched on.
- Driver issues – Most users may be battling incorrect or outdated computer drivers.
- Poor settings – A few settings on the computer are known to trigger this problem. One example is when the microphone is not set as the default recording device.
- Bad hardware – There is also the chance that your microphone has been damaged; in this case, you may consider looking for a compatible mic replacement. So, if the wizard could not start, ensure your audio hardware is working properly.
Now let us show you what to do if the Microphone wizard could not launch on Windows 10.
What can I do if the wizard could not start the microphone on Windows 10?
1. Reinstall the microphone driver
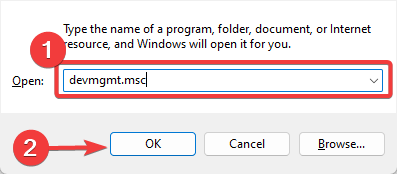
- Launch Run with the Windows key + R hotkey.
- Type devmgmt.msc in the open box and click OK to open Device Manager.
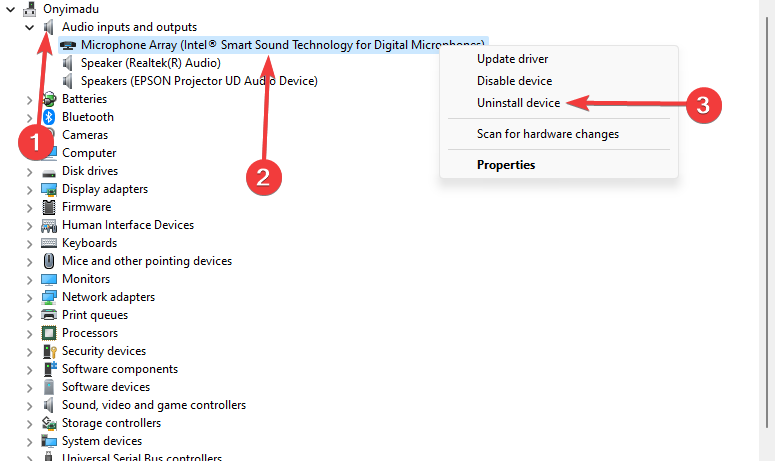
- Expand Audio inputs and outputs, right-click your microphone, and select Uninstall device.
- Restart Windows after uninstalling the driver for the microphone. After restarting, Windows will initiate an installation service to reinstall a microphone driver.
Alternatively, you could use a dedicated driver solution, as this method is much faster, more reliable, and requires less input.
Simply download and install it, let it run, and it will scan your hardware for old, broken, or missing drivers.
- Download and install the Outbyte Driver Updater app.
- Launch the software and wait for the app to detect all incompatible drivers.
- Now, it will show you a list of all outdated drivers to select the ones to Update or Ignore.
- Click on Update & Apply Selected to download and install the latest versions.
- Restart your PC to ensure the applied changes.

Outbyte Driver Updater
Maintain your device healthy by letting OutByte Driver Updater find the latest driver options.2. Run the Recording Audio troubleshooter
- Press Start, type troubleshooting, and select Troubleshoot settings.
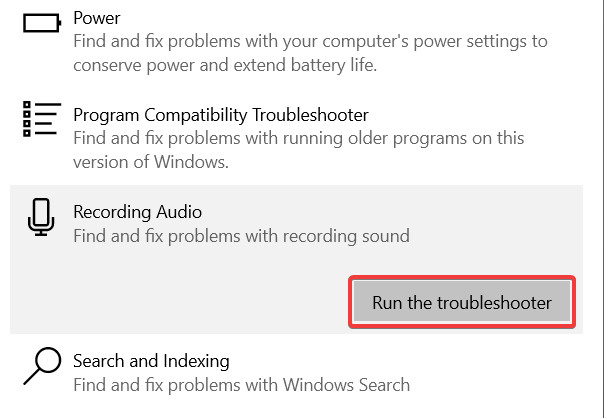
- Select the Recording Audio in Settings, and click the Run the troubleshooter button.
- Then select the Microphone option and click Next.
- Finally, click Apply Fix if the troubleshooter provides a resolution.
3. Turn on Allow apps to access your microphone
- In the Start menu, type microphone and click Microphone privacy settings.
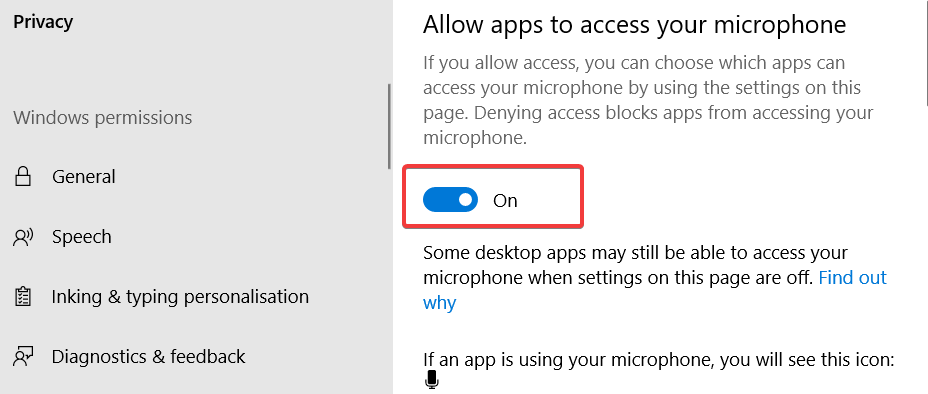
- Toggle on the Allow apps to access your microphone option if it’s off.
- Lastly, restart Windows.
Turning on the Allow apps to access your microphone setting is among the most widely confirmed fix for the Wizard could not start microphone error.
4. Check if the microphone is enabled
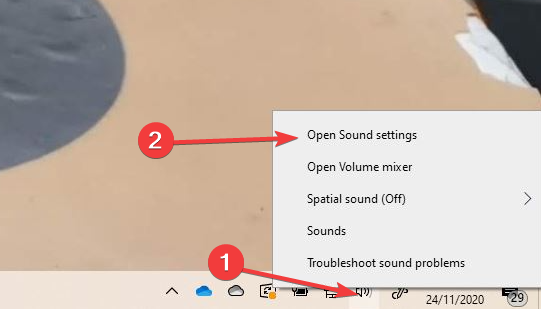
- Right-click the Speaker’s Taskbar icon and select Open sound settings.
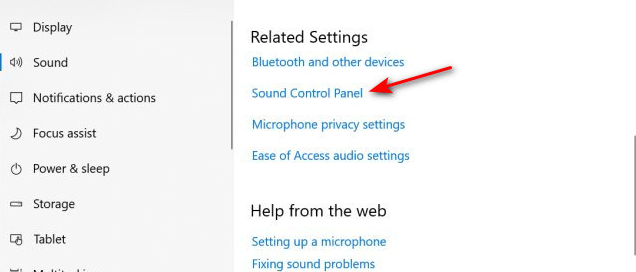
- Scroll to Related Settings and click Sound Control Panel.
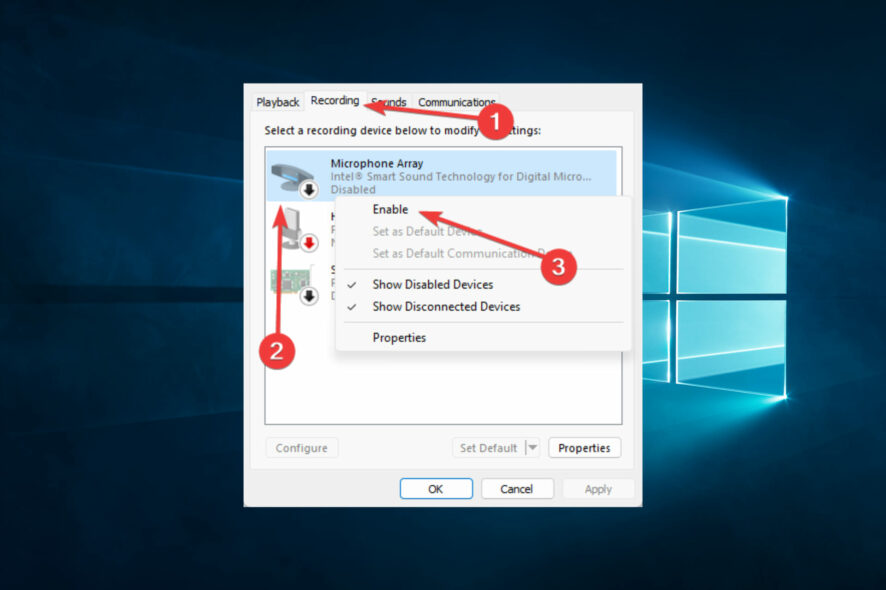
- Select the Recording tab, right-click the microphone you need to be enabled, and select Enable.
- Make sure it is Set as default.
- Click the Apply option.
- Finally, click OK to exit the Sound window.
Many users have confirmed these resolutions to fix the Wizard could not start microphone error. With the error fixed, you can configure your microphone with Microphone Setup Wizard.
Let us know in the comments section below what worked for you.

