How to disable CDpusersvc error code 15100 in Windows 10/11
Key notes
- CDpusersvc error code 15100 can appear on your PC and lead to various issues. Follow the complete step by step guide below to fix this problem.
- If you encounter any system errors, you will most likely find a solution in our System Errors hub.
- One of the solutions to the CDpusersvc error code 15100 is to perform a malwarre scan. Check out our extensive hub about the best antivirus software.
- If you experienced any other Windows 10 errors we've got you covered. Check out our Windows 10 errors hub.

After upgrading to Windows 10 Anniversary Update, many users noticed a strange module in the Windows Service, that wasn’t previously there: CDpusersvc <Failed to Read Description. Error Code: 15100.
There is very little information available about this elusive module. Many Windows 10 users actually make fun of this situation, suggesting that Microsoft hasn’t filled in any description on this module simply because it doesn’t actually know what this service does.
Many Windows 10 users also report that CDpusersvc is really buggy. They keep on getting error logs for services that use it, as well as security violations. The most intriguing thing for users is that they can’t find what the app is in order to adjust the privileges.
The good news is that this error can safely be ignored as it doesn’t affect Windows in any manner. If it becomes too annoying, you can remove it using Regedit.
CDpusersvc error code 15100 can appear on your PC and lead to various issues. Speaking of CDpusersvc and issues, these are some of the common problems that users reported:
- CDpusersvc has stopped working, crash – According to users, this process can frequently crash or give you Has stopped working message. If that happens, it’s advised to disable the process by modifying your registry.
- CDpusersvc virus – This process might look like malware, but it should be perfectly safe. If you’re concerned that your PC is infected, feel free to perform a full system scan and check if that solves the problem.
- CDpusersvc failed to read – This is another common error that can appear with Cdpusersvc. To fix the problem, you might want to try removing and blocking the problematic updates.
- CDpusersvc high CPU – Sometimes this process can use too much of your resources. Microsoft is aware of this issue, so the fix should be available in form of Windows update.
How to disable CDpusersvc in Windows 10
1. Change your registry
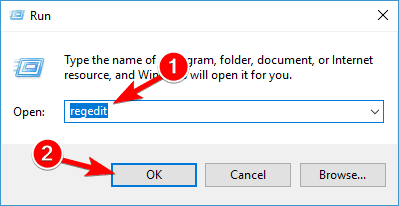
- Press Windows Key + R and enter regedit. Now press Enter or click OK.
- When Registry Editor opens, go to HKEY_LOCAL_MACHINESYSTEMCurrentControlSetServicesCDPUserSvc.
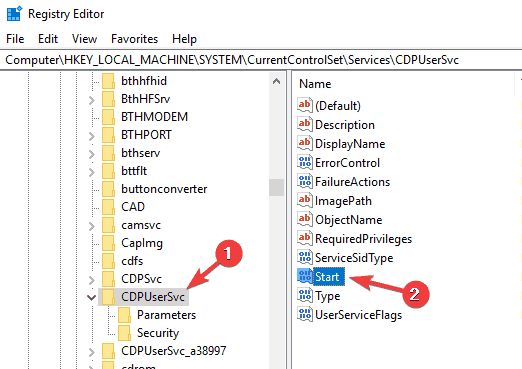
- Change the Start value data from 2 to 4 (Disabled).
- Restart your computer and CDpusersvc should be disabled now. You may notice that the number is different now (CDPUserSvc_35375), but rest assured, the module is disabled.
According to users, one way to fix CDpusersvc error code 15100 is to modify your registry. Your registry holds all sorts of sensitive information and it allows you to disable various services such as this one.
We have to warn you that modifying the registry can be potentially dangerous, so use extra caution.
2. Remove the problematic update
- Press Windows Key + I to open the Settings app.
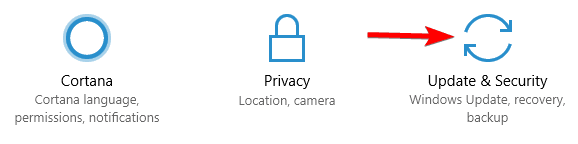
- Now navigate to the Update & Security section.
- Click View installed update history.
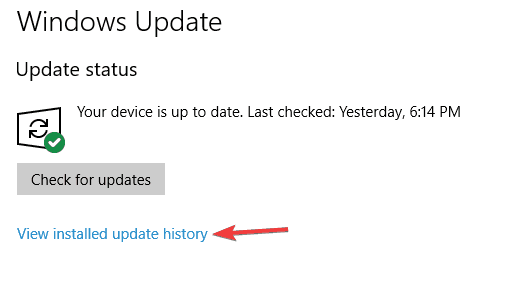
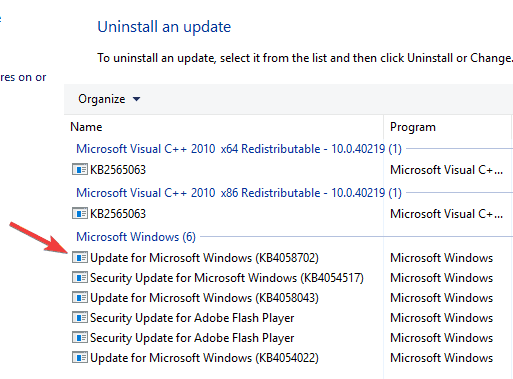
- You should now see the list of installed updates. Look for any recent updates and memorize their names. Click Uninstall updates.

- A list of updates will appear. Double-click the update you want to remove and follow the instructions on the screen to remove it.
Once you remove the update, check if the problem with Cdpusersvc is resolved. If so, you should probably block this update from installing again.
Windows 10 automatically installs the missing updates, and if you don’t block this update from installing, the issue will soon reemerge. In one of our previous, we explained how to block Windows updates on Windows 10 in order to remove potential issues with automatic updates.
According to users, sometimes CDpusersvc error code 15100 can appear after an update. If this happens, it’s advised that you find and remove the problematic update from your PC.
If you recently installed a system update, and you’re encountering this issue, it’s advised to find and remove that update in order to fix the problem.
3. Install the latest updates
- Open the Settings app and go to Update & Security section.
- Now click Check for updates button.
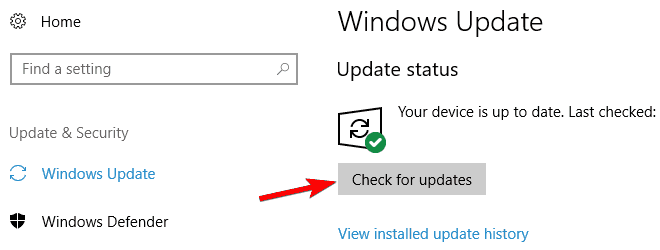
Windows will now check for available updates and download any pending updates in the background. Once the updates are downloaded, simply restart your PC in order to install them. After your system is updated to the latest version, check if the problem still persists.
4. Isolate the process
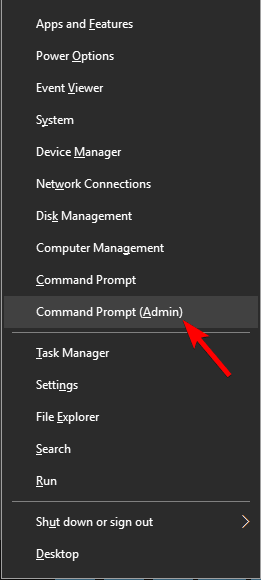
- Press Windows Key + X to open Win + X menu and choose Command Prompt (Admin). If Command Prompt isn’t available, you can instead use PowerShell (Admin).

- When Command Prompt opens, type sc config cdpusersvc type=own and run this command.
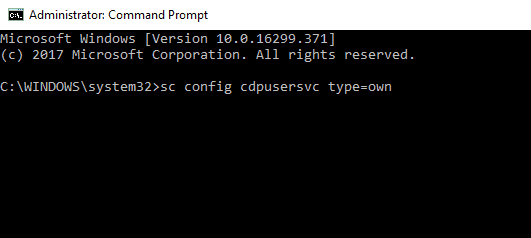
After running this command, the Cdpusersvc process will be isolated forcibly and that might be able to fix any problems related to it.
5. Create a .bat file to stop the service
- Open Notepad.
- When Notepad opens, paste the following lines:
- @ECHO OFF
- SC QUERY state= all>servicesdump.txt
- FINDSTR /L /C:”SERVICE_NAME: CDPUserSvc_” servicesdump.txt >CDPservice.txt
- FOR /F “usebackq tokens=2” %%i IN (CDPservice.txt) DO SET CDPUserSvc=%%i
- NET Stop “%CDPUserSvc%”
- SC Delete “%CDPUserSvc%”
- DEL CDPservice.txt
- DEL servicesdump.txt
- Now click on File > Save as.
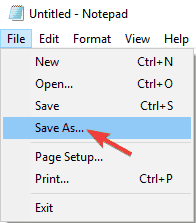
- Set Save as type to All Files and enter fix.bat in File name field. Now click Save to save changes.

After doing that, you just need to locate the fix.bat file and run it, and the Cdpusersvc service should be stopped. Keep in mind that this is just a workaround, so you’ll need to repeat it if the issue reappears.
6. Scan your PC for malware
The cdpusersvc process usually comes followed by a random array of numbers, which makes it look suspicious. Many users mistakenly confuse this process with malware since it has such an unusual name.
If you fear that your PC might be infected by malware, we advise you to perform a full system scan with antivirus software. For this purpose, you should consider removing malware issues using the best anti-malware software on the market.
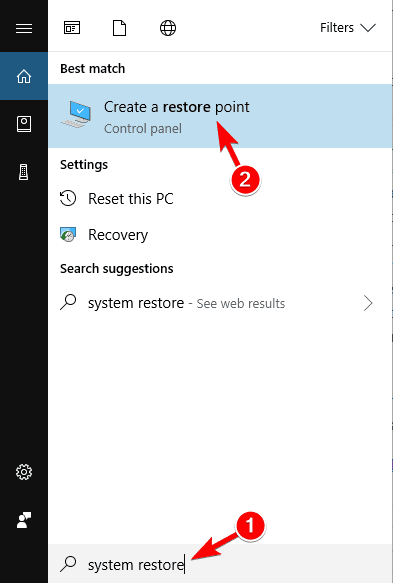
7. Perform a System Restore
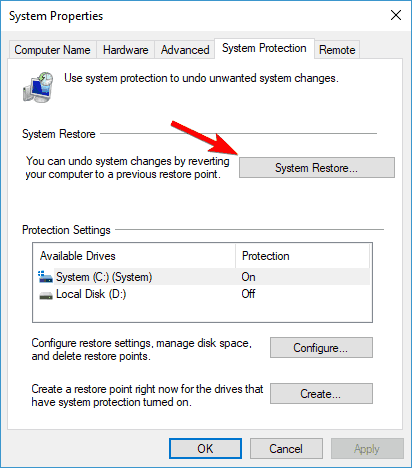
- Press Windows Key + S and enter system restore. Choose Create a restore point from the menu.

- System Properties window will now appear. Click the System Restore button.
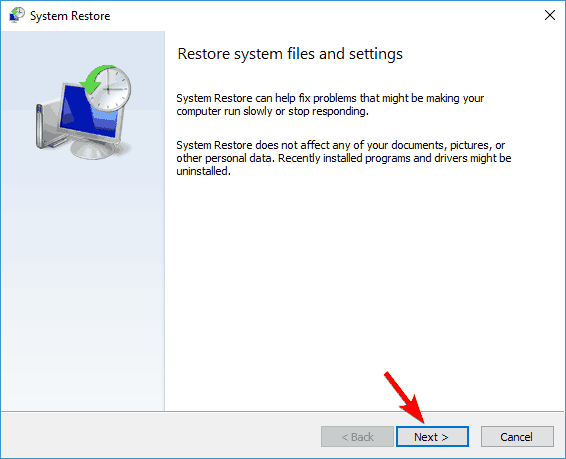
- When System Restore window opens, click Next.
- If available, check Show more restore points options. Select the desired restore point and click Next.
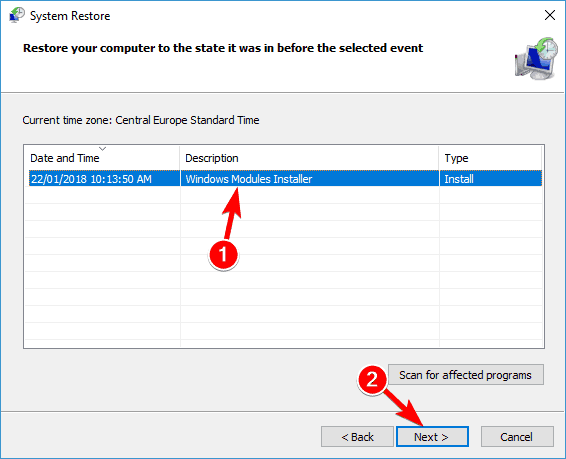
- Now follow the instructions on the screen to restore your PC.
Once your PC is restored, check if the problem still persists. Keep in mind that this issue might be caused by a Windows Update, and if that’s the case, find the problematic update and block it from installing.
Read our disclosure page to find out how can you help Windows Report sustain the editorial team. Read more


Improve this guide


User forum
2 messages