Fix: Windows Update Error 0x800700b7 – 0x2000a
This error occurs when you are trying to update your system
Key notes
- Windows update error 0x800700b7 – 0x2000a can occur because required services are disabled, corrupted system files, or damaged update components, among other things.
- Some of our readers have fixed this problem by enabling a disabled update service.
- Freeing up storage space could be a solution if your PC’s drive is full.
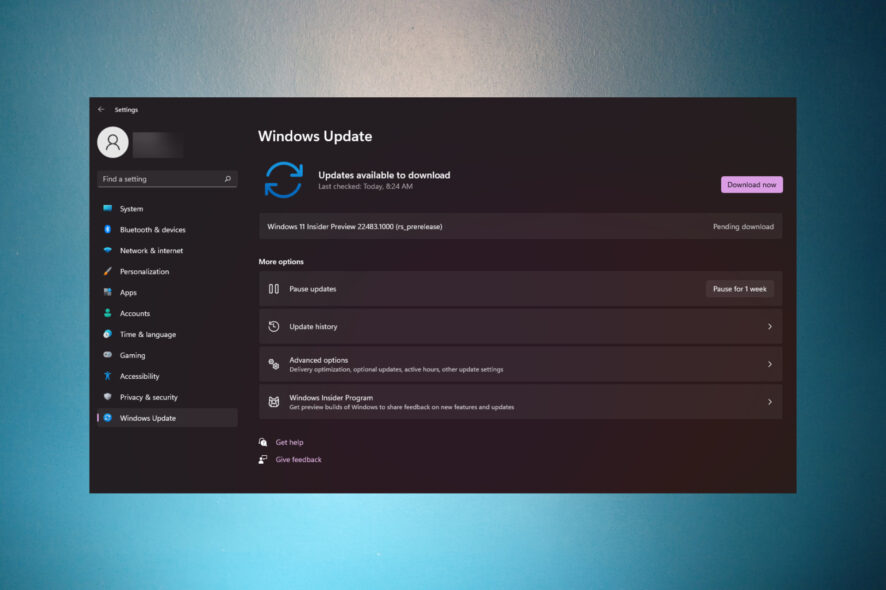
Error 0x800700b7 – 0x2000a is another one of those annoying Windows Update errors that arise when users try to upgrade Windows 11/10 to new versions.
Here is the complete error message: 0x800700b7 – 0x2000a… The installation failed in the SAFE_OS phase with an error during PREPARE_FIRST_BOOT operation.
What’s causing this 0x800700b7 – 0x2000a update error?
The 0x800700b7 – 0x2000a update error doesn’t have a single cause. It can arise because of any of the following factors:
- Corrupted system files or image: There might be some corrupted system files causing the issue.
- Insufficient drive storage space for updates: Error 0x800700b7 – 0x2000a occurs because there isn’t enough drive space available for updates.
- A disabled Windows Update service: The Windows Update service is disabled and needs to be started.
- Conflicting third-party antivirus software: Some third-party antiviruses can interfere with the Windows update process.
- Issues with the update components: Some Windows Update components might be damaged or corrupted.
Applying potential resolutions that will likely address those causes can fix that issue. This is how you can resolve the 0x800700b7 – 0x2000a update error.
Remember, there are a few other others, the 0x800700b7 provisioning error and the 0x800700b7 IIS (Internal Server Error) error, and 0x800700b7 (-2147024713), which are completely different from the one we are discussing.
How can I fix the 0x800700b7 – 0x2000a error in Windows 11?
Let’s go through some preliminary checks and actions:
- Restart your PC. Maybe the update is simply stuck, and this simple solution might turn out to be the answer.
- Free ups some disk space. Check out our guide on how to free up disk space for further details.
- Disable your third-party antivirus and see if you can go with the update.
If you’ve got all these measures out of the way, proceed with the solutions below to fix the Windows Update error 0x800700b7 – 0x2000a.
1. Troubleshoot the error with Windows Update troubleshooter
- To view Settings, click that pinned app on the Start menu.
- Next, select Troubleshoot to access three troubleshooting navigation options.

- Click the Other trouble-shooters box.
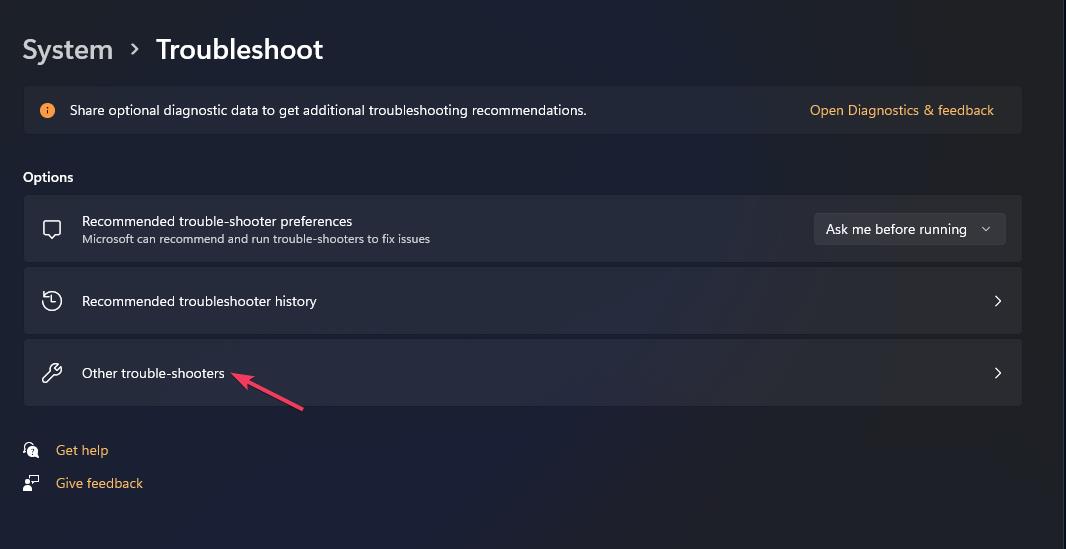
- To bring up the Windows Update troubleshooter, click its Run button.

2. Check the Windows Update service settings
- Start the Run dialogue with the Win + R key combination for launching that accessory.
- To view Services, type this command and click OK:
services.msc
- Double-click Windows Update inside the Services app.

- Next, click the Startup menu for Windows Update and select Automatic.

- Press Start (inside the Windows Update Properties window) if the service is stopped.

- Click the service’s Apply button and select OK to close.
3. Apply DISM and SFC scans
- Click the Search icon from the taskbar, and input cmd in the Type here to search box.
- Next, right-click the Command Prompt app shown in the search tool to select Run as administrator.

- First, input this image repair command and hit Enter:
DISM.exe /Online /Cleanup-image /Restorehealth
- Start an SFC scan with this command:
sfc /scannow
- Wait for the SFC scanning to complete by reaching the 100 percent mark.
The DISM and SFC scans should fix any problems with your system. If not, refer to our guide on how to repair and restore corrupted system files for more solutions.
Usually, using third-party repair software can help you perform this process more efficiently by scanning your PC for corrupt files and straightforwardly replacing them with new elements from its vault.
4. Uninstall third-party antivirus tools
- Bring up the search tool and type appwiz.cpl there.
- Click appwiz.cpl to view a Programs and Features applet.

- Select your antivirus software, and click the Uninstall option for it.

- Then click Yes on any confirmation box.
- Try updating Windows after uninstalling the antivirus utility.
If you prefer not to remove a third-party antivirus tool, you can try disabling it. Right-click an antivirus tool’s system tray icon to look for and select an option for turning off its shied.
5. Reset update components
You can refresh the Windows update components by refreshing them. Our how-to reset update components guide includes instructions for how to do that by using a script.
The procedure is a lot less invasive than resetting the whole system, and it will repair Windows Update.
6. Perform a clean boot
- Press the Windows key + R to start the Run console, then type msconfig.
- Uncheck (disable) the General tab’s Load startup items checkbox.

- Select the Services tab’s Hide all Microsoft services setting.

- Click Disable all to deselect checkboxes for all the unneeded third-party services.
- Press MSConfig’s Apply and OK buttons to save the boot settings.
- Then select Restart to clean boot when prompted.

- Try updating Windows from the Settings app after restarting.
Fixing Windows update errors isn’t always a piece of cake. However, the potential 0x800700b7 – 0x2000a solutions above might work for some users, but maybe not all.
If error 0x800700b7 – 0x2000a continues, consider resetting Windows or upgrading the platform with an ISO. To perform a reset, check out WR’s guide about how to factory reset Windows 11.
You can discuss error 0x800700b7 – 0x2000a in the comment section below. You can add questions or even share other error 0x800700b7 – 0x2000a resolutions that might work.
Read our disclosure page to find out how can you help Windows Report sustain the editorial team. Read more


Improve this guide


User forum
0 messages