0x80092004: How to Fix this Windows Update Error
Check quick solutions to a rather tricky problem
5 min. read
Updated on
Read our disclosure page to find out how can you help Windows Report sustain the editorial team. Read more
Key notes
- The 0x80092004 update error usually affects .NET 3.5 and 4.8 updates and has been reported on recent iterations of the OS.
- The problem arises due to a bugged update, corrupt system files, or issues with the update components.
- To fix things, disconnect any additional drives connected to the PC, repair the corrupt system files, or clear the SoftwareDistribution folder.
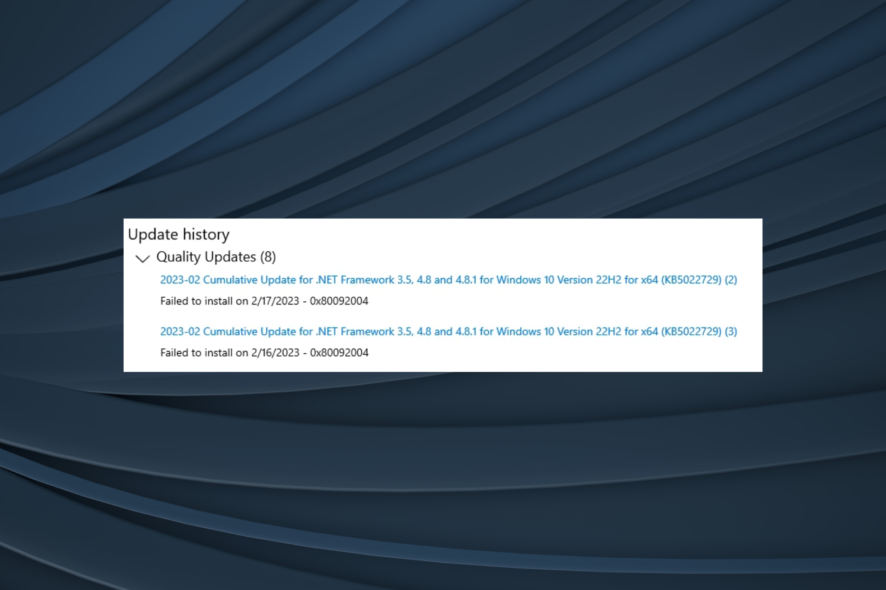
Security and performance are two vital aspects of any device, and the same applies to Windows. But the Windows update errors often act as a barrier, preventing users from installing the latest security patches and driver updates. One such that many reported is 0x80092004.
The 0x80092004 error with .Net Framework 3.5 and 4.8 is common, but other updates, too, are affected. And the occurrences of it have witnessed a tremendous increase in recent months, with KB5022729 being hit the worst. So, let’s find out all about the error!
What is error code 0x80092004?
The error code 0x80092004 indicates, Cannot find object or property. In simple words, Windows couldn’t find the right cryptographic value and, in turn, rejected the update. Here are a few reasons for it:
- Issues with the update: When the error widely affects a specific update, it points to an issue with the update itself. Maybe Microsoft didn’t verify things or missed a few aspects before releasing it.
- Corrupt system files: One of the common reasons behind issues with the update process is corrupt system files on the PC. This also affects the performance and triggers a bunch of other errors, including Blue Screen of Death.
- Misconfiguration in the update components: The Windows Update Components play a vital role in updating the OS, and any misconfiguration or corrupt files here can lead to the error.
- Problems with the Software Distribution folder: Though rare, this, too, could be an underlying cause when you get the update error.
How do I fix error 0x80092004?
Before we head to the slightly tricky solutions, here are a few ones to try:
- Restart the computer.
- Disconnect any additional drives from the PC and verify whether the 0x80092004 error is fixed.
If none work, move to the solutions listed next.
1. Run the Windows update troubleshooter
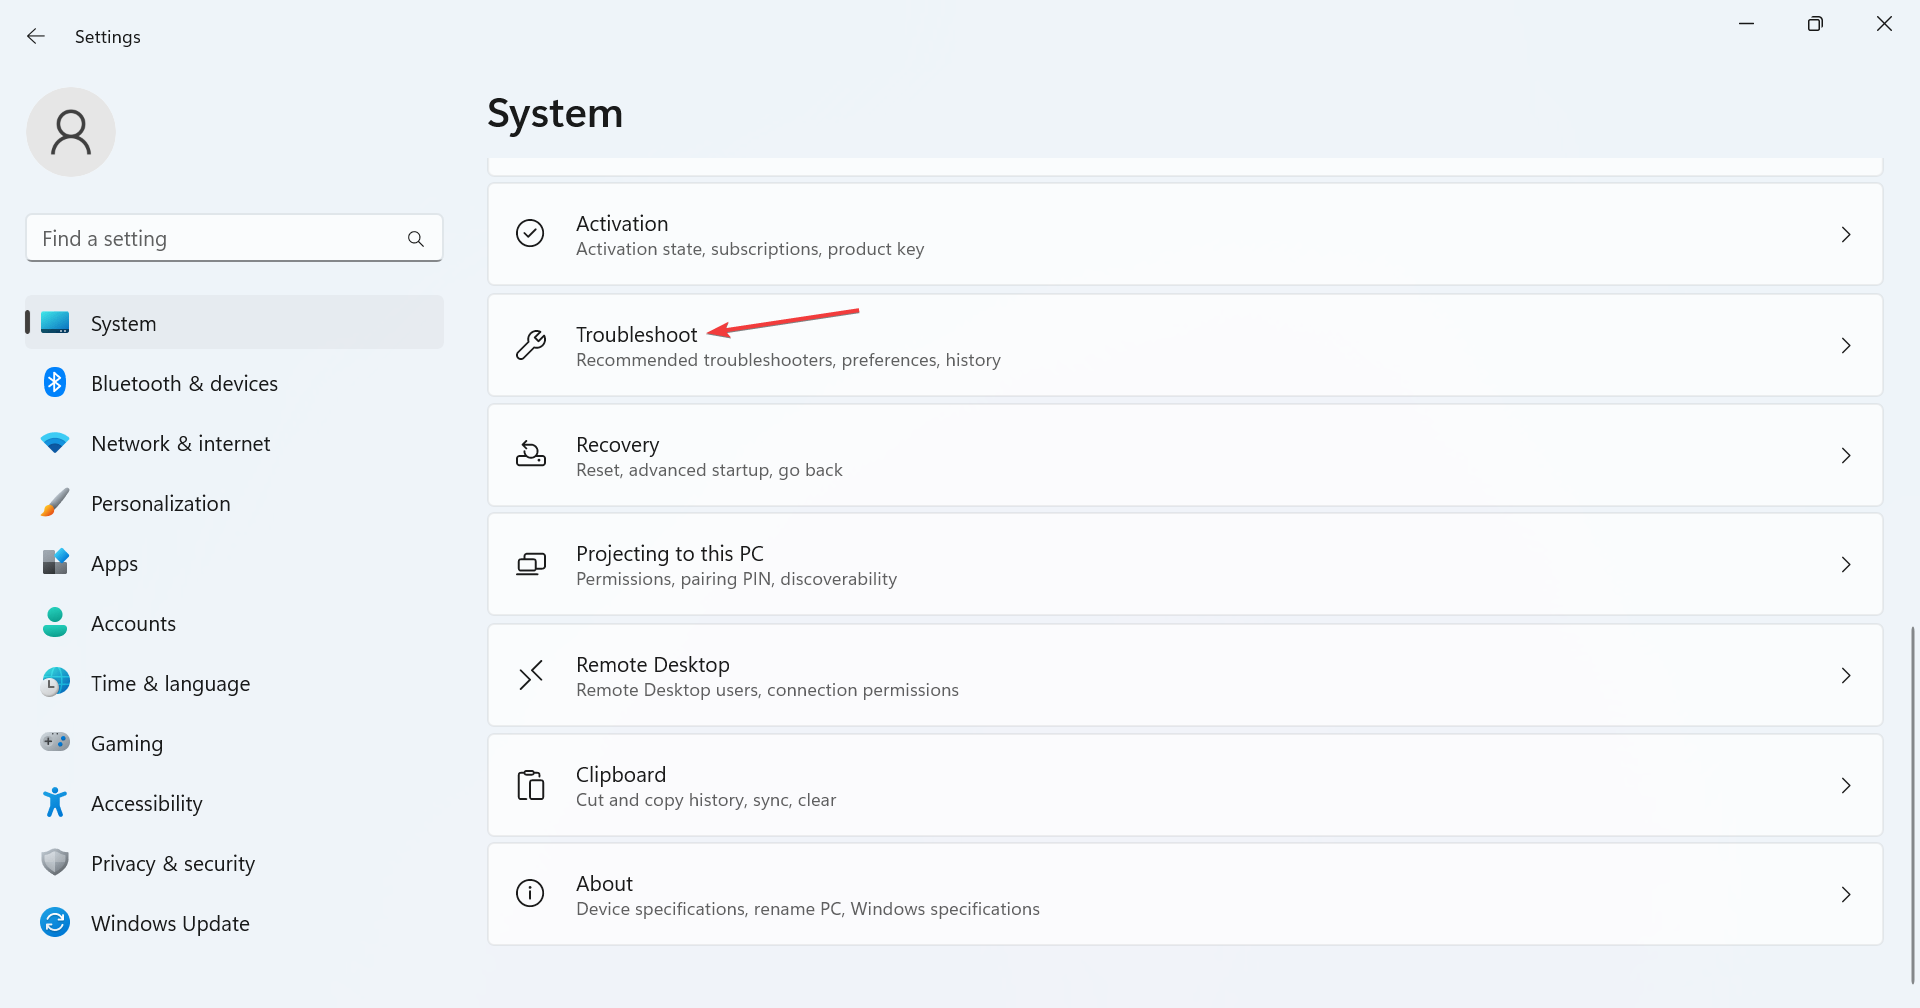
- Press Windows + I to open Settings, and click on Troubleshoot on the right.
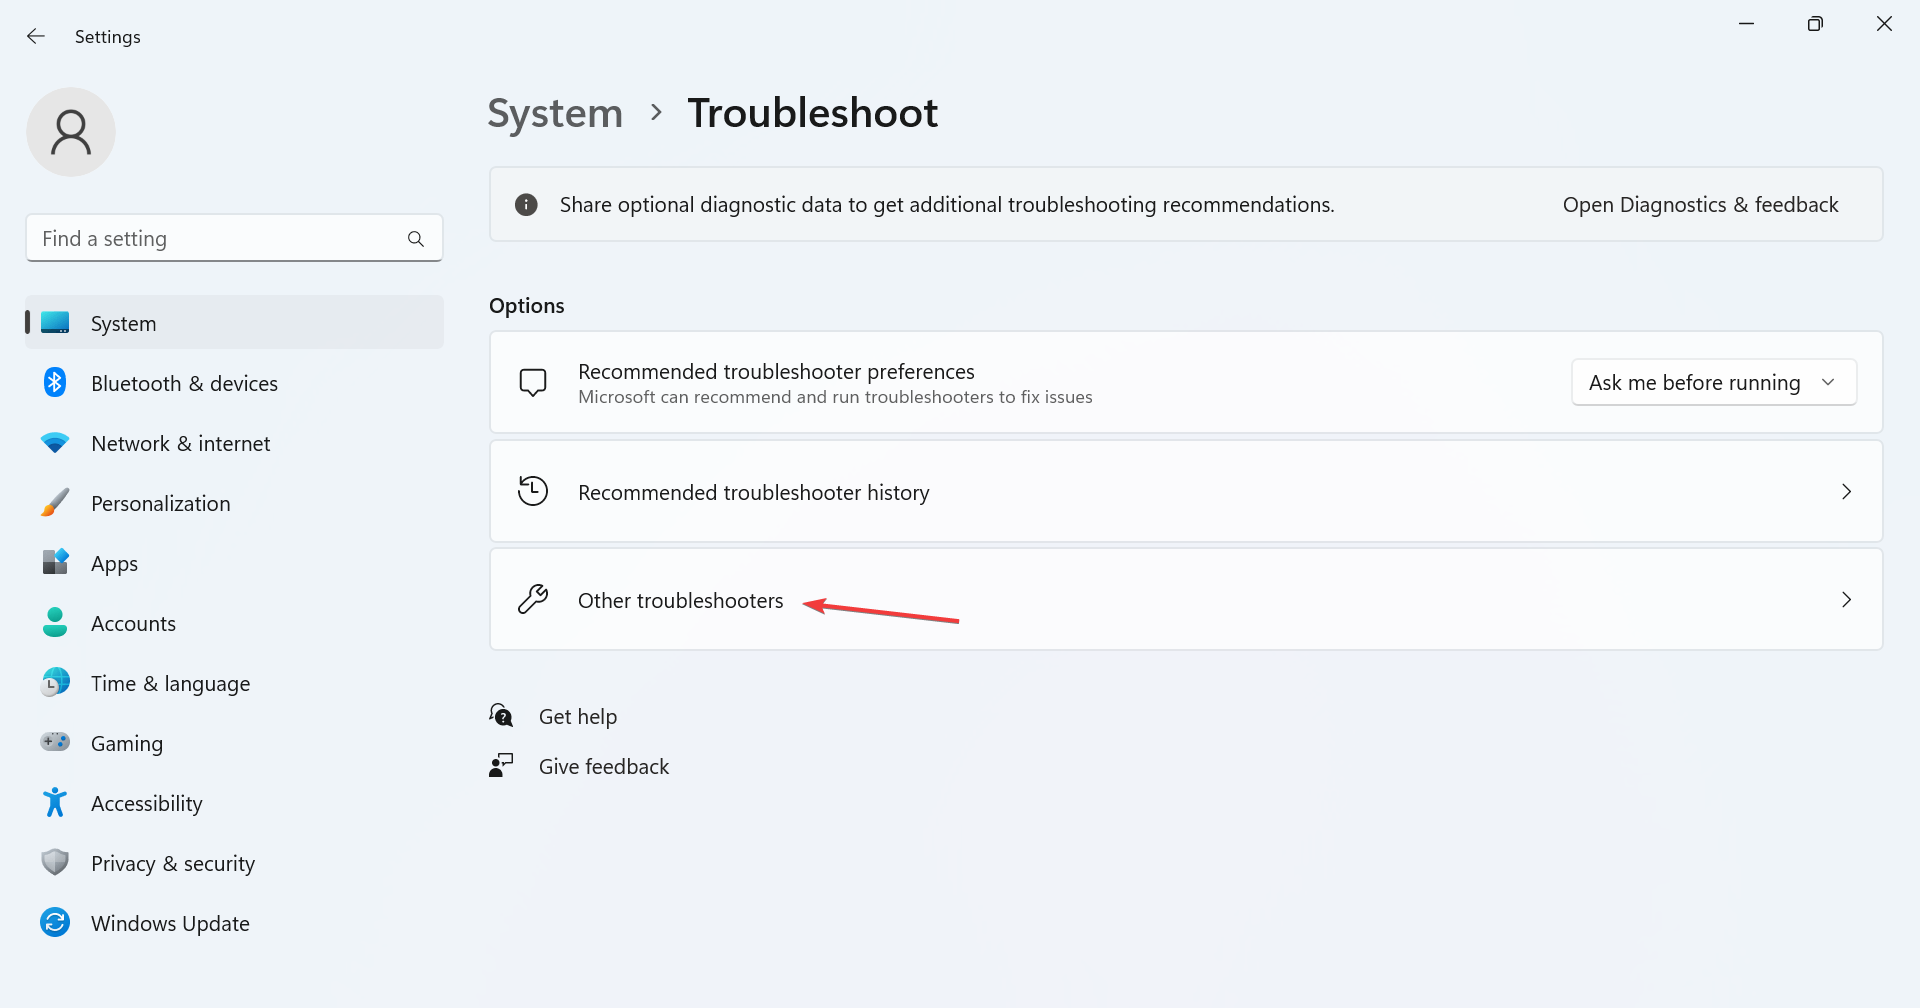
- Click on Other troubleshooters.
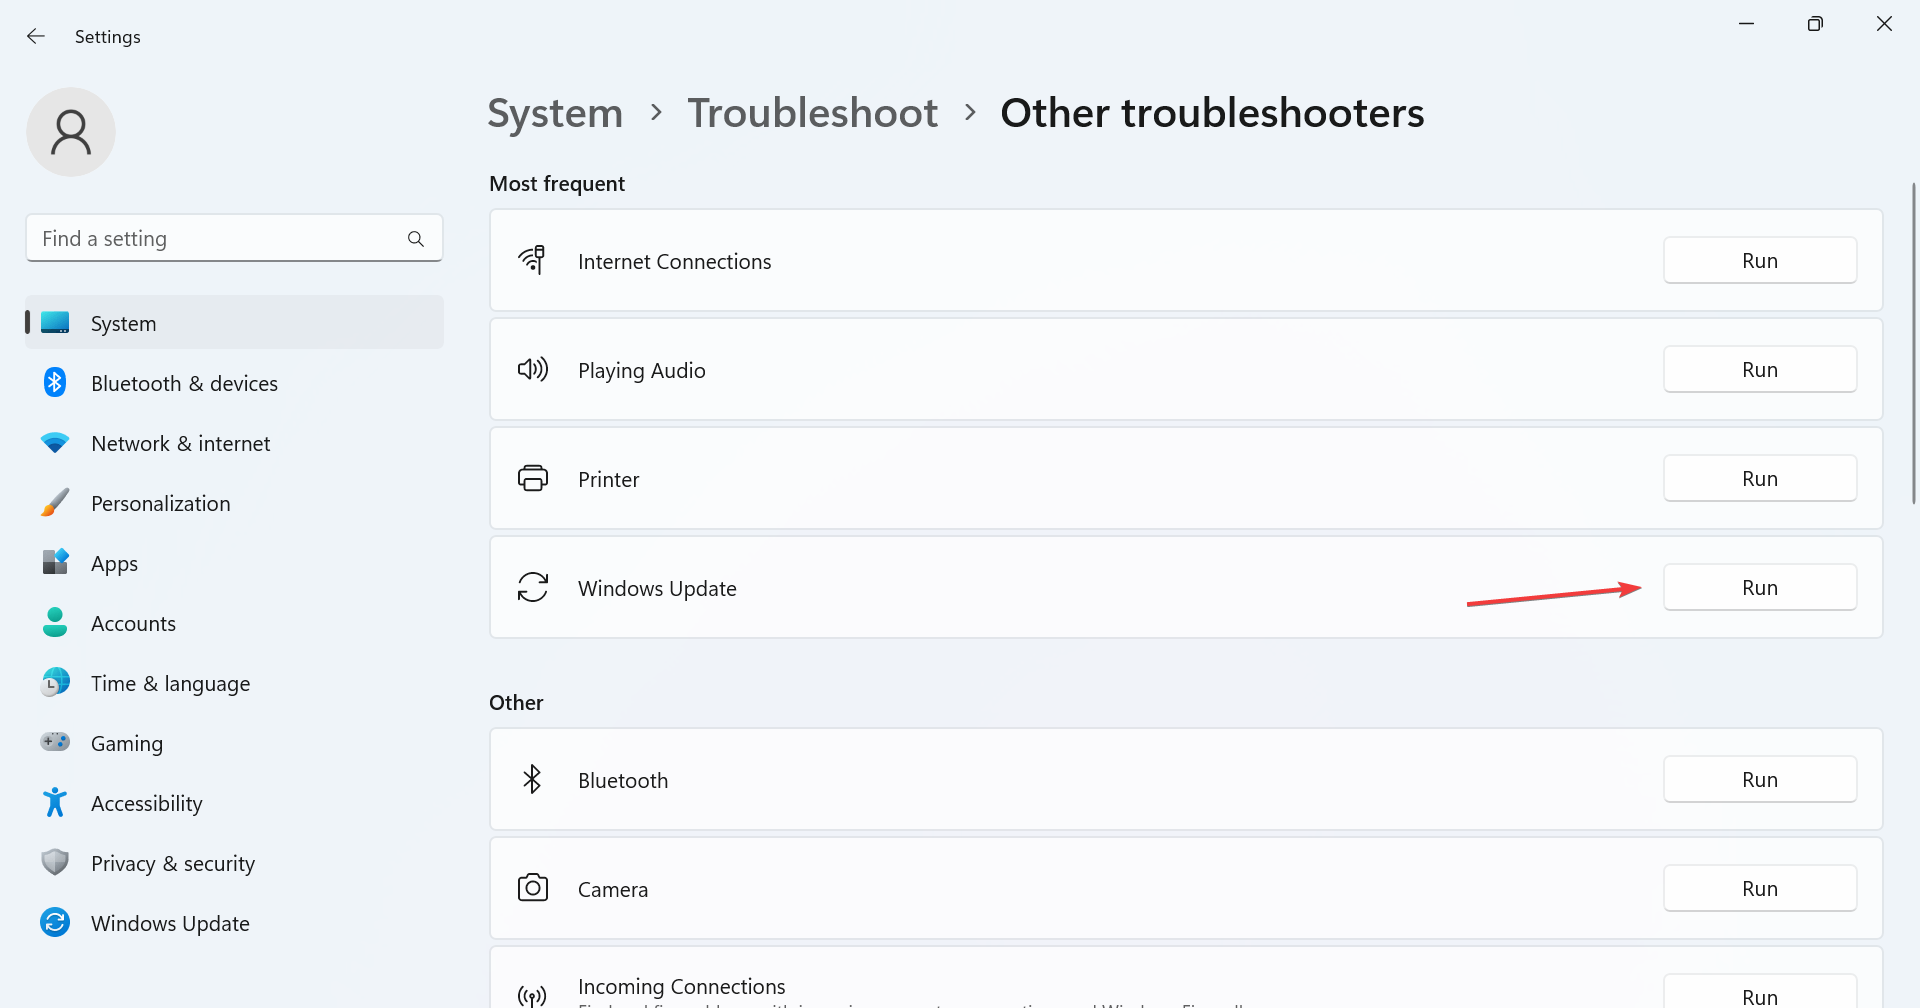
- Click the Run button next to Windows Update.
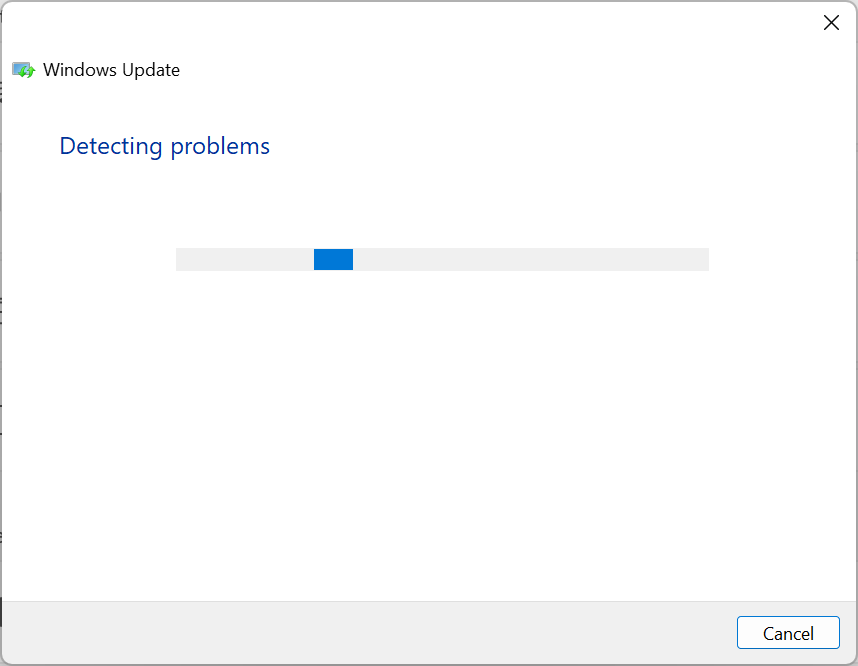
- Wait for the troubleshooter to identify the problem and make the recommended changes, if any.
When it comes to problems with Windows, the built-in dedicated troubleshooters should usually be the primary approach, and they helped many with the 0x80092004 error. These identify problems (already known to Microsoft) and make the required changes.
2. Repair the corrupt system files
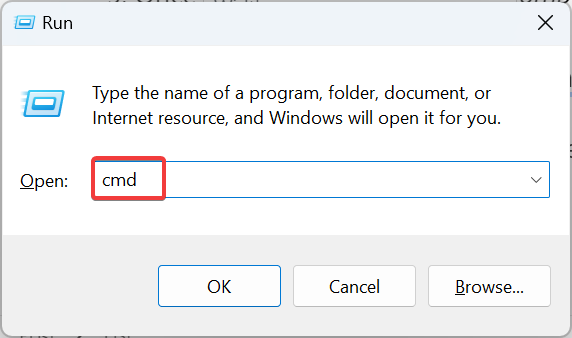
- Press Windows + R to open Run, type cmd, and hit Ctrl + Shift + Enter.
- Click Yes in the UAC prompt.
- Paste the following commands individually and hit Enter after each:
DISM /Online /Cleanup-Image /CheckHealthDISM /Online /Cleanup-Image /ScanHealthDISM /Online /Cleanup-Image /RestoreHealth - Once done, run the following command for the SFC scan:
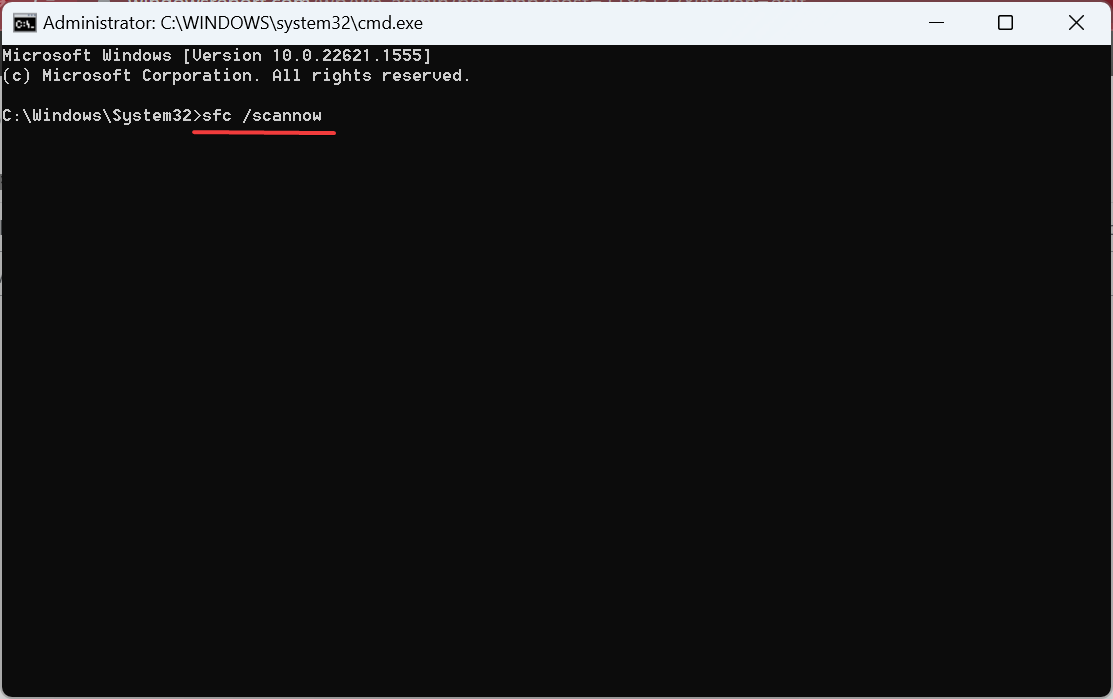
sfc /scannow - Finally, restart the computer after the two scans.
If it’s the corrupt system files to blame for the 0x80092004 Windows Update error, running the DISM tool and SFC scan should get things up and running.
If you’re not sure about proceeding with the manual steps and want to avoid further issues, we recommend a specialized tool.
3. Clear the SoftwareDistribution folder
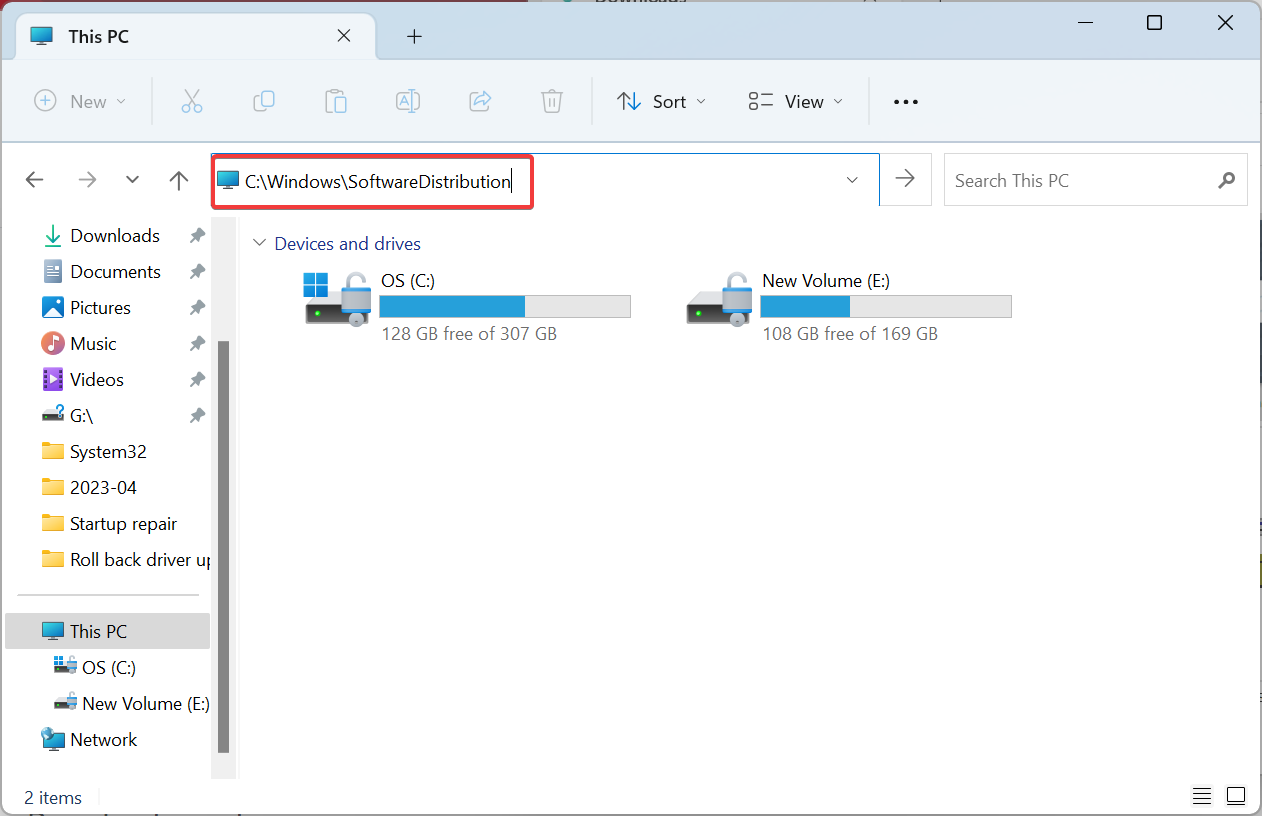
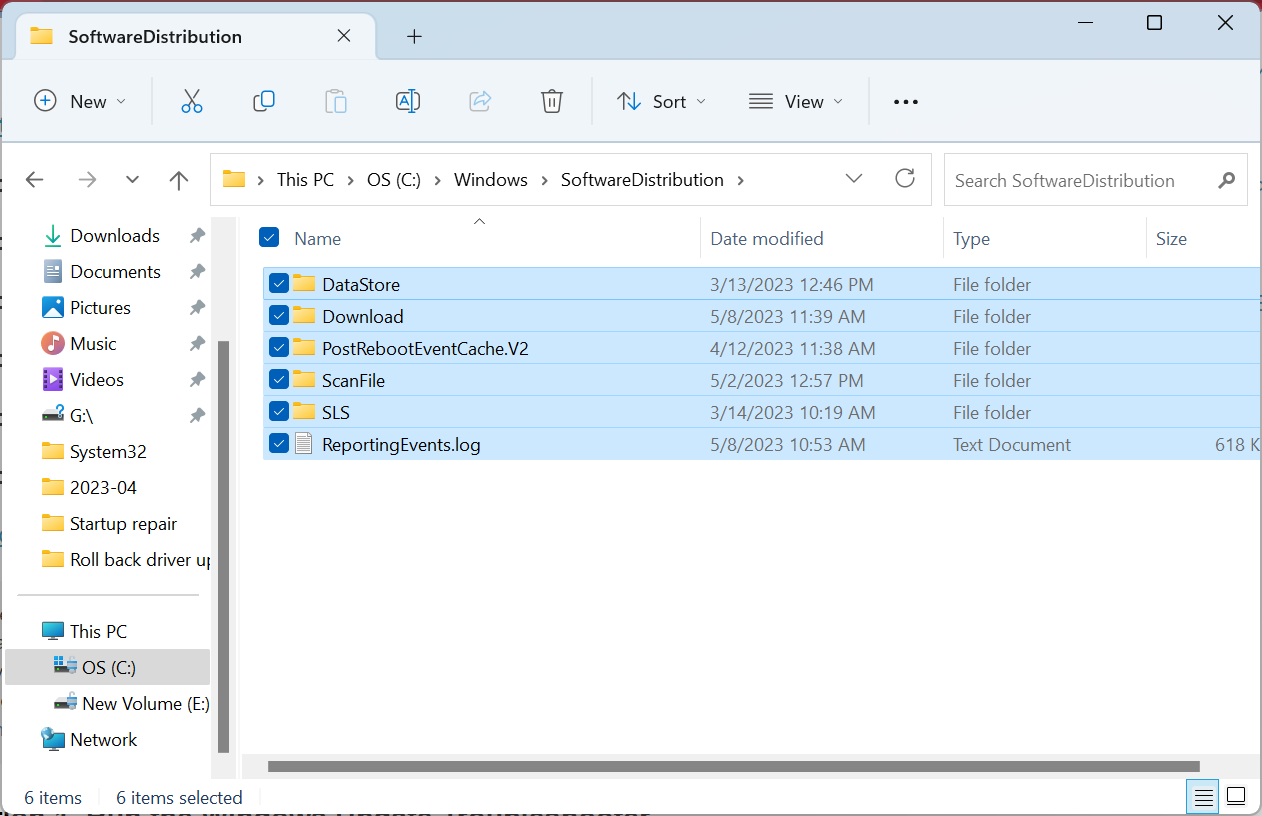
- Press Windows + E to open File Explorer, paste the following path in the address bar, and hit Enter:
C:\Windows\SoftwareDistribution - Now, press Ctrl + A to select all the files here, and hit Delete to clear them.
- Choose the appropriate response in case a confirmation prompt appears.
4. Uninstall the faulty update
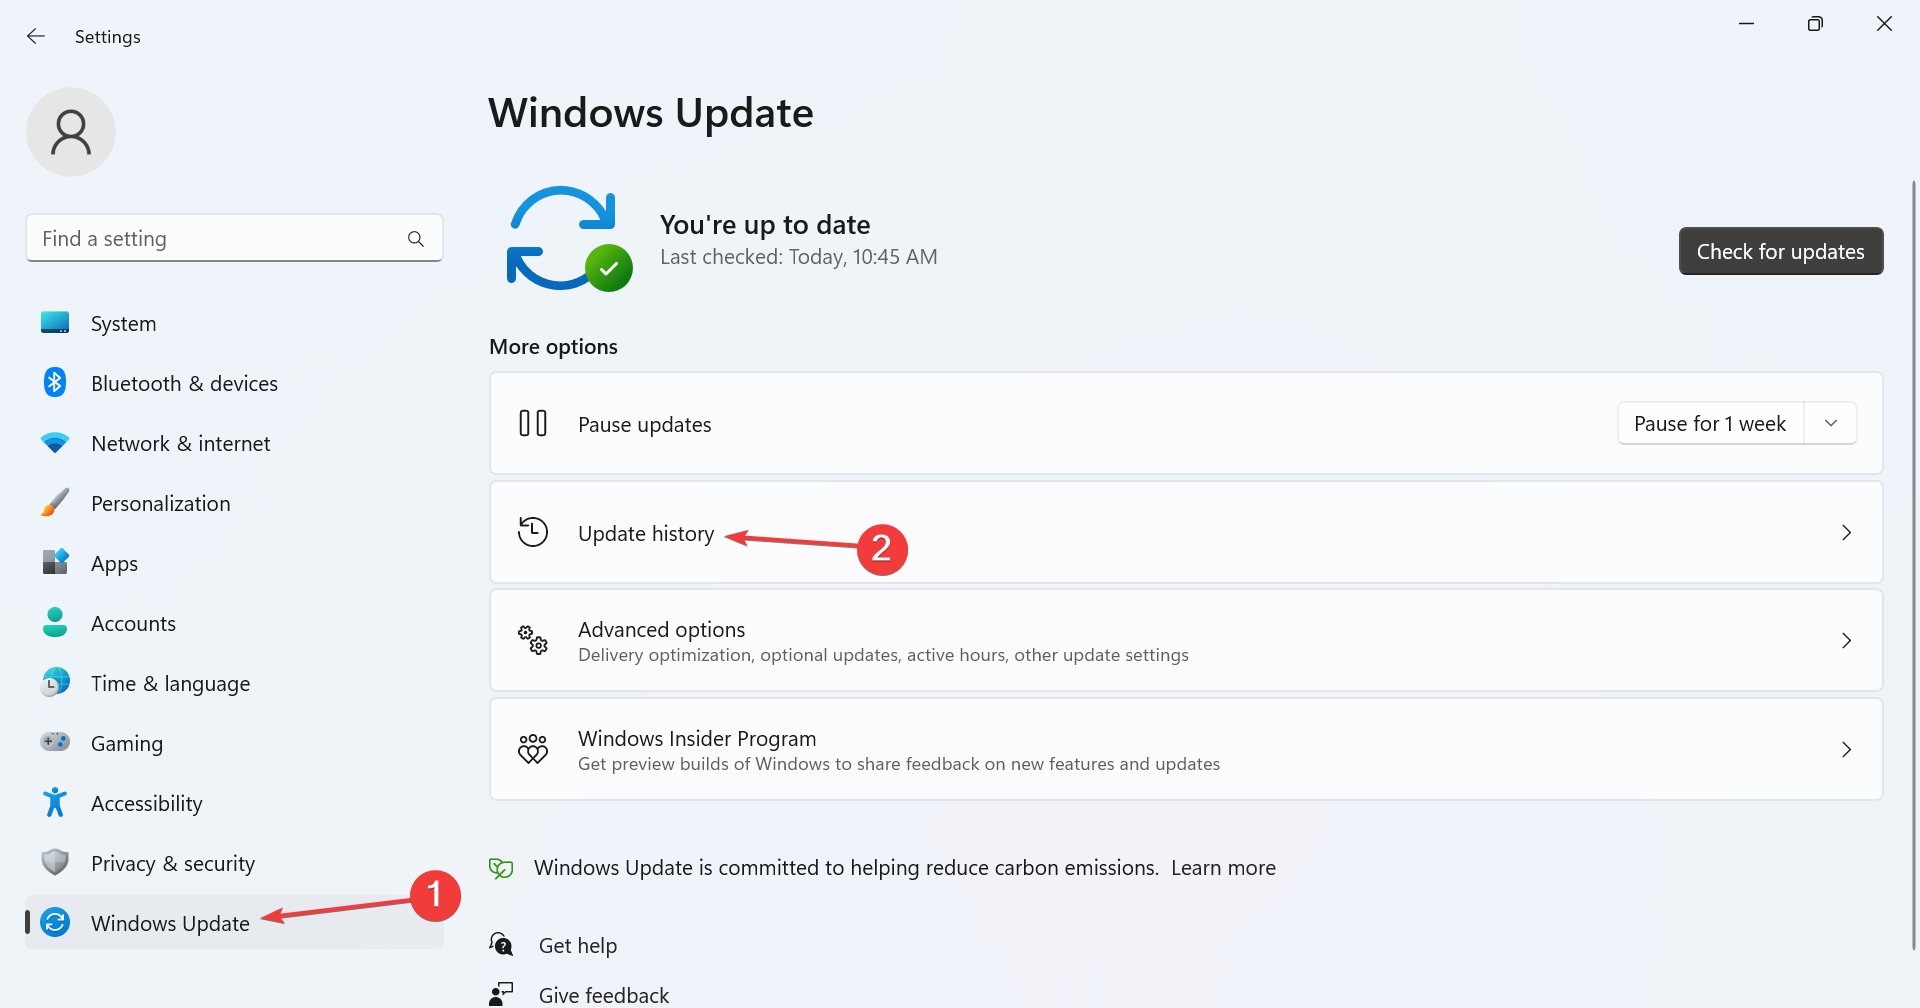
- Press Windows + I to open Settings, go to Windows Update from the navigation pane, and click on Update history.
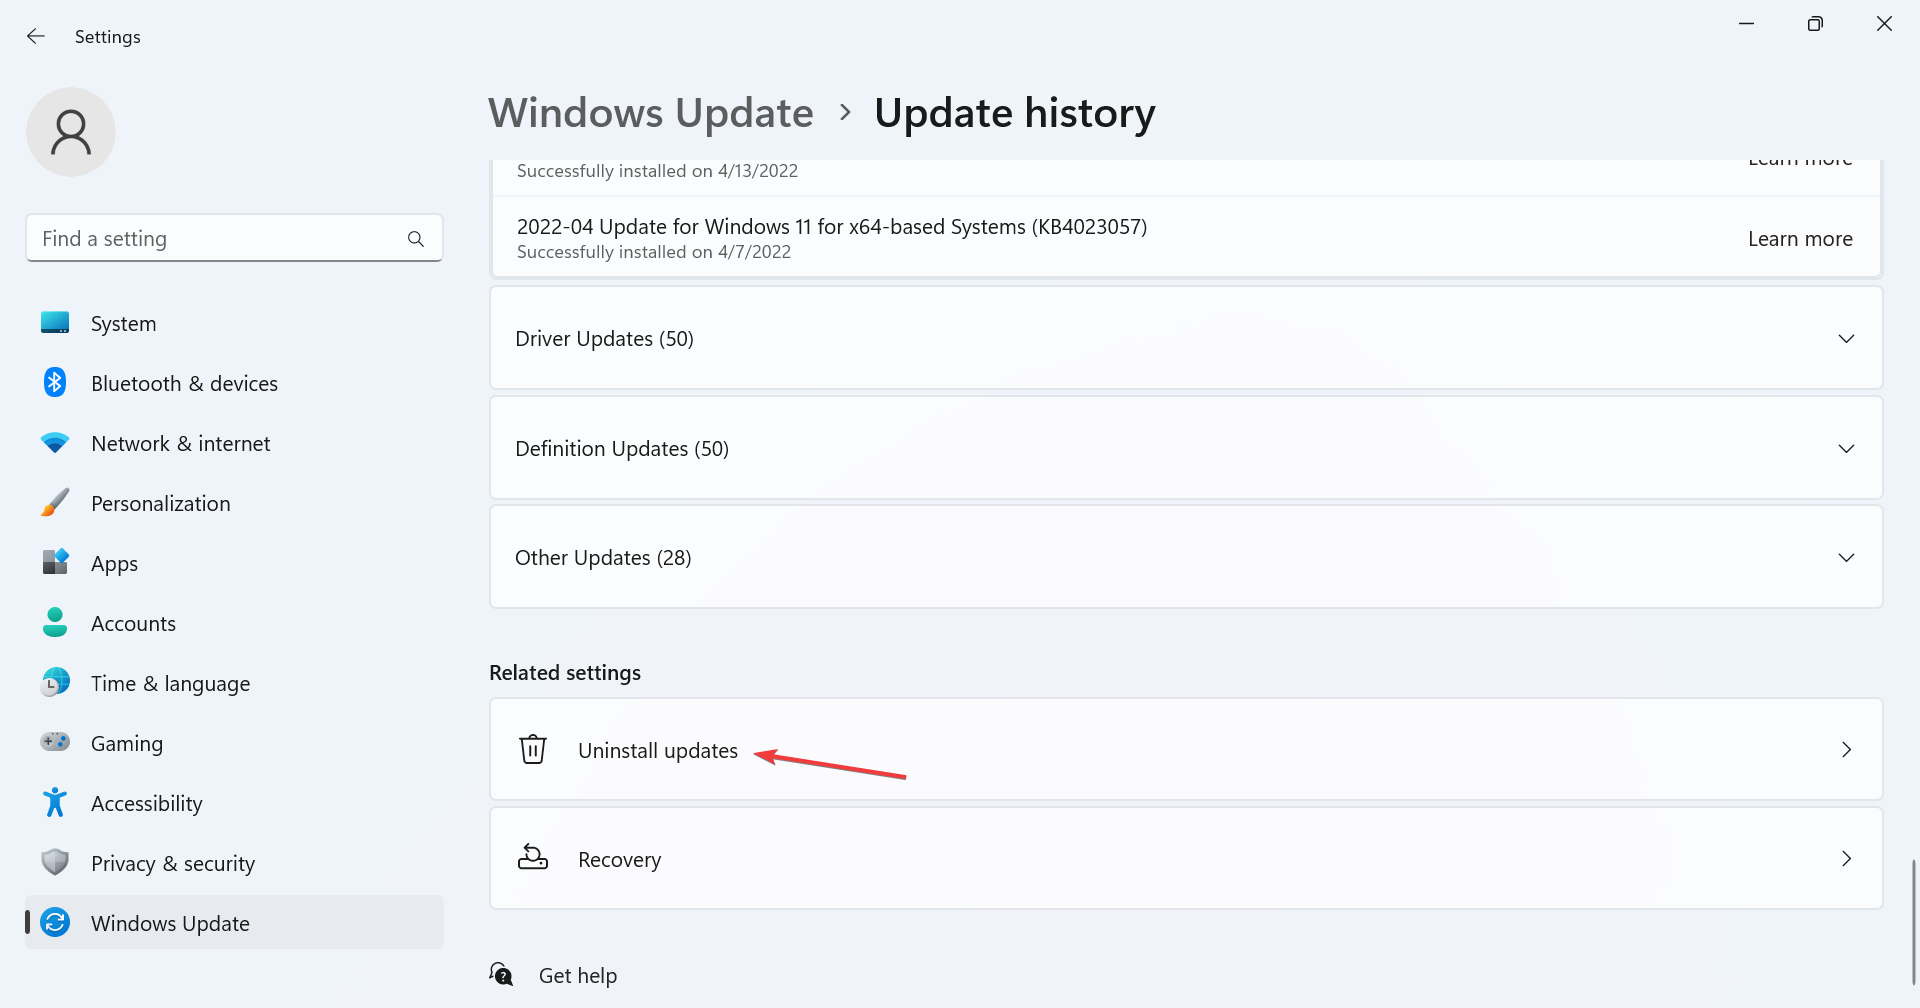
- Scroll down and click on Uninstall updates.
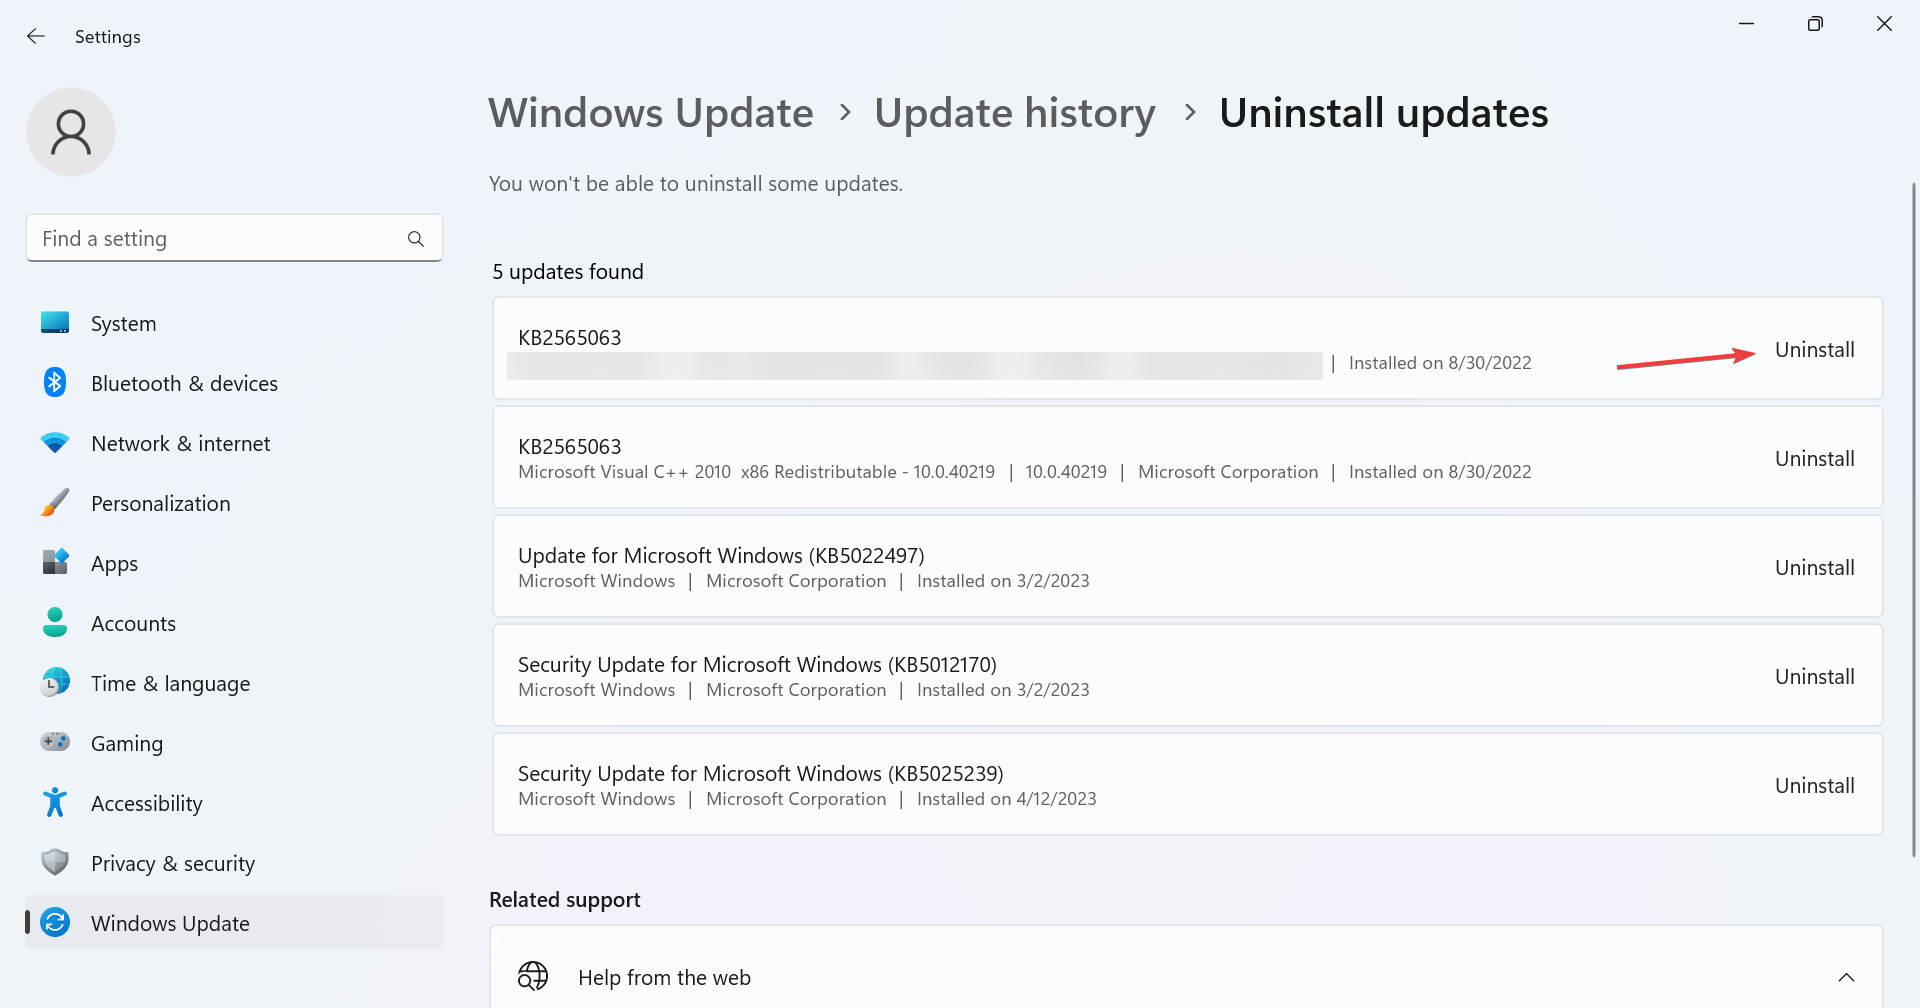
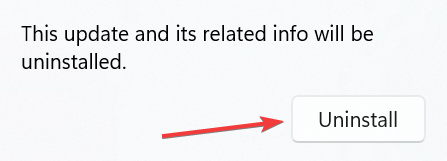
- Click Uninstall next to the update last installed. It was KB5022502 that triggered the error for most.
- Again, click Uninstall in the confirmation prompt and wait for the process to complete.
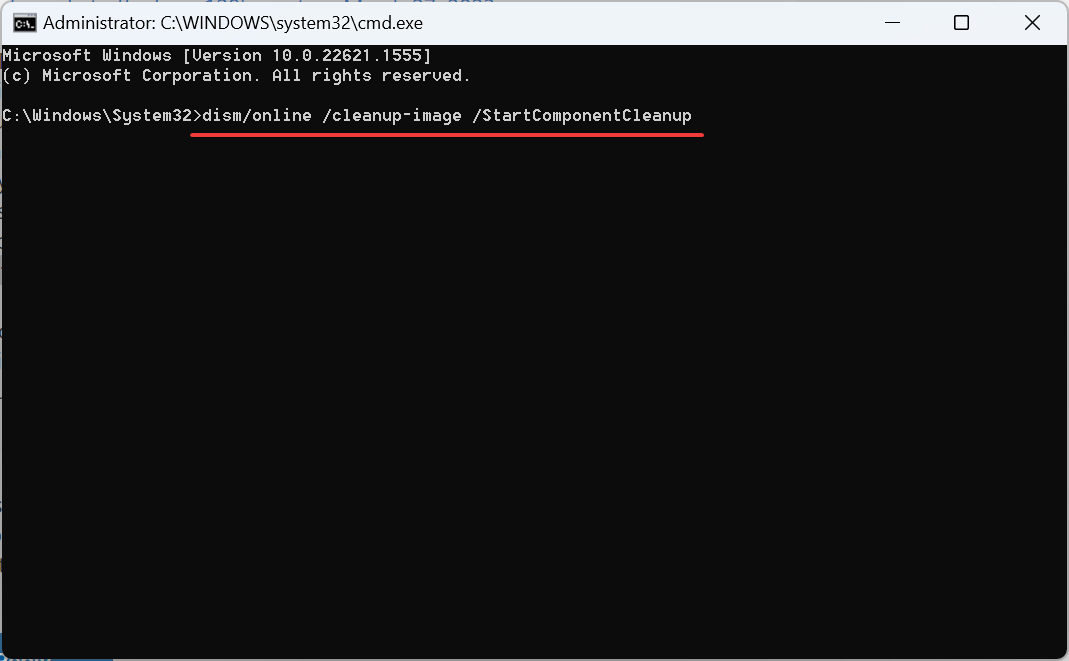
- Once done, launch Command Prompt as an administrator and run the following command:
dism/online /cleanup-image /StartComponentCleanup - Finally, check again for the update that was throwing the error, and it should now install.
Often, it’s a problematic previously installed version that doesn’t allow newer ones to install. And a quick fix is to identify and uninstall the update to fix 0x80092004.
5. Perform an in-place upgrade
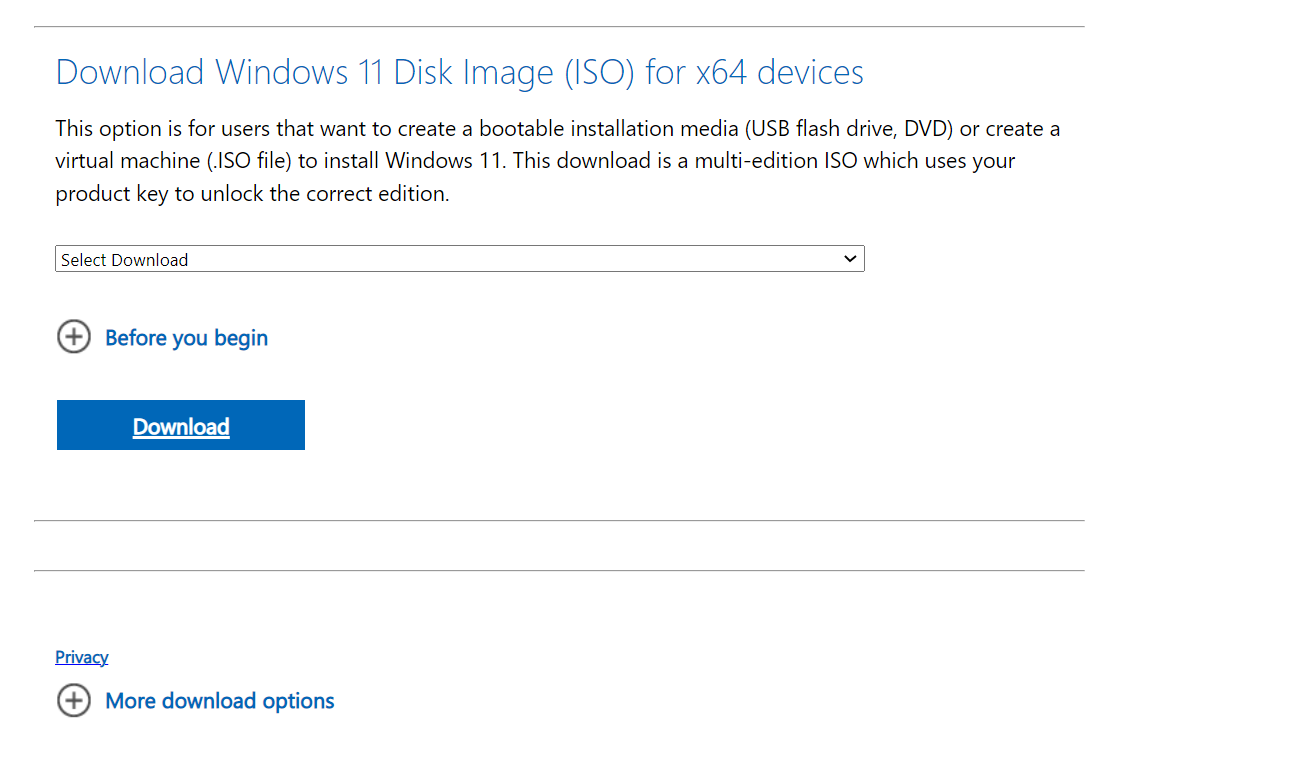
- Go to Microsoft’s official website, choose the correct edition and product language, then download the Windows 11 ISO.
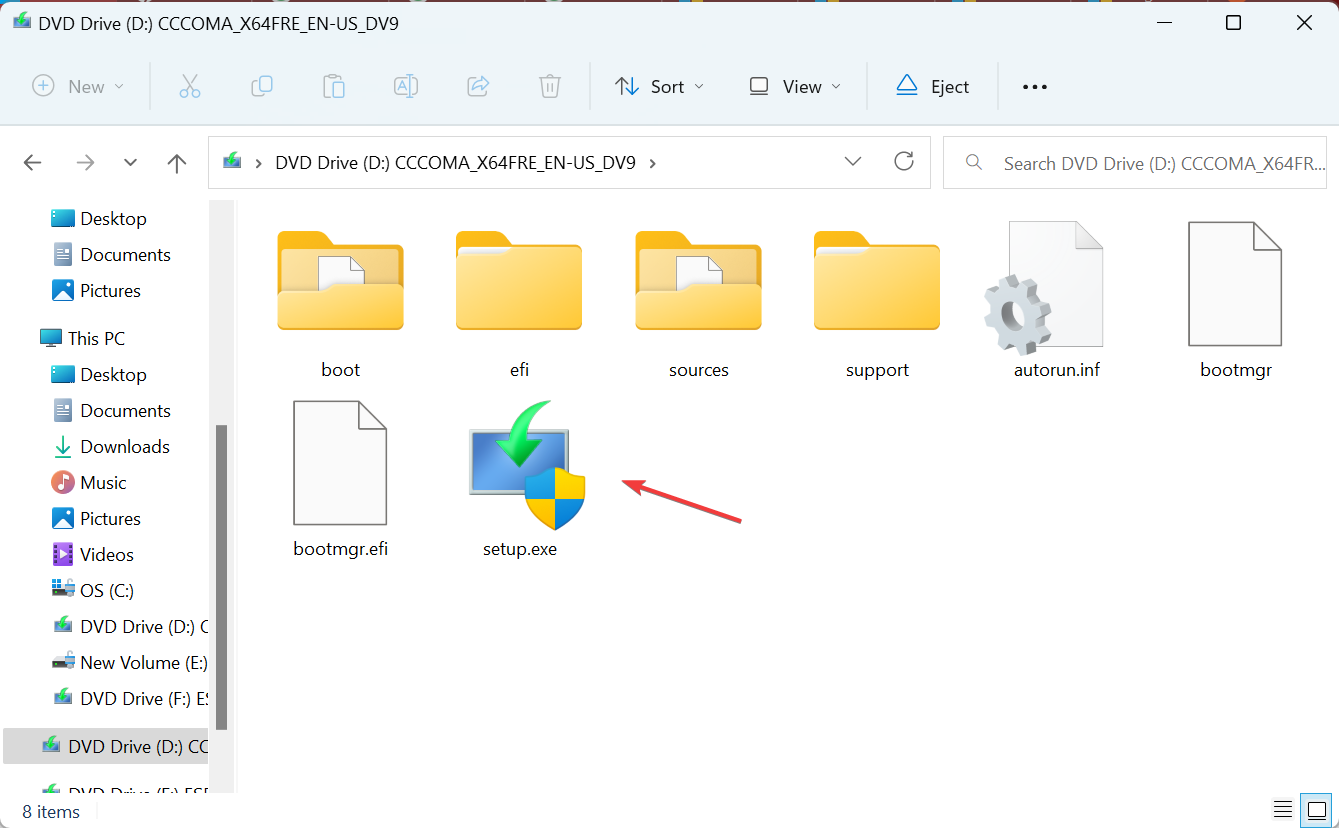
- Double-click the downloaded ISO file and click Open in the prompt.
- Now, run the setup.exe file.
- Click on Next to proceed.
- Click Accept to agree to Microsoft’s license terms.
- Finally, verify the setup reads Keep personal files and apps, and click on Install to start the repair process.
An in-place upgrade basically reinstalls Windows without affecting the stored apps and files. The process takes a few hours but is often the best troubleshooting method for any error, including 0x80092004.
When facing such issues, you can also always manually install the affected update from the Microsoft Update Catalog. Just identify the KB number, search for it, download the setup, and install the update.
Before you leave, check some quick tips to boost Windows performance and the best security settings to enforce.
For any queries or to share which solution worked for you, comment below.






User forum
0 messages