Network Logon Service Was Not Started: 5 Ways to Fix It
Try enabling the Netlogon service or updating the network drivers
5 min. read
Updated on
Read our disclosure page to find out how can you help Windows Report sustain the editorial team. Read more
Key notes
- The Network logon service was not started error prevents the users from accessing some of the network resources on their computers.
- You can try restarting the Netlogon service or restoring the system to a previous state when everything worked smoothly.
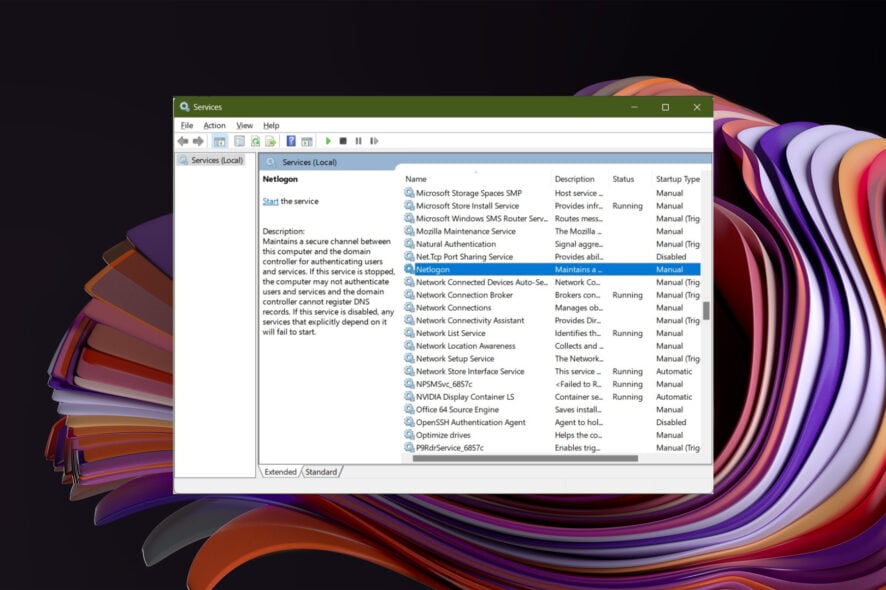
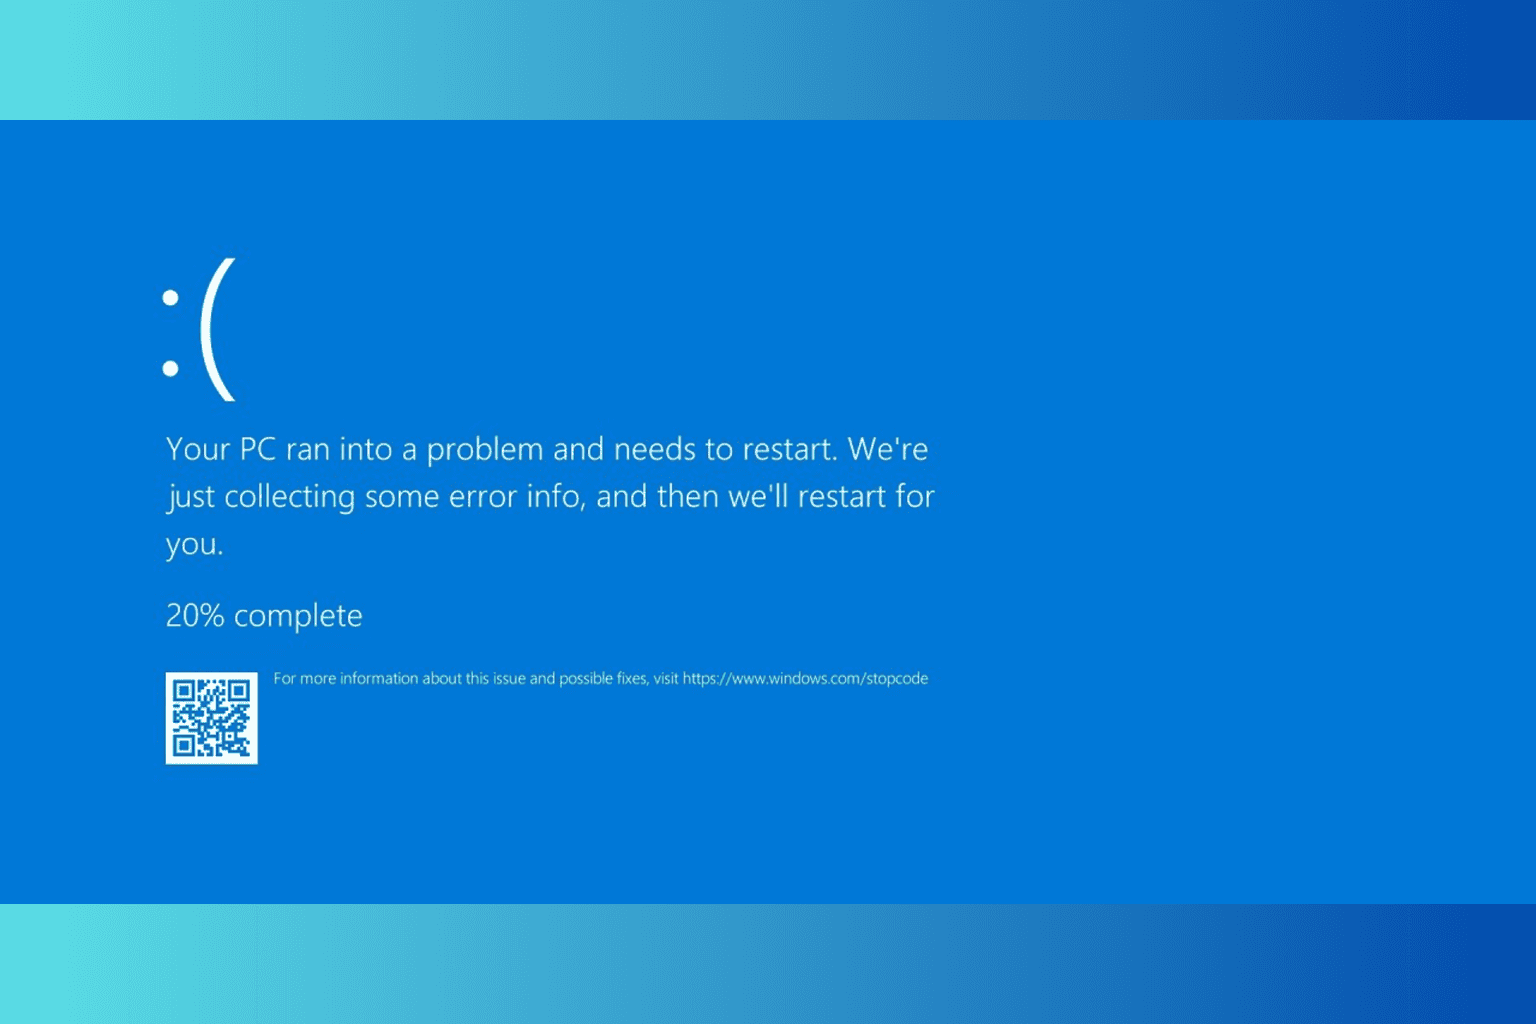
You will come across An attempt was made to logon but the network logon service was not started error when the netlogon service isn’t responding. Users who tried to log in through the remote desktop server to the local admin account reported facing this issue.
It is one of those network errors that would possibly annoy you. If you are also coming across this error message, and are looking for ways to resolve the problem, then you have landed at the right place. Because in this guide, we will share with you 5 effective solutions to resolve the problem.
Why am I getting the Network Logon Service was not started error?
After some research and checking user reports, we have come up with a list of reasons which could trigger the An attempt was made to logon but the network logon service was not started error on your PC:
- Outdated drivers: It is very important that you have the latest drivers installed on your PC for them to perform optimally.
- Netlogon service is disabled: If, by accident, you have disabled the NetLogon service, then it will eventually throw you this error.
- Misconfigured IP settings: If you have tweaked the IP settings, then you should check if that is causing the error or not.
- Windows is not updated: It could be a temporary bug or a glitch present in the current version of Windows installed, which you can fix by updating your PC.
- DNS cache: DNS cache, if not cleared for a good amount of time, can cause multiple network-related issues.
How can I fix the Network Logon Service was not started error?
Here are a few preliminary solutions that we would advise you to try:
- The first that you should do whenever you come across any software error, or network error is to restart your PC.
- Next, check if your internet is working properly or not.
- Install the latest Windows update if there is a new one available, as it could have brought a fix for this issue.
Let us check out the advanced troubleshooting methods.
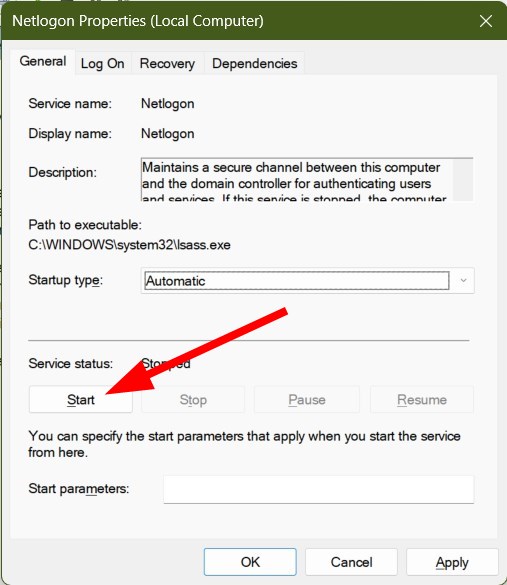
1. Start Netlogon service
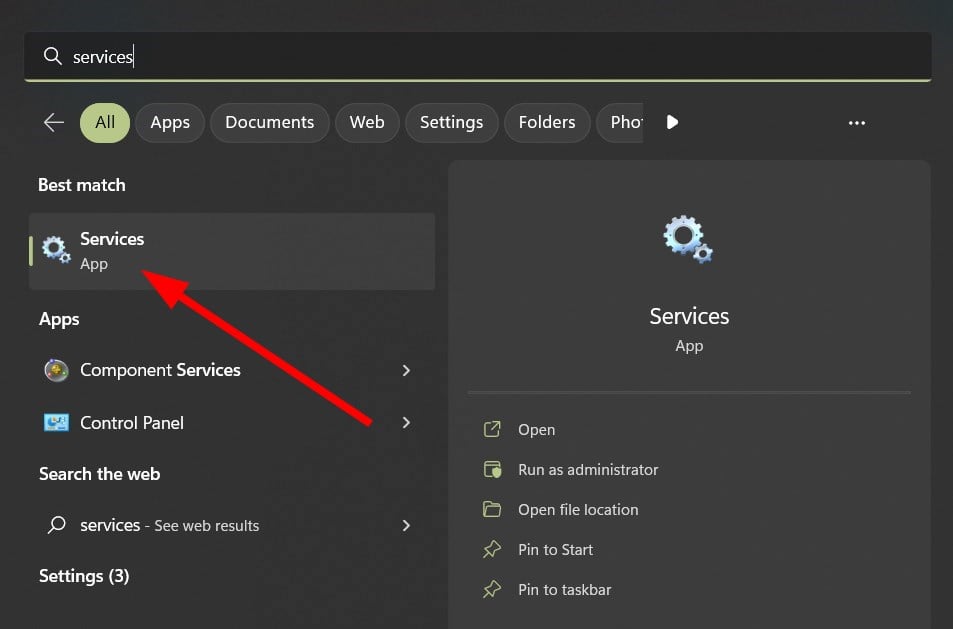
- Open the Start menu.
- Type services and open the app.
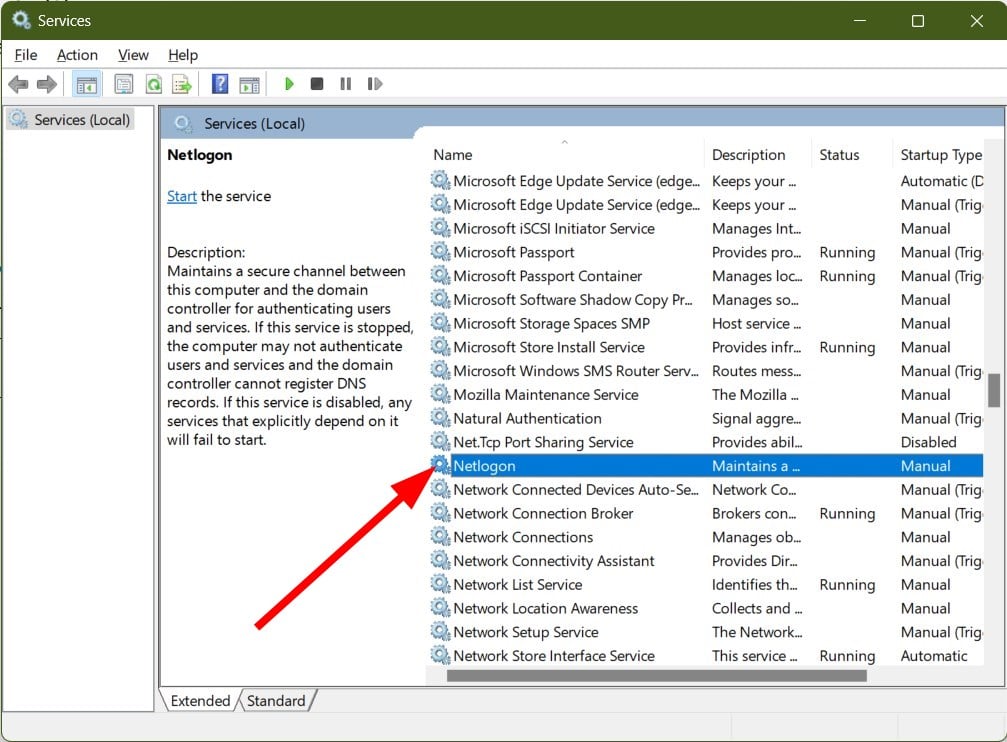
- Locate Netlogon.
- Right-click on Netlogon and select Properties.
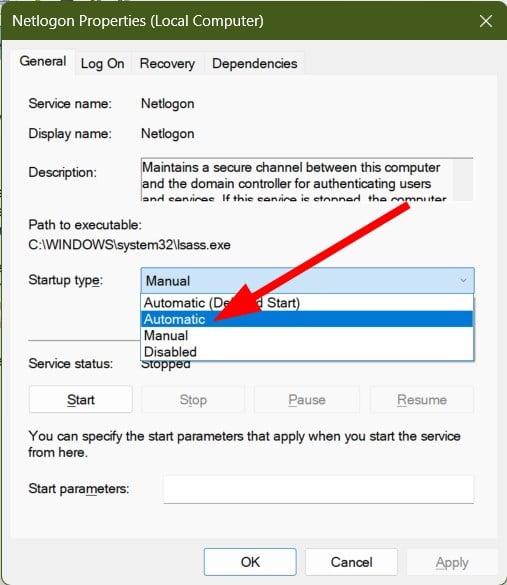
- From the Startup drop-down select Automatic.
- Under Service status, select Start.
- Click Apply and OK.
- Restart your PC.
2. Modify the registry
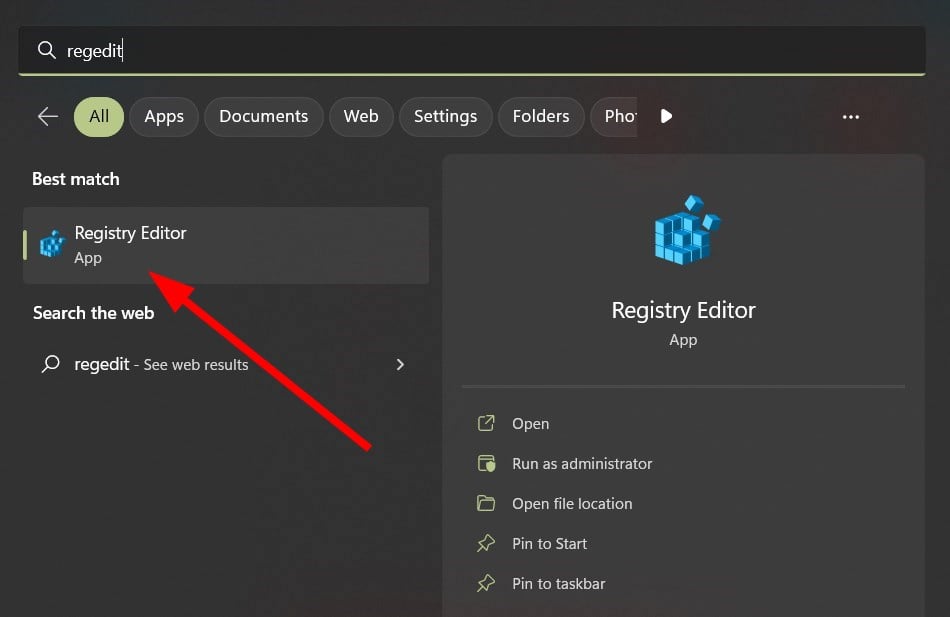
- Open the Start menu.
- Type regedit and open it.
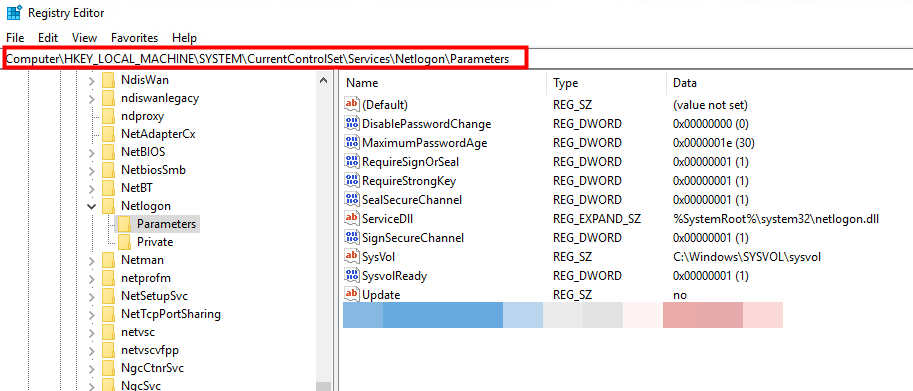
- Navigate to the below-mentioned path and press Enter.
HKEY_LOCAL_MACHINE/System/CurrentControlSet/Services/Netlogon/ - Double-click the DependOnService value.
- In the Multi-String Editor dialog box, enter the following strings and click OK:
LanmanServerLanmanWorkstation - Close Registry Editor.
- Restart the computer.
This solution is suggested by Microsoft itself. It is advised that you follow the steps correctly to make sure you do not modify the registry incorrectly.
3. Flush DNS and reset IP
- Open the Start menu.
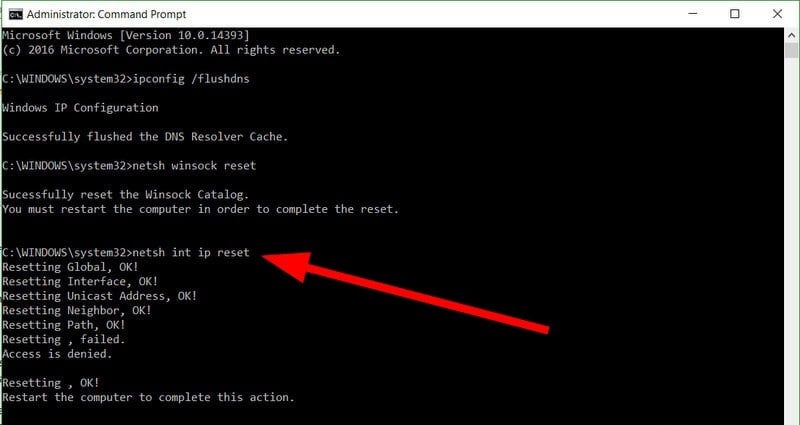
- Type Command Prompt and run it as an administrator.
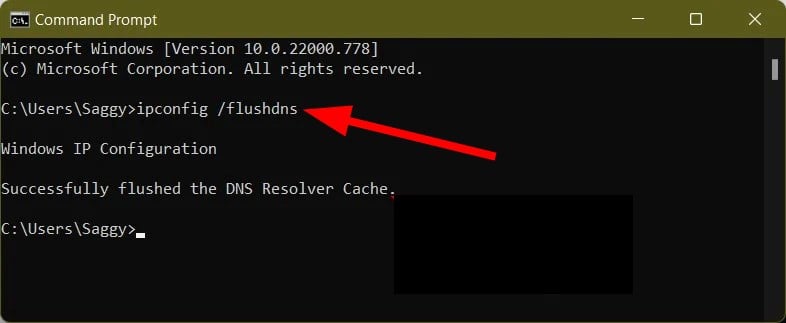
- Type the below command and press Enter.
ipconfig/flushdns - Execute the below command one by one and press Enter after each command.
nbtstat –rnetsh winsock resetnetsh int ip reset - Close command prompt.
- Restart your PC and check if this resolves the issue or not.
When you run the above commands, they will clear any IP addresses or other DNS records from your cache.
This can help with multiple issues, including security, internet connectivity, and the one at hand An attempt was made to logon but the network logon service was not started error.
4. Update network driver
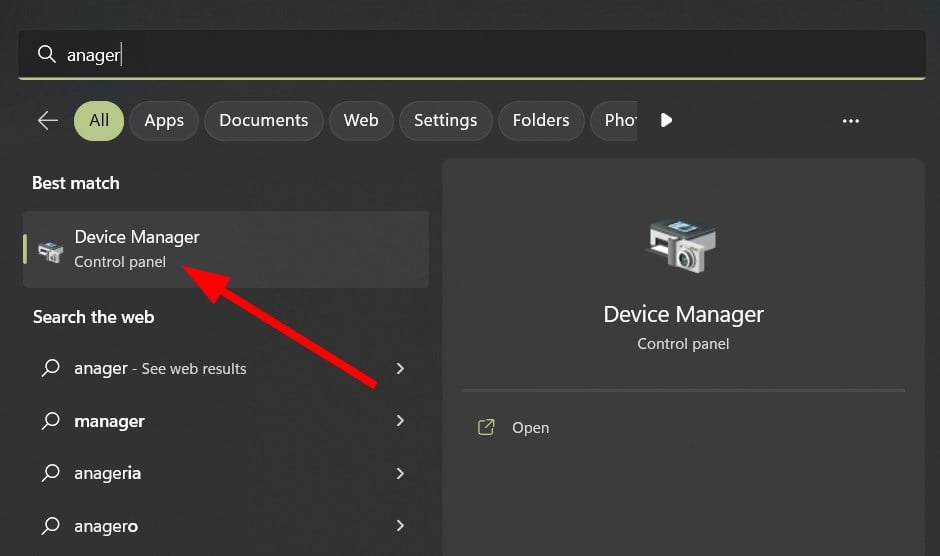
- Open the Start menu.
- Open Device Manager.
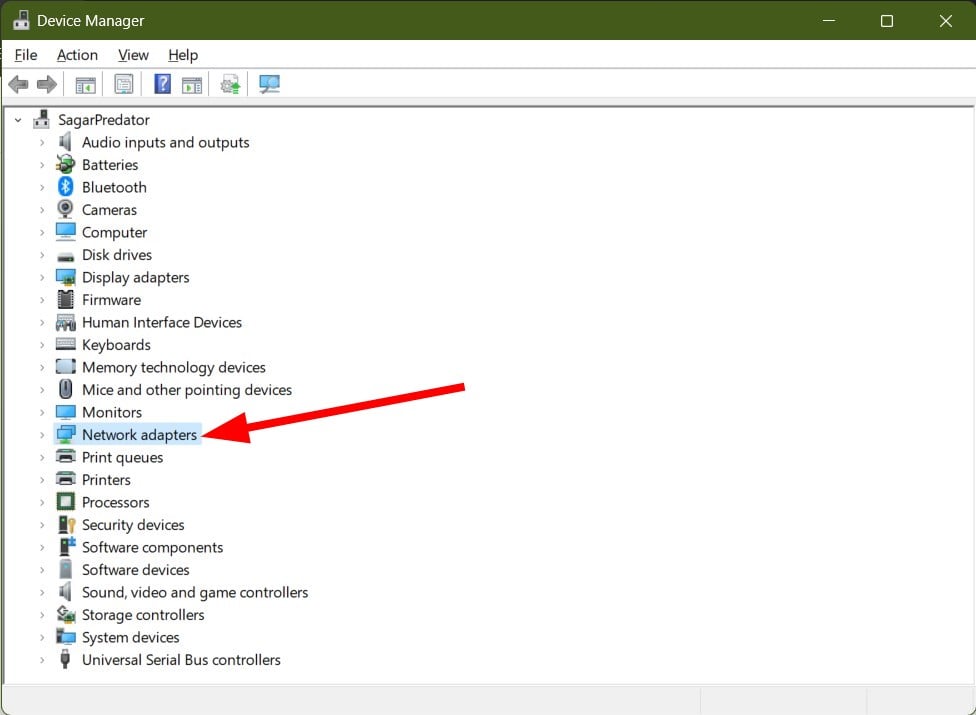
- Expand the Network adapters section.
- Right-click on your network adapter and select Update driver from the context menu.
- Hit the Search automatically for drivers option.
- Let your PC scan the internet for update. Install it if prompted.
- Restart your PC and check if this resolves the issue or not.
The above steps require you to manually check for the update for your drivers. However, there is an easy way to update all of your drivers in one go.
We are talking about a trusted third-party tool called Outbyte Driver Updater. Outbyte Driver Updater allows you to scan and update all of your drivers with just a few clicks.
Apart from updating drivers, you can schedule driver scans, create driver backups, improve system stability, and much more.

Outbyte Driver Updater
Have all your old network drivers updated so you won’t experience any issues.5. Perform a System Restore
- Open the Start menu.
- Search for Create a restore point and open it.
- Select C drive and hit the System Restore button.
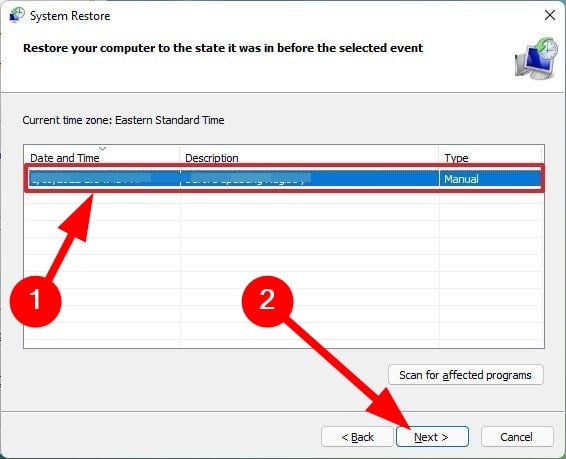
- Click the Next button.
- Select the restore point and hit Next.
- Click the Finish button.
- Your PC will begin the procedure of restoring your system back to the state when everything was working normally.
- Once done, check if this resolves the issue or not.
Reverting back to a restore point when everything was working fine comes in handy in a situation when you have accidentally tweaked the system settings wrongly.
We would advise you to always create a system restore point for your PC. We have a guide that will help you create a restore point on your Windows 11 PC.
That is it from us in this guide. Let us know in the comments below which one of the above solutions resolved the issue for you.




User forum
0 messages