How to Print Double-Sided on Windows 11: 3 Easy Methods
Enable duplex printing in Windows 11 to print both sides of the paper
![]() 4 min. read
4 min. read
![]() Updated on
Updated on
Share this article
Improve this guide
Read our disclosure page to find out how can you help Windows Report sustain the editorial team. Read more
Key notes
- While a lot of printers these days come with the built-in double-sided printing option, the print feature has to be turned on in Windows 11.
- Also called Duplex Printing, if this feature is not turned on in Windows 11, you will not see the option to print both sides of the paper.
- In this post, we show you how to turn on duplex printing in Windows 11 for all kinds of documents from a browser as well as straight from the printer.
Duplex printing or double-sided printing is a great feature to help you print both sides of the document in one go on your Windows 11 device.
However, not all printer models support duplex printing, or it may be possible that the feature is not turned on.
What is automatic duplex printing?
Nowadays, most printer models offer you the option to automatically print on both sides of a paper. This is called automatic duplex printing.
But, if you do not know if your printer prints both sides automatically, you can refer to its manual or check with the OEM to find out if it supports the feature.
If the printer keeps printing two pages instead of one, you can refer to our expert tips to fix the issue.
However, if the printer does not support the feature, you can check its manual to understand how to manually print the second side (manual duplex printing).
In this post, we will not only guide you through the process of how to print double-sided in Windows 11 but will also explain the duplex printing process for different apps.
How to turn on double-sided printing in Windows 11?
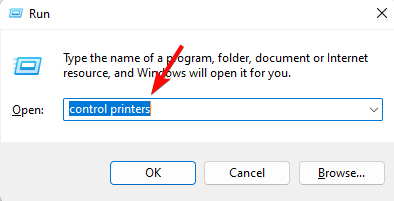
- Press the Win + R keys simultaneously to launch the Run console.
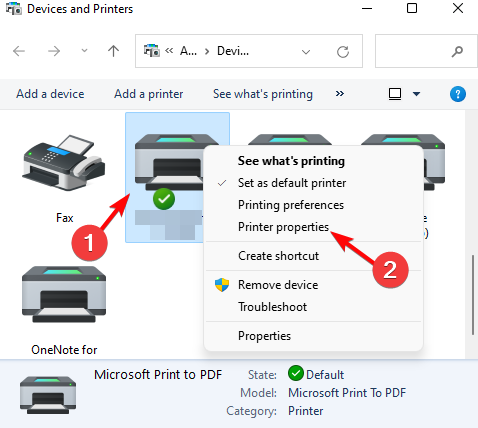
- Here, type control printers in the search bar and hit Enter to open the Devices and Printers window.

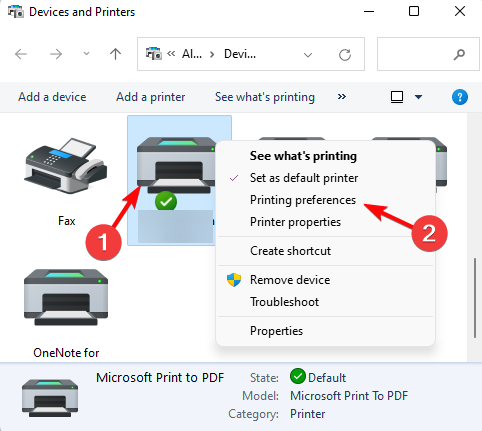
- Now, right-click on your printer model and select Printing Preferences.

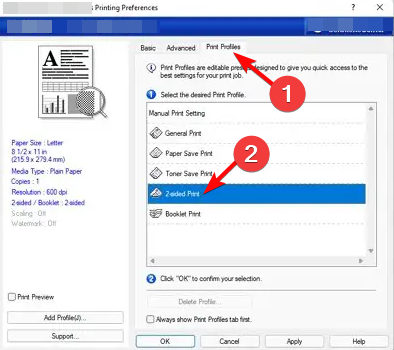
- In the Printer Preferences (for the printer software) window, go to the Print Profiles tab, and check if you already have Duplex Printing/2-sided print enabled.

- Now that the profile is selected, look for the Multiple Page sections, and here you should see the 2-Side option.
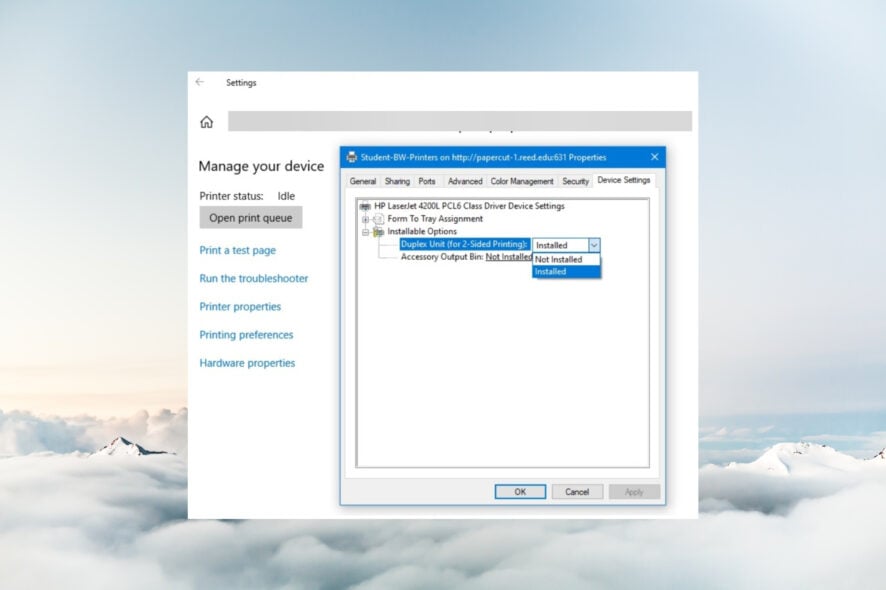
- Alternatively, for some printers, you can right-click on the printer model under Devices and Printers and select Printer Properties.

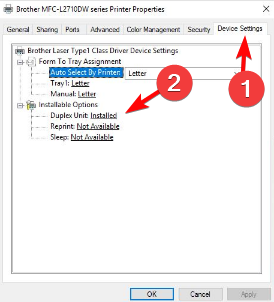
- Next, check for the Duplex Unit option under different tabs. It can be under the Device Settings or the Quick Setup tab.
- Here, check the Installable Options section which should say No Installed next to the Duplex Unit. Change it to Installed.

 NOTE
NOTE
How do I print both sides of a document?
1. PDF in Windows 11 browser
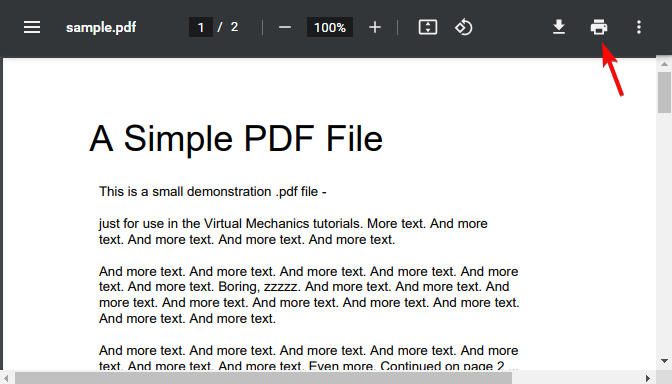
- Open the PDF file in your browser, and then click on Print. Make sure you have the same printer connected for which you turned on Duplex Printing.

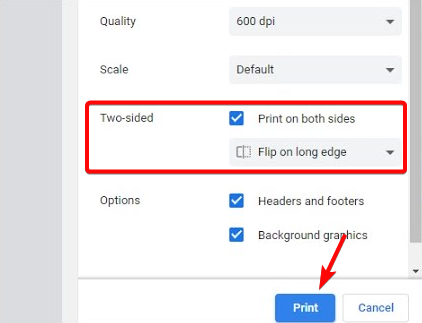
- Once you have selected the Destination where you want to save the PDF, pages, and the number of copies, check the box next to Two-sided to print both sides of the paper.

- You can also change between the long and short edges. Now, press Print.
- But, if you are printing from Acrobat/Reader, select Print On Both Sides Of Paper in the Print dialog. Press the Print button.

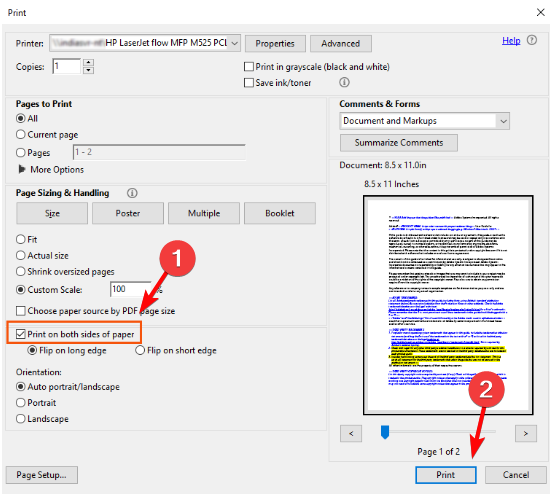
Now that you have successfully set up the double-sided print option in Windows 11, it should now print your PDF document on both sides.
2. Printing an Office document
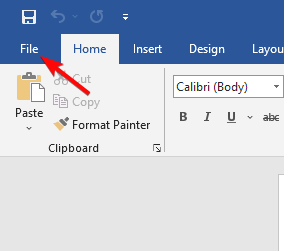
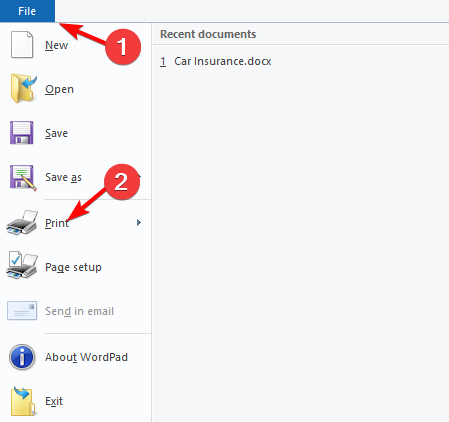
- Open any office document, for example, Word, and click on File.

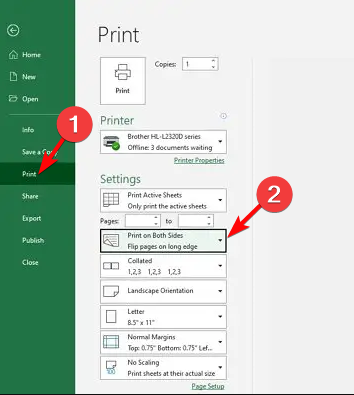
- Next, click on Print on the left, and select the printer on the right.
- Now, go to Settings, and click on the drop-down to select Print on both sides.

- You can now configure other options, Orientation, Page Size, Margins, etc. Once done, click on Print.
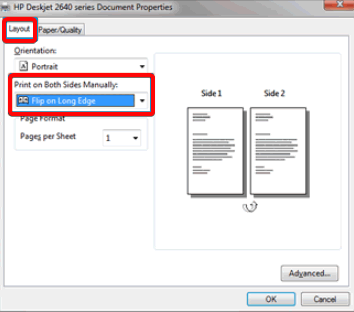
- Alternatively, you can also select Printer Properties, Preferences, or Printer Setup after Step 2.
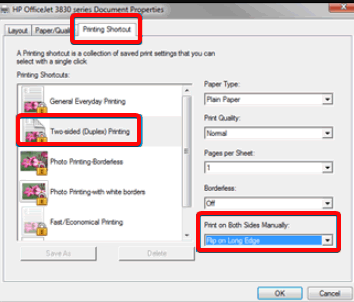
- Now, under the Layout, Features, or Finishing tab, click on the Print on Both Sides Manually drop-down, and then select Flip on Long Edge or Flip on Short Edge.

- Next, select the Printing Shortcut tab, and select Two-sided (Duplex) Printing in the list.

Now that you have successfully configured the printing options, it should print the document on both sides.
3. Print a Word Pad document
- Open the Word Pad file you want to print, click on the File menu and select Print.

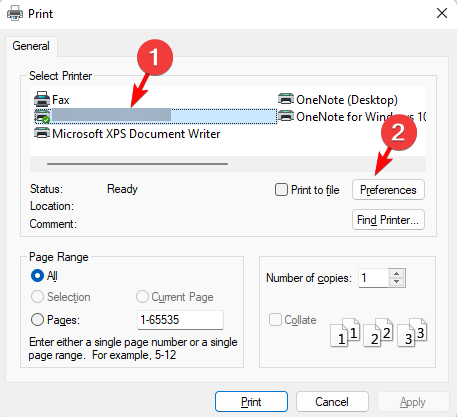
- Next, in the Print window, select the printer, and click on Preferences.

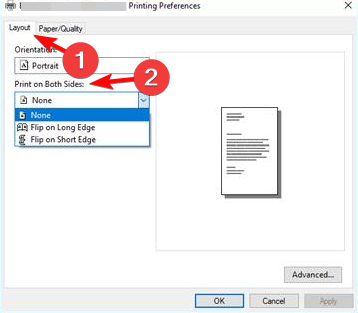
- In the Printing Preferences window, go to the Layout tab, and check for the Two-Sided/Print on Both Sides option (or anything similar). Make sure you enable it.

- You can also choose to save this setup as preset to turn on double-sided printing permanently.
But if your printer keeps printing double-sided, we have a detailed post on how to troubleshoot and fix it instantly.
At the same time, you can invest in a duplex scanner with OCR that will not just scan both sides of your documents but also convert printed characters into electronic text.
If you have any other queries related to printers & scanners, or duplex printing, you can let us know in the comments section below.


User forum
0 messages