Wsock32.dll Missing: How to Fix or Download it Again
Move the wsock32.dll file to the correct folder to fix the issue
5 min. read
Updated on
Read our disclosure page to find out how can you help Windows Report sustain the editorial team. Read more
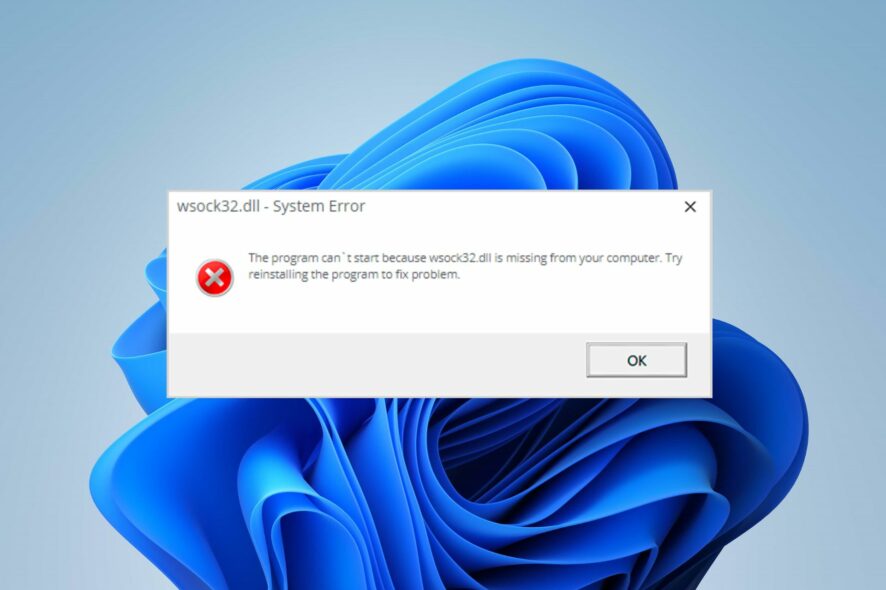
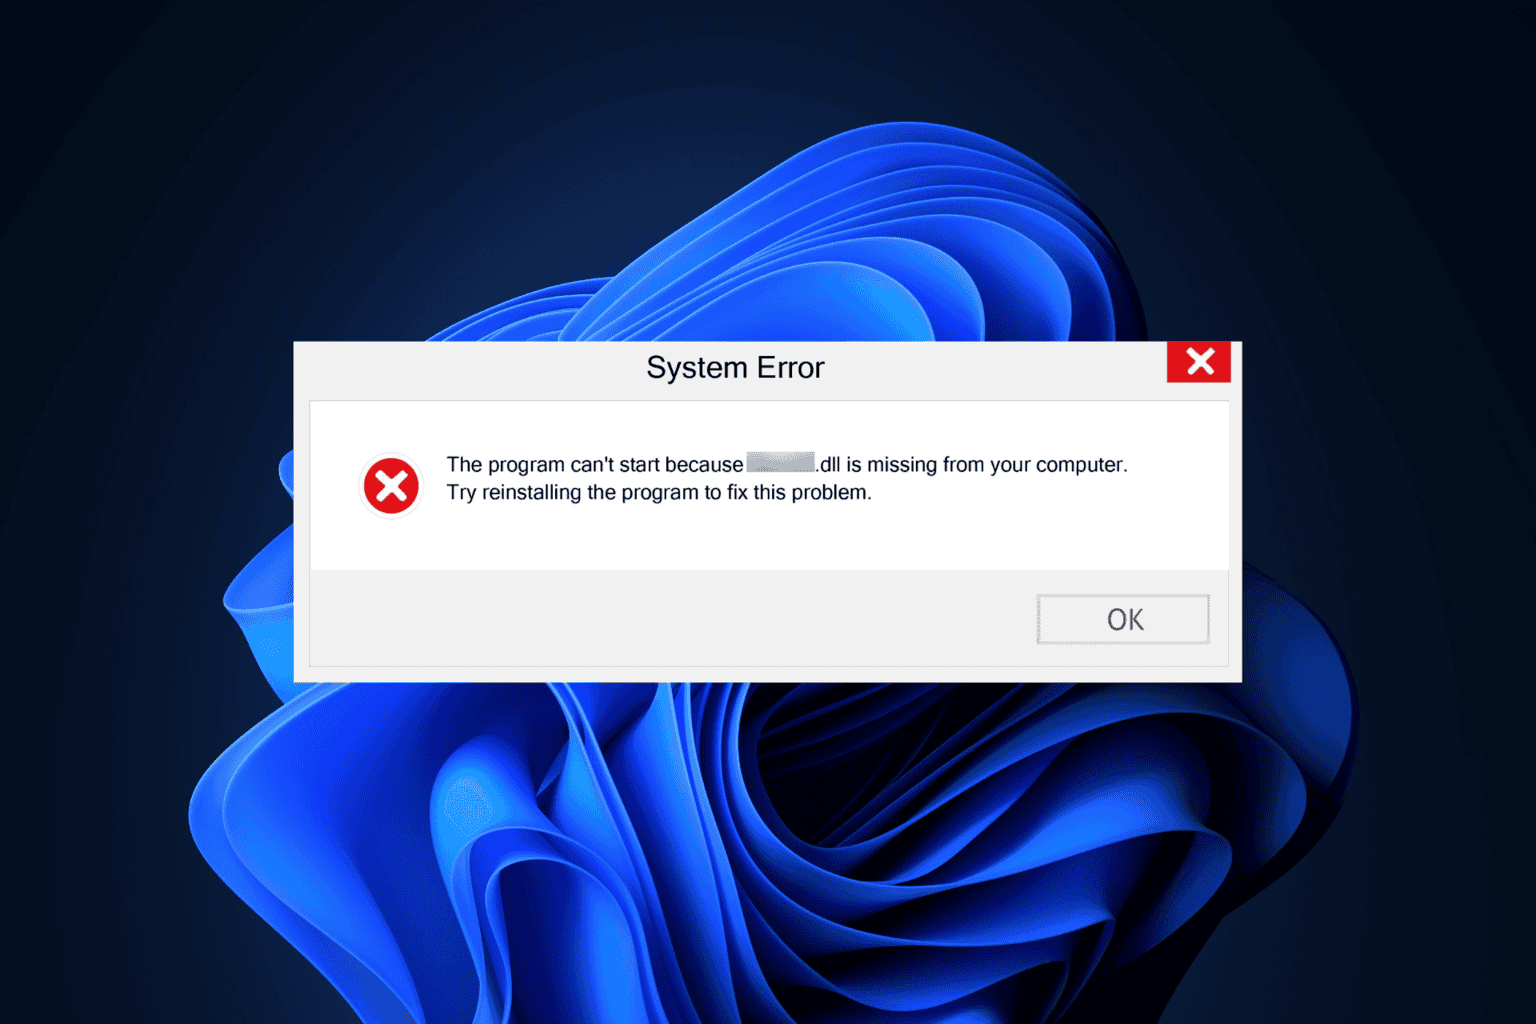
Many users are looking for ways to resolve the Wsock32.dll missing error that appears on their computers. The error prevents apps from running. However, this guide will discuss some basic steps for fixing it.
Alternatively, you can read about the causes of missing DLL files on Windows computers and ways to fix them.
Wsock32.dll has the description Windows Socket 32-Bit DLL. It is a Win32-type category DLL (Dynamic link library) file that Microsoft Corporation developed to develop the Microsoft Windows Operating System.
Additionally, Wsock32.dll contains the Windows Sockets API used by network applications to support network connections. It is an essential Windows system file, and its process is needed for your PC to work properly.
Some factors liable to be responsible for the Wsock32.dll file missing are:
- Recently installed or uninstalled app – When you uninstall apps from your system, it can delete some DLL files from their directories. Likewise, installing the new apps can override some DLL files, subduing and sometimes removing them from the PC.
- Corrupt system files – The file can also be deleted from your PC if you have corrupted the system files, making them unavailable when required.
- File in the wrong directory – If the DLL file is not in the proper directory, it becomes inaccessible for the programs meant to use it.
These causes can vary for different users. Regardless, we will take you through fixes to resolve the Wsock32.dll on your computer.
How can I fix a missing Wsock32.dll?
Go through the following preliminary checks before trying any advanced troubleshooting steps:
- Re-register the file via Command Prompt – If you have the file on your device but are unsure about the error, re-register the DLL file using the regsvr32 [the name of the DLL file] in CMD.
- Reinstall the app/program causing the error – Sometimes, you may need to disable the antivirus and reinstall the software to overwrite the present data.
- Perform a System restore – Backdating your system to an earlier point when it last worked perfectly might help resolve the error. Check what to do if the Restore Point is not working on your PC.
If you’re unable to resolve the DLL missing error, proceed with the fixes below:
1. Use a DLL fixing tool
Dealing with DLL errors can be annoying as it can affect the functionality of some apps on the computer. So, repairing the DLL file is important to ensure the system runs properly. Sadly, repairing these files is difficult if you’re not tech-savvy.
However, you can employ dedicated DLL fixing tools to repair the DLL files. They fix 100% of DLL issues and restore them to a healthy state.
2. Change the file directory
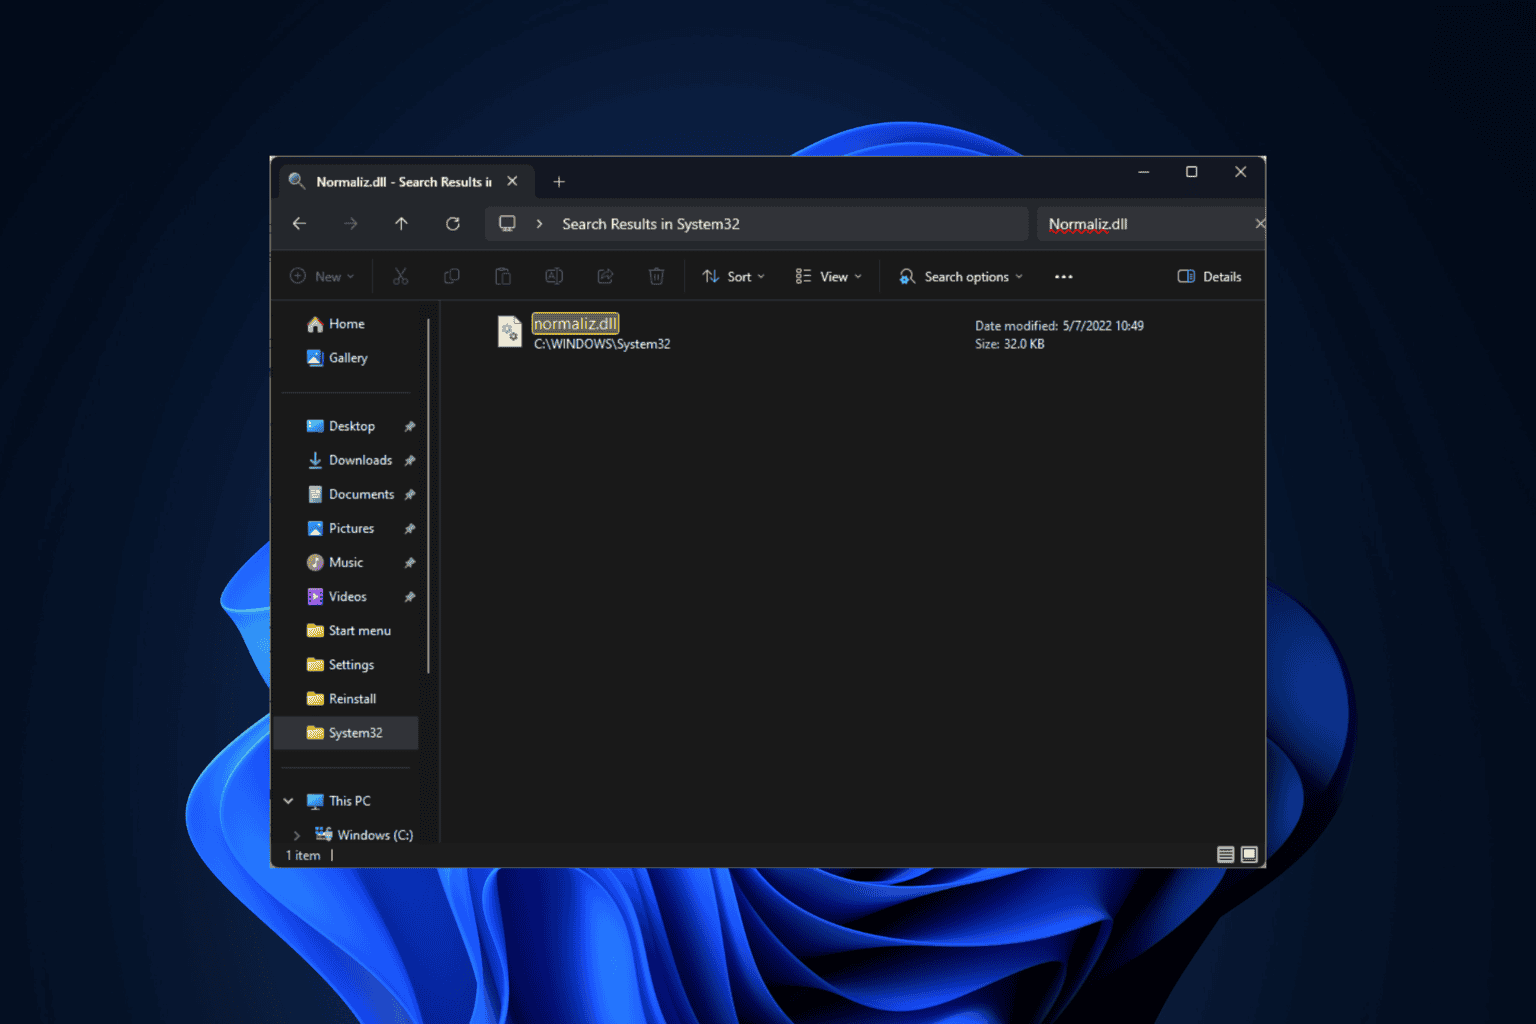
- Press the Windows + E keys to open the File Explorer.
- Navigate through the following path:
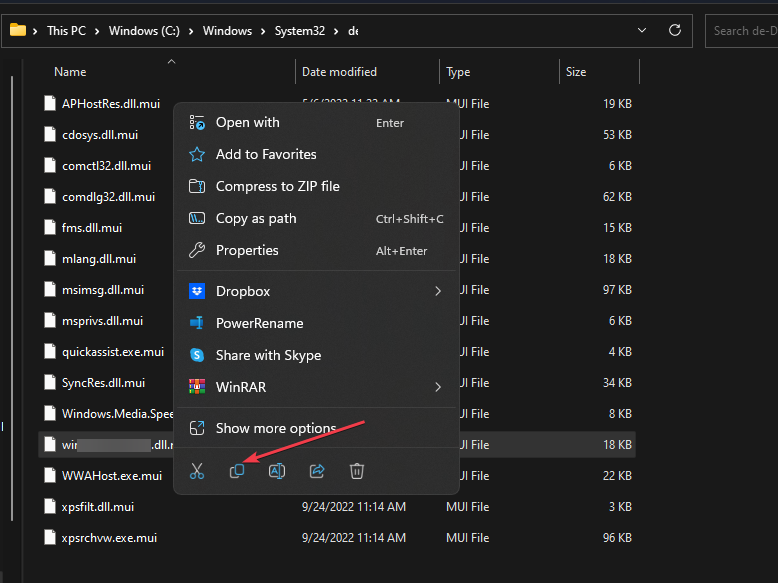
C:\Windows\System32\dllcache - Then, select the Wsock32.dll file, right-click on it, and click Copy from the drop-down.
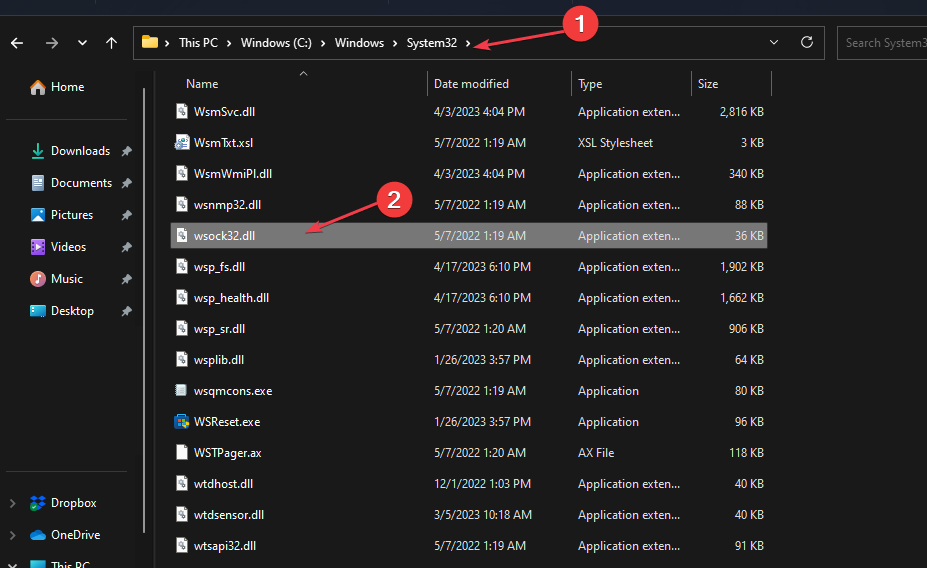
- Go to the following directory and paste the file:
C:\Windows\System32 - Close your File Explorer and try to check if the error still persists.
A wrongfully placed DLL file will automatically cause an issue for the programs that needs it since they can’t access it. Placing it in the correct directory makes it accessible and fixes the Wsock.dll missing error.
3. Run the SFC scan
- Firstly, reboot your PC.
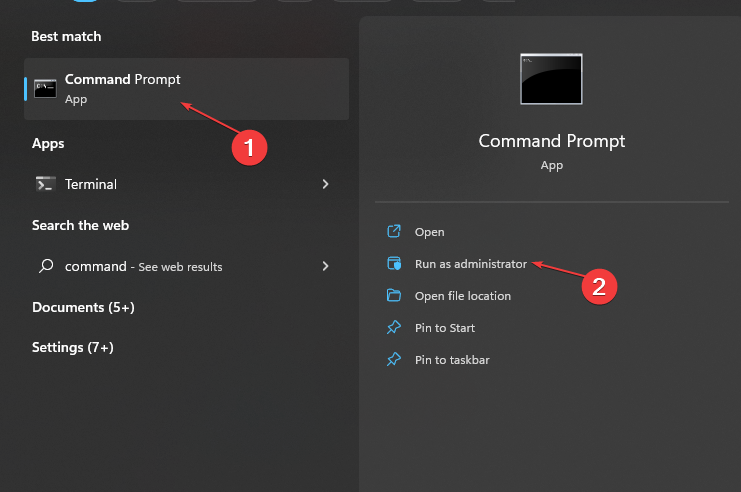
- Now, left-click on the Start button, type CMD, and click Run as administrator.
- Click Yes on the UAC prompt.
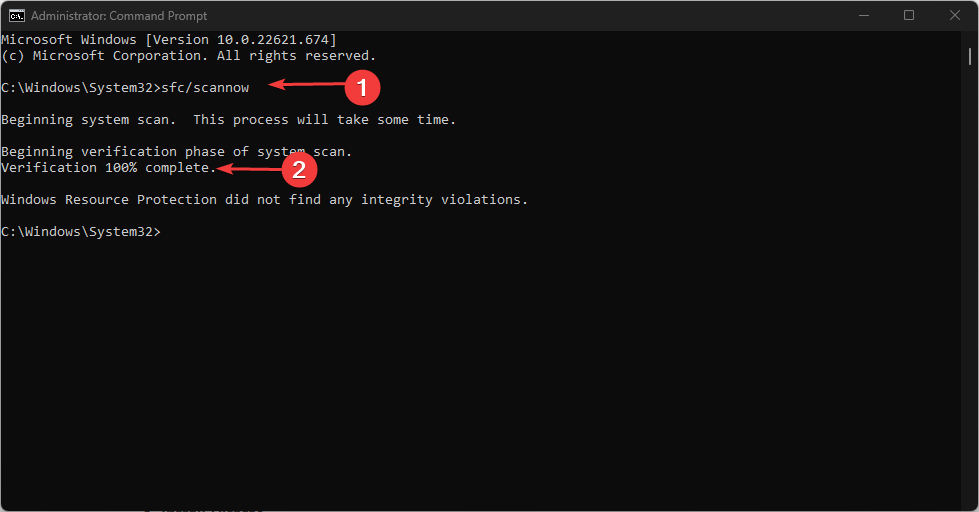
- Then, input the following and click Enter:
Sfc /scannow - Wait for the process to complete and close the Command Prompt.
The users who have claimed this solution worked for them state that it is essential for you to reboot the PC before running the SFC scan.
4. Perform an in-place upgrade
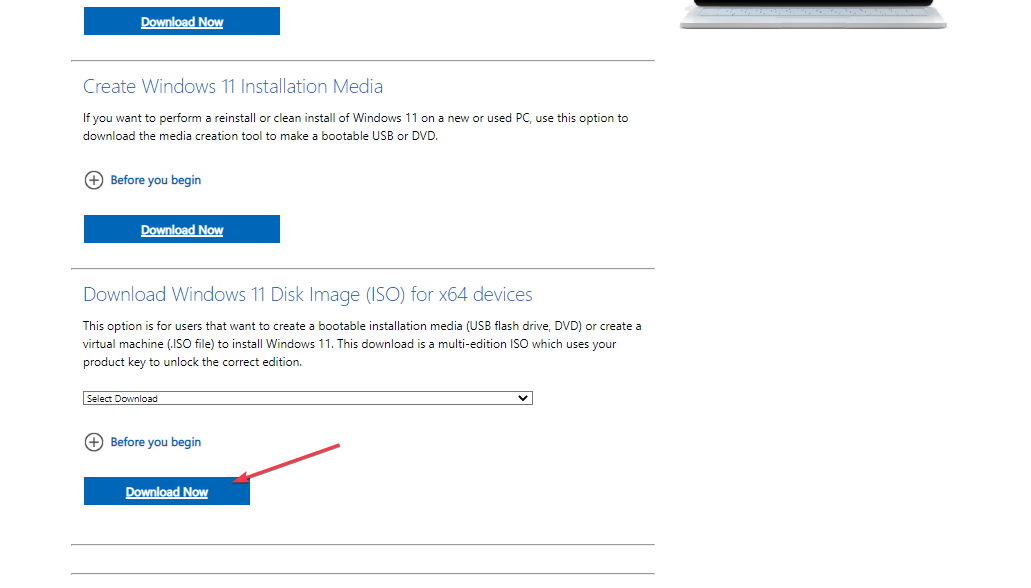
- Download Windows 11 Disk Image (ISO) and select Windows 11 (multi-edition ISO).
- After downloading, right-click on ISO, select Mount, and then click Setup.exe.
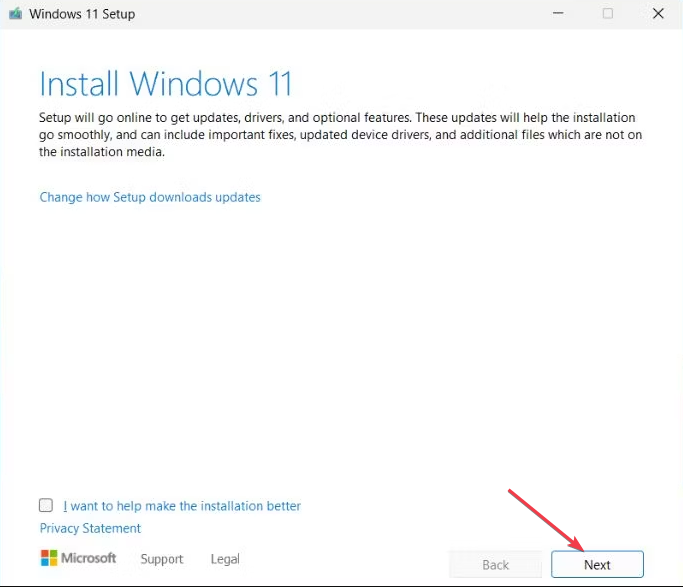
- In the Install Windows 11 dialog, click Next.
- Now, click on Accept in the license agreement window.
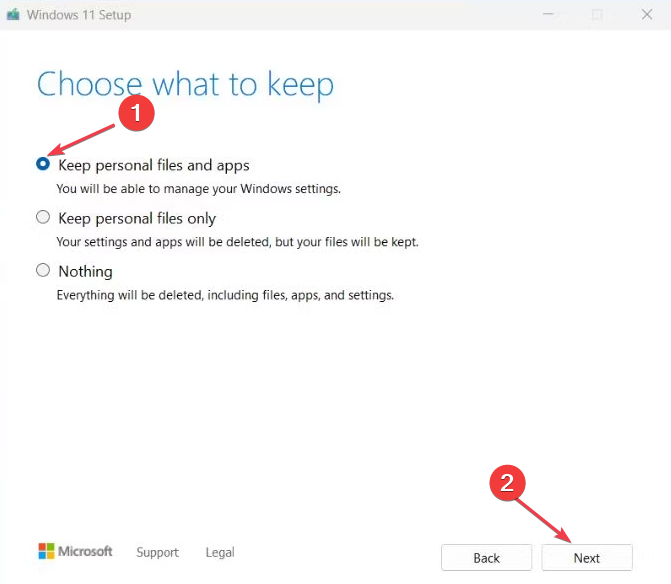
- When it prompts the Ready to Install page, check Keep personal files and apps option, and click Install.
- Windows 11 will reboot your device several times, leading you to the lock screen.
Running an in-place upgrade is often the last resort to fix this issue. It will resolve issues affecting the previous OS and restore the default health of your system.
Read about ways to resolve Windows Installer Service could not be accessed if you ran into the error.
Conclusively, you can check our guide about installing and fixing missing DLL files on Windows 11. Our latest guide shows you what to do if ws2_32.dll is missing, so feel free to check it out for more solutions.
For further questions or suggestions concerning this guide, kindly drop them in the comments section.

User forum
0 messages