How to Create & Set Up a Group Email in Outlook
Easily set up a group within minutes!
3 min. read
Updated on
Read our disclosure page to find out how can you help Windows Report sustain the editorial team. Read more
Key notes
- Email groups in Outlook help send emails to multiple addresses at once, and you can easily create one.
- Sending emails to Outlook groups is as simple as creating one. Just enter the group name instead of the individual addresses.
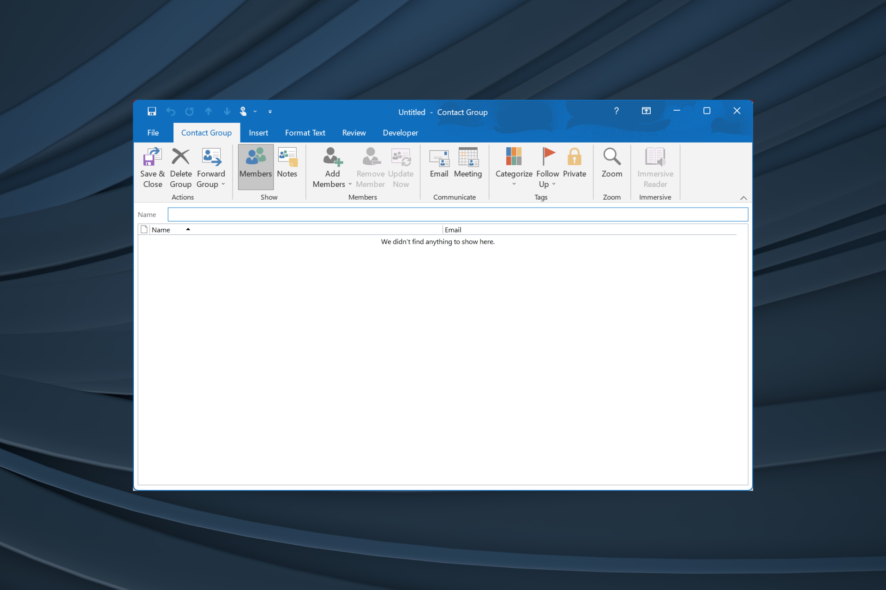
Outlook is one of the best email clients for Windows and Mac devices and is employed by organizations and users worldwide. And when sending emails to the same set of people, it’s often wise to create an email group in Outlook.
Most users would appreciate this, and the feature is actually present in Outlook. It’s just that most users are either unaware or think of it as too complicated. So, let’s find out all about creating an email group in Outlook.
Why should I create email groups in Outlook?
Here are a few benefits of email groups in Outlook:
- Quickly send emails: For users who send several emails to the same set of people, grouping them together can help reduce the time spent on sending emails.
- Easy management: When managing a large number of users, creating a group reduces the effort and allows easy management.
How do I create a group email in my Outlook?
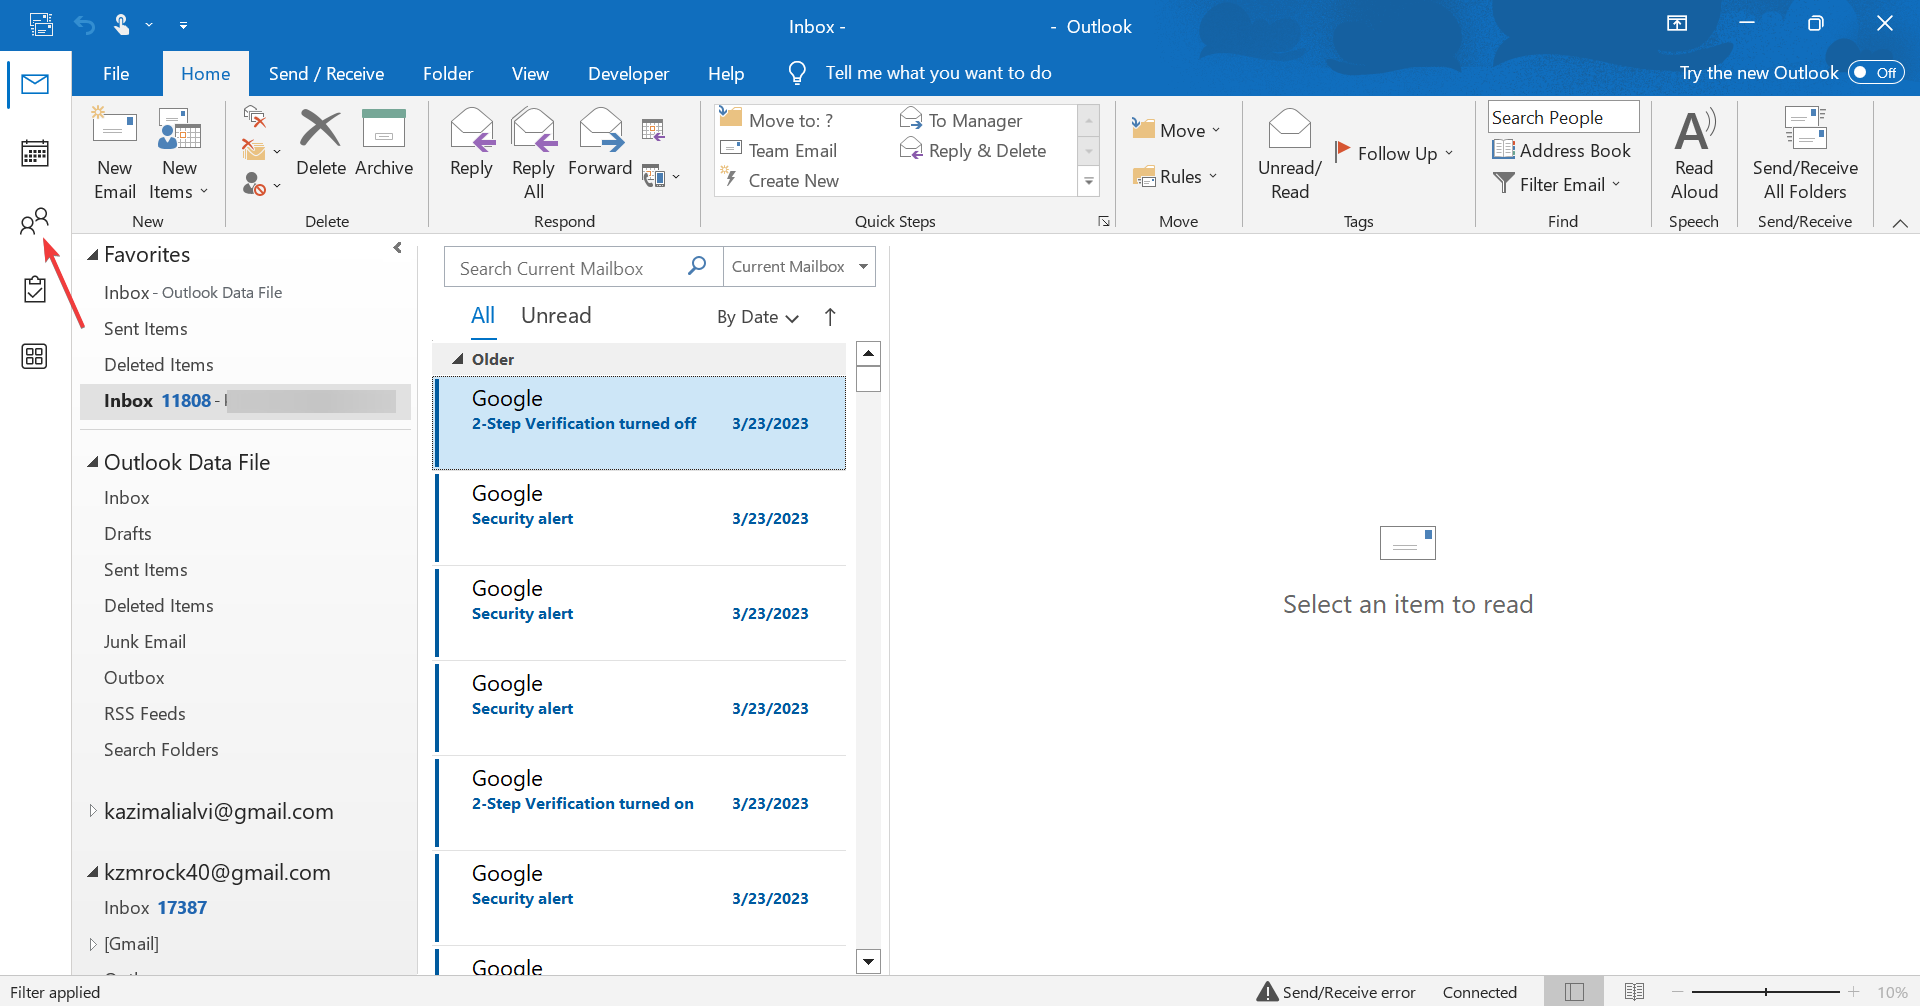
- Launch Outlook on your Windows PC, and navigate to the People tab from the left pane.
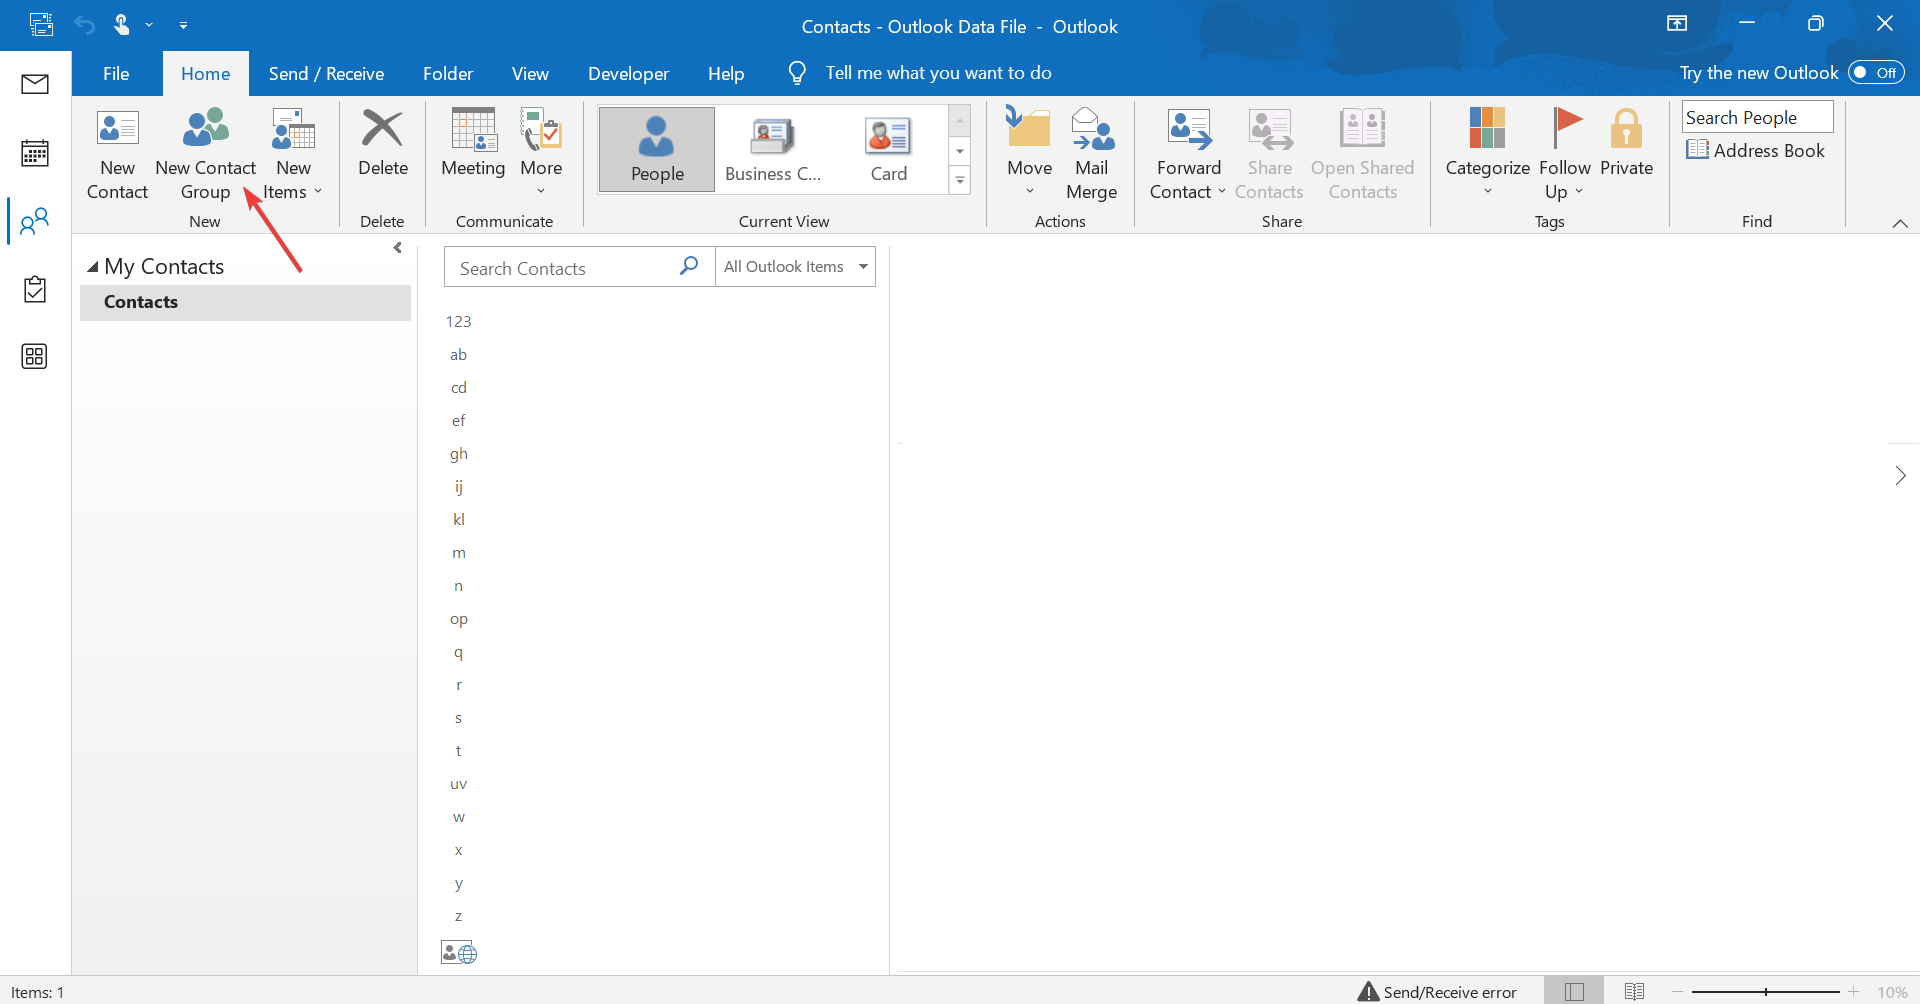
- Click on New Contact Group.
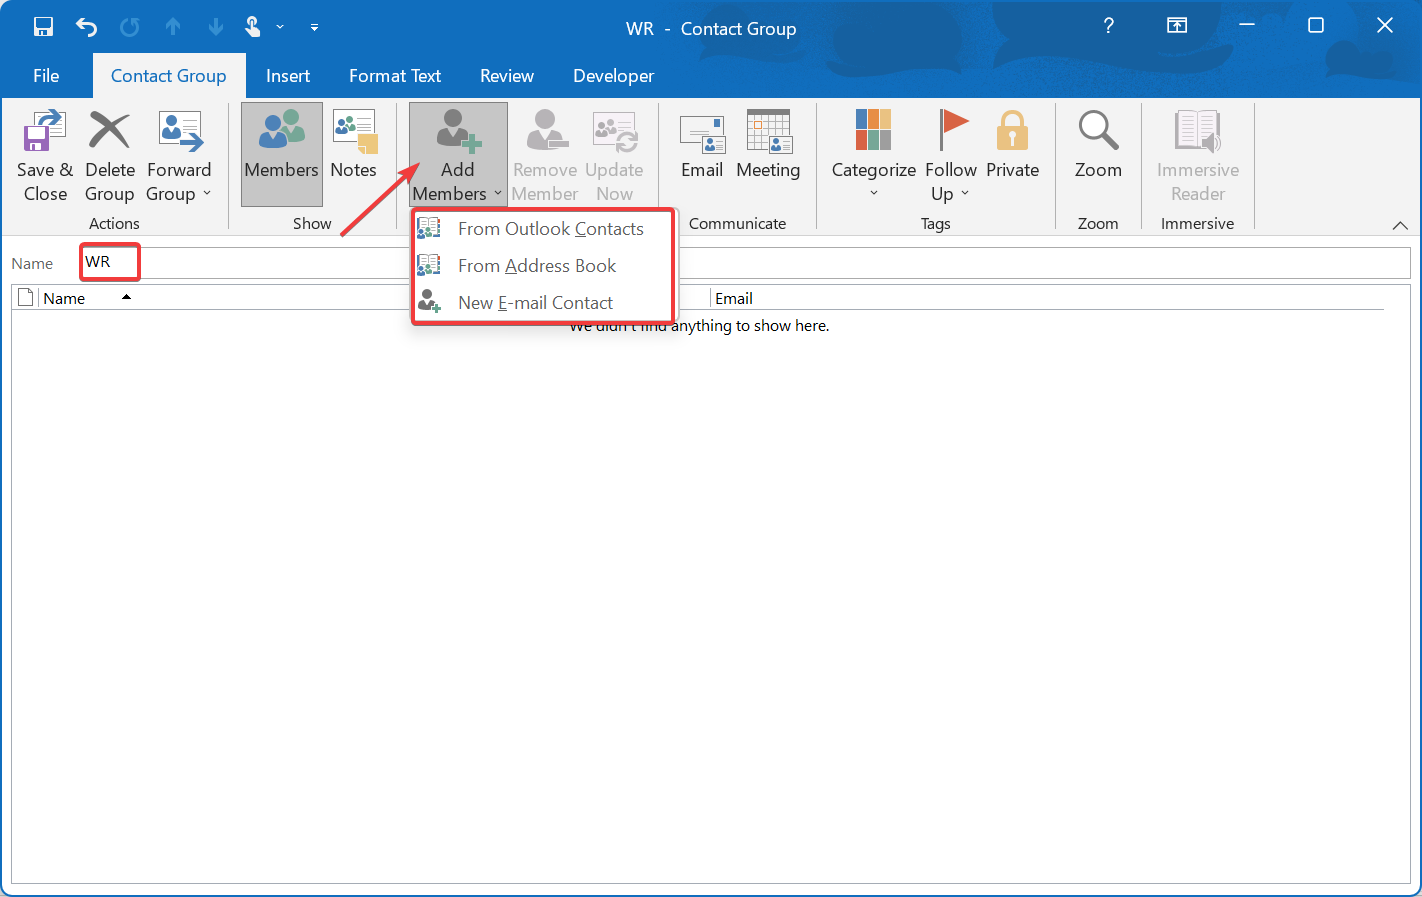
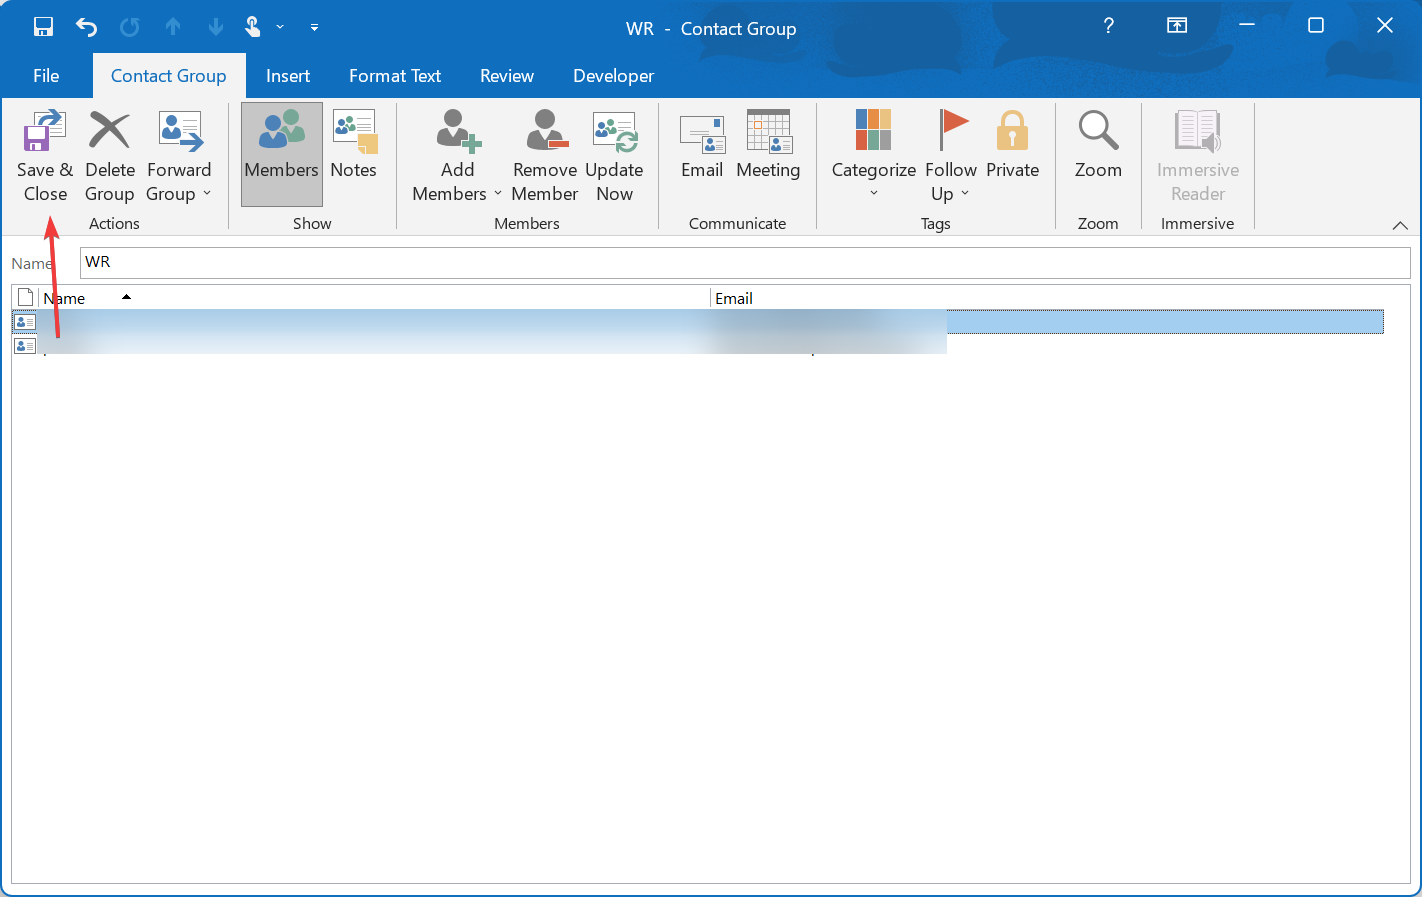
- Add a name for the group in the text field, click on Add Members, and select an option to add these from the dropdown menu.
- We choose New E-mail Contact, entered the email address, and clicked on OK to add the user. You can similarly add others as well.
- Once done, click on Save & Close to create the contact group.
That’s all! It’s this simple to create a contact group email in Outlook, and you can add as many as you would like in no time. Besides, you can similarly create a group in the Outlook web app and its Mac version.
How do I send an email to a group on Outlook?
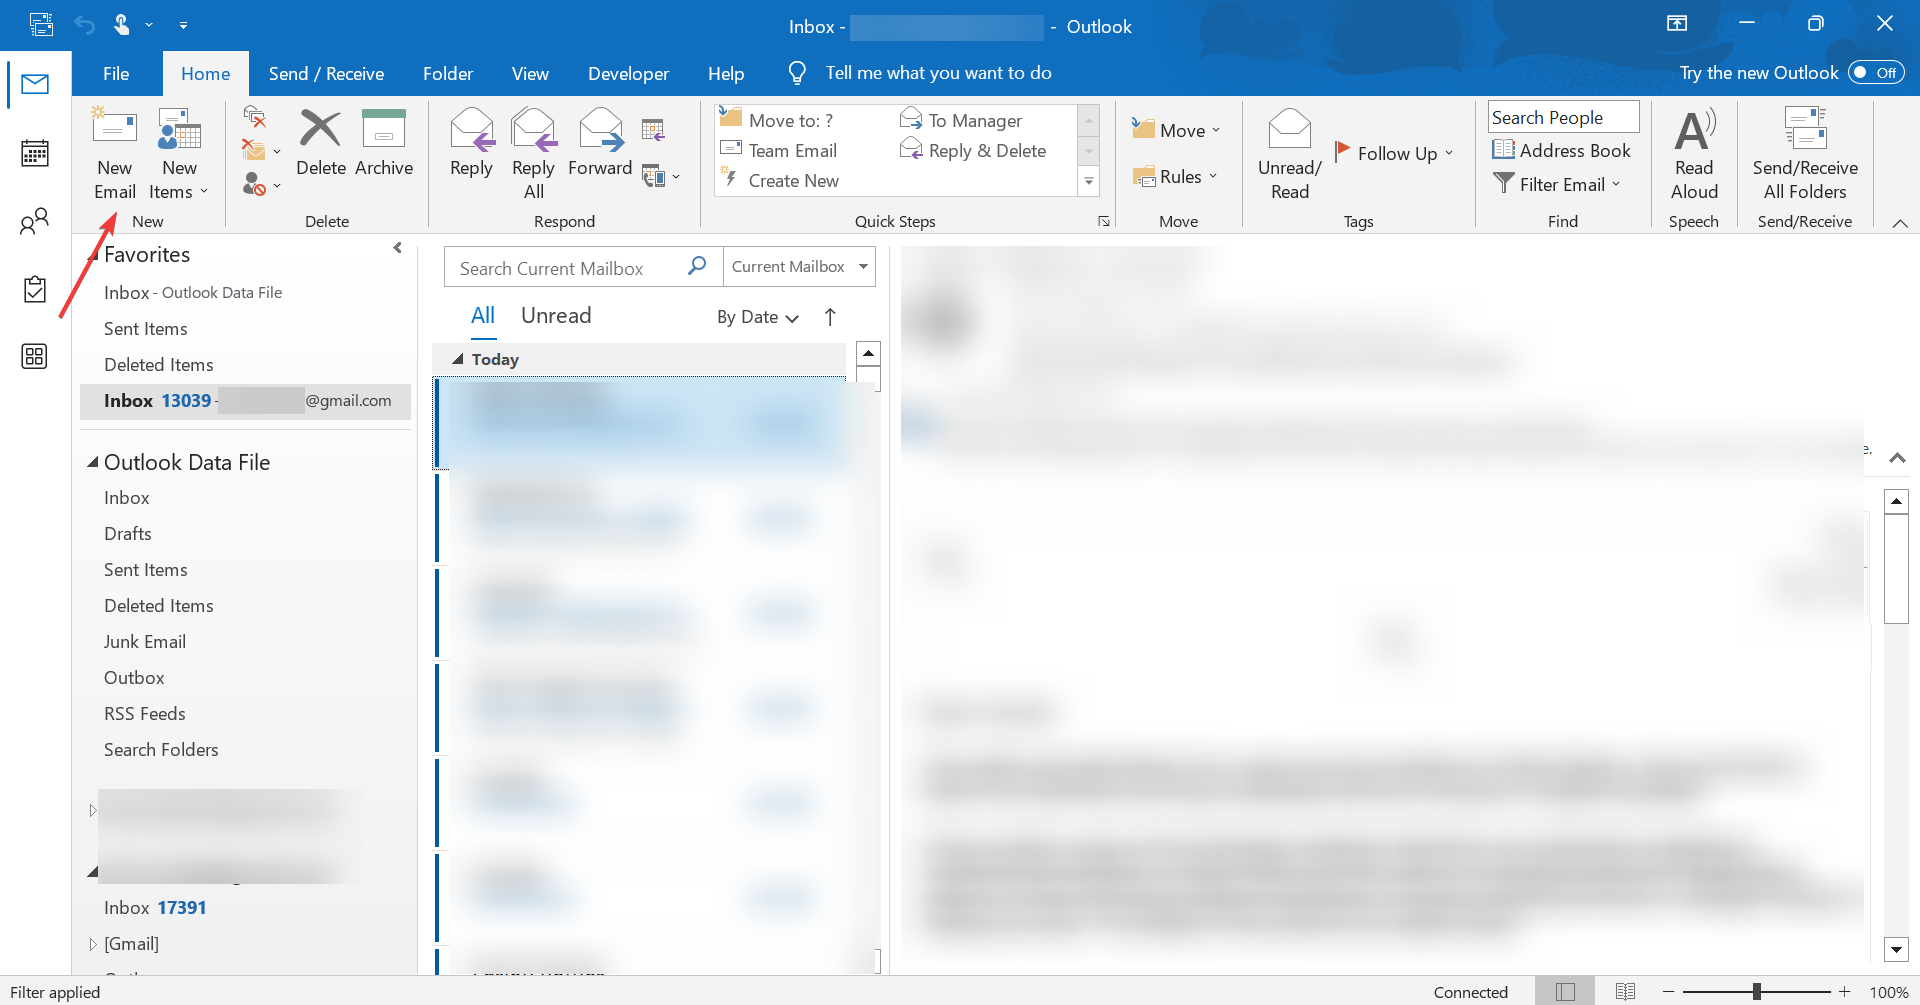
- Open the Outlook application, and click on New Email.
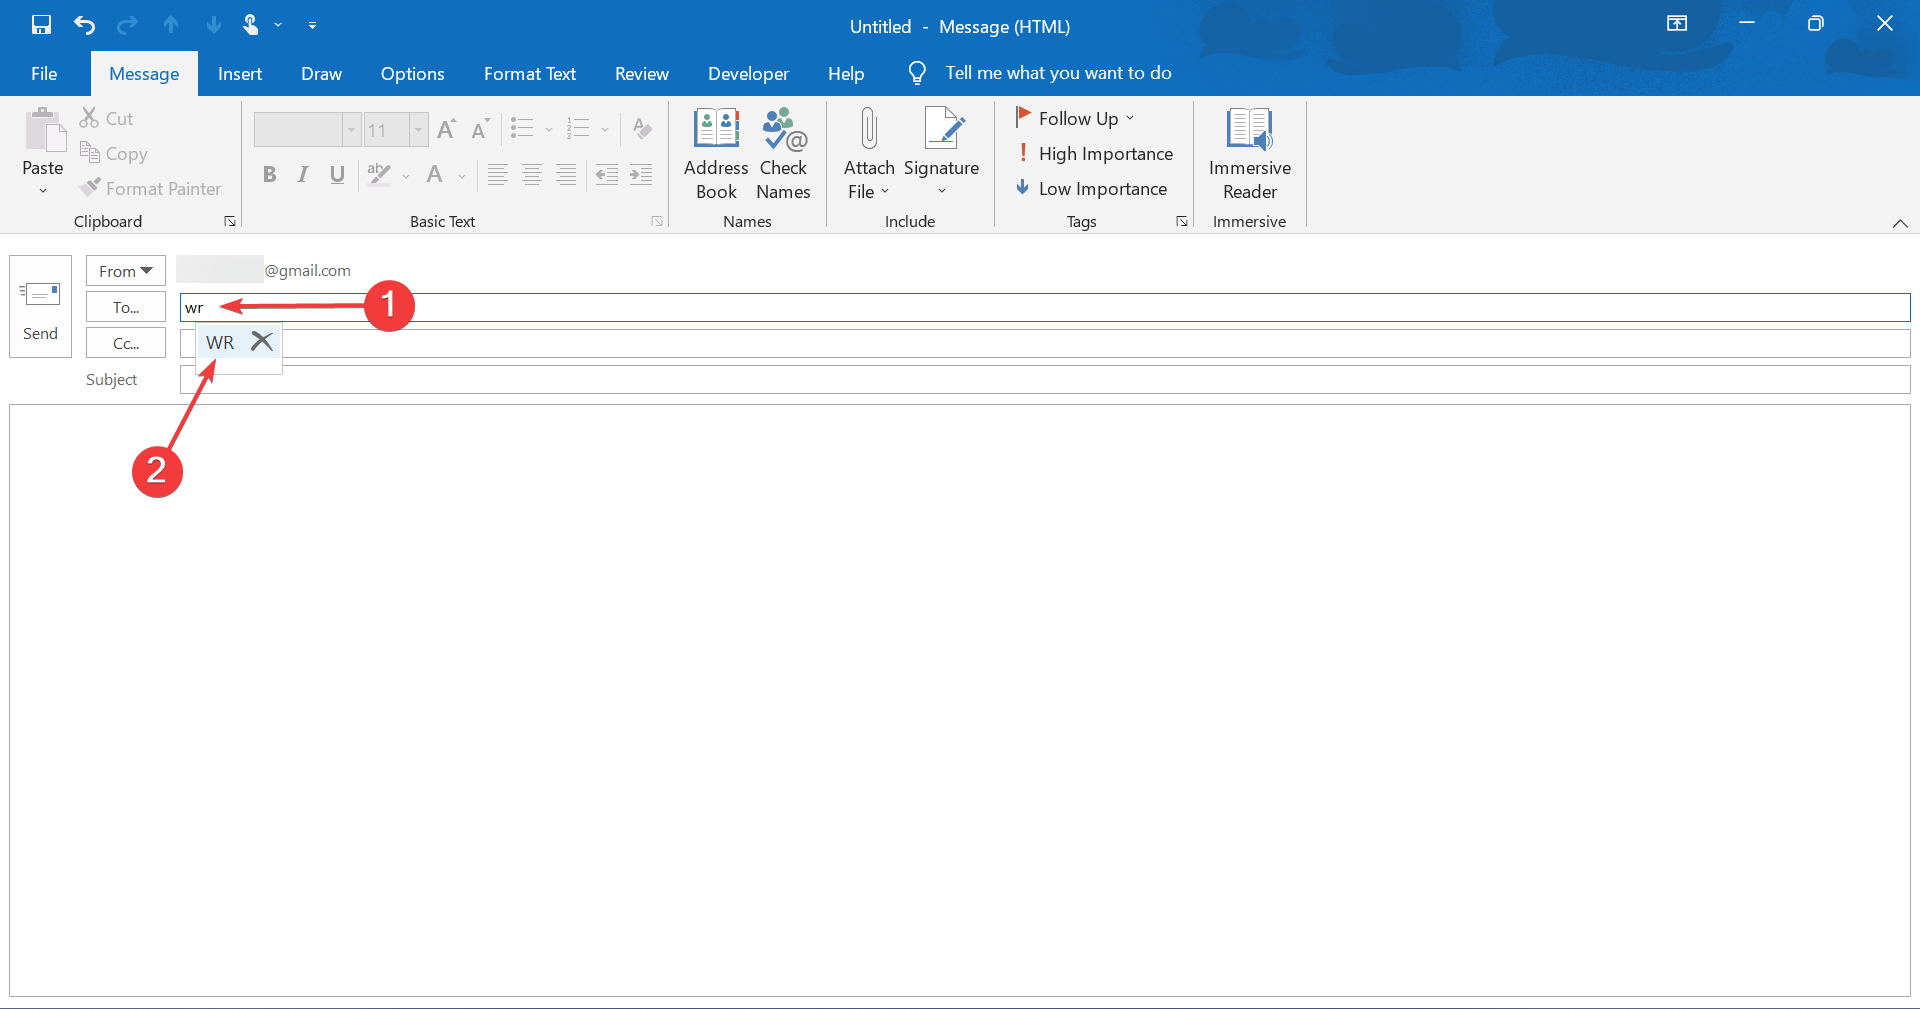
- In the To text field, enter the group name, and select it from the list of options in the menu that appears.
- Draft the email, be it the subject or the content, and finally, click Send.
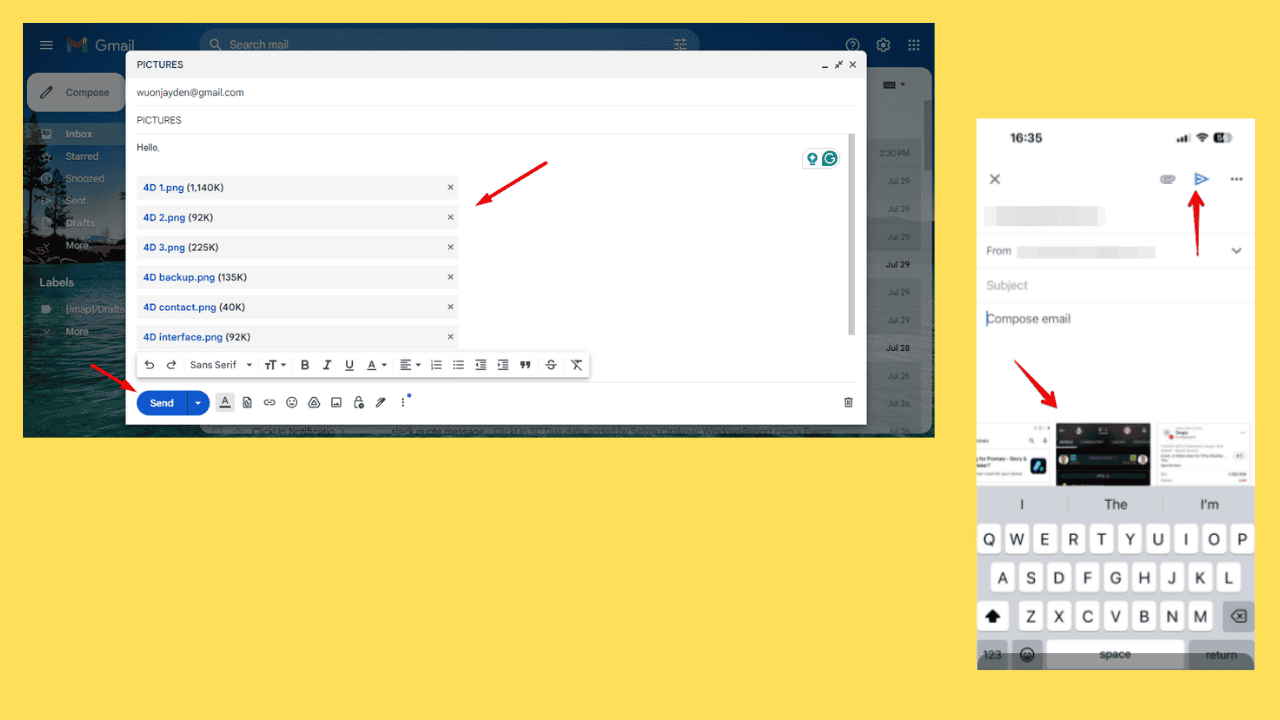
And that completes all the information you need on the subject! By now, you already know how to create an email group on Outlook and should have one or multiple groups set up. You can also send multiple pictures at once.
If you don’t want to use the group anymore, we have a great guide on how to delete an Outlook group, so be sure not to miss it.
Before you leave, check some quick tips to speed up Outlook’s indexing and improve Outlook’s performance on the PC. You may also check our article on how to recall & resend an email in Outlook. And lastly, find out how to import vCards in Outlook.
For any queries or to share your review of Outlook, drop a comment below.



User forum
0 messages